Description
About This Video
Transcript
Read Full Transcript
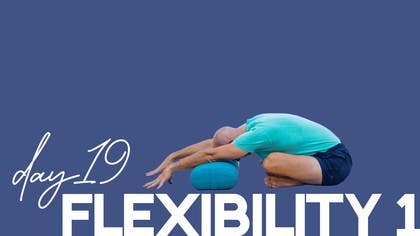
Welcome to day 19 in our 30 day challenge. This is day one of a brand new theme, the theme of flexibility with the element of water as part of our theme. And we've been working so hard in this last section, our last theme of power, we're going to bring the throttle way back and do a restorative session together. This will be very similar to the one we did in our previous session of restoration. So we will start with a meditation seated on a block and bring the attention inside and take it easy here. We'll start on the block, reaching underneath one hip at a time. We'll pull the skin and muscle back.
This helps us sit up really tall and relax inside. Press down through your sitting bones, raise the spine up, roll the shoulders back. We'll bring the palms together right in front of the sternum. We'll press the thumbs into the sternum and the sternum into the chest. And this helps us really create a focus point for our attention.
Go on lifting up your sternum and soften and close your eyes. In our three previous themes, we've been working on building such a solid foundation and ability to open the body and the strength and fire of action. As we move into flexibility, we get to utilize all of those skills. You could say we're reaping the fruits of all of our labors. We can rely on that strength, our ability to take action.
Now really get that inner sense in our bodies, in our minds. Noticing the breath rise and fall. And then you can gently release the head down towards the sternum, sternum stays nice and lifted. Release the hands to your thighs, lift your head and open your eyes. Let's come down off the block.
We'll need a few extra things for this as we work into our restorative session. We'll need a bolster and a blanket. And we'll start out in an active child's pose. And by active, all I'm meaning is that we're using some strong limbs to help the inner body relax. A couple of things about your child's pose will be resting the forehead on the ground.
But if you don't get to the ground comfortably, you'll want a blanket to support your forehead or a block perhaps. You choose what works best for you so you can be restful though we have some activity happening in the arms. So the arms are a little like downward facing dog arms right now. And we're using them to help rest the sitting bones down on the heels. If your hips don't rest on the heels, you could roll up a blanket and bridge that gap there so that you do have an ability to let go.
Spine is long and reaching from the crown of the head to the tailbone. Hips are soft, knees folding well. Remember, if you cannot relax in these poses, we need to find the props that really help you to relax. You don't want to be fighting your own body. Every so often you might have to walk the hands back a little towards the shoulders so that you can re-lengthen the spine.
And then slowly walk back up. We'll take a pause here. Next pose is downward facing dog and I'm going to use a block to help support my head in the pose. We want the head to be supported on something so we can rest very deeply in a dog pose. So place the hands, tuck the toes, lift the knees and experiment a little to see what you need.
What kind of support you need could be a block and a blanket, bolster and a blanket. Just so the head is supported. Releasing the back of the neck down. Even though the limbs are very active to support you, the idea is that we're trying to create a situation, an environment where the spine can be long and quiet. So the spine is like doing shavasana here, even though the limbs are active.
One of the things about holding the poses a little longer is you start to see where we need a little extra support, where there might be a few imbalances, where we might need to work a little bit more, work a little bit less. If you ever need to come down to just rest in child's pose, you can come down. And then allow the knees to bend down to the floor. We'll put the block off to the side, and now bringing a bolster into play, we'll sit in cross legs, and we'll start with the easiest version of this, and by that I mean if you have difficulty folding forward in cross legs, this is a great place to start with a bolster sitting up tall and you're just resting here. If cross legs doesn't work for you, if it's too much on your hips to sit like this, legs in a V is another great option, and you would once again be here.
If you can fold more deeply, here's another option, and further still. You choose the one that works best for you. In this pose, hips heavy, relaxing the spine, and we want not just spinal length and relaxation, but also to allow the body to spread to the sides. It's that spreading, the widening of the body that brings the deepest relaxation. And then just for a moment we'll come back up.
If you're in cross legs with me, cross the other leg in front. If you're in legs out in V, you can stay there. Coming once again into the pose. And hips heavy, allowing the body to widen away from the spine. Release the base of the neck, base of the skull, let the head be fully supported by the bolster.
And then coming up nice and slow. We'll just pause there in a seated position for a moment. And we'll move into our next pose. I'm going to bring a block in for my body. It's much easier for me to fold my knee in Janu Sirsasana.
Again, if hip flexibility is a challenge for you, this is a great place to be for this pose. If you can go a little deeper, we can bring the bolster and perhaps a blanket here. And then reaching for the toes. With the asymmetrical nature of this pose, right leg forward, left leg bent, here we're able to expand the left side a little bit more away from the spine. We can focus on that.
The straight leg has some activity in it, so it's not just there, passive. This helps support us so that we can really relax. As you stay in the pose, if you find there's any kinks and things that you need to lengthen or adjust, take the time to do that. We've been working a lot on feeling into the body. So now we're more and more aware of those adjustments we need to make, not just in our poses, but even in our everyday actions.
Nice and easy. Nice and easy, come up. We'll put the bolster and blanket off to the side for a moment, extend the left leg. We'll take it to the other side. Right leg bent, left leg long, get a nice steady seat, and then whichever of the versions worked for you before, we'll take that again here.
Long spine, and then bringing the head down, reaching for the toes and wearing our pose. This time, again, the right side is able to lengthen or widen away from the spine a bit more. Looking in again to see if there are any areas in your body that need to be lengthened, softened, or adjusted in any way. Nice and easy. We'll slowly come up out of the pose.
Blanket and bolster off to the side, but we're going to continue to use it. Come down off of the block, and we'll set up for a twist. We'll need the bolster and blanket stacked one on top of the other. I'll start with my hips right up against the bolster and the legs swung back off to the right side of the body. Hips again right up next to the bolster, and we'll start by lifting up one hand on either side of the bolster and then elongating the body down onto the support.
We'll be turning the head off to the right side. Let the elbows spread apart a little so the shoulders can be broad. Once again, I bring your attention to that widening aspect of restorative poses to allow the muscles on either side of the spine to spread to the sides. Right side muscles to the right, left side muscles to the left. Disclosed.
And then walking the hands back underneath you. Push gently up away from your support. We'll be turning to the other side. A nice way to do that is to turn toward the tail end of your mat. We'll shift everything over to the other side.
Right up near the bolster. Hands on either side. You want to lift and lengthen. Legs heavy into the floor. Keep that length and resting the trunk down toward the bolster.
Make any adjustments you need to make and then resting into your pose. And then walking the hands back underneath you. Pressing up out of your pose. And just take a pause in a comfortable sitting position for a minute. We're going next into one of my favorite restorative poses, Supta Barakonasana.
We'll shift the blanket so that it's at the head end of the bolster. And this is going to be our pillow. We'll turn away from the bolster toward the tail end of the mat and bring the bottoms of the feet together. Heels close into the groin. And if you feel like you need some support under the legs, you could take two rolled blankets or a couple blocks.
Anything so you don't feel any strain in the groin. We'll be sitting about a palms width away from the bolster. Take the hands onto the bolster and give it a bit of a smush. Lift your hips and tuck your tail toward your heels. Then slowly lengthen back onto your bolster.
Adjust the blanket so it's only under the head and neck, not under the shoulders. And then you can do a little tuck with the opposite hand of your shoulders down toward the hips. So the chest is nice and open here. And check in to make sure you feel nice and comfortable, supported, no strain anywhere. Close your eyes.
Draw your attention down into your breath. And suppose you can feel how the bolster is supporting up in the chest. Using your awareness, you can see everywhere the breath comes in and touches inside the chest. And by that I mean movement, the movement of breathing. In restorative practices sometimes the most difficult thing is stillness.
The ability to relax when we do all this work in the standing poses and active poses of yoga. You also have to learn how to relax, to become still and quiet in that nervous system. Thank you. Thank you. And then to come out of this pose, we can walk the feet a little bit away from the groin, bring the knees up and together, and gently roll off to your right side, completely off the bolster for just a breath or two.
And press your way up to a sitting position. I'm going to take our final pose today, which is Sharasana, but let's use these props to really make it sweet. We'll use the blanket again as our pillow, and we'll take the bolster underneath the legs to really support the spine. So coming down, make all the adjustments you need to make to feel very, very supported. Remember, blanket just for the head and neck.
You can reach under your tail and lengthen the low back a little bit by pulling the buttocks down toward the heels, a little tuck of the shoulders. Sharasana. And once again, settling in the stillness. Start by watching your physical body and see if there's an impulse to twitch or move anywhere. That could mean you need to change the support a little, or it could simply be a habit of movement.
I invite you to just start to explore that stillness that is within the body. Thank you. Thank you. And I invite you to stay as long as you need in the Sharasana. Take it as deep as you can.
If you'd like to stay, please stay. If you're ready to come up, we'll come up together. Rest your hands on your tummy. Bend your knees one at a time. Rolling over to your right side.
Just rest there on your side for a minute in the most comfortable position you can. Gently pressing up into a sitting position. Again, nice, easy, comfortable position. Oh, I so needed that practice today after all the challenging practices we've had. I hope you enjoyed that as well.
You can use a practice like this any time you need a pause in our 30-day challenge. I'm really looking forward to seeing you as we move into the theme of flexibility. Have a wonderful day. I'll see you soon. Namaste.
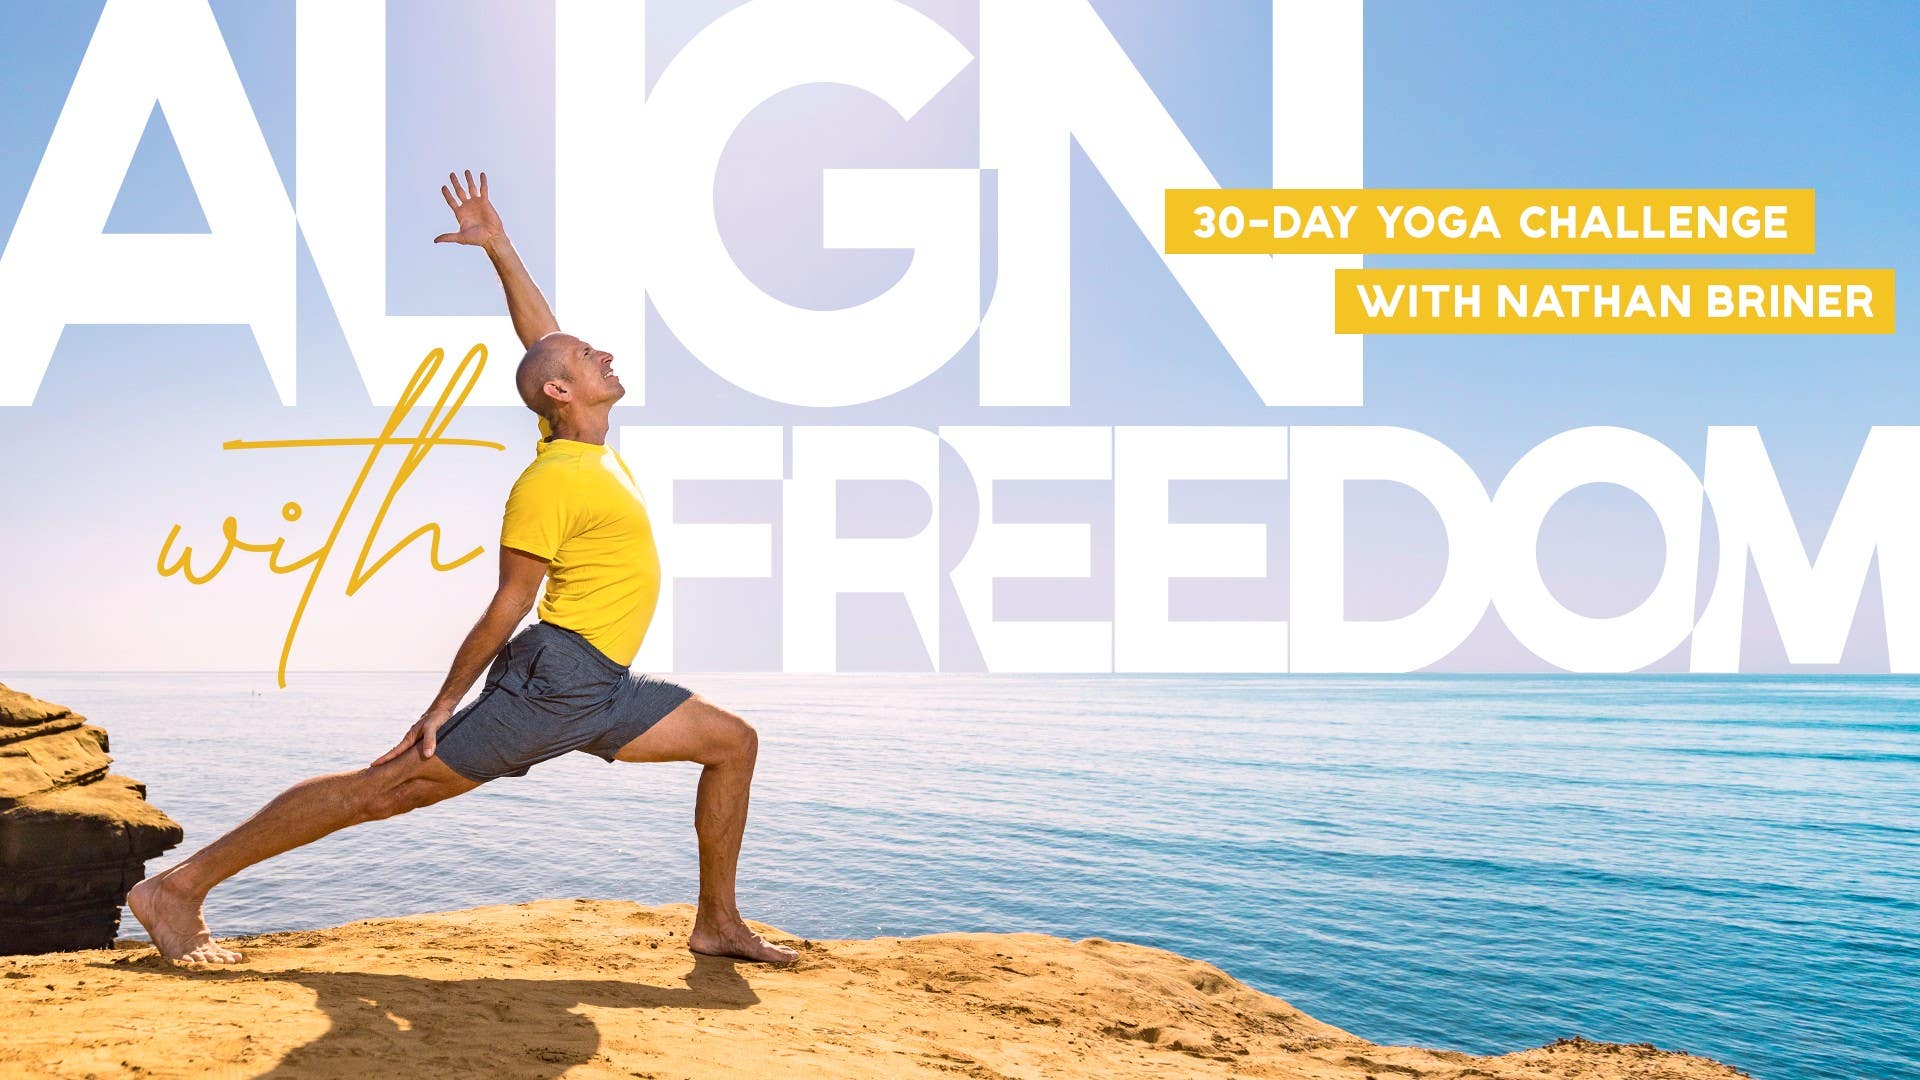
Align with Freedom: 30-Day Yoga Challenge
Mention
 |
Nathan Briner (Teacher) |
 |
Sandra Židan |
 |
Brenda S |
 |
Michelle |
 |
Rosanna S |
 |
Annika S |
 |
Kate M |
 |
|
 |
Joan J |
 |
Jenny S |
Comments


You need to be a subscriber to post a comment.
Please Log In or Create an Account to start your free trial.
