Description
About This Video
Transcript
Read Full Transcript
Welcome in to day 28 in our 30 day challenge. This is day four in theme of integration. I would love to know how you are doing, what you saw in the previous practices, what you noticed and what you weren't able to notice. Maybe we can dig a little deeper through a few comments back and forth. I'd love to hear from you. Today we're building on what we've been working on in the previous practices where we were focused a little bit more on the dorsal spine and chest opening. Now we're going to be working on opening up what is known as the sacral spine, more around the hips and lower back. We're going to start building up a little bit of heat. We'll stand at the head of the mat. We'll be working into sun salutation B. Feet together. Let's take tadasana for just a moment. This is an active pose. Find balance all the way through your feet. Stretch down from your hips to your heels. That's anchoring into the floor. We learned a lot about that way early. Now to create that inner lift in the body. We're allowing that attention and awareness to draw in. We'll take an inhale. Arms up. Squat down. Exhale. Soft knees. Let's fold forward.
Relax your back. Knees a little bent. Head and neck soft. We're just taking our time on this first one. Hands on the floor. Step back. Take an inhale. Exhale. Lower the knees and follow through by bending the elbows. We'll take it all the way down. Point the toes. Roll the sacrum and tailbone toward the heels. Little lift of the chest. Take a breath. Let it back down. Curl the toes under. Let's lift to a dog pose. Raise the heels. Look forward. Right foot between the hands. Left heel down. This is warrior one. Inhale your way to the full pose.
And exhale back down. From the top of a plank, let the knees down to the floor. Bend the elbows in close to the body all the way down to the mat. Point the toes. Roll the tailbone. Lift the chest. Let's take a breath here. And then release the chest down. We'll press up to dog pose. Then left foot through to the hands. Roll the right heel down. Inhale to the top of the pose. Warrior one. Hands to the floor. And one more time, we'll go the bent knee version. Knees to the mat. Exhale your way all the way down. Baby cobra. So we'll start with the tailbone and sacrum. Rolling towards the heels. Chest lifting. And then releasing down.
Curl the toes under. Dog pose again. Let's use this dog pose to do a little pedaling of the legs. And bringing in some of our previous practices in this integration theme. Inner arm lifting. This helps us access the shoulder blade contact onto the upper body. Upper back. And open the chest. Then two heels reaching for the floor. And inhale, look forward. Step the feet to the front of the mat. Feet together. And forward bend. Breathe out. Inhale, squat down. Arms up. Exhale, come all the way out. Let's do another. Inhale, squat down. Arms up.
This time exhale, straight legged forward fold. Inhale, look forward. Exhale, step back to a plank. You choose if you'll do the knees to mat version. I'm going to be showing the full chaturanga. Exhale, bend your elbows. Up dog. Come over the tops of the feet. Down dog, breathe out. Step the right foot between the hands. Roll the left heel down. Inhale to full warrior one. Exhale, release the hands down. Step back to the plank. And your choice of entry as you exhale down toward the mat.
Up dog, inhale. Down dog, breathe out. Raise the heels and left foot between the hands. Right heel down. Inhale to the top of warrior one. Exhale, hands to the floor. Step back, take a breath in. Exhale your way into chaturanga or to the floor. Up dog, inhale. Down dog, exhale. Let's join the feet here in this downward dog. We're going to build the heat even further. Heels up.
Left leg up. Big breath in. Exhale, knee to nose, shoulders over wrists. Again, inhale, lift the leg. Exhale, knee to nose. We've played a lot with this in our core practices. You'll remember this work. And again, to dog pose. Get your arm strength ready for second side. High heels, right leg up. Big breath in. Exhale, knee to nose, shoulders over wrists. Inhale, lift. Exhale, knee to nose.
Inhale, strong lift. Use those hips to lift the leg. And exhale, knee to nose. Core, work. And one more time, dog pose. All right, now come on down to your knees. Grab a block and we're going to be exploring and experiencing sensing the hips, sacrum, and pelvic motion that are going to help us into our back bends today. We're going to start with a block at its flattest level and we'll place that underneath the back of the pelvis. Please lie down. Lift your hips and place the block underneath the sacrum and pelvis.
And it might take a few times to get it just right for you. The idea is that we want to be able to bring the knees into the chest fairly well without feeling like we're going to slide off the block. We'll start by holding on to the left leg and gently snuggle it in toward the chest. You don't have to pull hard. It doesn't have to touch the chest. And there should definitely not be any pinching action, any pinching feeling in the left hip. Then we'll allow the right foot to come down and start to stretch it out a little bit, not to fully straight.
Push with that right heel so that you can feel that your pelvis is turning or butt is tucking on the block. And with that tuck in place, that backward roll of the pelvis, with that in place, we're going to slowly attempt to fully straighten the legs. What I'm doing is I'm scraping the top of the mat with my heel and aiming at a fully straightened leg. That feels about like my limit before my pelvis says it's going to come with the leg or come out of its tuck. So I'm going to hold here.
My right glute muscle is very, very strongly engaged to help that turn of the pelvis. And then release. Two knees toward chest. Just take a moment's pause to reset, find center. And now the second side, a gentle snuggle of the right knee. Drop the left foot to the floor. Walk it out just a little bit.
Push down into the mat and push away from you slightly, not sliding the foot yet, but such that you get that backward tuck of the pelvis. Then keeping that tuck in place, that backward roll of the pelvis, slowly scraping the left foot on the mat. Good. And you can slowly pull the right knee a little bit more to encourage the backward tuck of the pelvis. In effect, what we're doing is opening up the front of the hip sockets.
And it is really important for deep back bending that we get this pelvic motion engaged. We want to have the freedom in the spine to open. If we're going to dive in with our awareness, we want it to be free to spread rather than hooked on pinched spots. Okay, we'll release, bring that left leg in, a gentle tuck of both knees. Relax for a moment there and set the feet down.
Let's take the block out for a moment for a new stretch. We'll start with the right leg. This is going to be for the quadricep of the right leg. With both knees bent, I tuck the right foot underneath the bent left leg a little. I'm going to reach with my left hand and capture that foot, then allow the knee to fall down a little toward the mat.
We'll start here. In the same fashion we just learned, we're going to be rolling the pelvis in the same direction. So you can start by using your abdominal muscles a little and rolling the pubic bone toward the chest while attempting to keep the right knee down. Now for some folks, just even getting a knee close to the floor is going to be a challenge. So depending on where you're at, if you want to go further and the knee is close to the floor, those are two important criteria, we could try putting the left foot on top of the right leg.
You're not meant to jam the leg into the floor, it's just a little extra suggestion to help you feel that opening in the front of the right hip. Holding here, bring that awareness once again to rolling the pubic bone toward the chest, the waist down toward the floor a little. Taking left foot off the right leg, unwind your pose, let's pause in the middle for just a second. Then second leg left foot comes underneath the bent right leg, hold on with the right hand with that left foot, and then slowly rolling the left leg down toward the mat. Get that gentle tuck of the pelvis, pubic bone rolling toward the sternum, toward the chest, and if it's appropriate for you to add that light little extra suggestion of weight, using your right leg, you can do that.
This is again helping us to open up the front of the left hip socket so we get that nice deep pelvic turn, which helps us not to scrunch the spine as we deeper backbend or backbend more deeply. All right, and release. Start pausing in center for just a moment, and then turn to your side, come up, now a blanket, and we'll have the blanket folded in half as you see me doing right here. And what we're using this for is to help support the hips and pelvis as we go into our backbend here, our baby cobra, and we'd like to try to get that blanket just on the top portion of the pelvis. Let me try my first attempt here. Yeah, that's pretty good. So I'm right at the top hip bones. The pubic bone is free to go down toward the floor.
That's where we're going to start. We'll place the hands on the floor so we're in like a sphinx pose. And our first work is to see if we can gently tuck the pelvis, in other words, roll the tailbone toward the heels, and then release. See if you can catch that motion, seeing what I'm doing. And I want to distinguish what I'm doing, and I've talked about this before, but distinguish it from just squeezing your glutes together.
That is not what we're doing here. We're using the deeper hip muscles to gently roll the sacrum and tailbone toward the heels. The front waist, where your belly button is, should move up a little from the blanket. Do a few more with me. Press the forearms down into the mat to assist the rolling of the pelvis. One more we're going to hold. Then maintaining that tuck, we're going to try for a little cobra pose, lifting the elbows.
Keep that tail tuck. Keep that tail tuck. And we're up here. One note for bhujangasana, cobra pose, the pose we're in right now. If the pelvis comes up and leaves the mat, it says you're overdoing the pose. The hips have done all they can do, and your pelvis is starting to come up, you've gone too far. Okay, pubic bone down, holding here, and then releasing. All right, let's try another one. Coming onto hands and knees, we can slide the blanket out of the way.
This is a version of a figure four stretch. Starting on hands and knees, we'll take the left leg forward and bring the foot in front of the right knee. Then we swing that knee open. You see me doing that? Leaving it open, we'll walk forward and come down. Now, depending on the mobility of your hips, if that's not happening for you, you could put the blanket back underneath or even two blankets underneath to help you with this pose. In that Sphinx position again, we're going to work on rolling the sacrum and tailbone. I use my forearms to help push and turn that sacrum. Do a few more with me.
Remember, it's not about squeezing the glutes together really tight. It's more of a deeper action, deeper muscular action. Let's hold. Press down through the forearms. You might be able to raise the belly button a little higher off the mat. Then let down. Using your hands and the right foot, help yourself out. We'll come to hands and knees. Second side. Right knee comes forward. Swing that right foot across, just in front of the left. Open and close that leg a few times, like a door. Swing the right knee open, closed, open, closed.
Leave it open, and then we'll work to come down on this side. May make a few adjustments so it works for you using blankets as needed. Let's take our Sphinx pose. Here again, working that rolling of the pelvis. Just a personal note for me, this is my tight side, if you will. From injuries in my past, my right leg is a little bit more stiff in the hips.
I feel that resistance in there, and I'm not going to try to plow through it. I'm just going to touch a little of the sensations of resistance. This is part of that inner awareness that we're working on in integration, to feel and observe the inner self. I want to share that with you, that I have to be careful with this hip. So if there's anything you're feeling you need to be careful with, please do honor that.
Let's do a few more, sacrum and tailbone rolling towards your left heel. And we'll release. Hands and back foot to help out. Let's take a dog pose to refresh the hips a bit. Lifting up, a little leg pedaling. And we'll hold a full dog pose, inner arm lifting, inner legs reaching through and back. And now feet together, let's take our practice a little bit deeper.
Raise the heels, look forward, left foot between the hands. Drop the back knee, we're in a kneeling lunge. Come up with your hands on that front knee for just a moment. Allow the hips to sink forward. Sacrum and tailbone a little bit down, front of the body up. From there we'll do a twist, right hand down to the mat, left arm up.
And then bring that left hand down to your hip. You've seen this before. We're going to go for the quad stretch, picking up that back foot. Now if that is not happening for you, you might bring a strap into play. So you can hold onto the strap and still work with us. Dropping into that right hip a bit, gently drawing the right heel closer and closer to its hip.
And soft, gentle, careful release. Dog pose. Let's do the other side. Right foot through, lower the left knee down. Take the hands up onto your front knee, we'll drop into the hips. Not fully, well let's say three quarters of the way so you can get that gentle tuck we've been practicing so far.
Sacrum and tailbone down. Then we'll come forward a little bit deeper, take the left hand down, right arm up, we're in our twist. Staying in the twist, we challenge the grip of the back leg for a quad stretch. Lean a little deeper into your lunge and we'll grab up that left foot. Again, we're still deep in a twist. Roll that right shoulder back.
And as you feel confident and comfortable to bring that left heel closer to its hip, please do. And then coming out of your pose, gently, softly release the foot, we'll find that dog pose. Let's flow for just a moment. Inhale, come forward a plank. Exhale, chaturanga. Up dog, inhale. And down dog, exhale.
Walk the feet to the front of your mat. We'll do half Uttanasana with feet a little bit apart. Exhale, drop in for just a moment, more of a ragdoll than anything deep. And inhale, come up, hands by your sides. Our next pose is a new pose. We'll be continuing the hip opening and quad stretch.
Feet together, we'll start with the left leg. We'll bring the left leg up to catch with the left hand and the right. We are balancing. Start before you do any pulling of the quad, get that sacrum tailbone tuck. Open the front of your left hip. Then press that left foot further away from your hips, sacrum and tailbone down.
How far back can you press that foot? And then release. Let's try the second side. Right foot comes up, right hand gets the leg. Find your balance, both hands capture the foot.
All right, shoulders back, sacrum and tailbone down before we pull on the leg. Now give me the energy, pushing that foot back further and further. And release. Take a moment to recover. We have another new pose here. Feet will be about hip width. This is going to be a standing back bend.
We'll start by placing the hands on the backs of the upper legs. First, roll the shoulders back, sacrum and tailbone down. Allow that sacrum and tailbone to come down and pubic bone forward. Sacrum down, pubic bone forward and up. Sacrum down, legs coming forward.
And we'll see how far you feel comfortable and confident for this standing back bend. And then inhale, come up. And this is why we practice all of those core strengthening poses so we can dive more deeply into the poses like that. Let's move a little. Arms up, inhale. Half Uttanasana, exhale.
Bend the knees. Dog pose. Right foot forward, big step. Left heel down. We're taking warrior one again.
We'll come up a little halfway into the pose so we're above full pose. Sacrum and tailbone down. And then arms up. Looking up to those thumbs. And then release down.
Hands to the floor, step back. We're going to go right into dog pose. Left leg forward. Right heel down. We come up. Come up a little higher than the full pose.
Now we can get that sacrum and tailbone to descend. And we drop into the pose, arms up. Good. Looking at your thumbs, take a few breaths. And release. Hands to the floor. Again we'll hit dog pose for a little recovery. If you need child's pose here, great time to take it.
Let's bring the knees down. We're going to head into our peak pose of this practice. And it is quite a pose. I'm going to recommend that you open up a blanket so we have some nice cushion for our knees going into this. And you'll want to bring a strap into play.
We're going to set this pose up first. So we have a loop in the strap. And we'll sit back a little and we'll start with the left foot. We've got to lasso it. Right leg is forward.
Let's start by bringing the strap over the shoulders and pick up that back foot. So we're leaning in now to the lunge that you're familiar with. We've got that quad stretch happening here and you see me help that leg in. And I'm going to walk my way down the strap, down the strap, sacrum and tailbone down strongly. And who knows, maybe we'll get to the foot today.
Where is it? That's all I've got today. Holding there. And then ease out of your pose. Whoo! That is quite a back bend.
But we set it up right so we could have the freedom to at least approach that pose. Then second foot gets a lasso. That means left leg forward. Let's start setting up the pose. We'll take the strap over the shoulders.
I'm going to encourage the right leg just a little bit. Just a little squeeze. Just a little squeeze. Sacrum and tailbone down. That's where it's challenging, but it keeps the spine safe.
I've got my strap. It's time to see what we can do. I hold the sacrum and tailbone down. I know you've heard those words about 500 times in this practice, but it's so important. And I attempt to come back.
Oh, foot, where are you? Working on it today. We'll get a little closer tomorrow, maybe. And release. Whoo! Again, I love that back bend.
Deep, but we set up for success. Let's put the strap away. I think it's time for some counter posing. We've done a lot of work. We'll put the blanket away.
I'm going to save it for some support of the knees a little bit later in Shavasana. We're going to take the mermaid pose that we've practiced before in previous practice. Right shin in front. Left leg behind. We'll start with a turn.
And then slowly coming down. It's like a modified pigeon. And what we're coming down to do is roll, in this case, the left side torso down toward the floor. Come up. We'll do the other side.
Sweep the legs. Left shin in front. Right leg back. Turn the torso and coming down. You're rolling and releasing all of these lumbar muscles, even the buttock muscles, away from the sacral area.
And release. Let's get a happy baby and fully release that lower back. Lie down on your back. Knees into chest. That already feels fantastic.
Knees into chest. Lift up the feet. And what can you get hold of? Can you get the toes? Can you get the outer foot?
What's working for you today? Take your time. Let gravity do 90% of the work here. The weight of your arms, the weight of your legs. You can rock right and left.
Take a few deeper breaths as you exhale. Now if you want to add just a little bit of arm strength, allowing those knees to come toward the ground. And the sacrum and tailbone are going up away from the floor. Pulsing one leg at a time. If you need a little bit more happy baby, please, you go ahead and take it.
I'm going to reach over for the blanket that I promised earlier. We're going to do a rolled tube for the knees. Yes. Ready for some shavasana. Do a little tuck of the tail.
Lie back on your mat. Take a moment to lengthen the buttocks a little bit away from the lower back. One shoulder at a time, just a little snuggle. You know, shavasana is a pose. It's not just nap time.
And our goal with shavasana really is supporting the body in as many ways as we need to reveal that inner silence and quiet. It is from that place, from that inner silence and quiet, that we are able to be reflective. That what is going on is being seen. We all know that we see our own thoughts, but what about the physical body? What about the space that is accompanying all of those sensations and thoughts and emotions?
And the more and more that space is revealed, our patterns can be seen. New actions can come to light. So this is not so much about can you bring the toes to the head as in the deep back bend we did today. What is your heart open? As always, please do stay as long as you need in your shavasana.
If you're ready to come out, bend the knees one at a time, rest your hands on your tummy. Turn softly to your right side and hang out for a breath or two. Please do support your head. And then easy push of the ground to come up into a sitting position. Now, if you feel like you still need a few counter poses, please do take them.
It was a deep back bend practice today. We are going to jump even further in this inner exploration in our last two integration-themed classes together. I'm really looking forward to sharing this information with you. Have a fantastic day. Namaste.
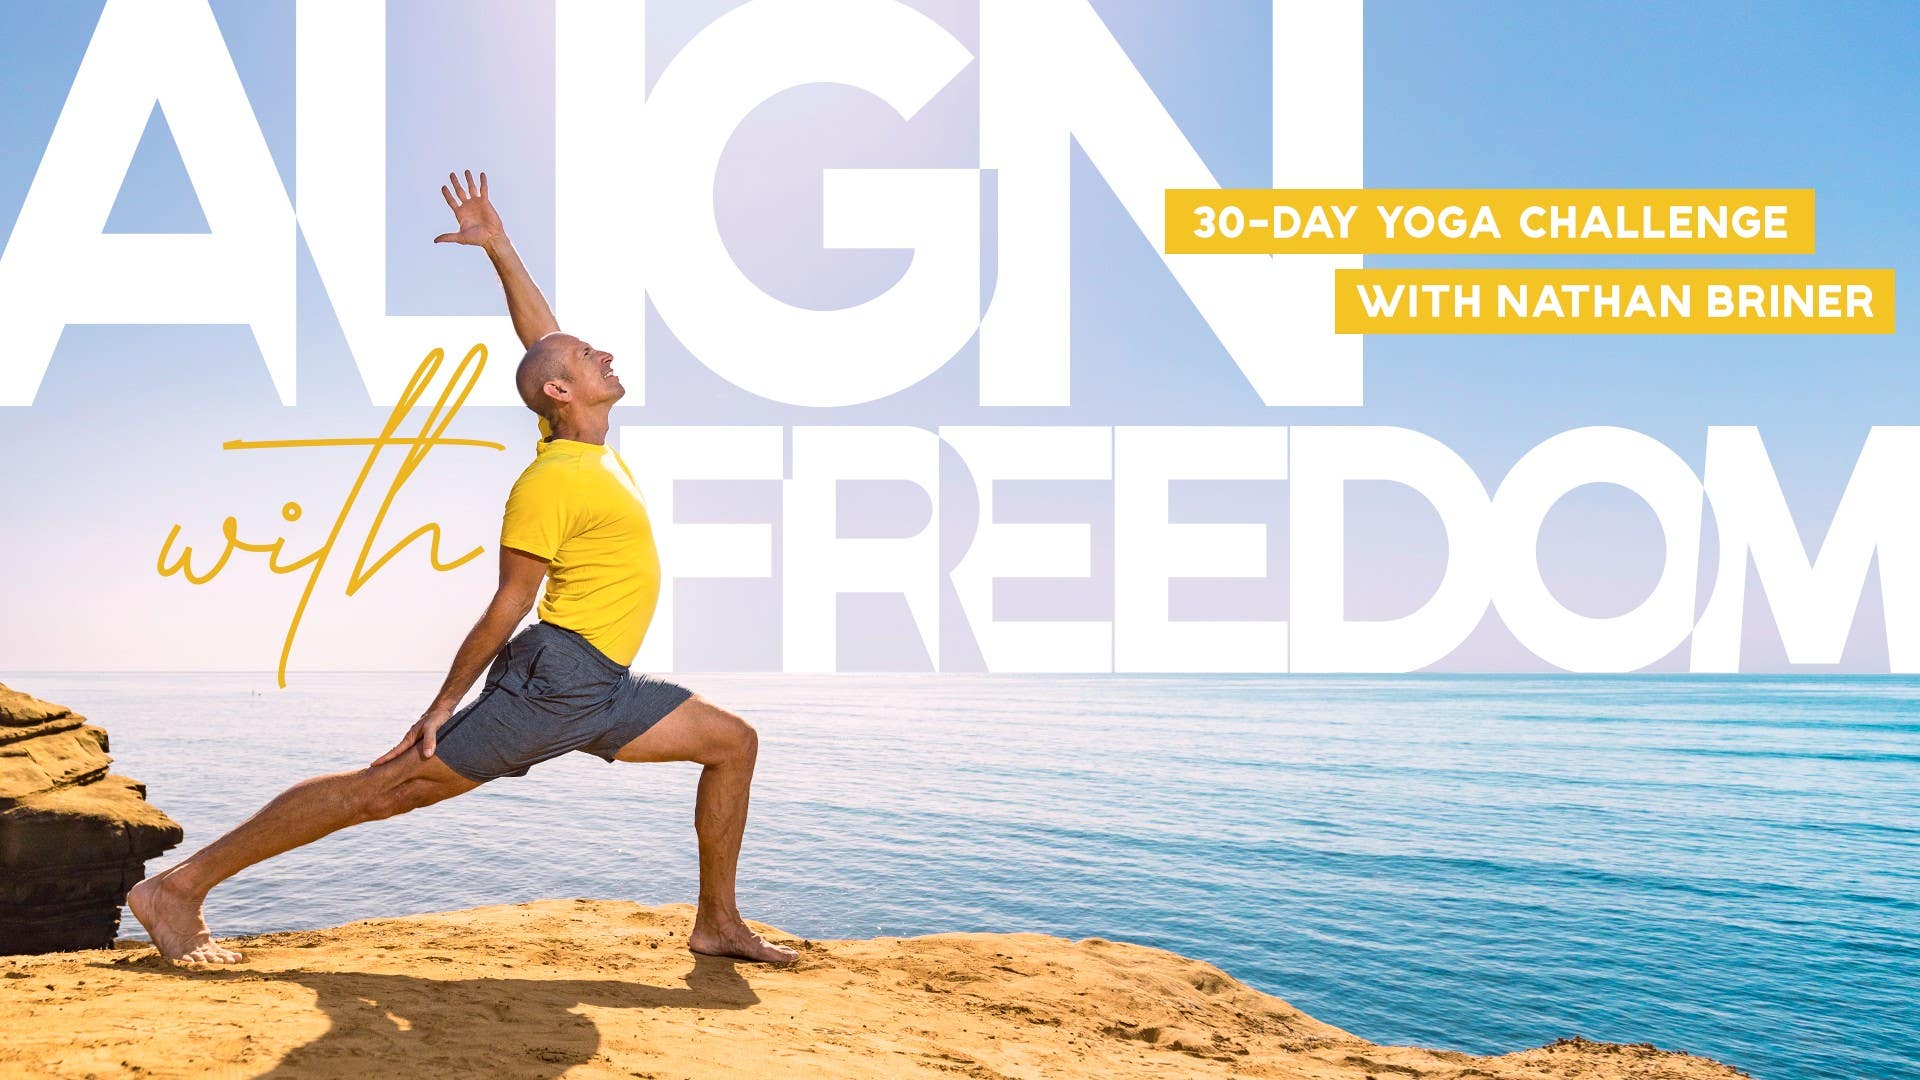
Align with Freedom: 30-Day Yoga Challenge
Mention
 |
Nathan Briner (Teacher) |
 |
Sandra Židan |
 |
Arik O |
 |
Rosanna S |
 |
Kira Sloane |
 |
Meagan P |
 |
Danielle G |
 |
Kacper I |
|
|
Ishara S |
 |
Kate M |
|
|
M Angela C |
Comments


You need to be a subscriber to post a comment.
Please Log In or Create an Account to start your free trial.
