Description
About This Video
Transcript
Read Full Transcript
Welcome back. Day four of our 30-day challenge. We've been working really hard. And by the way, I'd love to hear from you. How are things going? How are you feeling? Please leave a comment or two on the video and let me know how you're feeling. Today we are in day four of our theme of strength and we're going to need a few props today, a blanket, a block, and a strap to do some of these poses. We're going to start out in a seated cross-leg position. I'm seated up on a little bit of a blanket so I can lift and open my spine. We'll start out with a nice big arm lift, rooting down through the hip bones, stretch up through the spine. Big inhale, exhale.
We'll turn right side first and I've got this block behind me and turning. In this twist, we're going to pump a little bit deeper into the twist. Take a deep inhale and as you exhale, draw the abdominal wall back and around to the right. And that may sound a little crazy to ask, but that's what I want you to eventually begin to feel over time as you practice this. We inhale, relax the abdomen a little bit. Exhale, pull the abdomen backward toward the spine and around toward the right. This is a deep movement of the abdominal organs.
And then release. We'll switch the block to the other side. Nice big lift, rooting down through the sits bones, lifting up the spine and keep that length as you turn left side. Again, I've got my block here. I take a nice big breath in. Exhale, abdominal wall back toward the spine and around toward the left. And inhaling. Exhale, abdominal wall back toward the spine and around toward the left. Getting that abdomen warmed up for what's to come. Then we'll get rid of our props and lying down on our back. We're going to start out similar to the way we did yesterday or the previous routine by working with some pelvic tilts.
And we'll start by using the abdominal wall to tuck and release. Tuck and release. Let's get a few more. Exhale, abdominal wall, rolling that pubic bone toward the navel and three, two and one. Let it go. Single leg, one leg in tabletop. And again, we're using this to build towards the strength for full boat pose, half boat pose. And so many other of the yoga poses that require that core strength. Keep it going. Abdominally pulling the pelvis toward the navel, minimizing the use of the legs. Two more. And last one. Second leg up, tabletop. Here we go. Exhale.
And as I mentioned in the last routine, as we're diving a little deeper into this core work, you may feel quite a bit different experience with one leg up compared to the other. Over time, that begins to fade away and you'll feel a lot more symmetrical with your work. And if you happen to experience back pain in your daily life, working like this can really help ease that pain away. Core strength. Last two and one. Good. Let it go. A little movement of the knees to free the abdomen for just a moment. Left right movement. And now we're going to go both legs tabletop. All right. Steady the legs in place. Big inhale and exhale. Lower abdomen, pull.
And then to neutral spine, exhale, lower back coming down flat and neutral spine and pull. Again, there's that heat of the work here down in the lower abdomen, a little bit of the hips. We're going to get four more. Three. Two. And one more. Good. Let it go. Feet a little wide about the edges of the mat and left right rocking just to free up. Relax the abdomen. All right. Then coming up onto the forearms, we have our challenge here. A little bit deeper into half navasana.
We're going to take the legs, first of all, sorry, excuse me, press down on the arms and create that pelvic curl we worked on in the last routine. Hold there. One leg tabletop, two legs tabletop and then both legs up from here five times. Hold that pelvic position. Lower the leg. How far do we lower the leg? Only as far as does not pull the pelvis out of its tucked position. Come on, strong abdominal muscles, version of half boat pose. And last one, bring them up, reaffirm that curl of the pelvis. Here we go. Second leg strong at the knee. I'll often see people do this with a bent leg.
Believe it or not, that's harder on the abdomen than a strong straight leg. Three to go. Two. And last one, let it down. Super big challenge coming up. Half boat pose. Once again, press down to the arms, push the hands toward the feet to create your pelvic curl. Legs and tabletop. Two legs up. The challenge. Can you lower the legs any amount and hold your pelvic position? Arda Navasana. Bring it back up. Two more challenging pose. Reach down. Bring it up and reach it down. Your legs may go down way farther than mine even, but hold that pelvic position and release.
Lie down for just a moment. Relax the legs. Relax the abdomen. Nice work from here. Let's come up to hands and knees. Work a little cat and cow for some freedom in the abdomen. Oh, such a good position after that ab work. And then curling up and down. Yeah, take a little time in there. Let that abdomen release. Let's do a few more dropping the spine down. Exhaling the spine up. And take advantage of all of that abdominal strength to open those spinal joints as we go down, just allowing the abdomen to release.
And as exhale pulling up, we get one more opportunity to open up those spinal joints and then release. Come down into a seated position and we're going to challenge a version of Navasana boat pose. From here, with feet on the ground, legs together, lean back a little and catch that same strong abdominal curl. From there, keep the curl and walk the hands forward. Press down on the hands a little, lean back and bring the legs up the tabletop. So we're going to call this Navasana prep or preparation for boat pose. Hold there for 321. Let it down. Hands behind you, lift and open the body.
And we'll get one more time. Lean it back a little. Connect. Well, that lower abdomen fingertips forward. And bring up the legs, building all of the strength that we need for long, strong standing poses. And then release the hands down. Once again, hands behind, separate the legs, lift and open your chest, open the abdomen. And then release and let go. Let's take hands and knees position for just a moment. We did this in our last routine. I'm going to work a little bit on half Chaturanga. Bring the hips forward, bend the elbows, coming down and hold.
Three, two, one. Press back up. And again, let's move the hips forward in line with the knees and shoulders. Big breath in. Exhale halfway down. Squeeze those arms into the upper body, holding for 321. And last time, come forward with the hips, trying to make a straight line from knee to shoulder and inhale. Exhale strong abdominal wall. Come down to your controllable depth and hold. Squeeze the arms into the upper body. Three, two. That's a lot of core work. Well done. Let's find our dog pose. Lift up the knees from your mat.
Raise your heels up high. Let's work with a little high heel dog pose. Firm legs. And we can use those legs now that we've been practicing with to help release the abdominal tension from the core work. Press the thigh bones up and back away from the hands. Relax the abdominal wall. And with high heels, lift the head, look forward. We'll step the left foot in between the hands. Strong, active back, right leg. We'll keep the right hand on the floor, left hand to your left knee.
Start turning to the left to lift and open that chest. And then when you feel you've got your max, let's bring the left arm up into the air. One special cue for this pose that we're going to be adding into later. We call it pinning the hips. Squeeze the right hip to the left and the left hip to the right and feel how that allows for a deeper turn of the spine. Release the hand down. We'll step it back to the high heel dog pose. Firm legs. Elongate the abdominal wall. Lengthen the spine.
And second side. Inhale, look forward. Exhale, right foot between the hands. Charge up those left leg muscles. Support all the way into the abdomen. Left hand on the floor, right hand to your right knee. Pinning the hips. Squeeze right to left, the left to the right and we turn from that connection. Right arm up into the air.
We want to keep that chest moving toward the forward bent leg, the right leg. And then releasing the hand down. Step back. High heel dog pose. Firm legs. And then stretch those heels down. Full dog pose. Remember if you need bent knee dog pose or high heel dog pose, please keep those. Otherwise challenging that full dog pose.
And then look forward. Step to the front of the mat. Feet together. Half Uttanasana looking forward. If you need hands on shins or even higher, please do that. If you can touch fingers to the floor, go ahead. Deep breath in. Exhale, fold the trunk down over the legs. Uttanasana. Inhale, little squat down. We've practiced this. Chair pose. Arms up.
Exhale, come all the way out. Release your arms down. One more time. Inhale. Exhale, chair pose. Inhale and exhale to fold. Inhale, look forward. Exhale, squat down. Arms up. And exhale all the way out to Tadasana. Pause there. Root down through the legs. Find that inner lift, inner space.
And then relax your body. We'll turn towards the long way of the mat here. And practicing a new style or new set of poses here. We'll start with Prasarita Tadasana as we've been doing to remember and recall the rooting. Press down through the legs. From hip to heel, reach through the floor until you feel that inner lift, inner inside body lift. And then express that all the way out through the arms.
And then release the hands. For this next pose, Parsvottanasana, turn the left foot generously in, about 60 degrees or so, and the right leg out fully so we're aimed straight forward over the short end of the mat. Stretch your arms up and here like we've been practicing, root down through the legs. From left hip to left heel and right hip to right heel. Big breath in. As you exhale, folding from the hips, bring the body about 45 degrees forward. It's a challenge pose, a strength pose, rather than folding all the way in. In this position, work to square your hips more and more toward the front of your mat, the direction your arms are reaching. Holding there. And then inhale, come up, release the arms, turn to center.
Right toes, deeply in, left leg out. Stretch up the arms. Right hip to right heel, reaching into the ground. Left hip to left heel, reaching into the ground. Inner lift in place. Big breath in and exhale, coming forward to about 45 degrees or so. So we're learning to fold the hips, the pelvis over the thighs, and square or turn the pelvis to face in the direction the arms are reaching.
Over the short end of the mat. Holding there, you can feel how those leg muscles really have to support you. Arm muscles, spine muscles. And inhale and come up. Turn the feet to center, relax your arms, relax the shoulders, relax the legs. Next, hands on hips, find the power into the floor.
Prasarita, paratanasana, fold forward, wide-legged forward fold, hands to the floor. Here's an opportunity, if your hands don't touch the floor easily, to use two blocks. Or if you find here you're touching the floor but you're quite rounded, blocks are needed. So please take those if you need them. If you don't, hands to the floor and we'll work here. We'll start with that rooting action, pressing the legs down and feeling.
And sometimes you even have to look, are my legs working? We want them nice and strong there. Into a twist. We'll place the left hand on the floor and the right hand on the back of the pelvis. Turn the chest to the right side. Take a few deep breaths. And then come to center. Second side, right hand on the floor, left hand to the back of the pelvis.
And turn. Nice strong breaths, still connecting well to the floor, strong thighs. And then back to center. To come out, you could either heel-toe your feet together or a little bit more challenge, hands to hips. Use your hamstrings and buttocks to come out.
Bring the feet together, take a little pause. Mountain pose, inner lift. And then wide legs. Next challenge. We'll be turning to the left side. So coming up off of the right heel, take a look at where I'm pointing there. Right heel off the mat.
Stretch your arms up. This is Crescent Warrior. We've been here in our previous routine. Nice strong challenging warrior pose. And with the back heel up, it allows us much more access to depth than with the heel down. We'll get there eventually.
Let's take it just a bit deeper. Right hand to the back of the right leg. Turn the left hand to face behind you and reach up and back. We call this pose the Exalted Warrior. Big lifted chest working into a bit of a back bend. And then come all the way out. Straightening the legs, turn to center.
Challenging pose. Turn to the other side. Rolling around to the right. Left heel up away from the mat. Stretch up the arms.
Charge up that back leg energy. Here we go. Down in the pose. Bending the front leg. Hold here. Feel into your body. Is anything needing to be adjusted? That self study.
Looking within. All while this heat is building. And then the Exalted Warrior. This time left hand to the back of the left leg. Turn that right hand to face behind you. Lift up.
It's as though you're reaching from the left heel all the way up to the spine. Holding there, breathing. Challenge yourself. There's plenty of work to be done in the future. You don't have to get it all done today. And then coming out and turn to center. One more time we go through Prasarita Padottanasana.
Strong legs. Come forward. Remember, if you need blocks, please take them. And take it a little deeper. Walk the hands between the feet.
Bend the elbows straight back through the legs and bring the crown of the head toward the floor. Just a quick tip. If you happen to have been here and you're quite round like this, then taking the head down isn't quite for you yet. Let's stay here and just work on the long spine portion of the pose. But for those who can, take the head down. Take the head down.
Shoulders up away from the ground, away from the ears, toward the hips. Strong active legs. Breathing. And then walking the hands forward, lift the spine. And choose if you want to heel toe your legs in or hands to the hips.
Use your hamstrings and strong hips to come up. We'll heel toe everything together. Mountain pose for one more stop here. Find that inner lift. Take the awareness in.
Study the inside world. Good. And let's turn to the front edge of the mat. And we'll work a little bit on that flowing half sun salutation. Arms up, inhale. As you exhale, straight-legged fold. We've been building that powerful leg strength to allow us to get deeper into this pose.
Uttanasana. Inhale, squat down, arms up. Exhale, standing. Release the arms. One more time. Inhale, arms up. Exhale, strong legs support you on the way down.
Release into a forward fold. And then inhale, squat down, arms up. Chair pose or uttanasana. And then hands to the floor. Dog pose, please.
Remember, if you need a child's pose, take child's pose. If you can stay up in dog pose, let's do that here. Holding nice strong dog pose. All right, I have one final challenge treat for you in this routine. Coming into a plank.
And if you need the kneeling version of chaturanga that we've been practicing, you'll go there. If you're ready for a deeper challenge, knees stay off the ground. Abdominal strength, inhale. Exhale, move the shoulders slightly forward as you bend the elbows to your controllable distance. Remember, abdomen has to stay up.
Ribs up. Thighs strong. Three, two, let's lower down to the ground. Take a nice deep breath. And then press up into hands and knees and take a pause.
We're going to grab a block and a strap for some of our seated pose work here. Coming onto the block, we're going to take a jhanu shishasana prep. We'll fold the left knee and foot in, right leg out straight. Then with the strap around the right foot, left hand holds across the body to the strap, right hand behind on the floor. And this is our pose.
The work in the pose. First, we've got a strong active straight leg. We've been working on that. Second, this leg stays back. We don't want it to come with.
We want it to actively stay back so it teaches me to turn from my center. So left thigh back, that's the bent knee leg. And learning to turn from that powerful core. Nice tall spine. So important is that inward looking gaze.
What's happening inside my body? And just that practice alone can be extended out into everything we do in the day. And then release. Second side. Left leg out, right leg drawn in.
We'll put the strap around that left foot. And remember, it's the opposite arm that comes across to grab that strap. Left hand behind, and we're into our twisting action in Janu Sirsasana. I turn. And remember, right leg, right thigh stays put.
We don't want it to follow us in the twist. And that allows us to really learn where the rotation muscles of the trunk exist. The ribs. That internal aware gaze. And then release.
Good. We'll bring the legs in. You won't need the strap for the next pose, which is pigeon pose. Often a yoga student favorite. Pigeon pose.
Let's go with right leg forward first. We'll come up into kind of a mini plank and sweep the right leg forward, left leg back. Now, if you into this pose have a lot of difficulty sitting down flat, you need some support underneath your forward leg hip. In this case, the right leg. Folded blanket, block, whatever you need so you don't feel pain or strain in your knee or feel a pinch in the hip.
Once you find your steady support, settle in. And let's make it a relaxed pigeon pose. Coming forward over the bent leg, fold your arms, rest your forehead down. Definitely a well deserved rest and our body is ready to open at this deeper level. And take a moment to you reflect back over your practice today.
And to be content with where you're at in today's practice. My hope is you did meet with some challenges today, some barriers to push. Right where you're at is perfect. Let's switch sides. Hands on the ground, tuck your back foot under, lift the hips out of the pose.
Let's step back, straighten that right leg for just a half a second. Now, left comes forward. Remember to use your proper amount of support and settle in. Once you feel like you're steady in the pose, no struggle in the knee or hip, let's come into the pose a little deeper. Folding forward, you can fold the forearms, rest your head down.
It's so important to build this strength that we can rely on. We're in our deeper poses and challenging our body. Mobility comes from strength. Okay, let's press out. Just a brief cat and cow.
Exhale, spine comes up. Release that deep pose, pigeon pose. Inhale, spine down. Two more, up and down. Exhale, spine up.
Inhale, spine down. Let's find a comfortable position on the back with knees bent. Feet about the width of your mat. Let's do a few easy windshield wipers, dropping the knees to the right and left. Take your time, both knees right, both knees left, just like a windshield wiper.
Check to make sure your low back is feeling nice and released. No tension there if you need to spend a little extra time in windshield wipers or any other counter posing that your body's calling for. Please do take the time to do that. We'll pause with the windshield wipers and head into shavasana by extending one leg at a time. Keep a little bit of tension in that leg as you rest the other leg down.
We'll hold a little tension there. Adjust the arms and the shoulder blades. Shoulder blades just a little closer to the spine and down away from the head and neck. And then slowly take the energy out of the legs. Let them roll away from one another.
Relax the shoulders, the hands, the wrists. As we're relaxing into shavasana, what we're looking for is the pose to be so quietening for the mind that stillness becomes more and more obvious. Today was nice, strong, challenging routine. If you need more time in shavasana, please stay. If you're ready to come out with me, we'll bend one knee at a time.
Turn softly to your right side and rest your head on your hands. And then using your hands, press yourself up to sitting. Take a comfortable, relaxed seated posture. Challenging series today. Did great and love to have you here with us again.
If you have any comments, if you want to talk about the routines that we've been doing, I would love to hear from you. We'll chat. Have a phenomenal day. Great work. See you next time.
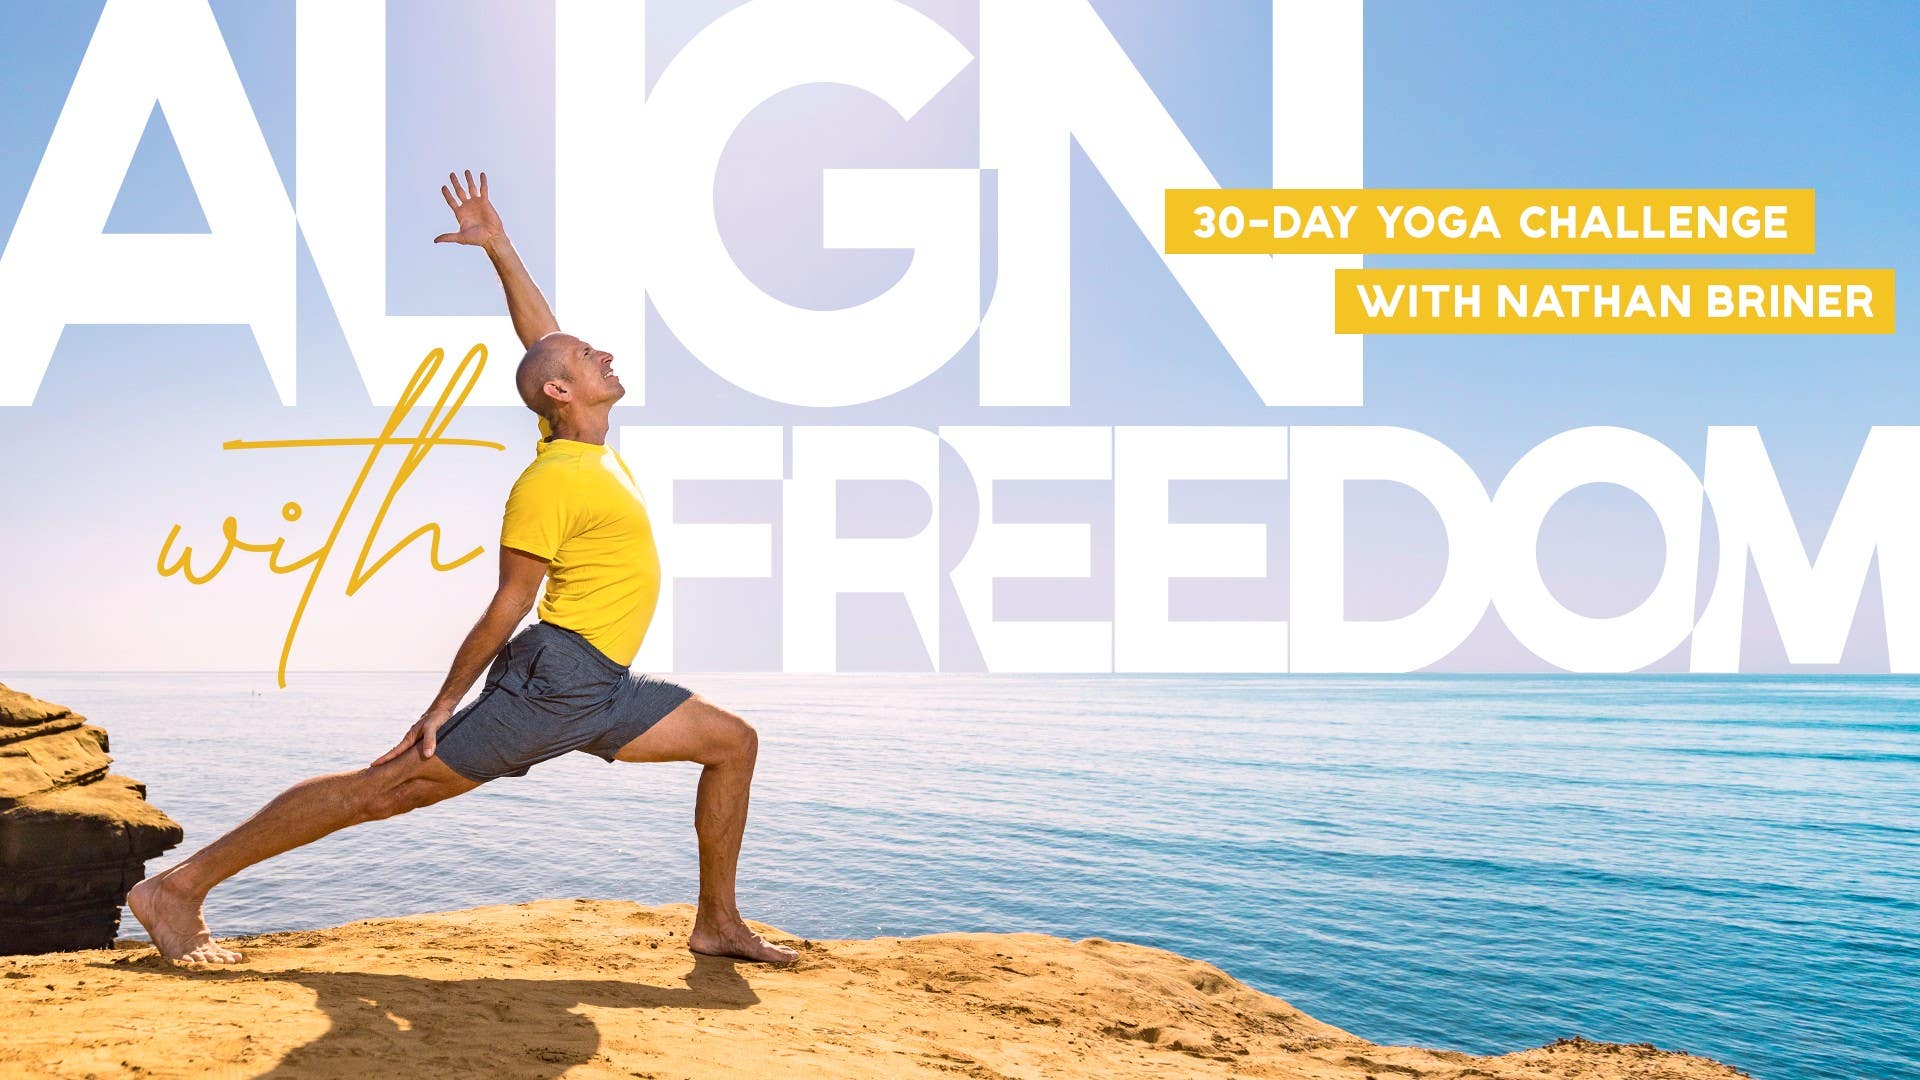
Align with Freedom: 30-Day Yoga Challenge

Mention
 |
Nathan Briner (Teacher) |
 |
Jocelyn M |
 |
Shawn |
 |
Sandra Židan |
 |
Ivalo |
 |
Kerry N-W |
 |
Lindsey W |
 |
FanRodgers |
|
|
Meg P |
|
|
Brenda S |
|
|
Daniel C |
|
|
Jacinthe L |
|
|
Anita B |
|
|
Lili C |
|
|
Patty P |
|
|
Caroline |
 |
Craig Killeen |
 |
Christine D |
 |
Marco |
|
|
Lisa D |
 |
Elizabeth M |
 |
Kira Sloane |
|
|
Hildy K |
|
|
Paula L |
|
|
Rain T |
 |
Christel B |
|
|
Tracy S |
 |
Megan M |
 |
Kelly B |
|
|
Carolyn M |
 |
Ashley |
|
|
Patricia P |
 |
Kate M |
 |
|
 |
Joan J |
 |
Jenny S |
Comments


You need to be a subscriber to post a comment.
Please Log In or Create an Account to start your free trial.
