Description
About This Video
Transcript
Read Full Transcript
Welcome back to day 22 of our 30-day challenge. We've got quite a practice for you today. We are going to be moving towards Hanumanasana, also known as the yogi splits. I just want to make sure you have two blocks and a blanket with you today so we can have all the support where we need it. We're going to start out in cross legs and just take a moment to center. If you like to take your hands across the knees, tall spine, close your eyes. Take a moment to check in. Scan the body. How's your mind? Notice your breathing. And we do all these things to help build that muscle of awareness.
And then eyes open. We'll start off the day with a cross legs forward fold. Leave the buttock bones heavy. Reach the arms forward. Take a few breaths here and we'll ease into this. This. Allowing the lumbar to be long. And we worked a little on lateral extension or opening the body sideways, not just lengthways.
So can you relax the muscles away from the spine a little? And coming back up, we'll do a quick change to the other side. Forward again. Sit bones heavy. Space across the head and neck.
And then coming up, we're going to do a version of a modified pigeon here starting by bringing the right leg tucked back. The left leg is still in your cross legs pose. Reaching the body down the line of the left leg. So we're starting to open up the hips for our hanumanasana yogi splits. And then coming up, we'll change the pose the other side. Right shin in front, left leg tucked back. We're turning over the right side knee. Lengthen down. You may notice perhaps just a little stiffness from our last practice. And we'll help to smooth that out as we move deeper into our poses.
And coming back up, then two feet on the ground wider than hip width, hands behind you on the floor. Drop both knees to the left side and then both knees to the right side. Back and forth a few times. This mobilizes the hips and mobilizes the spine. Let's do one more each side. And then a little challenge for you. Come to center. No hands. Let's try it. Now we've got to use a little bit more core strength to get from side to side. We'll do one more each. And last one. Cat and cow. Hands and knees, please. Let's mobilize the spine. Exhale, spine comes up. Inhale, spine goes down. Just do a few here. Helping to get that spine nice and ready for the deeper poses today. And one more. Inhaling down. Exhaling, spine goes up. Let's take a dog pose. Lift the knees. Pressing the hips up and back. Let's do a little pedaling. Right leg, left leg. Back and forth. And if you can focus in on your hips, as you bend those knees, the bent knee helps to open and deepen that hip flexion. The straight leg really helps to open the back of the hip joint. And then two feet down and we'll hold there that downward dog. Nice long spine. And then feet together. We'll take the right leg up. Big breath in. Exhale, shoulders come forward. Bring that right knee all the way to your nose.
Strong abdominal connection. Inhale, reach back. Exhale, bring it in. One more. Inhale, reach back and up high. Exhale, bring it in. And we'll put that right foot right on between the hands. Lower your left knee down to the floor. Bring the hands up onto that right knee and we'll drop in for a deeper kneeling lunge. This pose mimics a little of what we'll be doing in Hanumanasana. Allowing the body to sink a little bit deeper, opening up the front of the left hip, learning to fold into the right leg. From here, we'll be sitting back into a hamstring stretch. Right toes come off the floor, folding over the right leg. Coming back into the deep lunge forward, left hand on the floor, reaching back for the left foot. Quadricep stretch. Allow the hips to come forward toward that right knee. Turn the chest open toward the right side. Work to bring that left foot closer and closer to your left hip in the quadricep stretch. We're going to need that flexibility for our deeper poses. And then pressing back, coming up off the back knee, we'll now straighten the front leg into a version of Parsvottanasana. Here, if you need some blocks to help support you, you might bring them into play. We'll raise the left heel and this allows us to more deeply fold onto the right leg. Right thigh firm. Release the trunk down over the right leg. And then our next pose is a version of Half Moon. We'll bend the right knee, bring the hands forward a little and bring the left leg up into the body and off the floor. Here, we capture the right foot and sweep the knee back. Straightening the standing leg, turn the hips open into this version of Half Moon, known as Chipasana. Turn the chest open more and more. Draw that foot back to your hip. Left foot to the hip. And then easy release. Bring everything down. Let's take Downward Facing Dog. Feeling right side, feeling left side. What's different about the two? What do you notice? And then feet together. And we'll be going for our second side. That means left leg up.
Raise that right heel. Big breath in. Exhale. Knee to nose. Shoulders forward. Inhale. Reach up and back. Exhale. Inhale. Reach up and back for our last one. Get that space. And now shoulders forward. Abdominal curl. Knee to nose. And then unfurling the left leg in between the hands. And if you ever need to use your hands to help hop that leg forward, that's perfectly fine. Lower your right leg down. Bring the hands up onto your left knee. And we'll drop a little forward. This feeling here, again, with the left leg forward, right leg back, this is going to really mimic Hanumanasana a little later. And we'll be going for our next one later. I just want to take a moment to really feel what we're doing. And hands to the floor. We'll sit back. Left toes come up.
I'm just going to adjust my foot a little. Folding forward. And then easing out of the pose. We're coming forward into our kneeling lunge again. Right hand on the floor. Turn the chest. And we're going for the quadricep grab. So I'm holding onto the right leg. Turn the chest open to the sky. Take some time here. Feel into your right thigh. Could you allow that quadricep muscle to soften a bit more? Perhaps you can draw your right foot a little closer towards your right hip. Smooth breaths helps you ease into the pose a little bit more. And then release the foot. Toes to the floor. We'll come into a full lunge.
And we're pressing back into Parsvottanasana, straightening the left leg. Here again, if you need blocks to help support you in your pose, please do take those. We'll lift the right knee, right foot way up from the floor. Right heel high as you allow the trunk down. Releasing those back muscles, folding into the left hip. Keep an eye on the shoulders and neck. And stretching the right heel down for just a moment.
And we'll come back into our full lunge. And if you like to take a block, if you felt like the right side was a little tight or unstable, using a block here could really help in Chipasana. We'll step the back leg a little forward. Left hand a bit further in front. Bring the right foot completely off the floor now and tuck the knee into the chest. Grab your foot with a right hand. Sweep the right knee back and turning the hips open to the right side. Chipasana. So I'm taking my time really rolling open the hips. I'm drawing that right leg back behind me, right knee behind me, and elongating that knee away from my head.
And then an easy release. Coming back down to the floor, let's take a plank pose. Top of a pushup. Take a big breath in. Exhale, Chaturanga Dandasana. Upward facing dog and downward facing dog. Let's take a few breaths here. Elongate the spine and then allow your knees to come down to the ground. Please grab a block. We're going into bridge pose with the support of the block to aim a little bit deeper towards Hanumanasana. Once again, we're going to take the block at its highest setting, like we did in our last session, and bring the block underneath the hips. You'll adjust it to your needed height for this, but the higher the better. Starting there, tuck the shoulders under to support the chest and let's just settle into the bridge pose. We'll move more deeply in just a moment. Press the feet into the floor a little, not much, so you feel connected to your muscle system in the legs. Shoulder bones lightly pressing into the floor to help open up the chest and support the light back bend of bridge pose. Bring the feet a little bit more narrow than hip width. We'll start by drawing the right knee sharply into the chest. We're looking here for a nice deep fold of the right hip and just holding there while you push the left foot into the ground, so oppositional movement of the hips here that's going to mimic Hanumanasana, the yogi splits. Active press of the left foot into the floor. Active draw the right knee into the chest while keeping that back bend shape of the bridge. Then press that right foot straight to the air and depending on your hip mobility you may end with a slightly bent leg or you might possibly get all the way out to straight. This is a very strong challenge to the front right hip muscles to keep that leg moving toward the chest. Left foot still pressing down, left knee in line with the hip joint straight down in line and then bend the right leg, place it back down. We'll pause in the middle. Press the right foot down, bring the left knee into the chest, sharp bend to the left hip joint. Just holding there, getting used to that muscular energy in the left hip joint. And now pressing the ball of the left foot straight up into the air.
And the stopping point is where if you were to go further your body would perhaps flatten out of the bridge. That is your stopping point. If you can go all the way straight and maintain the lift of the bridge, you're good. Otherwise a little bend in the knee is perfect. Actively drawing that left leg towards my chest. And then release the leg. We'll pause and bridge two feet on the ground. And then lift the hips, take the block away, rest your back on the ground for just a minute. We'll turn to the side, come up for dog pose and we'll be moving into pigeon.
We'll stretch back just to get a little easy length in the lumbar, low back, then feet together, right, left leg up, left leg up. And as you exhale, bring that leg forward and open into pigeon. Slowly allow the right leg to reach back and come into your depth of the pose. This is a great opportunity if you need a little support underneath your left hip. If you find there's any tension in your knee at all, you likely need support underneath the left hip. Could be a block, could be a folded blanket. You decide what's best for you. And we're going to stay in the back bending version of pigeon pose. We're going to be moving into a catch of the right foot to further our opening of the right hip and quad. So you might need a strap to help with this. Now we'll lift up slightly, even if you're on a support, lift up slightly, tuck the right toes under. You might lift up just a little bit more. Left hand in front of you for support, lean forward and bring the right leg up. Now it might be that this is where you stay or you could capture a strap and hold, or we'll grab the foot and then settle back into the pose. And I'm catching the foot from the inside of the leg toward the outside. And I try to draw that foot closer and closer to me.
You'll notice my hips are not on the floor. Could be the same for you as well. And that's perfectly fine over time. We'll try to settle in a little further and then soft, soft, soft, careful release of the foot. Hands, tuck the back foot under, lift your hips, take your time with this and let's just pause in a figure four or box pose. All four limbs on the ground, a little sway back and forth and dog pose. Squeeze the thighs, help take the tension out of the knees from the pigeon pose. And then second side, we'll bring the feet in narrow, raise the right leg up. We're going to pigeon pose.
Use your support. And settling in nice and easy. Now we'll be catching the back legs. We'll lift up just a little bit, tuck the back toes under, bring that foot up from the floor and capture. Take your time to settle back down toward the floor, tailbone down and drawing that left heel closer to you as you feel ready. And then a soft, soft release of that foot. We'll pause again with all four limbs on the floor taking a few breaths. Let the breath unwind the body, movement up and down or side to side, whatever is intuitive to you.
And take a moment to just have an easy seat on the floor. I'd like you to grab your blanket and two blocks. Now I'm using the blanket because I'm on a hardwood floor here and if I don't use it my foot sticks to the floor. So this is an opportunity for me to use that to slide out safely. The two blocks I use to support my body by the hands. We will start in a kneeling position and the left leg forward toes up. As starting here allow the left knee a little bend and if you remember the lunging poses we did a little earlier, we've set this up in our nervous system to have the best success possible. With the knee bent it allows us to fold very deeply over that front leg. Then we can slowly begin to push that left foot forward and the pigeon pose that we've just done as well as the bridge have allowed us to learn that back bending. So there's two things happening the forward bend of the front leg and the back bend of the second. So I'm going to come out a little and readjust my block so I think I can go a little further. You could do the same and coming in again same side. There is a deep deep back bend in this pose challenging the straightening of your front leg but again everything is up to you how deep you go be smart how you move your body. Greatest action figure you'll ever own is your own body so we have to treat it well. Take a breath in now this we must do safely and with strength use your hands your core and bring that leg back. We'll come off again into the all four limb pose let the body sway open up the spine with any unnecessary tension that may have come in. How did it feel it's an intense pose no this is something we work on for over years you know to open up into and feel comfortable and confident with so it's not all in one day. We can come back to today's challenge over and over again right foot on the blanket or if you're on carpet perhaps you don't need the blanket to slide. We'll allow just a slight bend in that right knee so you can fold the hip well over the right thigh. Right toes up and let's start our journey into hanuman asana sliding out slowly adjusting we still have that deep fold over the right leg and attempting to bring the straightness to the leg while allowing the back bend. And now we let time gravity and our awareness do the work. I can feel my body allowing just a little bit more motion just a little bit if you need to come out before I'm bringing us out then you come out a little earlier and you rest and then let's use the hands big breath in exhale hands push the blocks core helps us lift up we slide back and come out safely hands on the floor and again a little side-to-side motion take your time up and down motion and hunt for any areas that feel like they're harboring any extra tension that doesn't need to be there I want you to use your intuition another wonderful thing we're building through our practices here all right we'll put the blocks away and blank it away for just a moment we'll use that again in shavasana so don't take it too far away let's take a wide leg child's pose sitting bones down toward the heels and drop the elbows more of a restful child's pose come back up and now a together leg child's pose this helps create a little bit more of a lumbar opening with the legs together sitting bones down walk the hands out to about halfway in the pose and a gentle pressure of the hips down to the heels then allowing the head to come down maybe it touches the floor it might not that's fine walk the hands a little off to one side we'll take the hands off to the left first and we're elongating the right side of the trunk pass through center hips stay down on the heels reaching the arms to the right side and coming back to center let's turn on to the back for a happy baby further relaxing the spine draw the knees into the chest now you could either stay here for happy baby or bring the feet up you can capture the outer foot and then drawing the heels down let the buttocks come up off the floor as you do this you'll see that that rounds the lower back take your time take your time if you like to be a little playful with a happy baby you can go a little side to side you'll see i'm tipping one leg at a time in toward my tummy helps to open up the hips a little a little further opening for the lower back and then feet on the ground a little windshield wiper to finish our restoration from hanuman asana and then i think it would be lovely to use a blanket support for the knees so why don't we take just a second to roll up a tube for the knees and this will help really release the low back into the floor all right lie down on your mat blanket for right under the knees and this is a great opportunity to also lengthen the low back a little so we stretch the buttock bones and the buttocks down towards the heels a little a little tuck of the shoulders palms facing up toward the ceiling and before you completely let go of the leg energy first can you let go of the abdominal muscles pelvis low back settling into the floor and then with that calmness allow the legs to relax take the energy out of the hands to the forearms to the shoulders and by that i mean release any muscle effort draw that midline again in your imagination from the head to the tail and from pelvis to belly button relax and widen and then belly button to sternum relax and widen sternum to throat relax and widen and widen right side face left side face relax and widen spread yourself to the sides see if you notice a quietness emerge that contains all of the physical sensations and mind movement as always if you'd like to stay longer in that quietness please do if you're ready to come out rest your hands on your tummy bend your knees one at a time and turn softly over to your right side for a breath or two and then press up to sitting nice and easy use your hands and find the comfortable seated position what did you think of hanuman asana i would love to hear from you even any challenges you may have had drop a comment if you have a minute and we'll talk about it i'm really looking forward to seeing you in our next flexibility sequence have a fantastic day namaste i'll see you soon
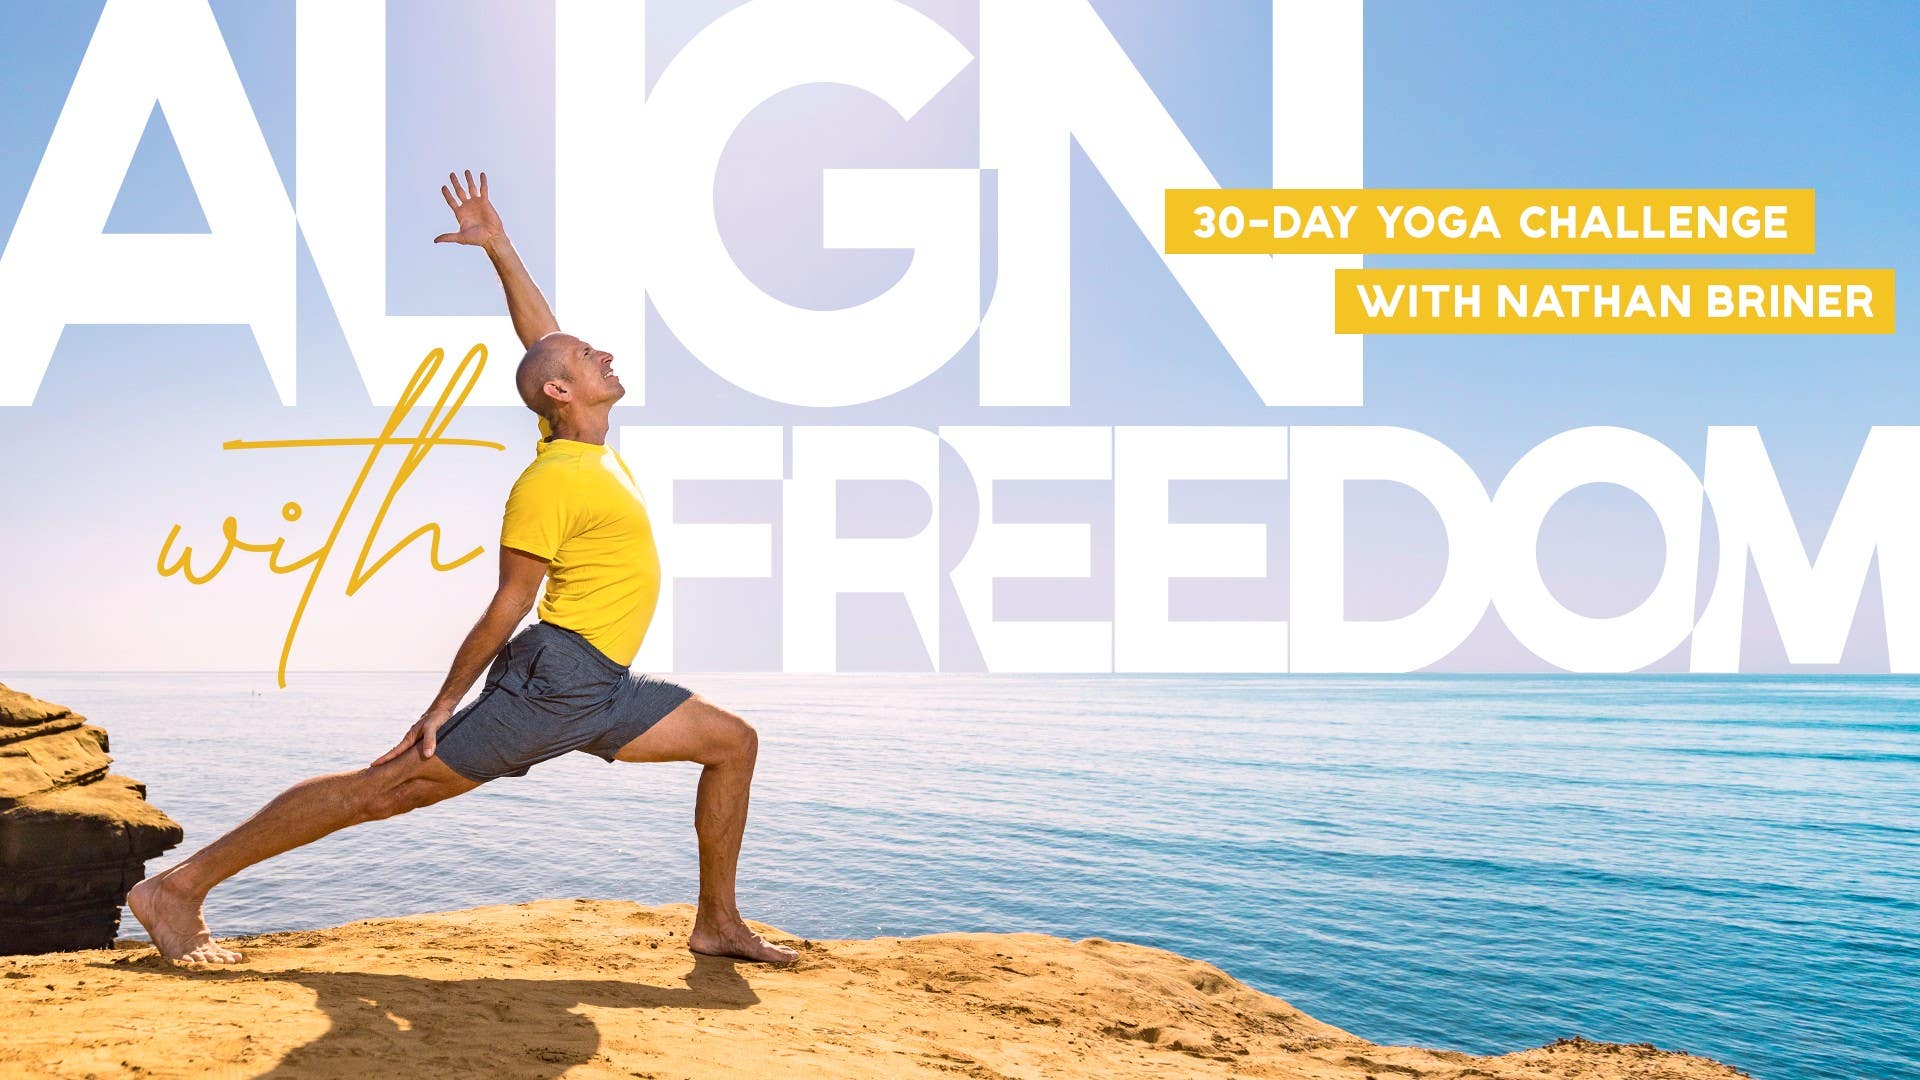
Align with Freedom: 30-Day Yoga Challenge
Mention
 |
Nathan Briner (Teacher) |
 |
Donna B |
|
|
Rosie B |
 |
Sandra Židan |
 |
Ivalo |
 |
Arik O |
 |
Michelle |
|
|
Daniel C |
 |
Eric M |
|
|
Indrani S |
 |
Catherine R |
|
|
Grainne O |
|
|
Christine F |
 |
Luna K |
|
|
GIGI A |
 |
Kate M |
 |
|
 |
Joan J |
Comments


You need to be a subscriber to post a comment.
Please Log In or Create an Account to start your free trial.
