Description
About This Video
Transcript
Read Full Transcript
Welcome to day 24 of our 30-day challenge and our final day in flexibility theme. I'm going to be introducing some back bending here to come out of a little bit of the forward bending and hip bending work that we've been doing. We'll be starting standing today and we'll need a block and blanket for some of the poses a little bit later. Let's start at the head of the mat. Feet together and we'll bring palms together in front of the chest or any other pose that helps you draw your attention inside. Reach down to the legs, make a good solid contact with the floor, lift up through your spine. Let your eyes close for just a minute. Check in. Physical, mental and the breathing. We'll release the hands down to the sides and we'll start with sun salutation A. We'll take the feet a little apart for the first one. Arms up, breathe in. Exhale, soft knees will fold and ragdoll. Let the arms relax to the floor. A few breaths here and then hands to the floor. Step back to a plank. Let's take this first round nice and easy. We'll even bring the knees down to the floor. Exhale, bending the elbows. Keep the elbows close to your sides all the way to the floor. Point the toes. A little lift to the chest and then releasing back down. Toes curl under. Press the hands and knees. Dog pose. Take a few breaths in dog pose. You could pedal the legs if you like to. Opening up a little bit in the hips, knees, ankles. We'll also be working a lot into our ankles and knees in this particular routine. Sort of an oft forgotten area. Of the body as we do these poses. We'll get nice and deep into those areas and then stretching your heels down for our full dog pose and then step forward to the front of the mat. We'll bring the feet again hip width, soft knees, ragdoll. Let the head down and then hands on hips. Inhale, come all the way up. Relax the arms. Let's bring the legs together for the next round. Arms up, breath in. Exhale, we'll fold with straight legs this time. Releasing the head and neck. And if you need to go bent knees again, by all means, you go bent knees. With hands on the floor, bend the knees, step back to a plank. Again, let's take it easy. Lower the knees to the ground, bend the elbows close to the body, all the way to the floor. Point the toes and easy lift to the chest, the baby cobra. And chest back down, curl the toes under dog pose. If you'd like to do a little more pedaling, please do. And raise the heels, look forward, step to the front, feet together. Straight legs, half Uttanasana, half forward fold. Inhale, long spine. Exhale, release the trunk down. Hands on hips. Inhale, come up. We'll do one more sun salutation. Inhale, arms up. Exhale, forward fold. Inhale, look forward. One more time. Exhale. Inhale, looking forward. Exhale, step back to a plank. Let's do a full Chaturanga this time. Strong legs, lifting core. Breath in. Exhale, halfway down. To an up dog this time. And down dog. A couple breaths here at dog pose. Press the palms well, inner edge of the arm lifting. And then looking forward, step to the front. Breath in, half Uttanasana. Exhale, forward fold. Arms out to the sides. Inhale, come all the way up, arms overhead. Exhale, arms to your sides. Let's take a slight turn onto the mat. We'll take feet hip width. We'll start working with the ankles here, building up some of that calf strength that we'll be using later in the routine. Let's just start with arms down for a moment and try a little lifting balance.
And letting back down. We'll get steadier and steadier as we practice. Lifting up and down. It's helpful to find a good gazing point that you can solidify the gaze on and then practicing lifting and lowering. Should we add the arms? Arms up, lift. And down. And again, find your gaze point. Lift. It's amazing how that works. Just solidify your pose. One more time. Lift. And lower. Then feet together. Arms up. Chair pose. Hold there. Take a few breaths. Legs firmly together. And then come out. We'll have the hands alongside for this one as we practice a little heel lift here. Chair pose. Find your gaze point. Lift the heels. Inner ankles work together. Lower the heels. And come out. Let's try that one more time. Into chair pose. Find your gaze point. Raise the heels. Hold there. And come out. Wide legs. Turn the toes out. You know this pose with me. This is goddess pose. And coming down in a nice solid foundation. And we're going to continue to work with those heels. Lift up those heels. Hold your goddess pose. Get a good gaze point to help solidify the pose. And release down. I need a little narrower stance. Let's try without the hand support. Hands out. Heels up. And down. Come up. Eagle pose. Arms. Goddess pose. Legs. Holding here. Heels up. Heels down. Come up. Change the arm interlock. Goddess pose. One more time.
Heels up. Balancing ankle strength. All that leg strength to help us in our later flexibility. And come out. Walk the legs together. Take a moment to refresh mountain pose. And then into wide legs for warrior pose. Left toes in. Right toes out. This is warrior two. Stretch the arms. Bend the right knee. And we carry on with our ankle strength. And lift right foot and hold that depth. Take a few breaths here with me. Release the foot. Relax the arm and leg. Turn to the second side. Right toes in. Left leg out. Stretch your arms. Deep breath in. Exhale. Left knee bends. And lifting the heel. Working the calf. The ankle. Practicing this a few days in a row each week. Helping to build all that supportive strength. And then coming out. Feet together. Relax your arms. Let's take again another refresher in mountain pose. A few breaths here. And we'll head back to the front of the mat. Feet together. Let's flow again. Through a bit of a sun salutation. Arms up. Breath in. Exhale.
Hold. Hands to the floor. Or you might need some blocks for this. Heels up here. Heels down. Step back to a plank. Breath in. Strong legs now. Exhale. Halfway down. Chaturanga. Top dog inhale. Turn the toes over. Down dog exhale. In this dog pose, we'll bring the feet together. Raise both heels up nice and high. Then split the knees to the outside edges of the mat. Come all the way down. Using the strength of the arms, slowly press the hips back toward the heels. What we're doing here is elongating the deep flexors of the foot and deep muscles of the shin. This is awesome stuff if you have plantar fasciitis to get deep into those muscles and tendons through this pose. We'll come back out in a dog pose. Separate the feet a little. Stretching the heels down. You might even notice your dog pose changing, being able to get the heels down more and more as we practice. Feet together. High heels. Split the knees. Aim for the edges of the mat. Then keeping the heels moving toward the rear of the mat, use the hands to press the hips down and the heels further and further back. And come up one more time. Dog pose. Check in with how well your heels reach the floor. And last time. Feet together. Heels up. Split the knees to the floor. On this last one, try to make sure that your heels don't separate as you work for the foot stretch. Back of the shin stretch. If you're a runner, this could be great for you to open up the back of the shins. And then come up into all fours position for just a couple cat and cow to release the legs. We'll press the spine up. Exhale. Inhale. Spine down. Exhale. Press up. Inhale. Spine down. Legs together. Sitting back onto the shins. Here, we're going to work the front of the shin. To do that, I'll reach with the left hand and the left knee. Right hand behind just as a support. Go easy as you lean back a little and lift the knee. If that's not happening for you with your flexibility, just even being here and coming back a little to open the front of the ankle is an option. If you have the ability to lift the knee, let's challenge it a little. Stretching the front of the shin. Release. Second side. Grab the right knee with the right hand. Left hand behind a support.
Little lift of the knee. Release. One more time each. Left hand, left knee. Right hand supports. And right hand. Right knee. Left hand supports. And then release. From here, let's go into a downward facing dog. Curl under the toes. And again, explore what your legs are able to do. Your feet, your ankles in your dog pose. You might notice a lot more freedom than you're typically used to. From here, let's bring the feet a little bit narrower about hip width apart. We'll raise the left leg up. We're aiming to flip the dog. So we'll raise the right heel nice and high. Turn the hips open to the left and bend the left knee. Holding here, getting ready to turn the dog pose all the way over. We've got to pivot a little on that standing right foot. Drop the left foot down. Start to lift those hips. Getting ready for a little deeper back bending. And then bringing the left hand back down again. Turn over the right foot. We're in dog pose again. Feet about hip width. Raise up the right foot. High left heel. Turn the hips open to the right side and bend the right knee. Ready. We have to pivot on the left foot as we reach that right leg down to the floor. Hips up high. Right arm to the sky. Hips, hips, hips. And then bring the right hand down. Flip it back over into a dog pose. Let's hold there, lengthening the spine. Take a few breaths. And then come forward to a plank. We're going to be lowering to the belly. Nice and easy. We're going to take our time. Use a little strength here. Big breath in and exhale. Slow down to the floor. Let's try for a five count. Four, three, two. Soft landing. All right. Point the toes back toward the rear of the mat. And we're going to be starting with a baby cobra. Hands alongside the chest. Roll the elbows near to the body and the shoulders up away from the mat. We'll start by lifting the chest and rolling the sacrum tailbone toward the heel. Sacrum and tailbone is back of the pelvis here. Long lumbar spine. And then release. On this version, we'll bend the knees and bring the big toe mounds together. And again, baby cobra. Lifting up. Knees come up a little. Sacrum and tailbone working toward the heels. And release. On this next one, bhajangasana will have the hands a bit farther forward, about in line with your face. And pressing up to full cobra now. Roll that sacrum and tailbone toward the heels. Holding your pose. Big lift of the lumbar. Come back down. Same action with the bent knees. We'll bend the knees, bring the inner big toes together. And lift. Press the floor. Lifting up. And it's as though we're going to try to touch the balls of the feet to the back of the head. Very strong lift here. And then release down. Allow the legs down. Our next pose, arabhikasana. We've seen a little before, but we'll try to take it a little deeper if possible. Right forearm on the floor. Left leg bent. Before we get any deeper, let's lengthen the front of the left thigh by lifting and elongating the front of the thigh to pin that frontal hip down. Lifting the chest, bring the left hand to the inside of the foot with the fingers pointing outside. Take a couple of times to gently pump that left heel toward the left hip. And if you can pump in such a way that your elbow pops right up toward the sky, we've got an opportunity to take the pose a little deeper. So you could stay here, which is a bit of a quad stretch on, or if you'd like to take it deeper, press down with that heel. Elbow straight up to the ceiling. And we do a little turn twist with the hand. I'm going to roll my fingers toward the toes, fingers pointing toward the left shoulder. Holding here. We try to square the chest, front of that left hip down, and sacrum and tailbone as always moving toward the heels. And then unlock the hand, soft release of your foot. Let the body down for a minute to recover. Let's take a breath or two. And then second side. Left forearm on the floor. Bend the right knee. Take a moment to lift that right thigh and stretch the front of the thigh back. So the front of the right hip is well connected to the floor. Right hand to the inside edge of the foot. And we're drawing that right heel down to the right hip. A few times we're going to gently press or pump. Exploring what you can do here, always listening to your body. It's one of the most important things we're learning to do is to listen. And then holding where you can hold. If your right elbow is pointing well up to the ceiling, we have an opportunity to take it a little deeper. Holding there. Pivot the right hand to be in line with the toes. And we're holding. Work that sacrum and tailbone toward the heels. And release. Let's let the trunk down again for a little rest. If you happen to feel a lot of compression in your lumbar spine, you may be taking your poses too deeply. We shouldn't feel any of that compression in the lower back. So I want you to stay safe and happy. You might need to back off a little bit for a few days practicing with this routine. And we can take it deeper over time. Our next pose is Dhanurasana, which is bow pose. We're going to bend both legs. Let's catch the right leg first, left leg second. Roll the sacrum and tailbone toward the heels, front of the hip bones down. Press the feet straight up away from the floor and hold strongly with the hands. Holding here. Breathing five, four, three, two. Release the legs down. Release the legs. We'll add a little something to this. A little spice to this. Bend the knees.
This time, left hand first, right hand second. Once again, we'll lift the toes straight vertical up off the hips. Sacrum and tailbone rolling towards the knees. On this pose, we're going to roll to the side. So we'll bring the feet close together and go slow. So we go softly onto the side. Turning and looking up and deepening that tailbone into the body. Three, two and one. Now we've got to make it back to the tummy. A little lift to the hips. Release your pose. One more time. Bend the knees. Could you catch both feet at the same time? Let's lift the toes. Inhale. Strong lift to the feet, up away from the floor. Turning to the other side. Nice and slow. Keep the back bend. Deepen the tailbone inside the body. Draw it in. And then coming out nice and easy. A little lift to the feet and release. Let the body down for a rest. From here, let's get the block into play for a minute. Turn over onto your back. We're going to be working into a bridge pose. For this bridge pose, we'll take the block its thinnest way and tallest way underneath the sacrum. Tuck the shoulders under, support open the chest. And now we're combining our knee and ankle work with the back bending work. Let's just hold here and let the body adapt to the pose. We'll start with the right leg by sliding the right foot closer and closer to the right hand to the point where we could catch that ankle. I secure the ankle and draw the foot a little closer and then elongate the right thigh, right knee away from me down toward the floor. This could be called a version of Supta Virasana. A little bit more accessible. Doesn't require so much in the knees or lower back. But great to open up the hips and legs for knee health. Release the right foot. Let's do the left. Slide the left foot back. See if you can capture it at the ankle. You secure the ankle there so you can begin that reaching effect. Reaching the left knee longer away from you and down toward the floor. And then release. Let's do one more. Right foot back. Capture. Reach the knee as before. Keeping the knees narrow.
And if you feel you're ready for just a little bit more, secure the arms on the floor and we can take the left leg up. And then release. Left foot comes back. Capture the ankle. Elongate the knee and thigh. Steady the arms for balance. And lifting the right leg up. And then release. Feet on the ground. Lift the hips. Take the block away. Let the body down to the floor. Let's just do a few easy windshield wipers to start to release the back from the backbends. Legs together. Let's draw one knee toward the chest. Hold with the same side hand. Second leg toward the chest. Now take your time. Gently using just the weight of the arms to draw the knees a little closer in. And then as you feel ready, you can begin to use your abdominal muscles to roll your tail up from the floor. Let's bring nose up to knees with a breath in and exhale. Holding their nose to knees for three. Two. Releasing the back muscles. And one. Release the legs. Release the head. Turn over onto your side. Let's press up to sitting. We'll stretch out the legs. And it'd be nice to bring a blanket underneath for Marichyasana 3. A twist. Extend out the right leg. Left knee bent. We'll take the right hand. Around that left leg. Left arm behind. Let's keep that left leg strong and facing straight up. We'll do a little turn. This particular twist is unique in that it's got a rounded lumbar shape rather than an uplifted lumbar shape. It's more rounded here. It helps to take us out of backbends. And release. Second side. Right leg back. Left thigh pointing straight up. Hook the left elbow around the right knee. And we're turning. And then release. We'll send the legs straight out and a little bit apart for Paschimottanasana. You can reach underneath the hips and pull the skin and muscle back.
And this helps just initiate that forward folding. Come forward with a long spine. And you can reach over the top of the toes. Bend the elbows out to the side. And lengthening the lumbar. And inhale to come up out of your pose. We'll come down off the blanket. Put the blanket off to the side. We'll use that again for our head in just a little bit. But let's get a quick inversion by flipping Paschimottanasana right over. Knees into chest. Use your hands to help. Legs up. Bring the legs up and over. And then settling the mid-back on the floor. Reach for your calves. And we're balanced right on that mid-back. Take a breath in. Exhale. Head up to the legs. Pressing that mid-back into the floor. And then release the head down. And release the legs down. Time for Shavasana. Let's grab that blanket again. We'll place it for behind the head. And remember, we'll just go for the neck and head. Lengthen the lower back by stretching the buttocks down toward the heels. One leg at a time. You elongate out onto the floor. Tuck the shoulders. And let's take a final Shavasana for our flexibility theme. Relax the legs. Relax the arms. Draw that imaginary midline down your middle. And release right side, right side, left side to the left side. Pelvis to belly button. Belly button to sternum. Sternum to throat. Both sides of the face. And rest in that stillness. And rest in that stillness. And rest in that stillness. And rest in that stillness. And rest in that stillness. And rest in that stillness. And rest in that stillness. And rest in that Please stay as long as you like in your Shavasana.
If you are ready to come out and rest your hands on your tummy, one by one, bend the legs and turn to your right side for a breath or two. And then use the hands to press up to sitting. Find a comfortable sitting position. Wow, what a journey so far. Six new sessions in our theme of flexibility and we move from here into clarity and integration. And we'll be taking everything we've learned so far. Our strength, our balance, our power and the flexibility. And start to learn how the yoga poses can go from a physical focus much, much more into an internal focus and how the balance and stability of the pose really creates an expansive awareness within.
And then using that awareness to go beyond the physical and understand ourselves from a mental perspective, an interactive perspective. I'm really excited to share this with you. Can't wait to see you. Have a fantastic day. Namaste.
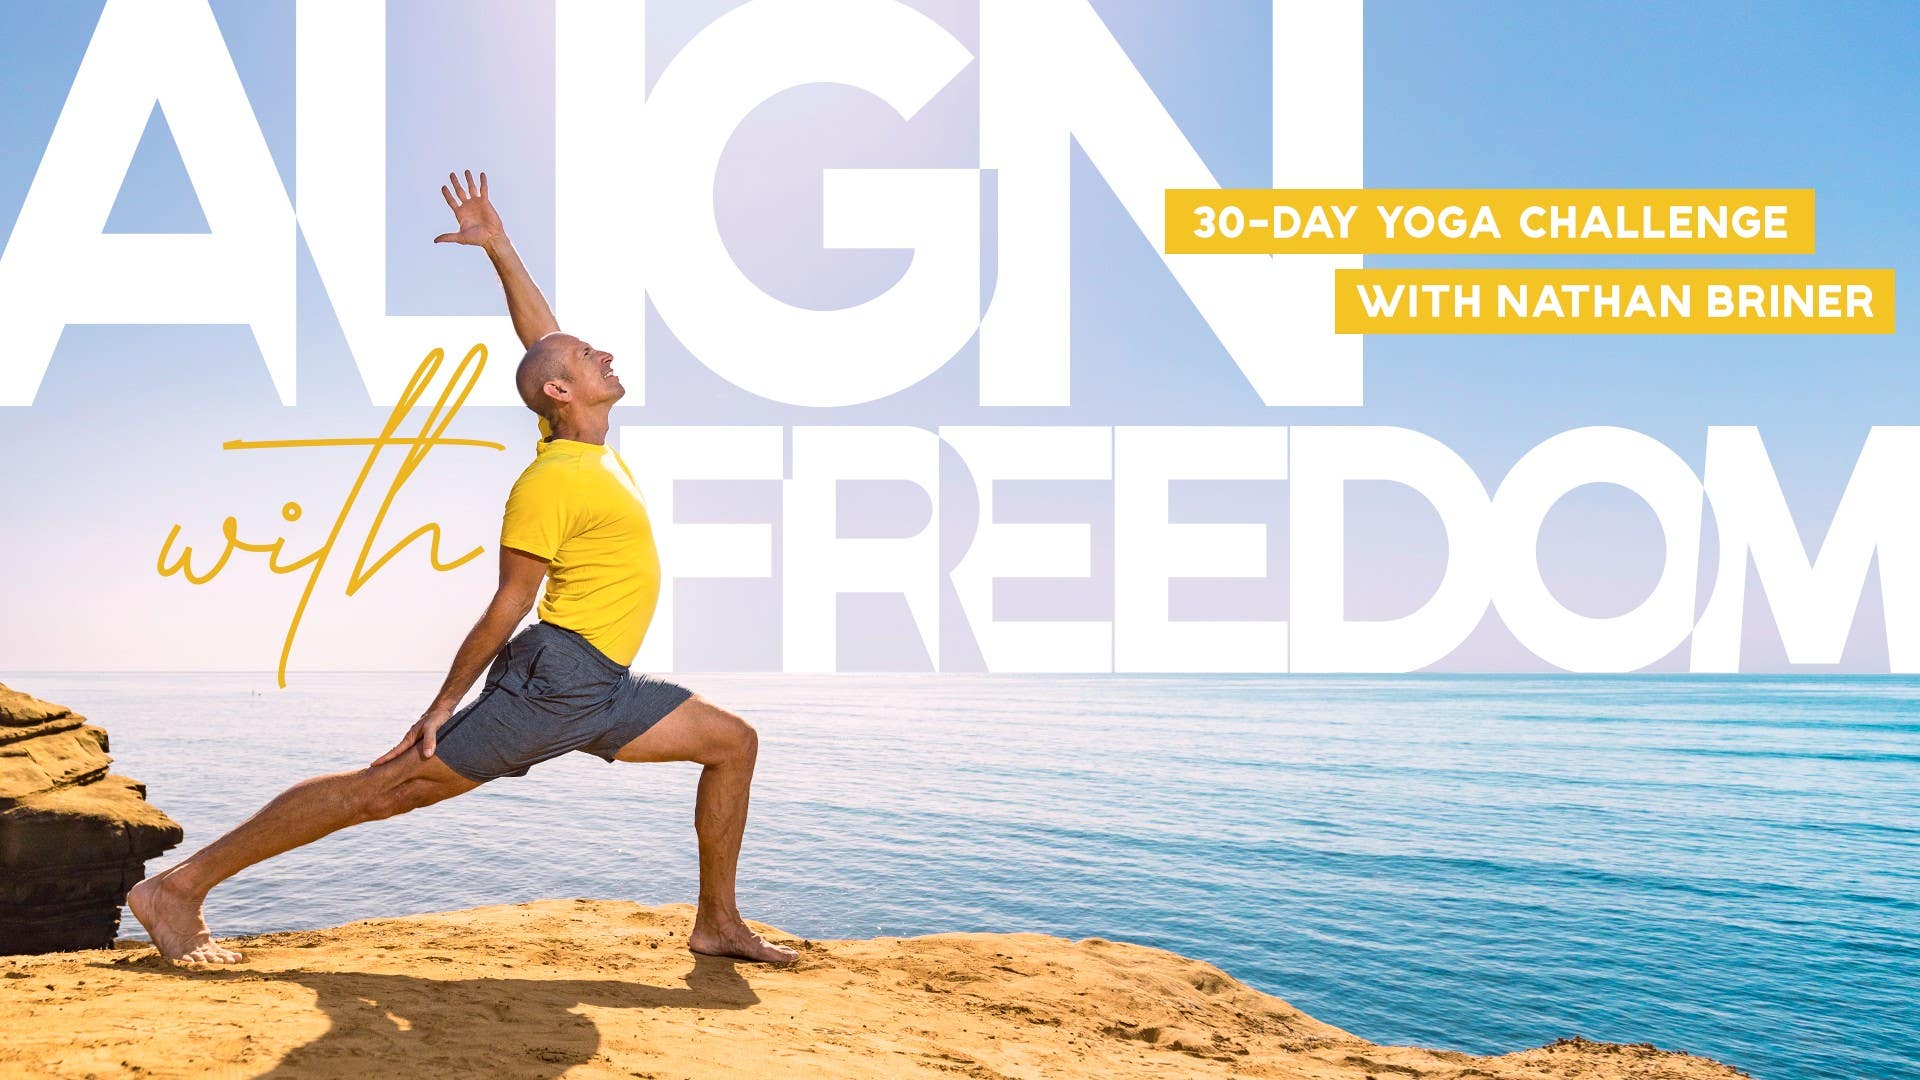
Align with Freedom: 30-Day Yoga Challenge
Comments

You need to be a subscriber to post a comment.
Please Log In or Create an Account to start your free trial.


