Description
About This Video
Transcript
Read Full Transcript
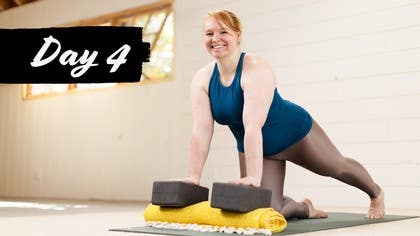
Welcome back to day four, my friends. So for today's class, we'll be building strength in the upper body. We've already found variations for your handstand, we've played on our hands, and we even flowed with familiar poses. So now we're going to slow down a little bit and get into the practice, understanding what's necessary in the shoulder blades and the wrists and having fun along the way. So we're going to start with understanding the actions of the wrists.
We have wrist extension when your fingertips pull back towards your shoulders. This is active, right? So I'm actively pulling my fingertips back towards my shoulder. Now when we're in a handstand, this action is actually rather passive because your hand is down onto the floor. So we can feel that mimic that by taking our left hand in front of our right palm and then drawing the fingertips back.
So this is passive wrist extension. Okay. And then to make it active, I'm going to slowly release my left hand. But as I'm releasing my left hand, I'm going to try not to move my wrist at all. There might be movement, but watch how the muscles of the forearms fire a lot in order to keep that range of motion.
Okay, it's a lot of work. And then we can do the same thing on the other side. Take your left hand out in front of you, pull your fingertips back towards your shoulder, see what your range is. And then from there, we'll come into passive wrist extension, drawing the hand back. Notice what that feels like to whatever degree is available to you.
And now you're slowly going to release your right hand. And as you do that, can you already start to feel without removing the hand, can you already start to feel the muscles of the forearm engaging and firing to be able to maintain this position? And you slowly peel away the fingers. And there's your active wrist extension. Okay, and then release, you can do the same thing going the opposite way.
So that would be wrist flexion. So take your right hand out in front of you, pull your fingertips down towards the floor, you might start to feel the underbelly of your forearm engage. Then you'll take your left hand to the back of your right hand, draw the hand in a little bit more if you have more space or room. So that's your passive, right? Passive meaning that I'm using a different body part in order to help create more mobility or flexibility in that joint.
Now if I want to keep my hand in the same position, I'm going to release those fingertips little by little. And now those muscles of the underbelly of the forearm really have to start to work in order to maintain that position. And then release, okay, and do the other side, take your left hand out in front of you, draw the fingertips down, see what your range of motion is. Okay, and then come into more of a passive range of motion, drawing the fingertips down a little bit more pressing on the back of your hand. And now what does it take in order to keep the wrist in the same exact position, same exact position.
Maybe you feel the muscles engaging all the way up into the shoulder in order to keep your hand in that position. Take another breath there, okay, and then release very good. So that's a little bit of the mobility and hopefully there's some more heat that you've built just with that alone. So take your hands down to the mat. And so I have briefly touched on this about having the hands maybe not necessarily shoulder width apart, right?
For some of us, having the hands a little bit wider might feel more secure and steady for us, right? Maybe the opposite is true, but I often find that having the hands just a little bit wider tends to be a place that feels more natural. So instead of sort of these dogmatic cues of having your shoulders right on top of your wrist, kind of play around, walk your hands a little bit closer to each other, notice what it feels like to bear weight there, and then take the hands maybe half an inch away. Notice what it's like there. And you can start to shift your weight side to side, front to back, go even wider to the outer edges of your mat, shift.
Now there can be a place that's too wide, right? So even here, I don't feel super secure, but I also don't feel not stable, right? I feel okay. But if I were to go beyond my mat, right, I probably wouldn't want to do a handstand here. This doesn't feel steady for me.
Okay. But here does. Here does. Here not so much. Okay, so you have to find that in your body.
And as you find that place, then we can start to move the fingertips. So starting to rotate the arms outward, still in wrist extension, very passive. But if you need, like we were needing the cat before, and the hand comes up, you have a chance to practice active wrist extension, and walk the hands all the way around, and then walk them back forward. Okay, then from here, start to walk the hands in, face the fingertips towards each other, and bend the elbows out to the sides, push down, straighten the arms, notice what that feels like to have the arms completely internally rotated. Then walk them back forward, bend the elbows, take the fingertips out to the sides, bend the elbows.
So you have to remember that when we're bearing weight on our hands, right, they become the stars of the show, the feet are no longer the stars of the show. Okay, okay, so now we're going to create a wobble board. So grab your blanket in your two blocks. And the purpose of your wobble board is to understand the actions of what's happening in your hands, right? So when you are standing, your feet are adapting all the time.
And so it doesn't feel odd or abnormal. So our nervous system doesn't get scared of it. When we flip our body upside down, our nervous system is quite scared. It's not a natural place for us to be. So we have to become accustomed to being upside down.
And our fingertips are helping to adapt, right adapt to all the shifts and movements just like the feet would. So if we understand when our hands are trying to adapt for us, then it might be a little more calming once we go upside down for the nervous system to say, Oh, my hands are just adjusting. They're moving so that I don't fall over, right? They're helping. But sometimes it signals to our brain that it might be unsafe or that something else is happening that we're about to fall rather the fingertips are helping us not to fall.
Okay, so wobble board, grab your blanket, roll it on up. And then place the rolled blanket in front of you. Take your blocks and center your blocks right on top of the blanket and have them about as wide as you need for your your hand placement for tabletop. And now it might not wobble if we put all of our weight onto the block. So shift them back a little bit, and then just see what happens when you start to rock the blocks forward and back.
Can you feel weight come into the fingertips and then weight move into the heels of the hands? All right, if you bring yourself forward a little bit, you can rock a little bit side to side and feel more motion happening from the pinky side of the hand to the thumb side of the hand. And then to make this a little more challenging, tuck your toes under, and then lift the knees away from the floor. And then you start to feel as the blanket moves or as the blocks move, the fingers start to grip. And then we may fall back into the palms of the hands.
And then back into the fingertips, maybe shift yourself forward. Feel how the fingertips grip there. Lift yourself back, the fingertips release, and do that again, shifting forward, and then back. Good. Lower your knees down to the ground.
Reach the right foot back, take your left hand forward, and then lift your right leg away from the floor just a little bit. And notice if there's anything happening with that right hand. When do the fingertips grip? When do you lean back into the rest? And then as you exhale, lower the left hand to the wobble board.
Lower the right knee down. Switch sides, take your left foot back, reach your right arm forward. Adjust first, see what's happening with the left hand. Then from there, lift your left leg away from the floor. Notice if there's more wiggles and wobbles here on the left side, maybe less.
And what your hand does to adapt as your body is trying to maintain balance. And release your right hand down, release the left knee down. Good. From here, you can move your wobble board aside. Hopefully you had some fun with that.
So the next piece to our puzzle of handstand in the upper body is upward rotation of the shoulder blade. So when we bring the arm overhead, your shoulder blade, the bottom tip of your shoulder blade is moving up and out. So see if you can feel that on your body as you lift your right arm up, feeling from behind the bottom tip, the inferior tip of the shoulder blade is moving out to the side and up. And then as the arm comes down, that tip goes down and back in towards the spine. Now this is different from what we practiced in a previous day, which was elevation.
So if you lift your arm up, there's that upward rotation that naturally occurs. And then there's elevation when you're shrugging, you're lifting your shoulder up towards your ear. And so in handstand, you need both. You need the upward rotation to bring the arm overhead to get that reach. And then because of the force of gravity, gravity is going to take the body towards the floor.
So it looks a little odd when you're right side up, but it's going to take the body closer to the floor if my hand is the floor. And so we need to push away. So then there's that idea of elevating. So take the right arm down again, first, upwardly rotate as the arm comes up, connect with that sensation and feeling. And then push, you can have the palm of the hand facing the ceiling, push.
One more time, keeping the elbow straight, lift the arm up, upwardly rotate, then push up and elevate and then lower the right arm down. Let's go over to the left side and connect on that side. So the left bottom tip of the shoulder blade is moving out to the side and up as you lift the arm overhead and then moving back towards the spine and down as you lower the arm. Inferior angle moves out to the side and lifts up and then back down. I like to imagine the very point of a heart and that is the inferior angle of your shoulder blade.
And that point is then moving up and out and down and back in. Now we'll add elevation, swing the arm out and up, press up with the palm, shrug the shoulder and back down and lower down. Sometimes all of those actions sort of combine and meld together. So we're trying to do here is integrate or is actually rather to separate before we integrate. Upward rotation, press up and then lower back down.
Okay, now we'll take that into downward facing dog. So have your hands the distance that you need to feel steady in your upper body. Your shoulder blades are already upward rotating, okay. From here, lift the right arm up and then see if you can reach even further with the shoulder blade and then place the right hand back down, do it on the other side. Lift the left hand up and then reach towards the short edge of your mat.
Lower back down one more time with the right, lift, reach, pull the hips back as you reach forward through the right hand, lower down, shift the weight to the right hand, lift the left hand up, reach and then lower the left hand down. Okay, so you can do that again in downward facing dog or come into plank. So you're reaching back through the heels. Maybe you separate the feet a little bit wider apart. That distance is going to give you a little more stability.
Shift your weight over onto your left hand. Now upward rotation and a little bit of that shrug elevation, reach the right hand forward. We pull the hand back, active wrist extension and then lower the right hand down, shift over onto the right. So upwardly rotate, shrug, reach with the left shoulder, pull the fingertips back, active wrist extension, lower the hand down, switch one more time, shift over to the right, reach and press back down, shift onto the right hand, lift the left hand, press, lower the hand, lower the knees and sit back for a moment. So hopefully it's creating a little bit more this body sensing intelligence to be able to understand what's happening in the wrist, what's happening behind us in the shoulder blade.
How does it move? Why does it move? How is it applicable to your handstand practice? So we're going to come back, grab our blocks, two options here. We'll start with the blocks and then you can do a second round on the blocks or we'll use a chair.
So you'll place your blocks against the wall about hip or a little bit wider than hip distance apart and take the balls of your feet to the center of the blocks. From here, you know, walk your hands back, heading towards, let's say Uttanasana, whatever range that might be for you, and then walk your hands forward. So now as I'm walking my hands forward and reaching through the shoulder blade, try to think that you're walking with your shoulder blades rather than with your hands and your heels may come away from the wall as perfectly fine as you come into your plank, maybe you walk a little bit more forward and then you walk back. Lift the hips up, this idea maybe that the hips are coming on top of your shoulders or in that vicinity and then walking the hands forward, reaching through the shoulder blades as you approach plank, okay? So now if you found that to be really challenging, take a break, do it again.
If you're like, that was okay, I can do more, we're going to grab the chair and see what happens when we add a little more height underneath the hips, underneath the feet. Grab your chair, place your chair against the wall, and as you open it up, if the chair doesn't fit snug against the wall, then you might want to add a blanket behind it and make sure that all four legs of the chair are on the mat so it doesn't slide, okay? From here, you'll take your hands down, place your feet, the balls of your feet right here in the middle of the chair, okay? You walk forward into your plank, pause there, okay? And again, walk your hands back so you're shifting, activist extension, that cat kneading type of action, and have the hips about over your shoulders in that range, and then shifting and walking.
So you might be looking at your hands, you're looking at the floor, but can you walk from your shoulder blades? Does that feel different in your body? The next time you walk out, you'll pause there. Lower one knee to the floor, lower the other knee to the floor, and then come back to sit. So it's a lot of upper body mobility, but also paired with strength and a lot more endurance, right?
So the more we can walk back and forth, the more endurance that we're building, okay? So now we're going to turn to face the chair and come into a lat stretch. So you'll take your left hand right in front of the chair leg, your right hand will reach towards that left further corner away from the chair, you'll hold on to it, and then reach your hips back. You can press your arm down onto the chair. If you're not feeling a lot of sensation there, you can bring your hand up to this outer part of the chair and lean back.
Pull your right hip away from your right shoulder, and then see if you can get a little more of that overhead reach of the shoulder blade, so that inferior angle of the shoulder blade is moving up and out to the side. Okay, and then we'll come over to the other side. So your right hand comes down, reach across to the right corner of the chair. See what's happening there. And then maybe taking the hands a little higher up, and then you pull your actively reaching your left hip away from your left shoulder.
Is there any more room for the left bottom tip of the shoulder blade? So move out to the side. Moving into the space between the shoulder and the hip. Good. Then from there, you're going to reach the hand back down.
So now we're going to come into what I call a handstand sandwich. So your body is sandwiched between the chair and the wall. Those are your zones. You don't necessarily have to touch the wall. It's just to know that there's something there so that if your hips do go over, that's going to hold you and support you.
The thing to be mindful too of is that there's a chair here, so you do need to be mindful that there are props on both sides of you. So swing the chair around so that the chair seat is facing the wall. Same deal, make sure that the chair is completely open and the chair legs are on your mat. So you might have to see the distance between the chair and the wall. It might have to go a little bit further, a little bit closer.
Please make those adjustments for yourself. If you're like, this isn't working, this feels odd, this feels off, come down, readjust, and then come back into it. So the balls of your feet will come into the middle of the chair, just like you did when we were doing those plank and downward facing dog walks. Your hands will be about six inches or so away from the wall, and that's just to give your head some space. There's really no elegant way to approach this pose, so you do your best to place your feet onto the chair.
Hands come down, ball of the foot to the chair, other ball of the foot to the chair. And then you can come up, maybe walk a little bit closer to the edge of the chair. And this way, if kicking up to Hansen is quite difficult, then there's really no need to kick up, right? You can lift one leg up, put that leg down, other leg up, leg comes down, okay? When you're ready to come down, you might walk forward, but sidestep, move the feet out to the sides, and then you can sit down with your head down until you're ready to come up.
You're going to do this one more time. I'm going to adjust my chair just as I've advised, and I'm going to bring my chair just a little bit closer, okay? So again, hands come down, make your way on. You could even kneel onto the chair, okay? And then from there, bring the balls of the feet up, walk forward, come up, right?
If you lean forward, right, there might be something there, like a wall, okay? And then that other foot comes up, all right? So now this is the tricky part, right? Because there is a chair there, so you do have to spot where you're coming down, or your feet have to go wider, think of a straddle, okay? Sit on the wall, lean on the wall, bring one foot down, and then your other foot can come down to the side, side, and there you are.
So this is one that you want to take your time with. You don't have to rush it, you don't have to be in a place, but it's a nice way to feel support, get some hang time upside down, and know that your feet are supported, you don't need a kick anywhere, you're in the inversion, you're in the handstand, like you're in it, okay? And then there are ways to play with them. So from here, open up your feet pretty wide, take your hands to the wall, and then move your hips back towards the back of the seat. You can walk your hands up or down, almost like downward facing dog.
So this is a down dog supported by the wall and the chair, push back, and if you want to bring the hands down to the floor, even holding on to the chair legs, like a wide-legged forward bend, press sorry to pout to not stand in your chair. Then walk your hands up, come on up to sit. Bring your feet closer together and slide towards the front of the chair. Take your hands back to hold on to the chair, the side of the chair, maybe even go to the back of the chair, and then externally rotate, so you're taking your inner shoulder, rotating it out or towards your outer shoulder. Shoulder blades come closer together.
Lift the chest up, lift your chin slightly up. You can shift a little bit side to side. See what that feels like in the upper body doing the complete opposite of what we've been doing this entire practice, so that might feel good. And then from there, release your hands to your thighs, close your eyes for a moment and feel the reflection of this handstand practice. What has it felt like to be upside down?
What has it felt like to be on your hands? What has it felt like to move from behind your body, from the shoulder blades? Does that have a reaction lower down in the spine, in the hips, in the way that you approach inverting? When you're ready, place one hand on your heart, the other hand over it. Take a few moments here to be with yourself and with your practice.
You're already halfway through this handstand challenge. Thank you so much for joining me, and I'll see you tomorrow for Day 5.
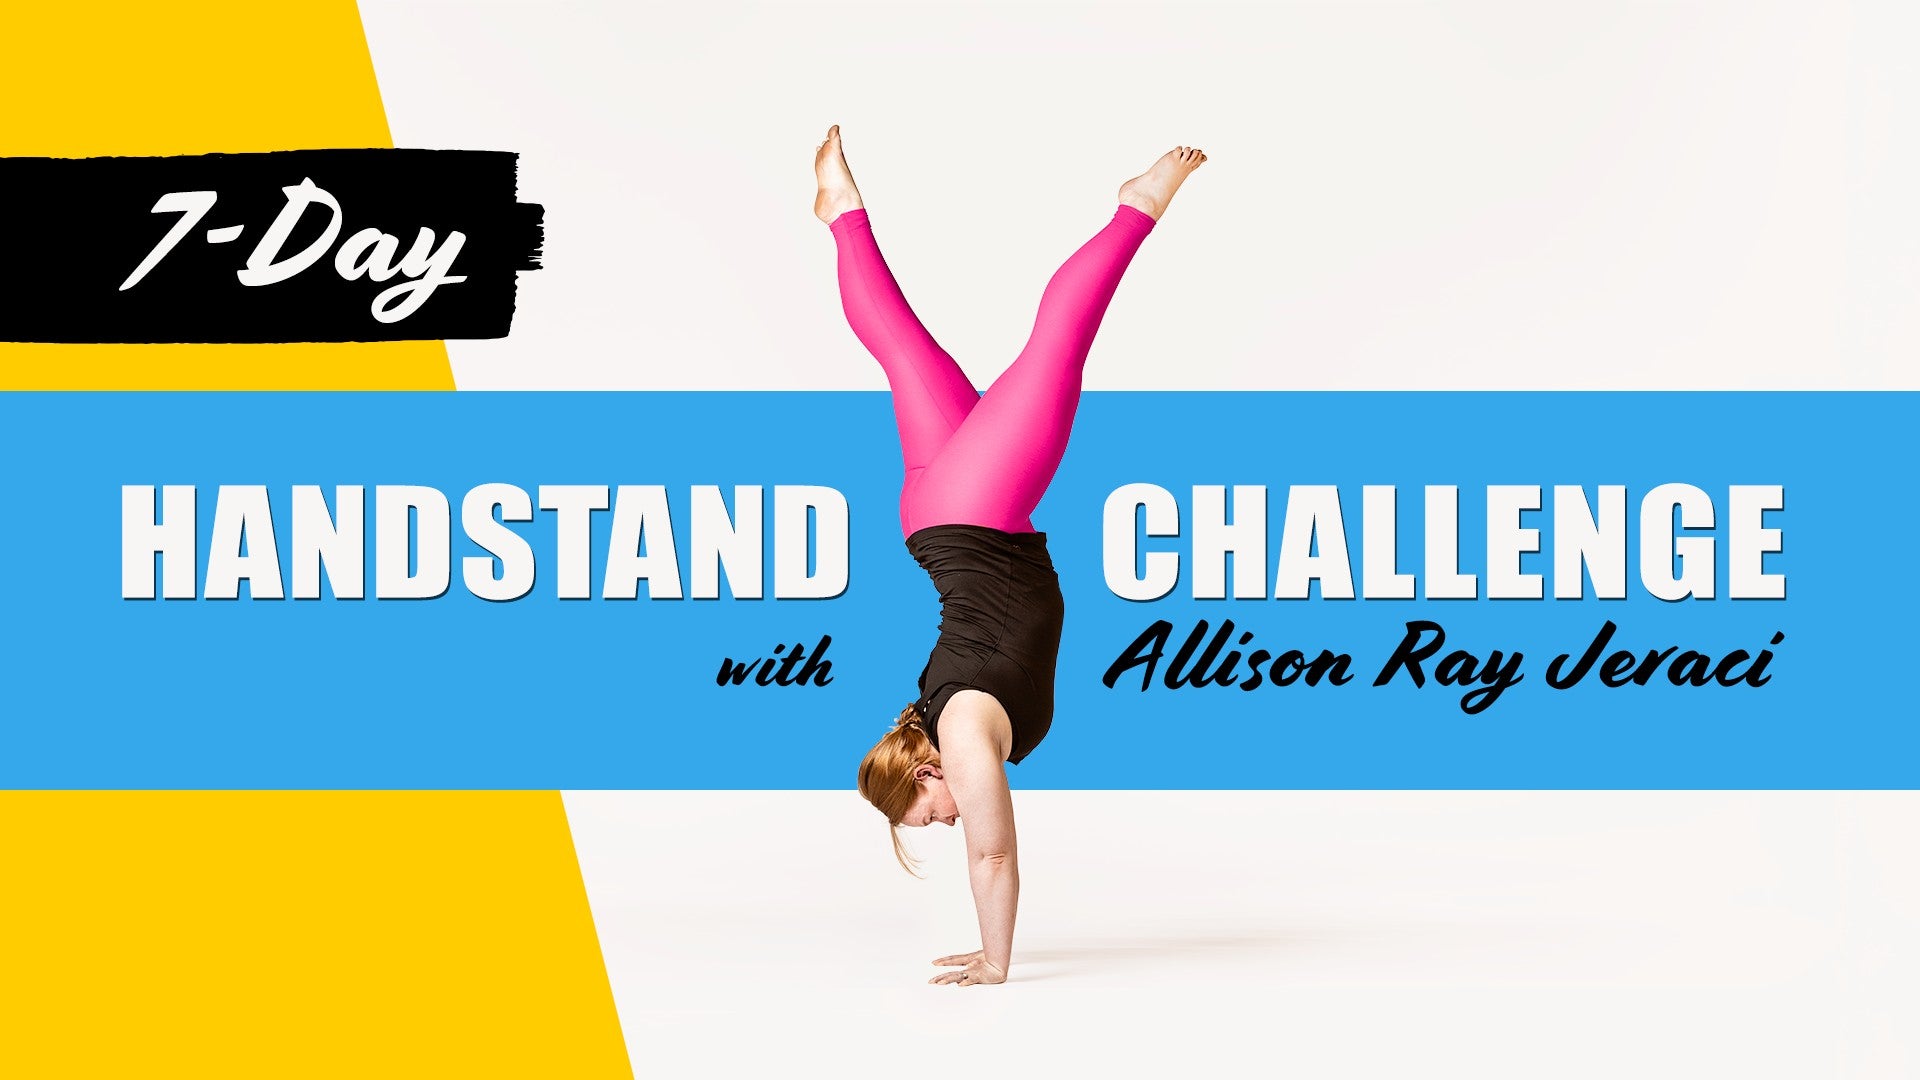
The 7-Day Handstand Challenge
Mention
 |
Allison (Teacher) |
 |
Eva W |
 |
Catherine A |
 |
Kate M |
|
|
M Angela C |
Comments


You need to be a subscriber to post a comment.
Please Log In or Create an Account to start your free trial.
