Description
About This Video
Transcript
Read Full Transcript
Hi, welcome to day five of your handstand challenge. So today we're going to be looking at endurance for the lower body. A lot of times in handstands, we think it's all about the upper body, but we're kicking up into handstand, we're jumping up into handstand. So it really requires a lot of strength and mobility to get ourselves inverted. So we're going to start with our block, grab a block, bring it to your mat, and you will stand on top of the block. So I'm going to stand my left foot on the block, get a sense of where your foot is in space, and see if you can balance there. And if you're having difficulty balancing there, that's okay, grab a wall or a chair and hold on to it because this is really about the movement at your hip. So you're going to take your legs slightly out in front of you, and then take the right thigh back. Now we talked about this before, right, with the shoulder, when you lift the arm overhead, sometimes the ribs pop forward. Same thing can happen here with the leg, as my leg goes back in space, I might pull my ribs forward. So this action might feel a lot smaller than you're used to, but it's going to hone in on hip extension, which is what we want when we're kicking up into handstand. So draw the front ribs down, bring the right leg back, it's okay if the leg turns out, let that happen, and then bring the leg forward. Come back and forward. If that's feeling steady, bring your arms out in front of you and press your palms together. And do another two here, feeling that end range as the leg goes up and back behind you. Pause, then see if you do just a little pulses reaching back through your toes, because your toes are going to be sort of these arrows when you're kicking up into handstand. Good. And then release the leg, release the arms, and we'll do the other side. So stand on the block with your right foot, steady yourself, lift the left foot, take the left leg slightly out in front of you, kick the leg back, notice kind of what naturally happens in your body, because that's naturally what's going to happen when you start to invert. Okay, so if we can practice a little bit more here, we start to create this new pattern for ourselves when we move. Okay, that's going well, take the hands out in front of you, press the palms together.
And then the next time your leg swings back, pause there, draw the front ribs down and little pulses, reach with your toes. And then release the left foot down, release your arms, you can move your block aside. Okay. So we've done a couple of actions like this already. So we're going to jump like real jumping. Okay, so have your feet a comfortable distance apart, bend your knees, okay, and then lift your arms and lift up onto the balls of the feet, right? We've been doing this this whole time. But now we're gonna add a little spring. Okay, so hands come down like Utkatasana, try not to think about it too much. Hop up and back down, hop and down, hop and down, hop and down. Okay, so the more we get used to springing, the more easier it'll be to translate when you're coming into handstand will be used to jumping will be used to kicking. Okay, let's do a couple of more. Swing the arms back, and up, back, and up, back, and up. Okay, so now we're going to wind it down a little bit, come on down to the floor into your tabletop position. Okay, have your hands where you need to have them, reach your right leg back, press into the ball of the foot. Now think about your left shin pushing down into the floor as much as possible. And as you have that downward press of the left shin, lift your right leg up. Okay, reach back through the toes. And this is this action of kicking up your foot that remains on the floor pushes down while the aerial leg kicks up. So your shin is driving down as you lift the right leg up. Take another breath here, push into your hands, grip your fingertips, and then lower the right leg down, switch sides, take the left leg back. Now push into the right shin, as you push into the right shin, lift the left leg up, press and lift. Then lower the left leg down, step your right foot forward and come into a lunge. So your knee doesn't have to be too far behind your hip. You can even walk your front foot back a little bit so that your left hip is right on top of your left knee. Take your arms overhead, give yourself a little side bend on an inhalation, come back up, and then do those same split actions push down through your right foot. And then think about driving your left shin behind you so you're splitting the legs apart. Take the backs of the hands together, bend your elbows, fingertips down towards the floor, towards your heart. Bring the fingertips forward, mayurasana hands, and then reverse it. Maybe a little bit of a cat back, press into your right foot, press back through your left shin. Bend the elbows, fingertips down, mayurasana hands, and then come back into that cat back. And then from there, we'll switch sides, take your right foot back, left leg forward. Okay, so your right hip doesn't have to be behind, or your right knee doesn't have to be behind, can make it a little bit of a closer lunge. Push the left heel down, right shin down and back. Lift the arms up, side bend to the left.
Come back up. Okay, from there backs of the hands together, bend the elbows, come back into your mayurasana hands, press the left foot down, pull back with the right shin. Little cat back. Now one more time. Good. From here, place your hands back down onto the mat, come into downward facing dog. So for this down dog, go a bit wider, and a little bit shorter with the hands. Bend your knees, press the knees out to the sides like you're coming into a squat, and then straighten the legs. So you're gonna bend and straighten the legs, push the hands forward as you grip into the finger pads. So it's kind of like this cross between a frog and a dog, frog dog. Okay, so as you're doing this, notice that your elbows aren't bending, right? They're your pillars of support. While your legs are bending and straightening. And that might seem obvious right now. But when you add that element of inversion, things start happening, right? Joints start moving and bending that don't need to. Good, then walk your hands back towards your feet. And you can walk your feet up towards your hands, if you need a little more space, then turn the feet out a little bit squat down, we're going to come back into those bear hops, right? Hands, feet, hands, feet, hands, feet, okay, hands come down, feet pop forward, hands come down, feet pop forward, walk yourself back. Okay, walk back with your hands. Squat down. If you want, right, maybe your hips go up a little bit higher. Now, think back to when we had our hands on the floor and our feet on the chair, and we were getting our hips over our shoulders, we can kind of start to approach what that might feel like here. So hands come down, and hips go up, and come back down and hips go up higher. And they come back down, okay, and you're gonna walk yourself back one more time. So every time you practice, and this practice doesn't need to be done today, right, you can practice this over time. Every day, every practice, get a little bit higher, a little more confidence, and bearing your weight in your hands, and feeling the height of your hips, okay, it's scary, it feels scary, and it's okay, like that's natural. We're just trying to get accustomed to being upside down in this way. Hands, hips, hands, hips, and come back down. Alright, so come on up to your feet, make your way over to the wall. And we're gonna do a warrior three, but thinking like we're kicking up, right? It's all the actions of kicking up. So we're gonna bring the surface of the floor higher to become the wall. Okay, so bring your hands about in line with your hips, place the hands on the wall as you walk back, push your hands into the wall, and then scoot your left foot in towards the center as you take your right leg back, right? So it looks very much like warrior three. From here, your standing leg, which is your left leg, is going to bend, your right leg is like your spinal balance. So shoot those toes back, and then straighten the left leg as you give a little bit of that hip extension that we worked on while standing on the block. So you bend, lift, bend, lift, and lift. Now think about the hands. So as you bend and lift, you're going to push, bend, lift and push, bend, lift and push, bend, lift and push. Okay, and then step that right foot down, can walk up to the wall, give yourself a breath or two. Okay, so just getting into this rhythm of what it's like to kick up. Okay. And then we'll see that when we're kicking up, that it's very one, two, three, it's pretty fluid in the way that we move. So we're really breaking it down only to be put back together. Okay, so hands come back to the wall, walk yourself back, scoot your right foot into the center of the mat, lift your left leg up. So you're going to bend the right knee, lift with the left thigh, bend the right knee, left leg kicks up, bend, kick up, bend, kick up. Now think about hands, bend, kick up, bend, kick up, push, bend, kick up, push. And one more. Good. And then lower that left foot down and walk back up. So right, we've done kicking against the wall. Now we're going to put that together. So if you want to keep getting that action 123, you're going to continue to do what we just did. If you want to think about kicking up to the wall, then we're going to have this opportunity to practice that now. So again, your hands are going to be about six inches or so away from the wall. That way your head doesn't bump against the wall. And you're going to do the same thing. Now the hands are just a little bit lower. So when you're kicking, we'll start with our left leg, okay, that leg bends, the other leg lifts. And as soon as your hands may contact with the floor, you're going to push. Okay, so I'll give it a go. Bend the knee, hands are going to come down, and you'll kick the right leg up. And it doesn't matter how high, little kick and back down and come up. Hands come down, little hop and come back down and give yourself a pause or a beam. Okay, hands come down, kick and lift and back down. So you don't have to shoot into the wall. You can, right? But let's try to avoid that. Remember that your toes are your indicator as to where your foot will go in space. Hands come down, kick up, and then maybe come back down. Okay, and then if you feel comfortable, you can bring that second leg all the way up, hands come down, kick up, bring the second foot up, and then come back down. So the same thing, you're gonna land a little bend, come down, and then right foot comes down. Okay, let's try the other side. So hands are up, go into lunge into the right leg, little hop and back down. Little hop and back down. Okay. If you find that you're getting frustrated, okay, which is very natural. There's something that I call rapid fire, right, is where we're like, can't stand, can't stand, can't stand, can't stand, can't stand. And then what happens? We get tired, we get flustered, and each handstand gets progressively worse. Okay, so you find yourself in that position right now. Take a moment, take a few breaths. Okay, maybe repeat what you did on the wall. Maybe come back to this tomorrow. Maybe keep going today.
Which is process. And then when you're ready, you try it again and see if it's different. Okay, hands come down. And back down. Pause. Breathe. Reset. Hands come down, kick up. Maybe there's a little touch. And then back down. Pause. Reset. Try it again. Maybe that second foot comes up. Pause. Keep pushing. Okay, push through the hands, reach up through the toes. And then when you're ready to come down, let one leg come down, and you'll bend the knee and lower back down. Okay, so I love to know how it goes. As you progress in your kicking process. One thing also that I want to mention is when you're kicking up, there's different ways and approaches. So I've done with my hands up here for today. A lot of times, we might start with downward facing dog and step that foot halfway forward, and then try to kick up. And it's totally valid, totally valid, a good way to do it. However, I find that there's more space and even a little more momentum when the hands are up. Right? But it might be a little more coordination, it might be a little scarier starting higher. So do what feels comfortable for you, maybe what you're accustomed to, or maybe explore something else, especially if you find that working with the hands already on the floor doesn't work for you. Okay, so we're gonna take a little rest here, come on down into child's pose. We're going to come back to it, but give yourself just a little rest, lower the forehead down, reset. Deep, so steady breath in. Long, slow, steady breath out.
Deep, slow, steady breath in. Long, slow, steady breath out. And walk your hands back up. If you need a little refresh for your wrists, take the back of your right hand to the mat, fingertips point towards your knee. Roll a little bit, shift your weight to the right, and then shift it to the left and back to the right and to the left. So it is really important to take moments of stillness and handstand practice, because they're very energizing. Right? They're very exciting. They can be very scary. But with all that emotion, right, we need to pause in between. Good. Okay, on flip that hand. So we're going to come to the wall and practice some of the hops that we've been doing. So if you're enjoying those bear hops, or in the squat, and playing with hopping up, you can continue to do that frog dog, or jumping up against the wall with the bolster and blocks. So I like to stack my blocks up, and you might need more height underneath your blocks or less height depending on the height of the blocks and the bolster. But you'll stack them up, like so. So that when I stand against the bolster, right, my it's at my hip height, it's a little bit higher. Okay. So hopefully when I go upside down, I can feel and perceive this. If you don't like this, then don't use it. Okay, because that's valid as well. So my hands will come down, I'll bend my knees, and that's springing action, right? So we'll spring up, targeting our hips for the bolster, or for the wall. Okay, so start in a half downward facing dog, okay, you'll bend your knees, and then move in the direction of the wall and the bolster that doesn't mean that you're going to land. So I don't want you to jump and whip yourself up there. Okay. But have that comfort of what it's like to let your hips come higher up than maybe they were doing before, knowing that there wasn't anything behind you. And then you might jump and take your feet to the wall, right? And there I can feel the bolster. Okay, I'm gonna not sit on my bolster, so I bring my weight forward just a little bit, grip into the fingertips, right? Notice what happens in the hands, feel them react to your movements. And then maybe the tiptoes come away from the wall, you grip, and you hold. And then eventually you come down. And then, like you did it, right? So that's fine. We're going to move away from this, but something to play with another option to progress those bear hops into a handstand. Okay, so let's take the bolster, bring the bolster out in front of you. We'll move the blocks to the side. Bring your toes together, knees out towards the long edges of the mat. Lower your forehead to your bolster. And if you prefer to turn your cheek to one side, go ahead and do that. Have your palms facing up towards the ceiling and allow your fingertips to curl. And sort of absorb the energy of your handstand practice. That's spring-like practice. Hopping and jumping. And how that makes you feel. If you've turned your cheek to one side, turn your head in the opposite direction. And take your hands underneath your shoulders as you return your head to center. And press yourself up and away from the bolster. Move your bolster aside and come to rest on your back in constructive rest. Cross your right ankle past the top of your left thigh. And stay here or draw the legs up towards your chest and support them. Now keep the shape as you lean to the left, bringing your right foot to the floor and the outer left leg to the floor. Reach your right arm out to the side into a T position. And then the left hand can hold on to the ankle or bring it to the inner thigh and gently press the inner thigh away. So with all of the jumping and the kicking, the hip extension, giving some release to the hips and the lower spine can feel really nice, really restorative and balance out such an energetic and joyful practice. And shift back, bringing the left sole of the foot to the floor, right foot to the floor and change sides across the left ankle past the top of your right thigh. Stay there or draw the legs in. And bring the left sole of the foot to the floor as you come into your twist. Take your left hand out to the side and your right hand might hold onto the shin or to the inner thigh and press your inner thigh gently away from you. And come back through center, lower the left foot to the floor, reach your legs forward into shavasana.
Let the back surface of your body settle into the mat. Separate the backs of your teeth, reducing your jaw and feel the effort of your practice, the effort that it takes to move into your version of handstand. And twinkle your fingertips and your toes. Lift your arms overhead, press forward through your heels, lower your arms as you soften your legs. Bend your knees and roll to one side and gently press yourself up into a comfortable position. And sit tall, let your handstand the essence of the handstand resonate within you. Take one hand to your heart, place the other hand on top. Thank you so much for joining me and I'll see you for tomorrow.
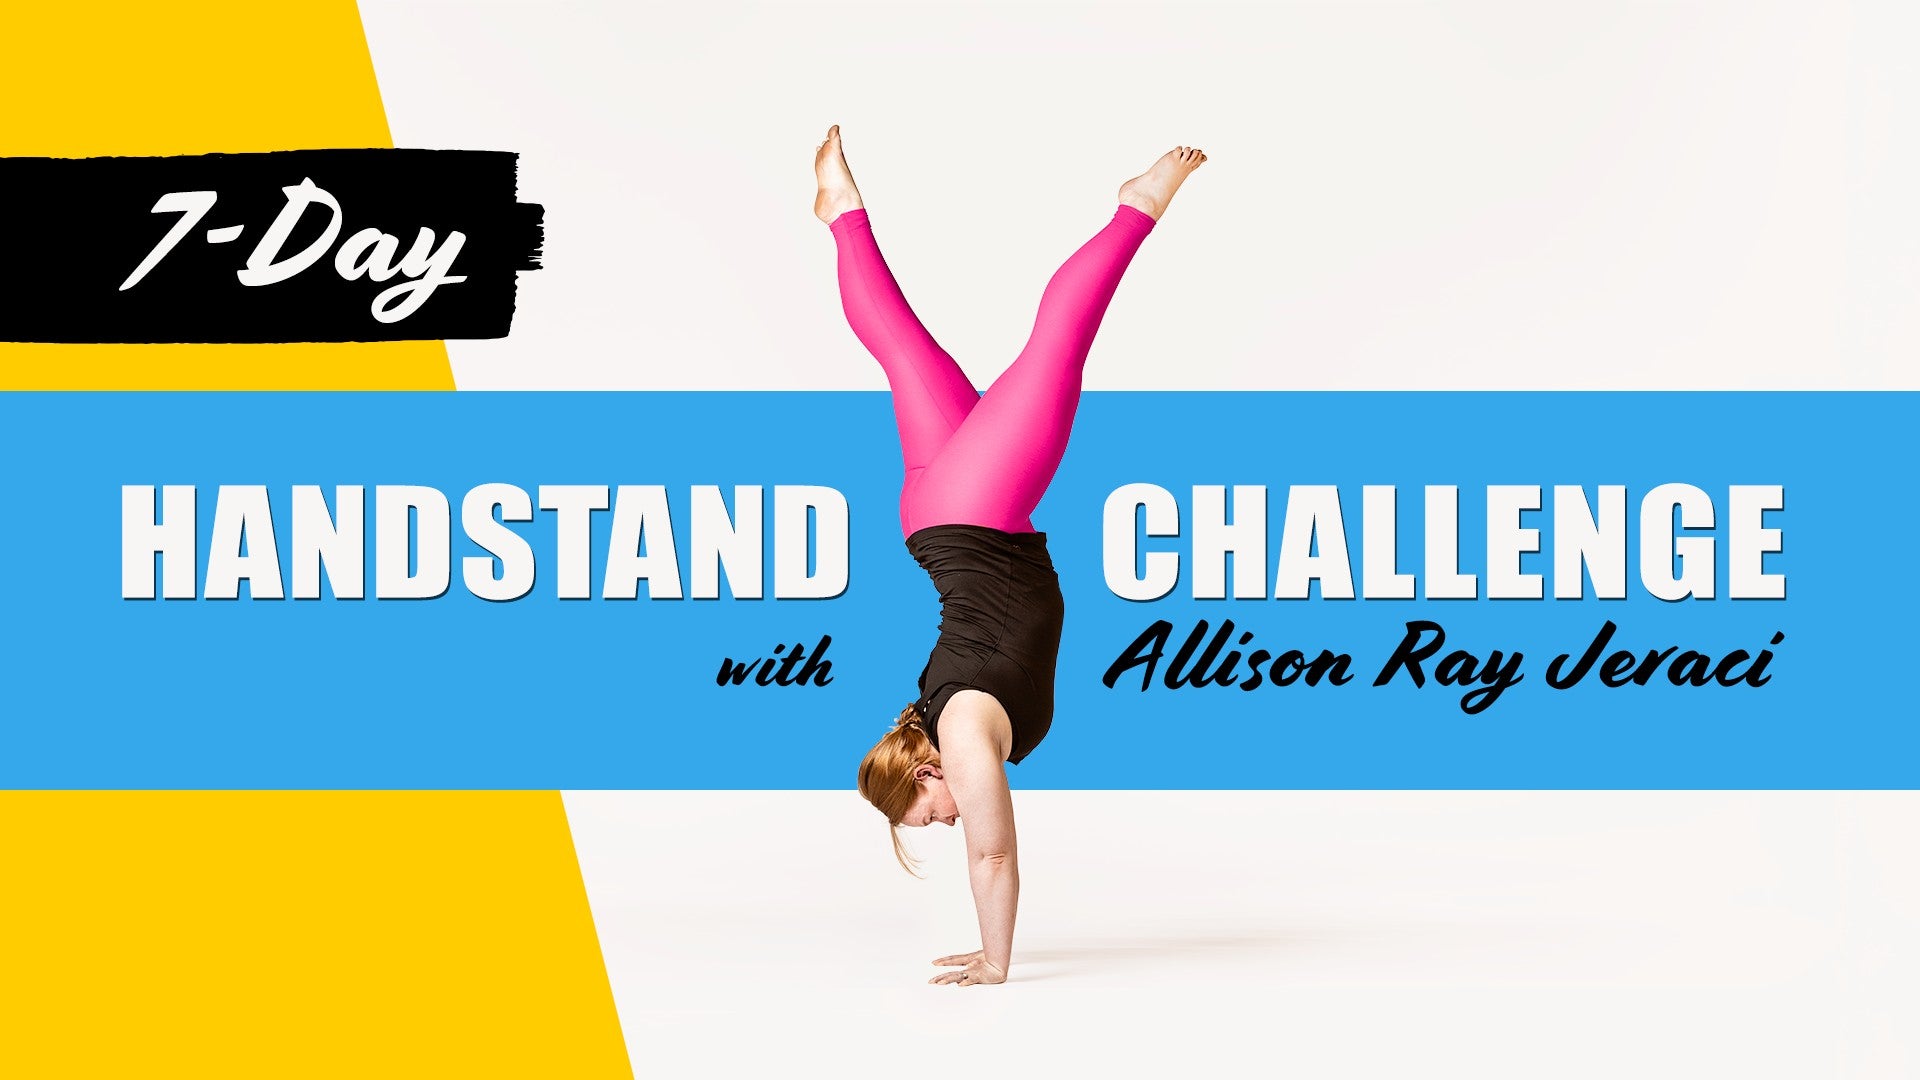
The 7-Day Handstand Challenge
Comments
You need to be a subscriber to post a comment.
Please Log In or Create an Account to start your free trial.


