Description
About This Video
Transcript
Read Full Transcript
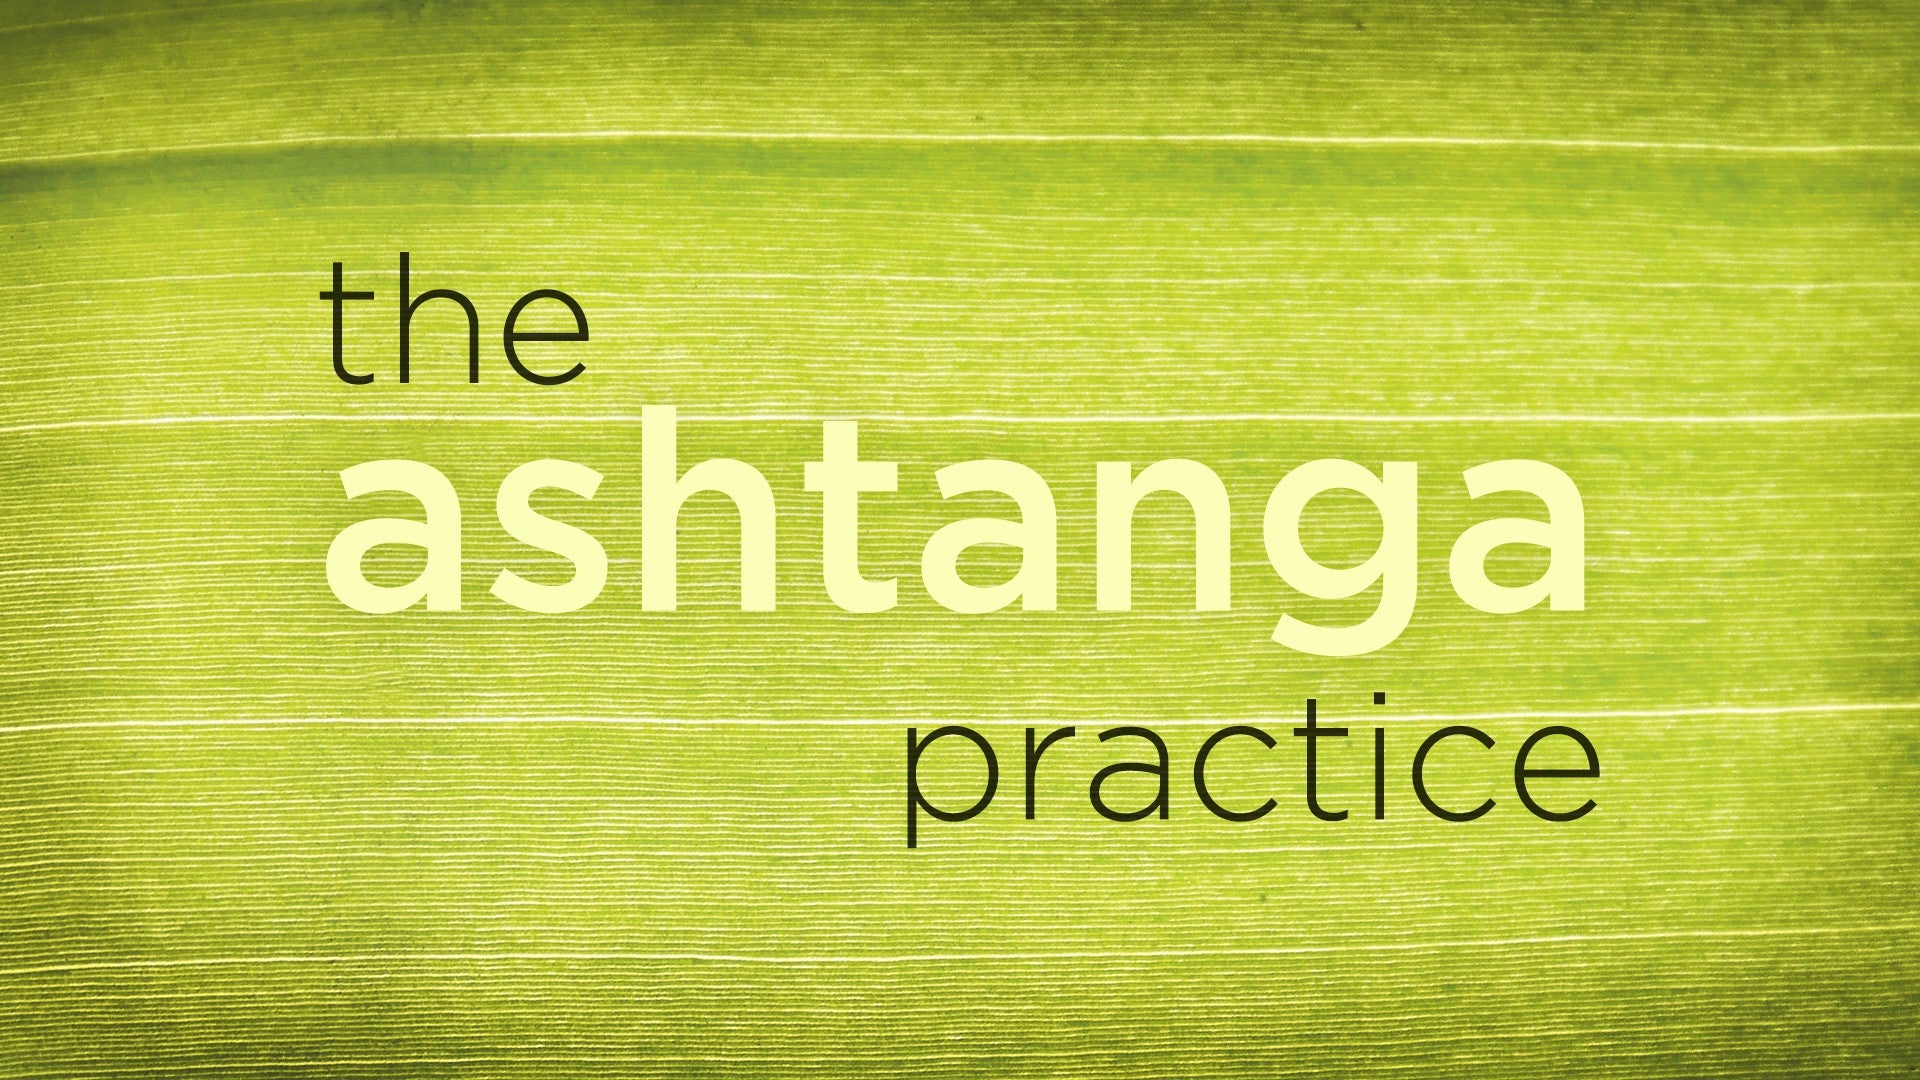
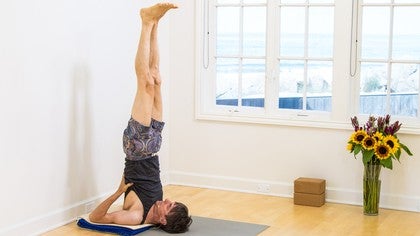
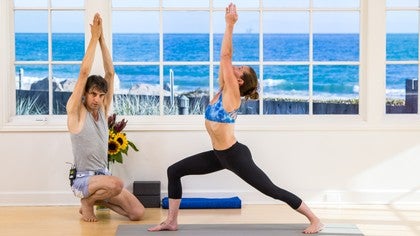
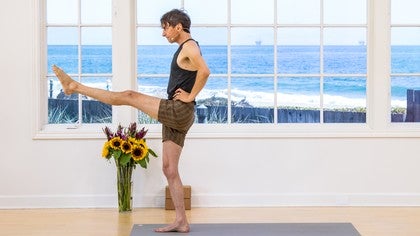
Greetings. Gonna present a little tutorial on inversions, shoulder stand and head stand. As part of our course that we're building, inversions are a key element of the finishing sequence. They're very basic postures, and yet there's some, gotta have some skill, and know-how to do them effectively and safely. And so, I'm gonna show you some options for how to get started with it, how to build, like, a foundation in shoulder stand and head stand, and then a little progression for how to build into, coming into like, the more final position or something.
So, we're gonna start with shoulder stand, and notice I'm at the wall. So we're gonna use a wall, and we're going to use blankets. Okay, so, the ... What we're working with, why we're using these props is because ideally when you do shoulder stand, no part of your spine touches the ground. Okay, and so, if you've tried shoulder stand, you'll go, "What?" Because I have beginning students sometimes call it, "Are we gonna do the neck stand?" Alright, so you end up going up there and putting all your weight on your neck, which is not good for it, not safe, and especially repeating.
And so ... So, by using these supports, we get little lightness, a little more support from the arms, and take that pressure off the neck. Okay, so, we got the two blankets, and I do, set it up like this. So you've got the tassel end of the blankets, you won't use that part. So you want to face that towards the wall.
And then, I just simply fold the mat over, with some precision. Okay, so I don't go over, cause then you lose track of where the line is. And, so I go right about there, and it's snugged up against the end, so it stays in place. Okay, and then I put it near the wall. You want to get it, hmm, it's a little bit variable, depending on how tall you are and stuff, but somewhere around, hmm, one to three inches from the wall.
Okay, and then, you go from the side, and turn. Okay so just watch me for a minute, and I'm gonna show you the steps, and then I'll take you through it. Alright, so here we go. I, what I do is, I plant my feet at the wall, I lift the hips, and I make sure that my shoulders are all the way on this pad, but my neck and head are not. Okay, and the way I get that is my scooching forward or back, not by coming down, and scooting.
If you can, you do it with your hips in the air. Okay? And then once you get that basic setup, then, you clasp your fingers, straighten the arms, and you tip to the, tip to one side, roll the upper arm bone under. And then do it on the other side. So that's an action like this, look, it goes that way.
So you're trying to get your upper arm bones parallel to each other. And then once you get that, then you plant those upper arm bones down. So you push down, and then take the web space between the thumb and index finger ... So let's go back, we've got four steps. Step one is rolling the upper arm bone.
Step two is planting the upper arm bone down, to root it. Step three is to take the web space between the thumb and index finger, and go as low as possible, all the way on to the rib cage, if possible. And that's one hand at a time, and you push your back with that and then flatten it out. And, do it on both sides. Okay, and then step four is to stamp your feet at the wall, and lift the pelvis away from the wall, and open the chest.
(deep breaths) Okay, and then to come down, what you're gonna do is lower your hips, release your hands, lower your hips, and scoot backwards until your shoulder blades come all the way down on to the ground, not on the pad. And, you'll rest for a moment. Okay, so let's do it. Get your set up, and join me. So, alright so, plant your feet at the wall, lift your hips, and you can physically feel, take one hand and feel your neck, and your shoulder, and adjust your position to get the shoulders on to your support.
Okay then clasp the fingers, straighten the arms, and if your hands hit the wall before the arms get straight, that's no problem, just let 'em be partly bent. Then tip to the left side, roll the right shoulder, the right upper arm bone under, tip to the right, and do the same with the left. Then, release that clasp, take the web space of the left hand, go down on your back, push in, flatten the hand out, so the fingers face up, and then do that on the right side. Then, here we go, stamp the feet into the wall. And you want your feet hip width apart, and your shins perpendicular to the ground.
Then, stamp the feet into the wall, lift the pelvis, and you may need to go up on your tippy toes to get the vertical line between the knee, the hip, and the shoulder. That's what you're working for. Okay, so you can stay here for your shoulder stand, and work. Or, you can start to do this exercise. So here you go, you lift the right leg up, along the vertical axis with a kick, so now you've got your right ankle, knee, hip, shoulder in one line.
And then switch, take the right back to the wall and kick up through the left. And you're keeping the sacrum forward, away from the wall, into the body, keeping the chest open, and softening the throat. Okay, then, you can try both. So when you kick both legs up, you want that vertical line, you keep ... Keep the integrity of that vertical line, so that ankle, knee, hip, shoulder, is in a vertical line.
And then take the feet back to the wall, and release your hands, lower your hips, scooch your body back, straighten the legs at the wall, and rest for a moment or two, relaxing your neck, and softening the eyes. Okay and then bend the knees and roll to the side. Sit up, and, one note about that wall, is that, for one, even if you can do it nicely in the center of the room, this is an amazing thing to add range to your, what you can do, with shoulder stand, and give you ability to, have more possibilities, to do it longer, and to explore. But if when you do, you go through that progression. Both legs at the wall, then one leg up.
When you try for the two legs up, so, not using the wall for support, if your body falls off that vertical line, so it's hard to keep the pelvis forward. That's an indicator that you want to work with that wall, for some, be more interested in working with the wall, and gradually build up. 'Cause you wanna be able to hold that vertical line, well when you do it. So in our sessions, you have some options. And I am gonna give you one more option, 'cause you may not, some of us, feels like a lot of work to get to the wall, or, to get the blankets and what not.
And so, I think it's worth it, but you could also do a version without any of that. And, it's like this. Okay, so, you lay down on your back, and even this, just lift up the legs, and reach, is a pretty interesting thing to explore as an inversion kind of substitute. But then to go further, what you would do is, get your hands by your sides of the waist, and lift the hips, and then just put your hands right on your hips. And so you try to get the vertical line from the ankle, knee, hip working.
So, just like this, it's an amazing shoulder stand. And you can do little variations, like, this one's tricky, but you shift your pelvis, shift your legs to the right, and put your hand on your sacrum and kinda lean off to the left a bit. So it's like a one armed version. Okay, so then, back to center. And, turn it to the left, turn your legs to the left, and put your hand on your sacrum, and lean it off a little bit.
And then, back to center, and to build in to shoulder stand, you would start to just go a little bit lower, down your back, taking the hands down, and ... Eventually getting the full vertical line. Okay? So, come down to Halasana and then roll down and out. Alright, so that's some ideas for you to work on shoulder stand.
Now we'll turn our attention to head stand. Sirsasana, head balance. Right, so ... Again, you want to build it step by step, safely. And one of your criterion for what is safe is at least 50% of your weight goes in your arms, at any given time.
The moment that the weight starts going in your head and compressing your neck, that is not safe. And so, you ... Take your time to kind of build the proper foundation. And, I love the lowly positions, right? It's very interesting, part of the discipline of yoga is to get into the kind of unglorious work.
So, Rumi, he calls it heart donkey work. Right, and the donkey is operable. It's like, there's no glory in it, you're not gonna necessarily take a photograph of it or anything, but it's the, the stuff, that's the nectar. Alright, so, let's look at the foundation. So, take look at my arms, They're shoulder width apart.
So, you want to make sure that your head of the arm is vertical over the elbow. So not even a little bit of an angle, it's direct. And then you plant the forearm, plant the wrist, and whack, and close the web space between the fingers, cross the thumbs over, and ... Then when you place your head, you'll notice what happens in the shoulders, they come forward, okay, and that's natural. But what you're doing, you want to do, is lift them, okay?
See, that's a dangerous position, and woom. That is safety, okay? Do it with me. Come down, get your arms shoulder width apart, plant the forearm, get your hand position. And you're like, striking the Earth, with those arms.
Place the head right on the flat spot called the anterior fontanel, that's in front of the crown. And then, (deep breath) lift up the hips. (deep breath) And so you're, as you plant the forearms, you're lifting the shoulders, on your tippy toes, and then, as you walk in, so one of your goals is to kind of walk your feet towards your face. But, as you do that, notice what's happening in the shoulders and upper back, they have to brace and stabilize, have to keep lifting the shoulders as you walk in. So you're lifting the sitting bones, and then walk out, and come down.
Okay, so look again, I just want to show you what tends to happen. Watch my shoulders, but also watch here. Okay, this is a very important area, in the shoulder stand. So, here we go, look. So as you walk in, this tends to happen.
Like, that's how you get, okay, I'm walking in. But oh, compression happens! And your foundation is giving way. So what you have to do is, walk back out, stamp the forearms down, and what I call brace. You have to brace your upper back, make it strong, and then when you walk in that bracing doesn't give way. It holds, and so that will kind of limit how far you walk in.
And you wanna get your feet light. Okay. So then, there's a further exercise to go. That particular step in the progression, you can do that when we come to head stand in the episodes. Okay, you can just simply work there the whole time, and get amazing benefits, until you progress, ready to progress to the next step.
So the next step will be at the wall. And you set yourself up with your foundation right at the wall. And it's the same, put the head down, lift the hips, brace the upper back. (deep breath) And then from there, you've got the legs straight, like Samasthiti. Then keep the right kneecap facing forward, and lift up the right leg. (deep breath) So I'll come down if you, if you were watching.
Now go, come join me, and try it out. So, here we are in the first setup position. Both feet are on the ground. We're working the foundation of the posture. Walking your feet in, but keeping the upper back strong.
Okay, then here we go, swing the right leg up. Keep the kneecap facing forward, and the leg straight. You can flex the ankle or point the toe, and alternating between the two as you like. And, staying with the steady breathing. Okay, then, switch.
Take the right leg down, keep the left kneecap forward, and (deep breath) reach up through the left leg. And go on to the tippy toe of the right leg, but keep the upper back strong, keep the forearms grounding. So my head is light. Remember the 50% of the weight rule. If more than 50, come down to the original setup position.
So if more than 50% of the weight is in the head, then that's a sign you want to either use a different step in the progression, an easier step, or that's enough for that day. Okay? So remember that, you can do it for one minute, and that might be enough if you're new to inversions, and slowly build it up, so that you strengthen your upper body, and protect your neck. And you'll eventually ... Inversions, they're like an acquired taste.
Just amazing part of the practice, but it takes time to develop a taste for them, and to see the fruits, the meditative benefits, and amazing state of yoga that you can create by being upside down. So, now, one more step in the progression, which is coming up. Okay, so I'm at the wall, and I do the crouch and spring to come up, watch for a sec, this is how I want you to work at it, so you set up that sound foundation. Then you walk in, as far as you can, then there's a slight crouch, so you bend the knees in to a crouch, and with an inhalation you spring, and try to get your hips right over the shoulders. Then you'll come down with a little nimble move, and try it with me.
Okay, so set up your head stand foundation at the wall, and then walk in, and feel that crouch, don't even jump the first few times. Just crouch, and, like you're gonna spring. Crouch and straighten the legs, lift up the hips, crouch. Okay, and then you might be ready to try it. So here we go, you crouch and spring, and suck your thighs towards you, and try to lift the hips, and the hips might touch the wall.
No problem, that's why you have the wall there. Okay, and then from there, come down, actually. And, whenever you come down out of head stand, don't immediately lift your head. Rather, roll on the forehead, and just spend a moment or two releasing the neck, and then come up. Okay, so now, just watch for a sec, I'll show you the next step.
Okay, so, when you jump up, and you're here in that squatting, bent knee position, you can work here, just practicing your headstand here. But then the next move is dynamic. Wah. (laughs) You shoot the legs up, like a rocket, and then bend. Okay, watch that one more time. You gotta take a chance, plant your forearms, brace your upper back, get your balance in.
Straighten, okay, and then bend, and come down. Let's try it. Get your set up, and bend your knees into a crouch, hop, to this bent knee position, and then get ready, shoot the legs up to a vertical position. And your heels might hit the wall. No problem, that's why you got the wall there, to help you get the feeling for it.
Okay, then bend, and straighten. And bend, and come down. Okay rest your neck for a moment. Roll on to your forehead. (deep breath) And come up.
Okay, so you can work with some of those, that stuff, when, you know, kind of separately, in this tutorial, but also when we're doing the head stand in the episodes. So one last note, when you're doing the leg lifting, one leg at a time version, you can add some spice to it, and kinda, further the progression by using a block, or two. So, we'll start with two, I'll show you how to do that. So, you put that block between your feet, and you kinda have to approximate the distance, and you'll refine it once you're set up. Okay, so, get your foundation at the wall, place the head, lift up the feet, and then, kind of scooch that with my feet, into place, the block setup.
Then, when I'm all ready, I step on to the blocks. Okay, and then from there, I lift. And so I have a better chance of getting the vertical position, by using the block. So there's a little more woo, gets a little dicier, more of a thrill, which is nice. So, obviously the higher you go, the easier it is to achieve the vertical line, between the legs, the pelvis, and the torso.
And then the lower you go, you have a different experience. And they're all good, you're not graduating from one to another, and that's one of the beautiful things about working with a learning progression, is every step is very satisfying, for veteran, doesn't matter your level, actually, you find enjoyment in all of it. So, there you have it, you have some ideas for how to work on inversions in the episodes.


You need to be a subscriber to post a comment.
Please Log In or Create an Account to start your free trial.