What's a Course?
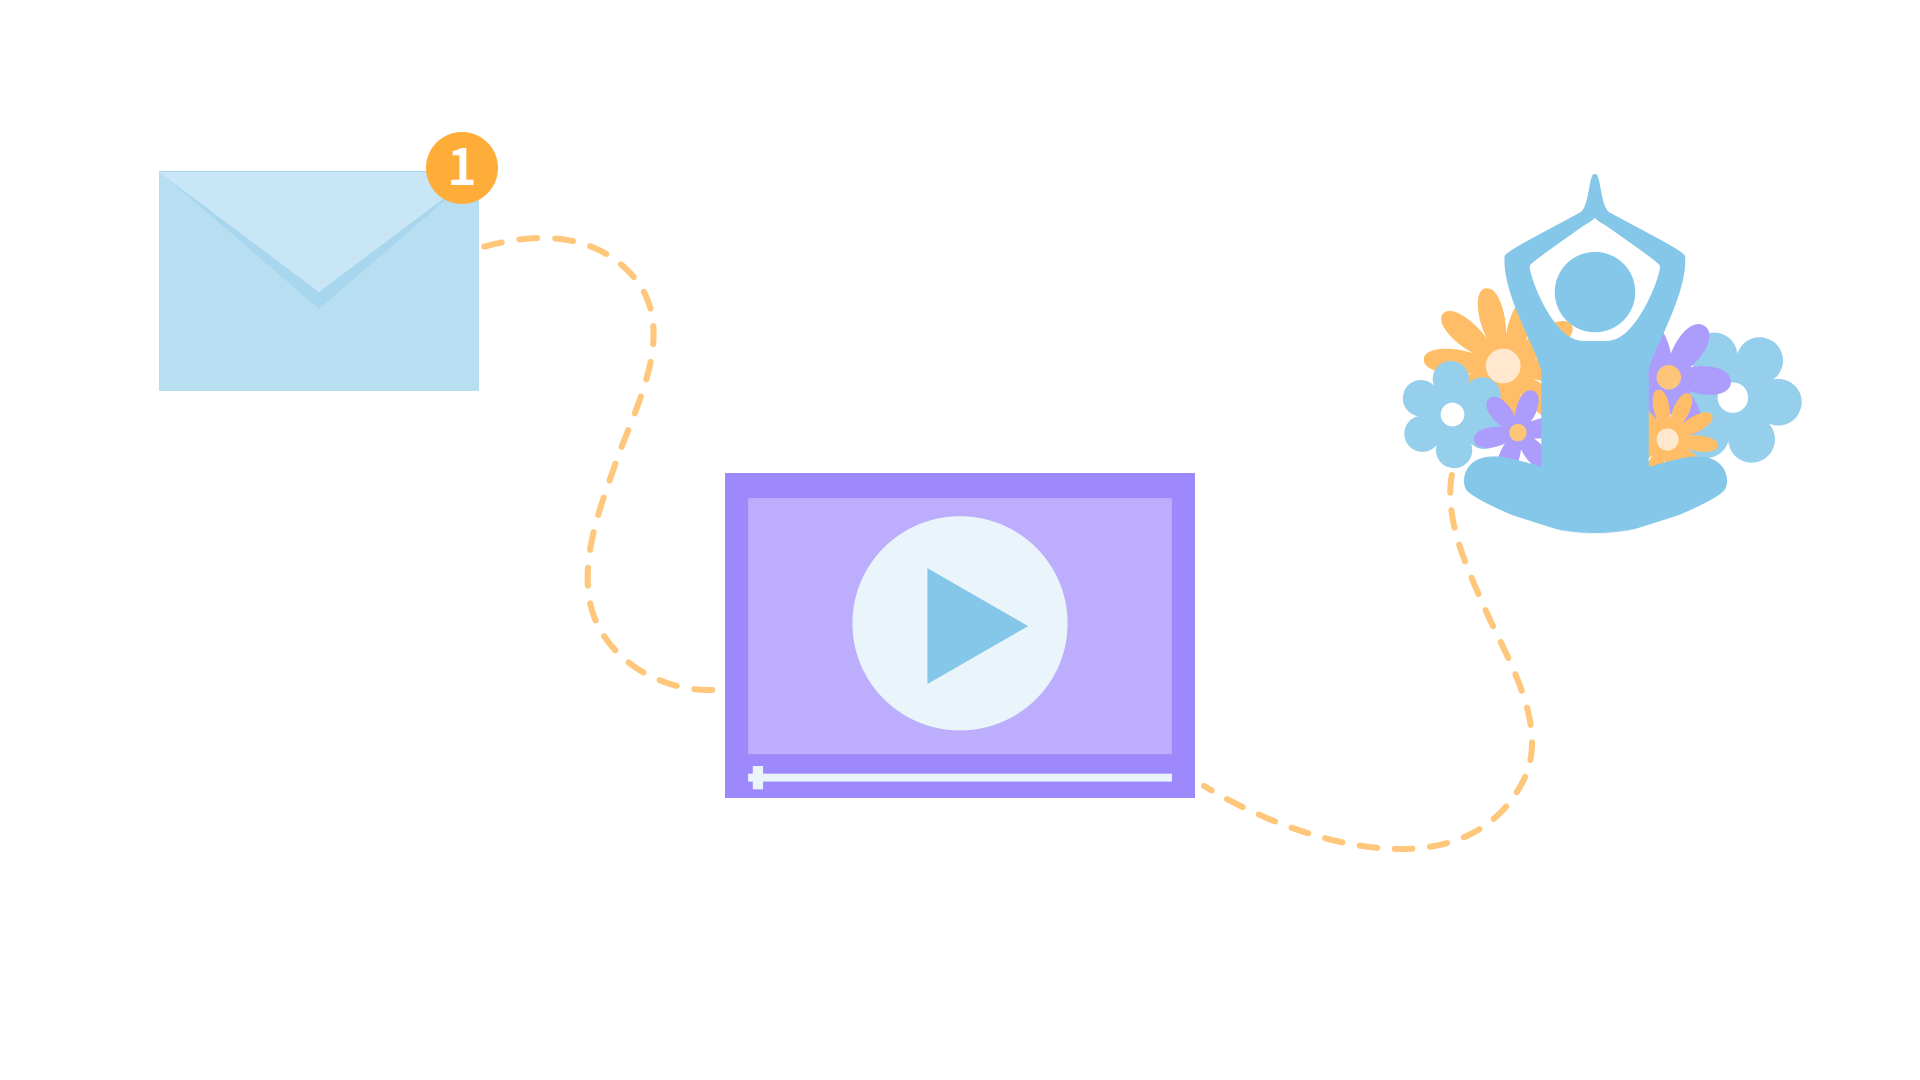
You can now make seasons of select shows into courses!
1. Schedule regular emails to deliver the content direct to you.
2. Watch your assigned videos to focus on the course goals.
To take a course for this show, first select a season and then click the "Take as Course" button for that season.
Description
About This Video
Transcript
Read Full Transcript
So building on the segments that we've done exploring, some of the different elements we can use to make up a standing practice, let's put them together now in a standing practice that flows and links these different elements together. So we're going to do some Srinamaskara, the two Srinamaskara variations we've already explored, some standing circular squats, some active variations of classic yoga asana, and then a foundational stance, horse stance, Prasota Padra and asana, sequence, and then one final posture we've not explored yet, which is a special treat. So let's begin with the Srinamaskara. So I like to practice without a mat, but if you're on the mat, you come towards the front of it, and we'll start with the feet together more or less, the inner ball and inner heel touching or almost touching, feel the connection to the earth and feel the tail working down towards the earth and the front of the hips coming ever so slightly forward so we can really feel the sense of length and space in the lumbar spine. I like to do this with my hands just to kind of check in, am I really getting that sense of length and space through the lumbar?
And it also activates the inner thighs a little, and the backs of the hands will come together and will lengthen smoothly, feeling that sense of spaciousness through the whole vertical column and then come into the standing forward bending variations. The hips stay as they are, but we will lengthen the arms forwards and downwards and feel that lovely sensation of gentle forward bend in the thoracic spine, lengthening the back body without shortening the front. Hands come downwards, there's the hands come behind the hips, behind the back, they will come through at the level of the floating ribs pointing inwards and then the hands will stretch back the other way, we'll lift them out and up above the head and get that little bit of a back bend in the thoracic spine, then bring the hands to the opposite elbows and lift out of the right side of the navel, let the right hand reach up and the left hand reach out to the side, feel the lengthening in the right side, minimising any sensation of shortening or closing in the left side. Left hand comes up to join the right hand high above the head, hands to opposite elbows, other sides, slide the hands away, left hand reaching up, right hand out to the side, lovely sensation of length and space in the left side and the right side also staying open and the right hand gathers the energy and rises high to the left of the left hand above the head, feel how the spine is beautifully long and keep it long in space as the hands now come down to more or less the level of the upper chest or shoulders and the fingers facing one another in front of the body and then gently from the navel keeping the hips facing forwards, rotate towards the left, keeping the hips facing forwards and then open the arms wide and look into the front hand, keep the neck relaxed, all the while easy breath, active but relaxing the fingers, spacious in the whole body, left hand now comes under gathering the energy back to the centre, hands crossed and then come back to that start position, fingers facing in front of the chest then rotate from the navel to the other side, open the arms, let the gaze look towards the front hand, check the neck is space on both sides then gather the energy with the right arm, bring it underneath the left and bring the hands once again so they face one another more at the left of the chest then bring the hands down smoothly through the midline and let them rise up again reaffirming that sense of length in the spine and then bend the knees and bring the hands down towards the earth, let them come level with the heels and lift the thoracic spine, feel the breath across the chest and upper back and then with curiosity grow the left leg away behind you and let it reach down and as silently, softly as possible make connection with the earth and set a firm foundation, you may want to turn the right foot ever so slightly in to give you a bit more stability and then from here lifting out of the hips so you feel the tail down and the thoracic spine lifting, let the hands sweep back and then as the body rises let the hands come through at the left of the floating ribs, out to the side, up above the head and then the hands come down in front of the torso and then we'll lengthen the spine, back the hands together, the hands reach up, tail down, feel that length in the torso, lengthen the spine and then bring the hands forwards and downwards, bending the thoracic spine forwards, hands come down and then back through the floating ribs, feel that subtle back bend as the arms reach out and up and then as the hands come forwards let's come down now all the way to the ground and come on to hands and knees and first we'll do a few of those wrist preparation exercises, we'll do the forearm raises, so the roots of the index fingers and all the fingers connect securely to the earth, elbow creases face forwards and smoothly we lift up from the bases of the fingers, taking care that the shoulders stay above the wrists or ever so slightly forwards of the wrists, modifying the position of the knees so it feels it's the appropriate amount of resistance for us, activating and bringing energy to those muscles in the forearms that will help us stay spacious and safe in the wrist joint when we weight bear with the hands and after about ten repetitions we'll come into kneeling plank or full plank position, activating the bundles in the wrists, elbows and shoulders, feeling space in the chest and the back and then slowly, smoothly we'll lower down to the ground, we can lower the knees first and keeping the spine long lower the rest of the spine and then we're going to extend the arms forwards, bring the heels together, bring a sense of firmness to the legs, let the forehead come off the ground so it's like you're just lying down on the ground and you can imagine now you're going to do a handstand but you're horizontal so lift the arms off the ground just a little bit, act through to the fingertips and feel there's a firmness in the buttocks, in the abdomen, there's that same posterior pelvic tilt, the tail down, the front of the hips forwards that we've done standing on the ground and feel that sense of firmness through the body and in this position the breath may become a little bit more shallow but just keep the breath relaxed, be active through to the tips of the fingers, feel you can move the fingers, feel you can move the neck a little and notice again that combination of engagement all the while maintaining a quality of being relaxed and then gently glide the hands back so they come more or less underneath the elbows and then gently lift the heart and slide the elbows forwards, anchor them into the ground, bend the wrist down and then hopefully feeling a sensation of lovely spaciousness in the lumbar spine even as we lift the heart up, feel the soles of the feet lengthening backwards all the while and then from here bring the hands once more underneath the elbows, tuck the toes under and transition into downward facing duck, feel the roots of the fingers connecting securely to the earth, you can always bend the knees a little or even a lot or even bring them to the ground, feel that sense of space and length in the spine, feel the roots of the fingers connecting securely to the earth, index fingers more or less forwards and the nice firm foundation, feel a sense of spaciousness and openness in the palms of the hands and the soles of the feet, allow the neck to be a relaxed extension of the rest of the spine and perhaps bring the chin a little bit towards the chest so you bring that quality of forward bend into the thoracic spine and then bringing the right foot forwards into the lunge, feel stably supported by the two feet and glide the hands back, bring them through at the level of the floating ribs as you lift the torso up, arms come out to the side and then from here we'll step the left foot forwards, bend the knees, bring the hands towards the floor and gather the energy with the hands, you come all the way back up to stand, stretching the hands high and then bend the knees, bringing the hands towards the heels, in this position feeling a sense of lift into the thoracic spine and now stepping the right leg back, reaching it back with curiosity and placing it softly to the earth, perhaps turn that left foot in ever so slightly so you've got more of a stable foundation and then sweep the hands smoothly back, let the torso rise, bring the hands through at the level of the floating ribs out to the side, take the arms over the head and then bring the hands down in front of the torso and first reaffirm that sense of length through the spine, lifting the arms up through the centre and then bringing the hands forwards and downwards to bring that forward bend into the thoracic spine, the hands come down then as they come back, bring them through at the level of the floating ribs, extend the hands back, arc the arms out and then bring the hands down to the earth and once again come to hands and knees and we'll do the second wrist preparation exercise, the dolphin push up, so we'll turn the fingers back, come onto the back of the wrist, elbow creases facing forwards in the start position and then gently, smoothly lowering down and back up, straightening the arm and bringing the elbow crease forwards, taking it easy and as before, making sure that the position of the thighs is appropriate so it's not too much, bringing the knees closer to the hands may reduce the load in the wrists and taking the knees further back will make it a little bit more challenging, take it easy and move slowly, moving slowly gives us that chance to respond if something's not quite going to be appropriate, also gives us a chance to notice how different parts of the body get activated, we move in these perhaps not so familiar ways and then turn the hands and if you like and give a little bit of a shake one way and the other, then bring the hands to the earth, more or less underneath the shoulders and we'll come once more to kneeling plank or full plank, feeling space across the chest and the back, feeling active and the engagement of the bandhas in the wrists, elbows and shoulders and then from here lowering down, gently all the way to the earth, once more extend the arms forward, lengthen back beyond the soles of the feet and then firm the legs, firm the buttocks and engage that posterior pelvic tilt by which I mean tail as if it's working downwards if you were standing up and abdomen in ever so slightly as the fronts of the hips come ever so slightly forwards, bring the hands off the ground, bring the arms off the ground, forehead gently off the ground, let the breath be easy but it may become a little bit quicker because it is more shallow here because of the way that the lungs are affected by the position. Stay active through to the fingers, check you can move the fingers, feel the inner heels together, feel that firmness in the legs, in the midsection and then gently bring the hands back so they come more or less underneath the elbows, lengthen beyond the soles of the feet and begin to lift the heart.
You can do as we've done previously and bring the elbows to the ground, bringing the fists forwards and bending up the wrists or perhaps if you feel very comfortable here, bring the hands underneath the elbows and maintaining the same degree of extension in the spine that you can control actively without the support of the hands, you can lift into upward facing dog but maintain that degree of extension and then change the toes, you come onto the balls of the feet and then come into downward facing dog. Down dog is one of those postures that can invite the breath to gently lengthen and so you can allow it to lengthen and be very easy here, noticing how the breath can almost inflate the spine ever so slightly, it gives a sense of buoyancy to the torso and you can feel that you're drinking the energy of the earth up through the open palms of the hands and the open soles of the feet to buoy the spine and lengthen the spine, staying space across the chest and back, encouraging the elbow creases slightly forwards and then stepping the left foot forwards to the lunge, again you can turn the left foot inwards ever so slightly to give a little bit more traction, then smoothly sweep the hands back, bring them through the level of the floating ribs, extend the arms out to the side, up over the head then step the right foot forwards, come into a squatting position like an Utkatasana foundation, hands come down and gather the energy upwards as you reach the arms up above the head and then bring the hands down through the midline. And now we'll continue with the standing circular squat, so taking the feet out about hip width, bend the knees a little, feeling the tail down, feeling the hips ever so slightly forwards, bring in the backs of the hands together and lengthening the spine and then with that sense of bunder, of mutual engagement from the inner and outer knee, we'll slowly, smoothly squat towards the earth and then come back up gathering the energy with the hands all the while, so as we squat down the hands face downwards and as we come to the earth the fingertips turn and we pick the energy back up, so it's like we're making a kind of circular motion, gathering the energy and creating an effect so it's not like we're doing one squat and then the other it's like a continuous kind of circular motion, all the while feeling that subtle activation of bunder in the ankle, in the knee, in the hip to support that sensation of spaciousness and steadiness through the whole of the body and as we come up this next time let's kind of reverse the circle, so sweep the hands down the back of the body as you squat down and gather the hands up in front of the body, so hands come down the back line and forwards, so we circle the other way and after we rise up this next time let's go back down with the hands in front, turn the hands at the bottom gathering the energy back up, smooth easy motion, remembering you can squat just a little way down or deeper down than I'm doing, just moving in a flowing way, gathering the energy all the while and one more time we'll go down and then back up and when we rise back up let's bring the feet together into a version of samastiti and again feel that length in the lumbar spine tail down and the front of the hips ever so slightly forwards and then from here bring the hands in front of the body and then open the feet like a ballet dancer and open the arms a bit like a ballet dancer, I never went to ballet class so forgive me if it's not quite up to standard of a ballerina but the right foot will come forwards now and then the hands come in front of the body and first we lengthen the spine, now we can stay on the toes here or we can lift the right leg up whichever variation we've done we will then lengthen the hands forwards and downwards then we'll bring the hands back behind the hips through the floating ribs out to the side and up above the head and then we lengthen forwards and then rotate to the left opening the arms out so the leg can be up or it can be on the ground or it can be somewhere in between but we're doing a kind of antigravity trikonasana and then from here we'll gather the energy with the left hand then the right knee and then we'll go the same way but the opposite direction so now we'll do pravitti trikonasana, if we rotate to the right we can also do it with the foot on the ground or the leg lifted easy breath space in the front and back body active in every part of the body but also relaxed so feel the fingers can move abdomen can breathe and relax an easy way check the neck is easy then gather the energy with the right arm and bend the right knee and come back to the start position with the feet facing out like the ballet dancer left foot comes forwards now arms out to the side then the hands come down in front of the body and first we lengthen we can keep the toe on the ground or we can lift the leg then the hands come forwards and then back through the left of the floating ribs out to the side and then lengthening forwards again and then rotate to the right side opening the arms the leg can be lifted it can also stay on the ground the whole time work with whatever variation suits you today could also be in the middle you can also do with the leg bent and then from here gather the energy with the right arm back to the centre bend the left leg and then we'll go to the same thing on the opposite direction so we'll rotate to the left open the arms you can keep the leg up the whole while you can keep the leg down the whole while easy breath active through to the fingers neck is relaxed fingers are relaxed easy breath and then gather the energy with the left hand and come back to the start position and from here we're going to come into a version of Adhachandraasana so we're going to step first of all the right leg backs will bend the left knee glide the right leg back bring the hands in front of the face and slide the elbows apart right hand reaches back and the wrist flexes back we can stay with the foot on the ground or we can lift the right leg again whichever version suits you today work with that one and this action of shortening the distance between the right hip and the right shoulder it firms the right side of the abdomen firms the right side of the torso and softens the left side so as that lovely benefit of flooding now the left side of the body with fresh relaxed balanced energy active through to the sole the foot check in with the fingers and then gently bring the right leg forwards and lift it up then we'll do the same on the other side so we'll step the left leg back we're going to bend the right knee a little turn the torso towards the left hands glide away across the front of the body and we can keep the left foot on the ground shortening the space between the left hip and the left shoulder left wrist is flexed and then we lift the left leg if we want to if that's the appropriate variation go ahead and lift it but even if the foot stays on the ground we still get that sensation that experience of the left side of the body firming creating that relaxation the right side and then bring the left foot forwards lift it up and bring the two feet down from here bring the hands in front of the body again open the feet like a ballet dancer take the arms out to the side right foot forwards and then let the hands turn to the right feel the length and space in the torso then at the right hand come forwards as you lift the right leg up and rotate the spine a little bit towards the left into a version of Parshvakonasana take it easy act it through to the fingers and then from here we're going to come into perfect the Parshvakonasana by taking the right leg a little bit more across the body left hand coming down right hand reaching up active in the fingers yet relaxed and the right hand comes down reaches back and gently the right foot comes down and the hands come over to the other side as the left leg reaches up and the right arm reaches up to the sky for the same two Parshas now on the other leg so first the Parshvakonasana variation feeling all the while a sense of length in the lumbar spine sense of space across the chest and the upper back active in the fingers relaxed in the neck easy breath then bring the left knee a little bit more across the front of the body lift out of the navel at the left hand reach up and the right hand move down and across the body to come into Parshvakonasana standing version taking it easy noticing the way that doing the posture against gravity recruits lots of muscles that you might not notice so much in the classic variations but it really trains the body to work in an integrated manner and then at the left hand come down reach back a little and then bring the two hands forwards and step the feet out hip width apart notice how you feel in the body notice how these Parshas bring so much energy into the body then we're going to step the feet out into our horse stance so we'll select us an appropriately sized horse for us today maybe even an elephant if you're feeling very expansive and then the tailbone down the hips forwards check and lift through the feet so the arch can lift and the two sides of the pelvis can work towards one another the tail can continue to work down bring the hands in front of the body backs the hands facing and then lengthen the spine and then with that long spine bring the hands forwards and downwards enjoying that sensation of forward bend in thoracic spine let the hands come back behind the torso and through at the level of the floating ribs stretch the wrist back the opposite way let them reach out and above the head then take the hand to the opposite elbow reach out to the right side of the navel lengthening the right side the body right hand reaches up the left hand reaches out to the side and then gather the energy with the left palm turn that palm and lift in the left arm all the way up above the head hand to opposite elbow lift out of the left side of the navel now and to the second side slide the hands away from one another let the two hands reach out left hand up right hand out to the side and then gather the energy with the right palm lifting it up as high as the left and then bring the hands down through the center without shortening the spine hands come down to about the level of the upper chest and then gently from the navel rotate towards the left side stay here with the arms or perhaps open the arms wider leading with the elbow following the wrist active in the fingers look to the front fingers check the next relaxed then gather the energy with the left palm bring it underneath the right arm and the same on the second side moving from the navel rotating to the right now staying here with the arms if we like or perhaps opening the arms wider looking to the front fingers and then gathering the energy with the right hand bring it underneath the left and then bring the hands down through the center then we'll turn the feet so they face forwards maybe bring the feet ever so slightly wider bend in the knees and coming now into precisely the part of the naasana fingers facing forwards connect securely to the earth through the finger roots and through the inner and outer parts of the feet so you feel the arches rising and activate the bunda in the ankle knee and hip in the wrist elbow and shoulder lift the thoracic spine and feel the sense of space not just in the back of the body but also in the front of the body feel the breath across the chest as well as across the back check the neck can move check you can smile and check you can breathe easily and then let's bend the knees a little deeper and smoothly rise up once more coming into a horse stance turning the heels in as much as appropriate for us modifying the breadth of the posture so we feel nice and stable and then once again let the tail go down let the front tips come forwards bring the hands in front of the body let the hands rise up nice and high above the head feel that length in the back of the body maintaining that length bring the hands forwards and downwards and this time as the hands come down and reach back behind the body interlace the fingers clasp the palms together look towards the navel and lift first from the navel up through the rib cage into the chest and perhaps into the neck but feel you can keep the back body nice and spacious even as you invite that greater spaciousness feeling in the front of the body take it easy and then we'll release the fingers and take the arms out to the side with the fingers and thumbs working together and facing downwards and then press the palms out bending the knuckles with the fingers down fingers and thumbs down towards the earth bending at the wrist and then pressing out through the palm of the hand with the fingers down fingers and thumbs straight down towards the earth and then bending the wrist the opposite way pressing out through the palm with the fingers bent at the knuckles a couple more times fingers and thumbs down pressing the palms out with the knuckles bent fingers and thumbs down and pressing out through the palms and then bring the hands smoothly down so they come towards one another in front of the body and then once more let's bring the backs of the hands together lengthen tail down front of the hips ever so slightly forwards and then with that nice long spine bring the fingers forwards and downwards let the hands come down and sweep back behind the hips bring them through the left of the floating ribs bend the wrist back take the arms out and high above the head and here interlace the fingers maintain the length in the spine smoothly bring the hands down in front of the navel keeping that long spine bring the hands forwards and upwards active through the legs through the torso through the arms anchoring through both hips feel the hips stay stably where they are now lift out of the right side of the navel to feel the right side body lengthen and then lift up and over towards the left you may want to go down further than I'm demonstrating you can also go just a little bit and when we lift out of the navel we start to activate that spinal movement which encourages the flow of energy in the body feel yourself stable and spacious in both sides of the body then lift out of the left side of the navel bring the left arm forwards and under a little bit and come back to the centre with the arms reaching above the head interlace the fingers the opposite way change the way you've got the hands interlaced and then lift out of the left side of the navel lengthen the left side body and lift up and over to the right side and then bring the right arm forwards underneath a little to come back to the centre keeping the length in the spine slowly lower the hands down in front of the torso interlace the fingers once again let the hands move forwards and upwards and then from here rotate now keeping the hips facing forwards towards the left take it easy keep breathing in a relaxed easy manner and then come back towards the centre interlace the fingers the other way and then rotate to the opposite side easy breath all the while and coming back to the centre feeling that lengthen the spine maintaining the length in the spine as you bring the hands down in front of the navel and then turn the feet so they face forwards once again bend the knees take the arms out to the side and then bring the first two fingers around the big toes letting the thumbs meet the two fingers bend in the knees activate the bandha in the ankle in the knee in the hip and feel a sense of lift through the legs into the pelvis and into the heart let the thoracic spine rise a little feel space across the chest across the shoulders let the elbows stay aligned more or less with the wrists they may go out to the side and then from here gently bring some rotation to the spine rotating first to look beyond the left shoulder coming back through the centre and looking then beyond the right shoulder and then coming back to the centre and looking between the left arm and thigh back to the centre and looking between the right arm and thigh bring in the spine back to the midline lifting through the pelvis into the thoracic spine once again and then bend in the knees more deeply and smoothly rising up into horse stance bringing the hands in front of the body and then stepping in to samastitihi and taking a moment just to notice the effect of what you've done noticing perhaps that greater sense of stability and now we're going to do one more standing asana that's very conducive to the cultivation of stability I call this the Himalayan super squat and for this posture we're also going to open the feet like we're doing the ballet dance again so the feet will turn out and the knees and hips will turn out to the same angle hands can be in front of the body and this is the first expression of the posture we might say keeping that sense of internal lift in the ankle the knee and the hip we bend the knees you can stay here and you can stay at any place in this posture but I'm going to go down a bit deeper and as I go deep I'll take the hands behind my thighs so I could stop here and work here or I can go a bit deeper and bring my fingertips and thumbs to touch perhaps or even just one the index fingers perhaps so I'll come down a little bit deeper and maybe this is the appropriate place for me or I might come deeper still so my hands can reach the floor or perhaps the pads of the fingers can touch in between the legs wherever we work in this posture we are experiencing a type of stacking of the bones of the body and we're going to stay here for a little while take care not to bring the knees excuse me take care not to bring the knees lower than the hips that's a different type of squat so we can bring the hips down to more or less the level of the knees or they can be high but we're working in this type of range and we're working to cultivate this integrated support through the whole kinetic chain from the feet all the way up into the hips and as we stay here we'll probably be in here for a total of about five minutes and don't worry we've already done probably about a whole minute as we stay here for a little bit longer this posture has a wonderful gift in it you might say in that this posture it really invites the body to learn what it means to let the muscles release into the underlying greater support of the skeletal structure so this posture really can help us get into the bones as you work in this posture as you relax in this posture also it's quite there's a lot of room for exploration here feel what it's like to subtly invite the two sides of the pelvis to draw in towards one another quite firmly but in a relaxed way feel how that perhaps creates a little bit more sensation of space in the lumbar spine feel the next day is relaxed and easy you can gently shake the neck a little bit to check in with that check that your face is relaxed check you can smile remembering that when you smile in an arsenal it goes a long way to helping rid the body of any unnecessary tension and then you can also play a little bit with where the weight is in the feet maybe bring it a little bit more into the heels or a little bit more into the balls of the feet there may come a point at some time if you're exploring this posture where your thighs start to send a message to your brain saying can we get out of this please now if that happens the thing with this posture is that if we stay and we stay curious we can find the muscles can actually soften and relax because this posture accesses or allows us to access that underlying support of the bones so I've found over the years that when you start working with this posture for durations beyond three and a half minutes then the body can really learn to be supportive but also relaxed so it's a really wonderful posture that if you practice it regularly it can make your work with every other standing arsenal so much easier so take it easy let the breath be relaxed and as you take your time here in this posture you can also if you like notice the way that the prana or the life force moves through the body and perhaps if you like as you breathe in you can feel that you're drawing up energy from the earth through the open soles of the feet through all parts the legs through all parts the spine and the arms and as you breathe out it's like you give energy back to the earth allowing the breath to just be relaxed and easy as you do that and this posture if you like it or if you feel it's beneficial it's something that's worth exploring I found it tremendously helpful in rehabilitating from a previous knee injury and it's one that really will repay some sustained effort in a relatively short space of time when we start to access the deep muscles we find that they do respond quite quickly and then gently smoothly we'll rise up out of the Himalayan super squat and then we'll come back to Samastitihi and as we come back to Samastitihi take a few moments to notice the residual impact of that time you spent in the Himalayan super squat and I often find and I know many of the people who practice this posture find wow it really brings a sense of deep stability and centering to the body so we'll spend a few moments here notice standing here in Samastitihi too you can feel as you breathe in that grounding supportive energy of the earth rising through your body as you breathe out it's like you can give energy back to the earth and so we're gently going to come down to the earth now and first we'll bend the knees you can use the hands for support if you like and then we'll come into this kneeling posture kneeling on the toes to begin with so first kneeling in this way and then we can tuck the toes under and come into Virasana getting spacious across the shoulders easy through the neck and then from here gently we'll bend forwards and to come into child's pose I've got my hands on my thighs but can also bring the hands in front of the head or down to the side of the body and beyond the feet even if you like allow the forehead to touch the earth and if you like you can take a moment here touching the earth with your forehead to thank the earth for always supporting you through all the explorations of this life and thank that earth-like quality within your own body that allows you to sit stand move and occupy space wherever we find ourselves if you feel you'd like to you can reach the hands back interlace the fingers behind the back and gently invite the arms to reach up over the body and then bring the hands back down and gently come back up to Virasana and then from here feel free to continue with more Arthana work or to take some time to relax before you get on with the rest of the Arthana practice occupying space in a stable easy balanced way in whatever you're doing thank you
Yoga Sutras of Patanjali: Yogic Movement: Don't Just Sit There!


Comments

You need to be a subscriber to post a comment.
Please Log In or Create an Account to start your free trial.
