Description
Transcript
Read Full Transcript
Hi guys, in this tutorial I'll be looking at the standing sequence. So start off in the traditional forward bends, first grabbing the big toes and taking the hands under the feet. Things to be mindful of, as I mentioned in the sun salutation tutorial, is whether you're moving from the hip or from the spine. So I'll just demonstrate that again. So if I start like this and if I want to move from my hips, I extend the lower back and try to keep that extension as long as possible and then eventually bring the head towards the leg and the lumbar spine goes into natural flexion.
The other way to do it is from this starting position here, is to then move from the spine and exhale, flex the spine and come down. So when we go into the forward bend, keep that in mind. Also one thing to be aware of is every good forward bend comes out of a back bend. So as you inhale here, start to create a back bending type shape by feeling as if you're lifting your ribcage up off the pelvis as you go forward. So then the hips go back, moving from the hips.
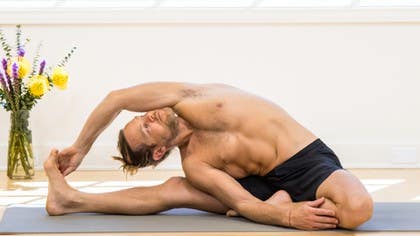
So you're still keeping the spine in extension for the first part of the movement. And then as you reach the end of the movement, naturally you go into that flexion and grab the big toes. So you could also be working with your knees bent here and in that case then you want to make sure your ribs are touching the thighs, chest touching the thighs. And then you start to straighten the legs but without letting the ribs and chest move away from the thighs so you keep them here. But if you can, you can also do it with the legs straight as you lift up like this and then you go forward so you're just almost lying along the leg, bringing the ribs one by one onto the thighs.
And so we can use the feet here to enhance the position. So when I'm here, if I stretch my heels away from each other, which brings the big toes toward each other, what that does is it internally rotates the thighs and also helps to lift the sitting bones up towards the ceiling. So I squeeze the heels away from each other, big toes in and that lifts the sitting bones and spreads them apart. And then as I mentioned earlier, if you overdo that, you can injure yourself. So you want to make sure that you've always got a little bit of the counter movement in there which is to drop the tailbone down, activating the abdominal muscles, bringing a little bit of flexion into the spine.
Okay, so you inhale, spread the heels, spread the sitting bones, but still dropping down the tailbone, shoulders to the hips and then lying along the leg, just laying one, ribs down one by one and sensing that you're lengthening through the crown of the head. And for now, just keeping the shoulders away from the ears, so elbows come in a little and pull out to the sides. At the end of your exhalations, you want to feel like you're activating moolabunda by dropping the tailbone down. Also this will engage the abdominal muscles. And from there, you move in the other direction, lifting the sitting bones up, pubic bone back, and then take the hands under the feet and basically repeat the same steps of spreading the heels apart, dropping the tailbone down, lifting the sitting bones up, spreading the shoulders away from the ears like that.
And if you're tighter in this one, then you would work with the knees bent so that you're not putting the lumbar spine into a dangerous position. And then from there, you start to straighten, keeping the legs and thighs, chest touching. So instead of this, thing like that. Instead of the chest coming away from the thighs, you keep them touching and then only straighten the legs as much as you can while keeping the ribs touching the thighs. And then we come out of it, inhale, lift up, at the same time drop down.
Also the movement of the shoulders will protect your spine, so by pulling the shoulders towards the hips, you engage these muscles here, the lats, and they connect into your lower belly. So that's going to help to stabilize your back as well as pressing the hips towards the heels, and then you come up. And then we move on to our triangle series, Trikonasana. So one thing I'm getting you to do here is so you bend this knee and take your hand behind and try and grab the top of the thigh. And so what that does is it puts your arm here against your ribs, and if you're sticking your bum out or arching your lower back too much, you'll have some feedback.
So what you want to do is draw the ribs in and try to press your lower back against your arm like that, okay? So when you're here, the ribs go in and then your lower back is against the arm. And then bring the hand here. So the movement here is to press into your leg and turn your chest up towards the ceiling. But don't let your shoulder come in like this.
So you keep the shoulder over the top of the leg, ribs in. The other important thing is the direction of your feet. So you want to have the outer edge of your foot in line with the edge of your mat. So again, it's like that pigeon toe thing, your big toe will be in, and then you're going to squeeze your heel inwards towards the middle of the mat. And what this does is it rotates your thigh out.
So then the center of your hip, the center of the knee, the center of the foot in a straight line. I'll demonstrate from this side. It's a bit better. So I turn the foot inwards, and then I squeeze the heel in towards the center of the mat, press the front of the foot out. And so what that does is that then the knee is pointing in the same direction as the foot.
So the center of the hip, center of the knee, and the foot. And so that's going to be your alignment for all your postas in this direction. So trikonasana, and then also your paajvakanasana, and if you ever do Virabhadrasana, all those positions. The back leg does the opposite. The back foot, you're pressing the foot in this way, stretching the heel that way.
So to start off the beginning, the thigh is internally rotating like this. Then ribs in, then the chest is going to turn up towards the ceiling, which also turns the hip up towards the ceiling, but don't push your hip backwards like this, actually. The hips move forward like that. And then you can release this hand. Also this hand can come down to the floor like this.
And then we go into our adhachandrasana, the half moon pose. And this is a really good way to feel the actions in trikonasana. So we come onto the fingertips, and then you're going to turn your chest and your hip here toward the ceiling. You can also keep the back leg, you can turn either way, you can turn in or out. There's mostly this action of the hip turning towards the ceiling, that's important.
And then lifting this leg up, if you can. Here again I'm pointing the foot, you could also point, depends. And if you can, you start to straighten this leg. And then from here, we're going to then bend the knee and go into the twisting version. So here you want to try and load the weight, you want to feel the weight in your hip.
So this is a really good way to stabilize your hips. The way we do that is not by working with the knees, the leg locked straight, but by actually bending the knee, that's going to build more strength in your glutes. So after you've come out of this one, you're going to bend the knee and really feel like you're going to, there's some stretch or some load coming into your hip here, you bring the hands here, and you're actively twisting through your upper back, your shoulders there, and then you go into the twisted version straight leg, and straighten the other leg like that. And again, you're going to bend the knee, and then push into the floor, come back into Adhachandrasana, and then again bend the knee, and come down. And luckily you've only got two legs, so just do it on the other side, okay?
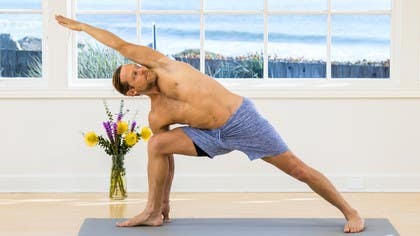
And so, essentially we take the same technique into the side angle, parj we can also accept this time, we're working also with the binds, so you want to feel like you're pressing your hips forward, and the knees pressing back, making sure that you're finding that connection from the center of the hip, the knee, through the foot, and we take the hand past the face like this, so that you can feel the difference between turning your chest up toward the ceiling, and turning your arm toward the ceiling. So actually, as we bring the arm like this with the little finger toward the floor, I'm going to turn the chest, but my shoulder, my armpit is turning toward my face, okay? So I'm not taking the elbow away from my face, the armpit elbow is coming down tricep toward the face, and we just look up under the armpit toward the ceiling, and then we go into the bind, so this is a really good way to open the hips for a lot of the yoga poses to come later, so you might find here, it's very challenging, so you can just stay in whatever variation is working for you, maybe the first stage is to just try and bring the elbow toward the floor, and if that's possible, then you're going to take this arm back, you can really open the chest up to start with, and then take this back, because if you have your shoulder in your chest closed like this, and you're trying to bind, it's not going to happen, so you have to open up, and then take the arms back, and then again, hips forward, knee back, as you open the chest toward the ceiling, and then we just release a little bit there, and then we're going to do the other side, but I'm going to do it on the other side just so I work my legs evenly, so for the twist here, we come out of it, and we also have another opportunity to stretch the hip flexors, so really lift that knee up, slight posterior tilt, ribs in, as you take the arm up and back, and then you go into the twist, I might just turn this way so you can see it a bit better, so you go into the twist, try to move actively to start with, and then use the hand on the leg to complete or finish the movement, and you'll start there with the hands in prayer, so the hands move toward the hip, shoulders away from the ears, pressing this right elbow against the left knee, and then from here we go into the bind perhaps, otherwise you just stay there, so this hand, you go into that internal rotation, this one, so this important movement is to pull that shoulder blade back, open the chest up as you take that arm back, and then if you can, try not to just allow this right hip to roll in, you need to also lift the right hip up to counter the movement, okay, and then you release that one, you're here, and it's the same arm rotation so you turn the hand and bring the arm past the face, looking up, under the armpit, toward the ceiling, that's good, you're going to strengthen your legs, open your hips up, okay guys, so a lot of you are probably familiar with Prasarita Padottanasana series, so there are a couple of variations that I'm adding, one being the twisting version, which is really good for understanding the dynamics of twists, so for example, generally what happens when we twist is, say I'm twisting to the right side, then the whole shoulder and head ends up moving towards the right, and the left hip drops down, something like this, okay, so we don't want to do that, you want to move your shoulder in that direction, but without it actually moving, okay, so you're moving it in that direction, but at the same time, you're pressing your hand to the left, okay, and then, so what generally happens is, as we turn like that, then you see this left hip drops to the floor, so you want to just bring in that counter rotation, but you do that, that's the last thing you do, so the other thing is the head moving towards the foot like this, so you want to just keep your head over the foot, and this shoulder, chest, you have to open up towards the ceiling like this, and then once you're there, then you can apply that counter rotation through the left hip, and then as an added bonus, I've got for you the horse stance, sometimes called the elephant stance also as well, so here, you want to just turn your feet out enough so that when you squat down, it's still keeping that same principle that your knees are going to move in the same direction as your feet, so that's going to be different for everybody, you want to have slight posterior tilt, so instead of sticking your bum out, you're going to curl under a little, but at the same time, you're squeezing your heels in and pressing the knees backwards, so you'll feel the glutes active, and then trying to bring your shoulders over the tops of the hips, and we have a few different variations there, and you're going to love it, and so there's one variation of PÄ쳌Å?vottanasana that I'm showing in this sequence, and I kind of touched on it before, the basic idea is that as you say, you bend forward, you're going to bend the standing leg, so really try to touch the chest, ribs to the thigh, and then from there, squeezing the glute on this supporting leg, you're going to come back to standing like that, okay, and this is really good for developing more stability, strength in your hips, okay, so in this variation, we're going to be doing it, the same thing, basically, like you would do for PÄ쳌Å?vottanasana, then going forward, back leg extends, lifts, and then trying to really focus the movement in the hip of the standing leg as you come back up, like this, okay, so that's going to be the standing sequence, I hope that helps, thank you.
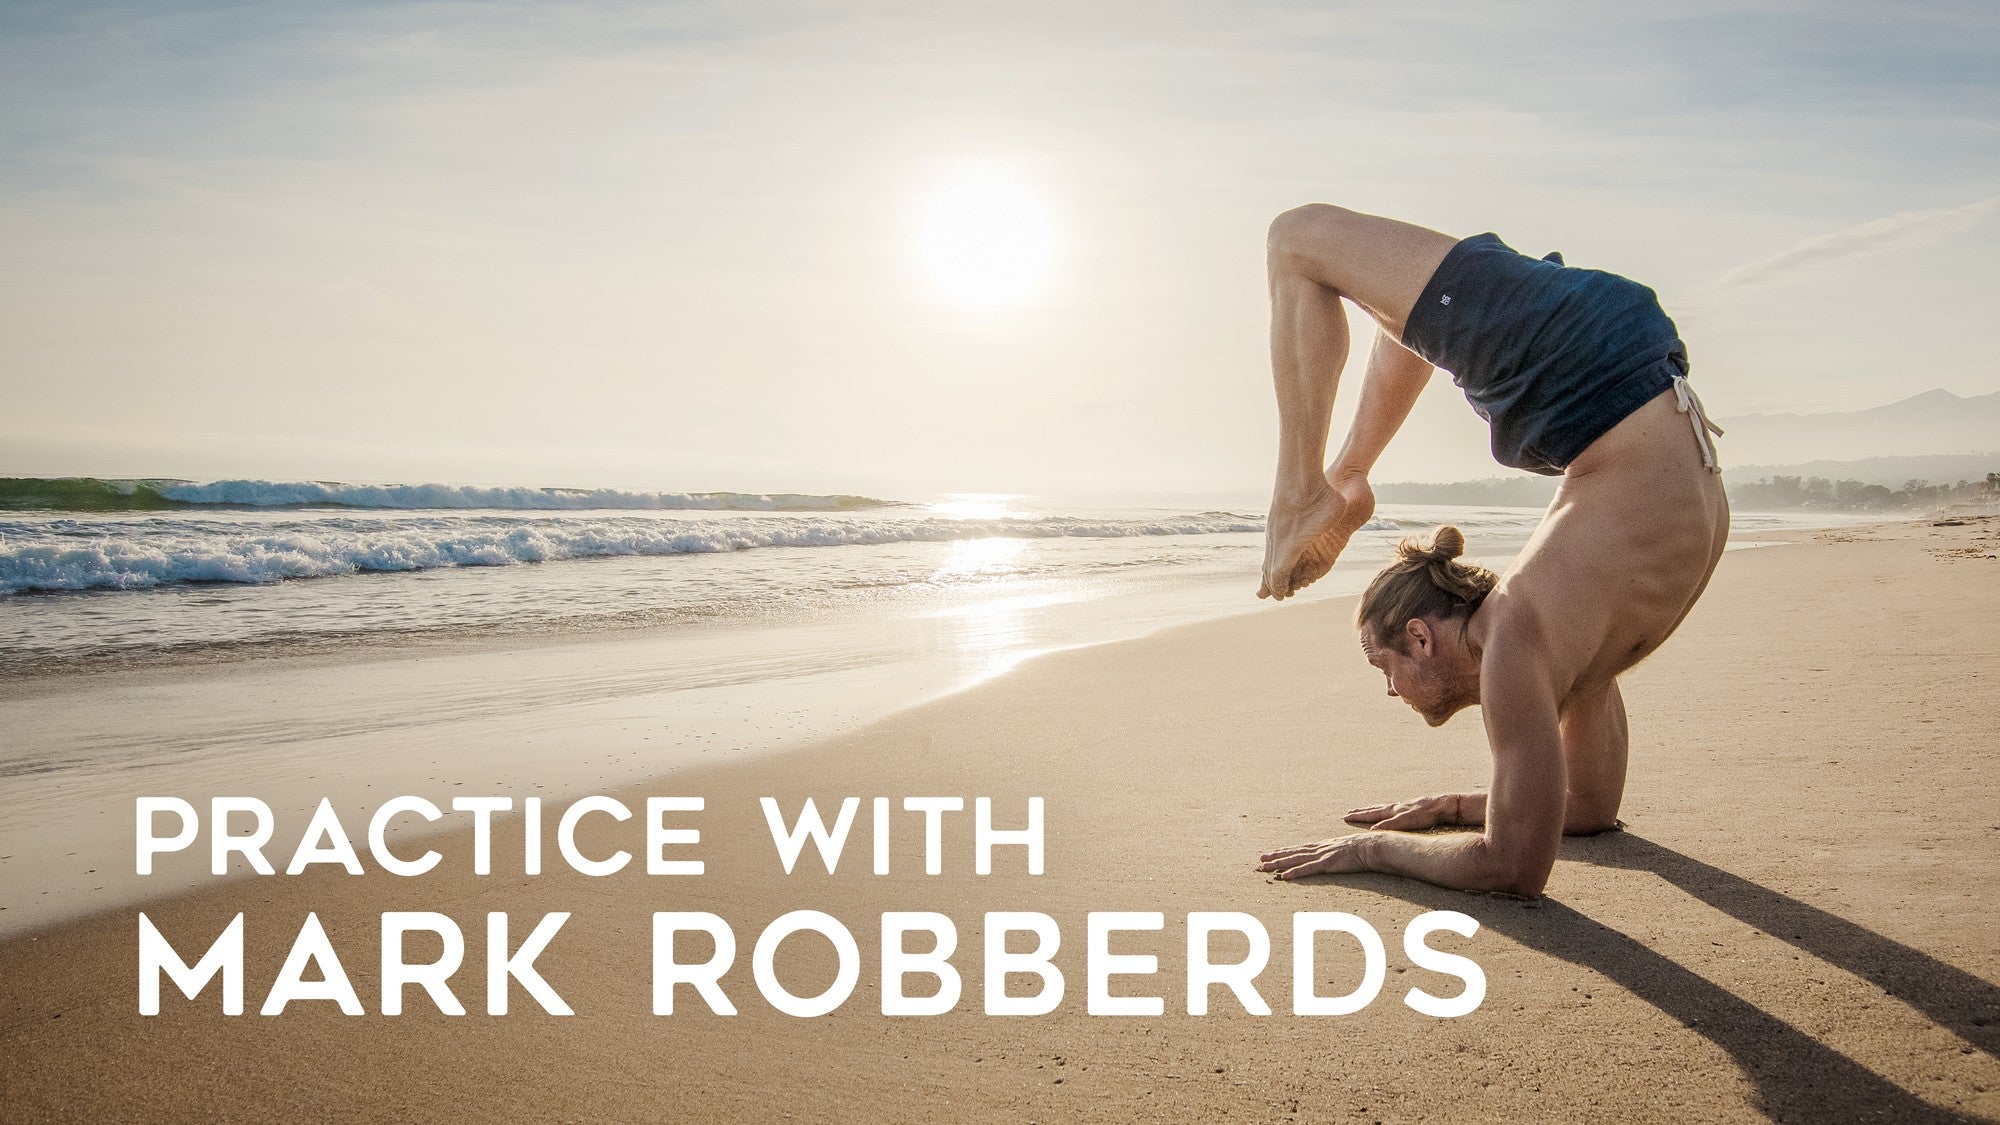
Practice with Mark Robberds
Comments

You need to be a subscriber to post a comment.
Please Log In or Create an Account to start your free trial.


