Description
About This Video
Transcript
Read Full Transcript
Welcome back. Today's practice is for pelvic stability. So we'll be working a lot on the lower body, stabilizing the hips, working the legs as a way to stabilize the pelvis. And it's definitely a practice that's more on building strength than flexibility. So I have a blanket that I'm going to start off using. And this is really just to give a little bit of support for the wrists. Carrying a baby a lot, you may have noticed your wrist gets sore. So you'll probably want to elevate the wrist a little bit. And also I have it this way so that it also supports my knees. So my knees aren't digging into the hardwood floor. You'll also need most likely two blocks and a strap. So we'll get started on hands and knees. And we're going to take the wrists underneath the shoulders and the knees underneath the hips, hands shoulder distance apart and knees hip distance apart. Pull the lower belly in to support the lower back. And we just want to maintain natural curves in the spine. So there will be a slight curve in the low back. We just don't want it to be exaggerated. And then we'll press into the palms of the hands so that we're lifting just a bit between the shoulders. That will connect to your core working, which will support the low back. Look slightly forward, pull the belly in. And we're going to start out just with lifting the right leg back. Flex the foot and press the right leg straight. And then we're just going to hold it here for five counts. See if you can keep pulling the lower belly in and pressing the hands down. So you continue to lift through the shoulders and then maintaining the leg as straight as you can. Just start to press the leg up to the ceiling for five.
Four. Three. Two. One. Then slightly turn the right leg out from deep in the hip socket. And we're going to press and pulse the right leg up and back here. Five. Four. Three. Two. And one. Then from there, we're going to bend, we're going to turn the leg back to neutral. So the toes point to the floor, bend the right knee, flex the right foot, and we'll pulse it here for five. Four. Three. Two. One. Rest straighten the right leg. Continue to firm the outer left hip into center. And we're going to take the right knee to the right shoulder, bending the knee. One. Then rest straighten the right leg out. Two. Keep pulling the belly in. Three. Four. And five. Straighten the leg. And then just take the leg straight out to the side, flex the foot. This can be done with a bent knee as well. If you're using straight leg, just try to pulse the leg up. Five. Four. Three. Two. One. Take the leg back again and bring the right knee down to the floor. Changing sides. Again, supporting the lower back with the belly, pulling it in, lengthening the sternum forward, and raise the left leg back. Flex the foot. Lifting from the inner left thigh, we'll just pulse for five. Four. Three. Two. One. Slightly rotating the left leg out from deep in the hip socket, and then pulsing here. Five. Four. Three. Two. One. Turning the leg back to neutral, so you're lifting from the inner left thigh, bending the left knee, flexing the left foot. Pull the belly in, and we'll press the left foot to the ceiling for five. Four. Three. Two. One. Re-straighten the leg. Point the toes. Then we're going to take the left knee to the left shoulder. Five. And then straighten it out again. Four. Remember to breathe. Three. Two. One. Straighten the left leg. And then bring the left leg out to the side. Flex the foot. And you can do this with the bent knee as well. The leg is straight. We'll take five pulses. Five. Four. Three. Two. One. Bring the leg back. And exhale.
Bring the knee to the floor. And let's just take one little child's pose here. Sit the hips back. Relax the head and neck. I'm going to move the blanket out of the way. You'll probably want to do the same thing. And from there we'll take the hands forward, curl the toes under, and come to downward facing dog. Let the knees bend. Go ahead and stretch one heel down to the floor at a time, pedaling the feet out. And then we'll find downward facing dog, pressing the roots of the fingers. Push the hips up and back. Pull the belly in. And from downward facing dog, we'll look forward and we'll walk the feet to the hands. Now look up and lengthen. Exhale and fold. And inhale. Come all the way up to the top, reaching the arms up overhead. And exhale, arms down alongside the body. So we'll grab our blocks for warrior three. We're going to place the blocks about shoulder distance apart on the floor. And we'll take a step back. We have about a foot and a half between the tips of our toes and our blocks. And this will vary depending on the length of your torso. Hinge at the hips and go ahead and set your hands flat on your blocks. And then lean forward so that rather than sitting the weight back, it's all in the heels. We're going to take it forward so that our hips are more or less stacked over top of the heels. And we have some weight in our hands. Kind of like when we were on all fours, when we were on our hands and knees. Press down into the mound of the index finger. Pull the belly in. Reach the sternum forward. And then from here, just lift the right foot up off the floor an inch. So it's like you're sucking your right thigh bone into your hip socket. And notice you don't really need to change the pelvis. The hips can stay level here. It's not like the right hip is going to lift up a whole lot. It's going to stay just where it is. You might even get a bit of a cramp right in that right hip flexor. That's okay.
If you do and you need to reset, go ahead. And then we're going to keep the leg in neutral. So the toes pointing straight forward. And we're going to raise the right leg up and back. As you raise the right leg back, I want you to have the image of the inner right thigh lifting to the ceiling and the outer left hip pulling back towards your right heel. Really everything is just going to stay neutral. I don't want you to turn your right leg in. It's just that the tendency is that the right leg will turn out. And I want you to think about countering that action. Press the roots of the fingers, pull the belly in, and just don't lock out your left knee. Make sure that the kneecap is lifting, the leg is engaged. You may even need to put a slight bend in the knee. And we're going to hold here for five more breaths. Deep breathing in and out through the nose. That's one. Two, sternum lengthening forward. Three, keep supporting the low back by pulling the belly in. That's four. And five. Release the right foot down to meet the left. Take the weight to the right foot. Again, pull the left thigh bone into the hip socket. So just hovering the foot up off the floor without really changing the height of the left hip. It's going to stay level with the right. Engage your right leg. And then lift the left leg up and back. Having the image that you're lifting from the inner left thigh so that the toes stay pointing down to the floor. Sometimes as a way to kind of cheat and get this left leg up, we'll open the hip up. We really don't want to do that here. Firm the outer right hip down and back.
And the left inner thigh lifts up. Press the hands, lengthen through the sternum, and breathe. And we'll hold for five more breaths here. That's one. See how much you can relax in the shoulders, the jaw, the cheeks. Two, keep pulling the lower belly in. Three, keep the right leg nice and active, but don't just lock it out. Four, so you might have to micro-bend it a little. And one more deep breath in. And that's five. Go ahead and release the left leg down. Take a deep breath in. Let's heel-toe the feet hip distance apart, and fold forward. Go ahead and grab a hold of your elbows if you'd like, or just let the arms dangle. Soften your knees here, and breathe. And then let's place the blocks to your left side. Heel-toe the feet back together, and inhale. Come all the way up. And exhale to standing. Samastitihi. And we'll come to the front of our mat. Hands to your hips, and we're going to take Utthita Hasta Padangusthasana. So we'll take the weight into your left foot. As you take the weight into the left foot, careful not to let the right hip drop. We're going to firm the outer left hip in, and grab a hold of the right knee. Have the option to either stay holding the knee, interlace your fingers behind your right knee, or grab a hold of the right big toe. If you're grabbing a hold of the right big toe, pull the right shoulder back, and then we're going to raise and straighten the right leg out in front. The other option is to interlace the fingers behind the knee, and straighten the right leg out front. Or keep it a little bent. Five breaths here. It's one, two, three. Press your left leg straight, four. Keep your shoulders over your hips, and five. Two more breaths. Reach the arms up to the ceiling, and then exhale and release it down. And release the arms down. We'll take that on the other side. Right hand to your waist. Take the weight to the right foot. Again, firm the outer right hip in, sternum up, shoulders relaxed down.
Either take hold of the left knee, interlace the fingers, or grab a hold of the big toe. Pull your left shoulder back, and then straighten the leg out in front of you. Lift up through the sternum, soften your gaze, soften your face, press your right leg straight, and we'll hold for five breaths. It's one, two, three, four, and five. Release the leg, straighten it. Take the arms up overhead. Two more deep breaths. One, and two. Release the legs, and drop the arms down alongside the body. Adding a little bit of flow to our practice, we'll inhale, reach the arms up overhead. Exhale, hinge at the hips, and fold. Inhale, look up and lengthen. Exhale, step back to plank, pull the belly in, shift forward, and lower down. You can lower to your belly if you'd like, or go right to up dog. Inhale to cobra or up dog, and exhale back to downward facing dog. From downward facing dog, we're going to step the left foot forward inside the left hand, step the right foot forward about halfway, start to bring your weight onto your left foot. You might want to grab a hold of your blocks here, or you may want to go right into warrior three from here. We're going to flex the right foot, start to raise the right leg up and back. You do have the option to keep the hands on the floor or bring them to the blocks, or you can start to take the arms down alongside the body and breathe. Arms can go to the side, or out in front as well. One, two, three, four, and five. Release the leg, and let's just take that into a forward fold. Nicely done. On an inhale, let's come up, and exhale, release the arms down alongside the body. Inhale, arms reach. Exhale and fold forward. Inhale, look up and lengthen. Exhale, step or jump back, and lower down. Inhale to cobra or up dog, and exhale back to downward facing dog. From downward facing dog, we'll step the right foot forward. Bring the left foot forward a little bit, just so you can balance the weight on your right foot. Reach your hands forward to the floor, or bring the hands onto a block. Transfer the weight to your right foot. As you flex your left foot, lift the left leg from the inner left thigh, and then either take the arms down alongside the body, out to the side, or forward. One, two, three, four, and five. Release the hands down, release the left foot down. Inhale, exhale and fold. And inhale, come all the way up. Exhale, return to standing, samasthiti. And we'll release the arms down alongside the body. Inhale, reach the arms up overhead.
Inhale into the hips and fold. Inhale, look up and lengthen. Exhale, step or jump to chaturanga. Inhale to cobra or up dog. Exhale to down dog. And from downward facing dog, we're going to jump through to seated for bridge pose. So we'll look forward and you can either step your feet forward to seated or look beyond your hands and jump through. And I'm going to turn around so that you can see me a little better. We'll lie down on our backs. You want to have your feet about hip distance with your toes pointing pretty much straight forward. Press down into the heels and start to lift the hips up. And in the beginning, let's make this less about arching the upper back and more just about pushing the heels down and reaching the knees forward so that you can get your quads and your legs to be nice and active. I have my toes lifted just because that helps me to engage the arches in my feet a little better. So go ahead and do that. And as you're lifting your hips up, start to engage your sitting bones like you're pulling your sitting bones together and squeeze the knees to center. I don't want your knees to start to touch because that's a little hard on the knees, but I really just want the legs to be as active as you can get them. So pressing the heels, reaching the knees forward, and pulling the sitting bones together. And then I'm going to give you the option to take a block, set it underneath your hips. I have mine at the highest height, but you can also use it at a lower height and just press the hands down flat and see if even though you're using the block for support, try to still get that action in the legs. So the knees pressing forward and slightly squeezing in, the heels pushing down as the hips lift up and the sitting bones pulling together. That's what's going to help to stabilize the sacrum and the pelvis. And if you're feeling a little more passive today, like you've worked hard enough for the day, then you can just let your hips rest on the block and stay here. And then we're just going to release the hips down to the floor. You can bring the hands to the belly, take a few breaths here. And then we're going to do that one more time. Same actions in the legs. So you're going to press down into your heels, into the mound of the big toe and baby toe. As your hips lift up, the knees reach forward and it's almost like the heels were dragging back. The sitting bones pull together and then we'll either interlace the fingers or hold onto the outer edge of your mat and start to walk the shoulders underneath you. Press the back of your head so you're not flattening the neck and lift your chest up to your chin. As the chest lifts to the chin, keep squeezing the knees forward and in sitting bones and heels, everything working from the waist down. The fingers are interlaced. You'll straighten the arms. Three more breaths here. And then release the hands, lower the hips and relax.
Let's straighten the legs. Supta Hasta Parangusthasana. You might want to strap for this one. So let's lie down on our backs and just find a reclined Tadasana or reclined Samastitihi. The feet are flexed so it's like you're standing on your feet. Legs are nice and straight. Pull the lower belly in and then see if you can find all of the shoulder blade on the mat. So the shoulders aren't rolling forward here. We have the reference of the floor beneath us. See if we can get the tops of the shoulders, the entire shoulder blade on the floor. Then pull the front ribs in and breathe. Keep your left foot nice and flexed and then let's take the right knee up. You might want to loop the strap around your foot and then the leg doesn't have to go all the way straight. But if it can, go ahead and straighten the leg. Now notice I'm using a strap here because I want to keep my shoulder blades on the floor.
And then drop the outer right hip down. Keep your left leg pressing the floor and maybe start to straighten the right leg. And we'll take the strap into our right hand, bring the left hand onto our thigh and we're only going to open the right leg up enough that we don't lose contact with the left hip and the floor. So we want to keep the left glute on the floor. Take the right leg out to the side and if you notice you fall over to the right side then you've gone too far. Turn the right thigh bone out from deep in the hip socket. Maybe turn to look over your left shoulder. And then inhale, bring it back to the center and let's exhale and release that side. And take the other side, bring the left knee up, loop the strap around your left foot, press the right foot, right leg down to the floor, right quad is engaged so that the inner right thigh is pressing down to the floor. Just like warrior three. And then hold onto the strap with both hands, drop the outer left hip down towards your foot, your right foot and then maybe start to straighten your left leg. Keep the shoulders in contact with the floor and breathe. And we'll take the strap into your left hand, bring the right hand to your right thigh and then open the left leg out to the left just enough that you can keep the right hip, right glute in contact with the floor. So your right side never lifts up off the floor. And then bring the leg back to center, release the strap and lower the left leg. We're going to take legs up the wall to finish today. And I'll do this with a blanket or a bolster or a couple blankets underneath the hips. So if your range of motion in your hamstrings is a little limited then you'll want to come a little further away from the floor. If your hamstrings are fairly open then you can bring your hips right up to the wall and you'll sit up on the blanket, lie down on your back, take the legs up. Feet can be together or hip distance apart. Arms down alongside the body, shoulder blades underneath you, again shoulder blades on the floor, eyes can be closed, belly nice and soft. And then you just relax here. So we did work our legs in our lower body. Now we're just allowing the blood flow to drain in the opposite direction, creating the benefits of an inversion. Really become aware of the breath. Still inhaling and exhaling through the nose. Letting the breath be nice and soft because the quality of the breath can tell us a lot about the mind. When the breath is stressed or tense, the mind might be active or stressed out. But if we can soften the breath, relax the breathing and it has a really calming effect on the mind and the entire nervous system. And then that affects the entire body and their physiology. Slowly start to deepen the breath. Let the deepening of the breath bring small movements into the fingers and the toes. You can even stretch your arms up overhead. And then with your exhalation, just draw the knees into your chest and then roll over to your side. Bring your right hand down in front of you, press the floor away from you as you come up to a comfortable seated position. And we'll cross the ankles. Bring the hands to prayer position at the heart, gently bow the head in gratitude. And thank you all. Namaste.
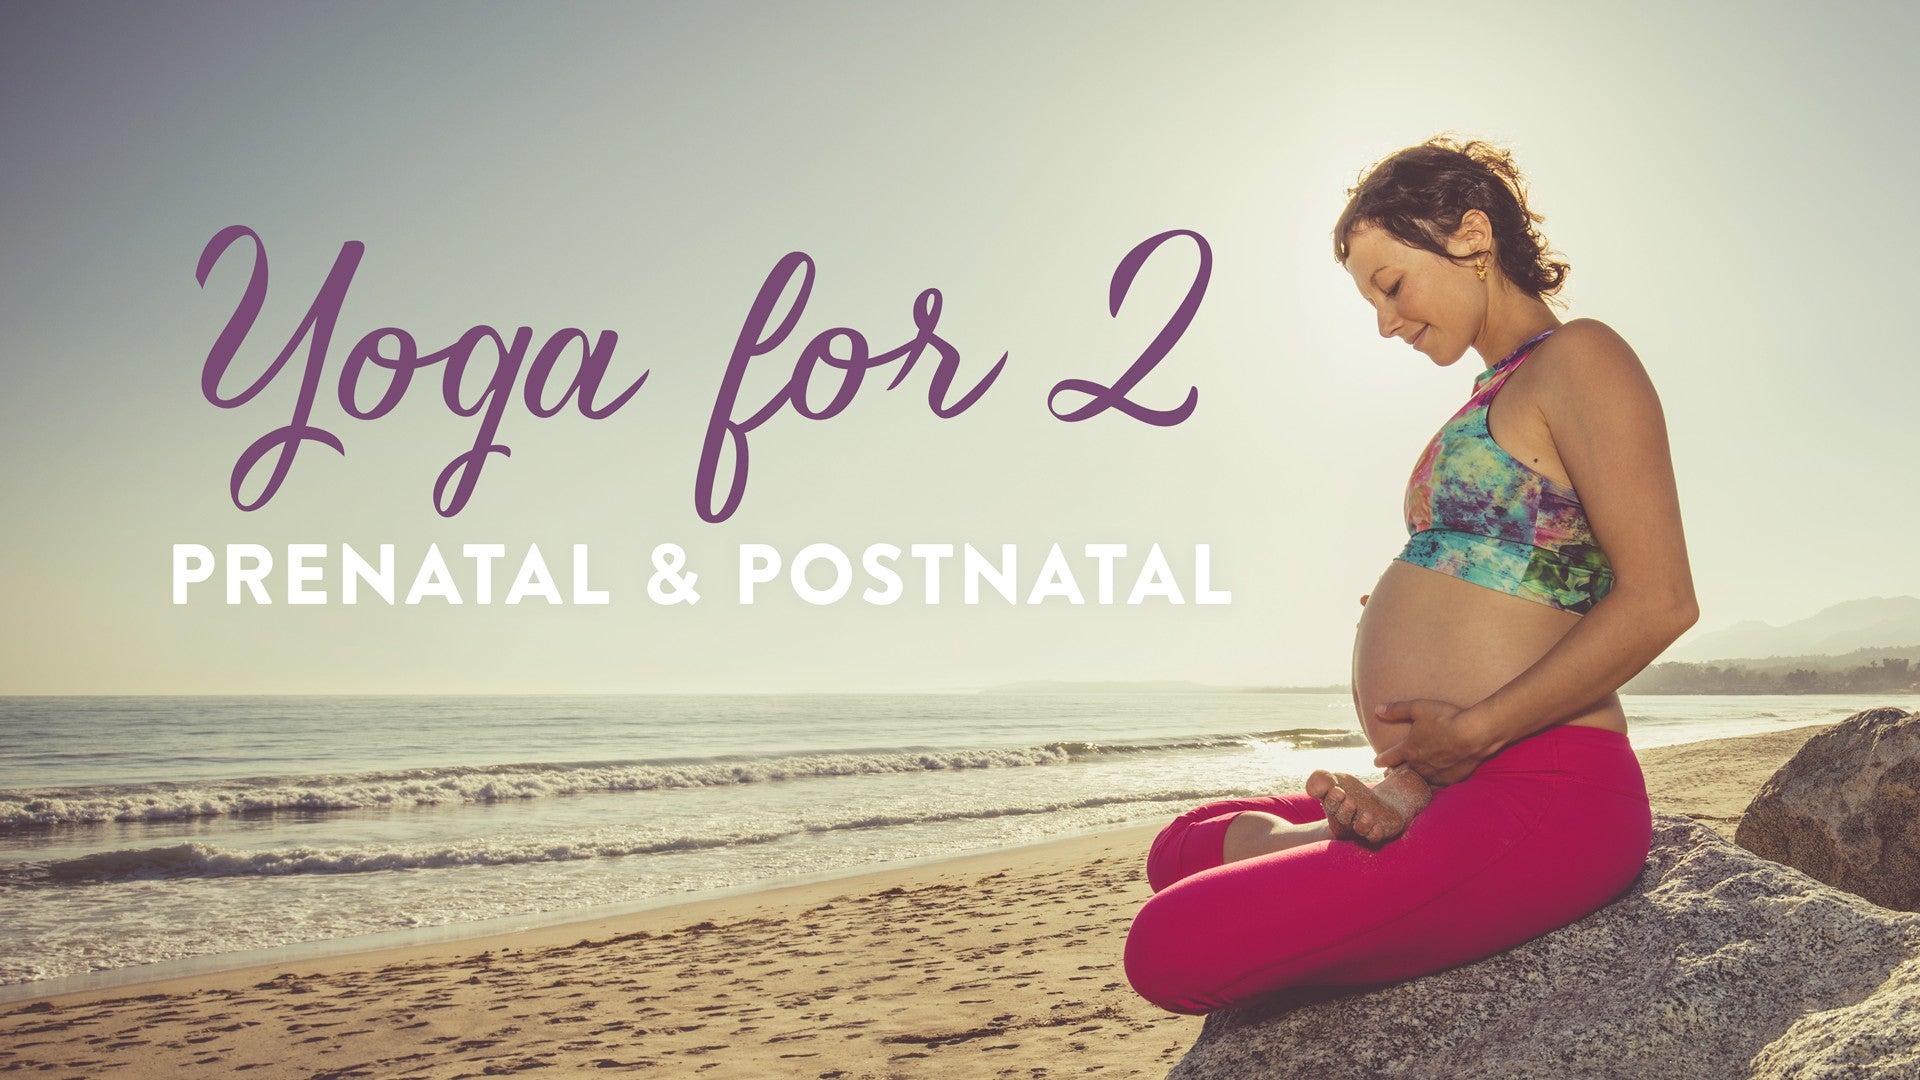
Yoga for 2: Prenatal and Postnatal: Active Postnatal


Comments
You need to be a subscriber to post a comment.
Please Log In or Create an Account to start your free trial.
