Description
About This Video
Transcript
Read Full Transcript
Now, we're going to play with Sarvangasana, shoulder stand. Shoulder stand is a wonderful inversion, and it also can be quite complicated and take quite a while to learn how to do. And while we're learning how to do it, some people have run into a lot of neck mischief, maybe because shoulders weren't open enough or there wasn't enough strength to hold yourself up in the position. So I didn't run into mischief until I'd done it for 20 years or so, but I now really enjoy doing this with the chair and with support. So we're going to work on a few things to prepare, come close to Sarvangasana, shoulder stand, and then I'll show you my fun way to do it in the chair.
Usually when you do shoulder stand, you would have been doing some other postures for quite a little while first, so the body should be overall pretty well warmed up because we often say that, some teachers do, till the very last or at least towards late in the class. In case you're approaching it not late in your class, we'll do some of these warm ups. So we'll start with rolling out, rolling out in and out of bridge pose. And I'm going to lie down and take my hands back towards the wall here because it can be really helpful to take the hands back and put them on the wall for the rollout. So starting with a block between the knees, which I use a lot, because any time we hold a block in place, we're stimulating, working, and tonifying the inner thigh muscles, which are called the adductors, and it's a large group of muscles and they need to be strong to guide us in a straight line, tracking when we're walking and to stabilize us when we're running and all kinds of things.
And of course in yoga, we do all kinds of wonderful things to stretch them out and it's good to keep the balance by taking opportunities to strengthen them as well. Also when I squeeze on the block, I get a little bit of work on this area out here which also helps to keep tracking. Here we come up into bridge pose and I'm going to suggest that you rock your lower back down and then rock your pelvis so the lower back comes up again. You can do that a couple of times. And then inhale, exhale, start lifting the pelvis, keep squeezing on the block, not ferociously, but you can feel yourself working a little bit there.
And if you find the narrow height of the block is too much work, widen it a little bit. You're holding your pelvis up and oftentimes in bridge pose we're going for a nice big chest opening but these first couple of ones, let's restrain the lift on the chest and just work on lifting the pelvis and turning the wheels of the pelvis, these imaginary wheels that will turn the pelvis this way or that way, arching or rounding and pulling the hip points up towards your shoulders. And that helps you to awaken and work the back of the body. And then softening the chest opening and then taking the hands back, you've already tested to see that you can easily reach to the wall and then lifting the heels, I'm pushing so that the skin of my back gets stretched and it's easier to stretch out my low back on the way down and then inhale and we're going to exhale and lift up again, pushing straight down on your feet, lifting up, restraining the ribs a little bit, hold for a breath, maybe two, third breath, reach back, hands on the wall, it could be lower, baseboard or not, raise your heels because that helps you to stretch out your back, elongate on the way down, okay and then we'll do one more of those and so exhale as you come up, you can raise your heels a little bit but don't forget that this is the center of the universe right now, keeping the pelvis turned and the hips coming up and just gently restraining the ribs and after several breaths then inhale and take the arms up, raise your heels, exhale, push to elongate down, you can do a little side massage, wagging your tail a little bit and then release and just rest and feel that and then we're going to do a bridge pose that is intentionally meant to open the chest and the shoulders a little bit on the way into shoulder stand so rolling over to the side and coming up just to make it easier on your neck because whenever you lift up into a high bridge, which I wasn't doing so much there, whenever you lift up into a high bridge there's this lift of the chest and there's a very strong stretch of the back of the neck and that can be just a little too much sometimes and so this makes it easier on the neck and it makes it a little bit easier to get the sacrum, the pelvis on the block. So we'll have the block at the side ready and as you lie down you want to make sure that your head, even though your neck is a little bit bent here, that your head is off the blanket and your shoulders are on and there's an inch or two here of space because when you roll up if you're too close to the edge you can roll off. If that happens just come down and adjust. So I've got my block here. I'm going to forego the block between the knees actually and press down on your feet. You can even press down on your hands, little finger sides of the hands on the floor. Take a deep breath. Exhale, curl up, lengthen your neck, walk your arms a bit under, raise your heels and explore where am I? Am I high enough to get on the high height or would it be better if I rested and this is very close to your tailbone where you rest this. It's not under the curved part of your back. It's under the broad sacrum and buttock area. So you can rest this way and I know this doesn't look like a very high bridge but just lifting the pelvis this much or even this much allows me to open and make some space here for when I get up into my shoulder stand. So if you're flexible enough maybe by raising the heels and lifting your pelvis you might like to be here but you don't have to be here in order for it to be correct.
This is no more correct than the low height. What's correct is allowing the chest to open and setting up your appropriate height for that. So again I'm letting the hip points come this way. This time I'm allowing the ribs and the chest to open. Some people like to interlace your fingers together. That's okay. But you can also press down on the upper arms and imagine contacting the space between the scapula, the shoulder blades and back to help open that uppermost part of the back. Be careful not to press the head into the floor as you do this. To keep your neck relaxed. And then there's a little variation you can do where you stand on one foot. Bring one leg up. You can hold that leg with one hand and then bring the other leg part way up and extend out. You can see that I've got the foot higher than my hips. And then as you come down just float down a little bit and you're trying to drop. I'm going to show you're not lifting your leg but I'm just lifting so you can see here. You're trying to drop from here not from the foot. So you stay up in the air and you're stretching the front of the thigh and primarily the thigh crease. Just a few breaths there can make a huge difference for the feeling when you're up. And then exhale. Bring your second leg up. Hold on. Bring the first leg up and then extend it out. Reach long through the heels. Pull the toes back. Internally rotate the leg just a little bit and descend from the top of the thigh. Imagine this is the part of the leg that you want to bring down. And don't even think about getting that leg all the way to the floor. Maybe the tenth or fifteenth or fiftieth time you do this. You'll just be there and suddenly you'll feel the floor under your foot. Not because it's been the goal. See if I do that right now I'm overarching my back. So that is not the goal. Okay. So then bending the bottom leg put it on the floor. Put your first leg on the floor. Now remember you may have been here the whole time or here. But when you come out you lift up once again. Remove the block. And now raise your heels and just try to scoop the lower back long on your way out. And remove the blanket so that you can rest flat on your back for a few moments. Maybe a little pelvic tilting or shimmy. Smiling because this one always feels so good. It's helpful to rest a little bit when you do something that is kind of vigorous so that you've got some juice for the next piece. Okay. So now I'm going to roll over. Actually before I roll over I'm going to lift one leg and then the other. And I'm going to pull the knees into my chest but I want to encourage you as you do this to you're pulling your knees in but you're also resisting the legs away as though you didn't quite want to let your legs come in too fast. And as you do this it's kind of amazing because as you do this the lower back spreads width wise and it also lengthens. So it's really nice after doing something like that bridge pose. And then you can even curl up and you can stretch your arms out, you can lift up towards your legs, flex your feet, stretch your arms out parallel to the floor. There's a name for this but I forget it. And then feet back to the floor.
Okay. So now rolling over one more before we get to the action of the supported shoulder stand with chair is just to come into a long stretch of the spine in the half dog pose. Half dog pose I think of as hips behind the knees and arms out front. And the arms are straight and you just rest your head down. Now if your head doesn't rest easily down it's really not that great on your neck and shoulders so you can take a blanket or even a block and give yourself something to rest your head on. And all this here can let go and you can work on the lengthening of your spine and just deep breathing. Enjoy the lusciousness of this. After a few breaths you can even just let the forearms relax, let the elbows relax and let the forearms down. And then up and now we're going to get our chair and bring the chair back to set up for the supported shoulder stand. So magically my chair and round bolster have appeared a little bit like the old Julia Child programs when she had some things prepared ahead of time. So here we are for the chair shoulder stand. What I'm going to do is take this mat, bring the chair not too close to the wall. Sometimes you might want to put your foot up on the wall but I don't think I want to do that today. Give you the opportunity to, I like to leave a little bit of the mat up so that I'm sure not to have my bones somehow like if I put it flush with a chair like this it's very likely that my bone would end up being supported by the hard chair. So just give a little bit of extra, not too much. And then I know that this bolster is high enough that I'm not going to get the traction I want so I'm going to put this blanket under the front legs of the chair to give me more space from here to here. Now sometimes what we do when we don't have bolsters is we take, just fold up three to four blankets and get a height that's good for you. How do you know? You experiment. So if you watch and practice this a few times you will know exactly what's right for you. This is the equipment that you have maybe when you go to your studio have different equipment and you have to experiment some. So this takes a little time. So I am all set. I'm going to straddle the chair. When you straddle the chair you're quite close to the edge. You see if I push this down I'm quite close to the edge. So I'm not quite ready to go back yet. I'm going to suggest that you put your legs over the top and scoot in a little bit. You can see that I'm not so close to the edge now. And this is much safer when you're rolling down so that you don't flip off the back edge. And I'm going to go in even further. And then this, if you'll take a look, this part of the leg of the chair is continuous with the back of the chair. So you can start by holding onto the back of the chair and then walk down. Starting with the edge you hold onto the legs of the chair and then you walk down. Now I can feel my back resting on the edge of the chair. And I'm going to bend my elbows and I can feel the bolster and that gives me some comfort because I know it's there. And then I scoot back. All that scooting forward then you have to scoot back again so that your sacrum is on the edge of the chair and not the curvy part of your lower back. And then the reason why I don't use a sticky mat under all of this is because I like to be able to adjust.
You can see I can go forward or back with it. And then as you straighten your legs you get some opening here. You get some opening in the chest. You can reach back and hold onto the mat on the seat. You can reach back and hold onto the back legs of the chair. If your shoulders are broad you can not try to get between the legs of the chair. That can be very difficult. I'm very thin and pretty flexible in my shoulders so it's pretty easy to do but you might have bulkier shoulders especially men. So they're holding here. The idea is that you should be comfortable here. Now my head is tilted way back which I kind of like but I also like a little support for my neck. So now I'm not actually touching the floor but my neck is supported as well as my shoulders. And then holding onto either the seat or the back here or all the way back and then bring one leg onto the back of the chair and stretch this leg up. Back a little for balance. Other foot comes and touches the back and comes up. And then I'm exploring to see where I can hold my legs comfortable. Some people feel a little safer when the legs are a little bit back away from straight up and down. And some people end up bringing the legs a little forward this way. That's fine. Just find a place that you're comfortable with. And then you just stay here however long is right for you. Sometimes when I start to really get relaxed with it I'll just bring my arms out. So you have to feel safe. You might even want to put the chair on a sticky mat so that the chair itself doesn't move and all this can. And then you can just relax here for a while. Tuning into your breath and allowing the release of the breath to help you relax here. So first time, maybe just a minute or so, which we've already done probably two or three and I'll show you how to get out. And then later after you get more conversant with getting in and out and comfortable here maybe you decide to do it on lower height maybe you decide higher. At some point you're ready to come out. So you'll bend your knees and put your feet on the back of the chair but you don't put any weight. You're just barely hovering there. And then you start to slide off again putting almost no weight on the feet, walking the feet to the seat, sliding down, sliding back, inchworming yourself off but stay if you can. Keep your hips on the blankets or the bolster here that were supporting your shoulders. Now you have this nice stair step arrangement with the back completely flat. You can lengthen the back of your neck and just let the eyes and the brain softly settle towards the heart. Feel your breath flowing. You can feel that circuit of release in the back of the skull, around, down the face, circulating around your head but also landing in your heart. Big changes in movement of energy in the body with that pose so rest with it and enjoy. And then when you're ready to come out you can just keep sliding off or put your feet on the seat of the chair and slide the bolster out. Put your feet on the floor. Just move slowly and carefully. After a while you don't need your eyes because you can see everything but it might help to look, see where everything is. And then turn to your side. You can raise your arm up on that side that you're turning towards to rest your head. Tuck up. Tuck your knees up sort of semi, semi fetal like. And when you come up just put your free hand, maybe you've rolled to the left, maybe you've rolled to the right. Put your top arm, your free hand on the floor near your face or your chest and kind of roll a little bit closer to the floor at first and then push yourself back and up. Let your head come up last and find yourself in sitting and just feel into the movement, the dynamic movement and the dynamic stillness that pose really folds you towards your heart, towards a very peaceful feeling. So you might want to watch this video a couple of times, especially the end part of how to get into it two or three times and set it up and maybe not do it and then do it and take your time to learn it but it's a very rewarding way to do this pose. Some of my students do it this way first and then they'll do the standard traditional way of doing it with the legs straight up in the air. It's a good preparation for that too. So please enjoy the opening. Namaste.
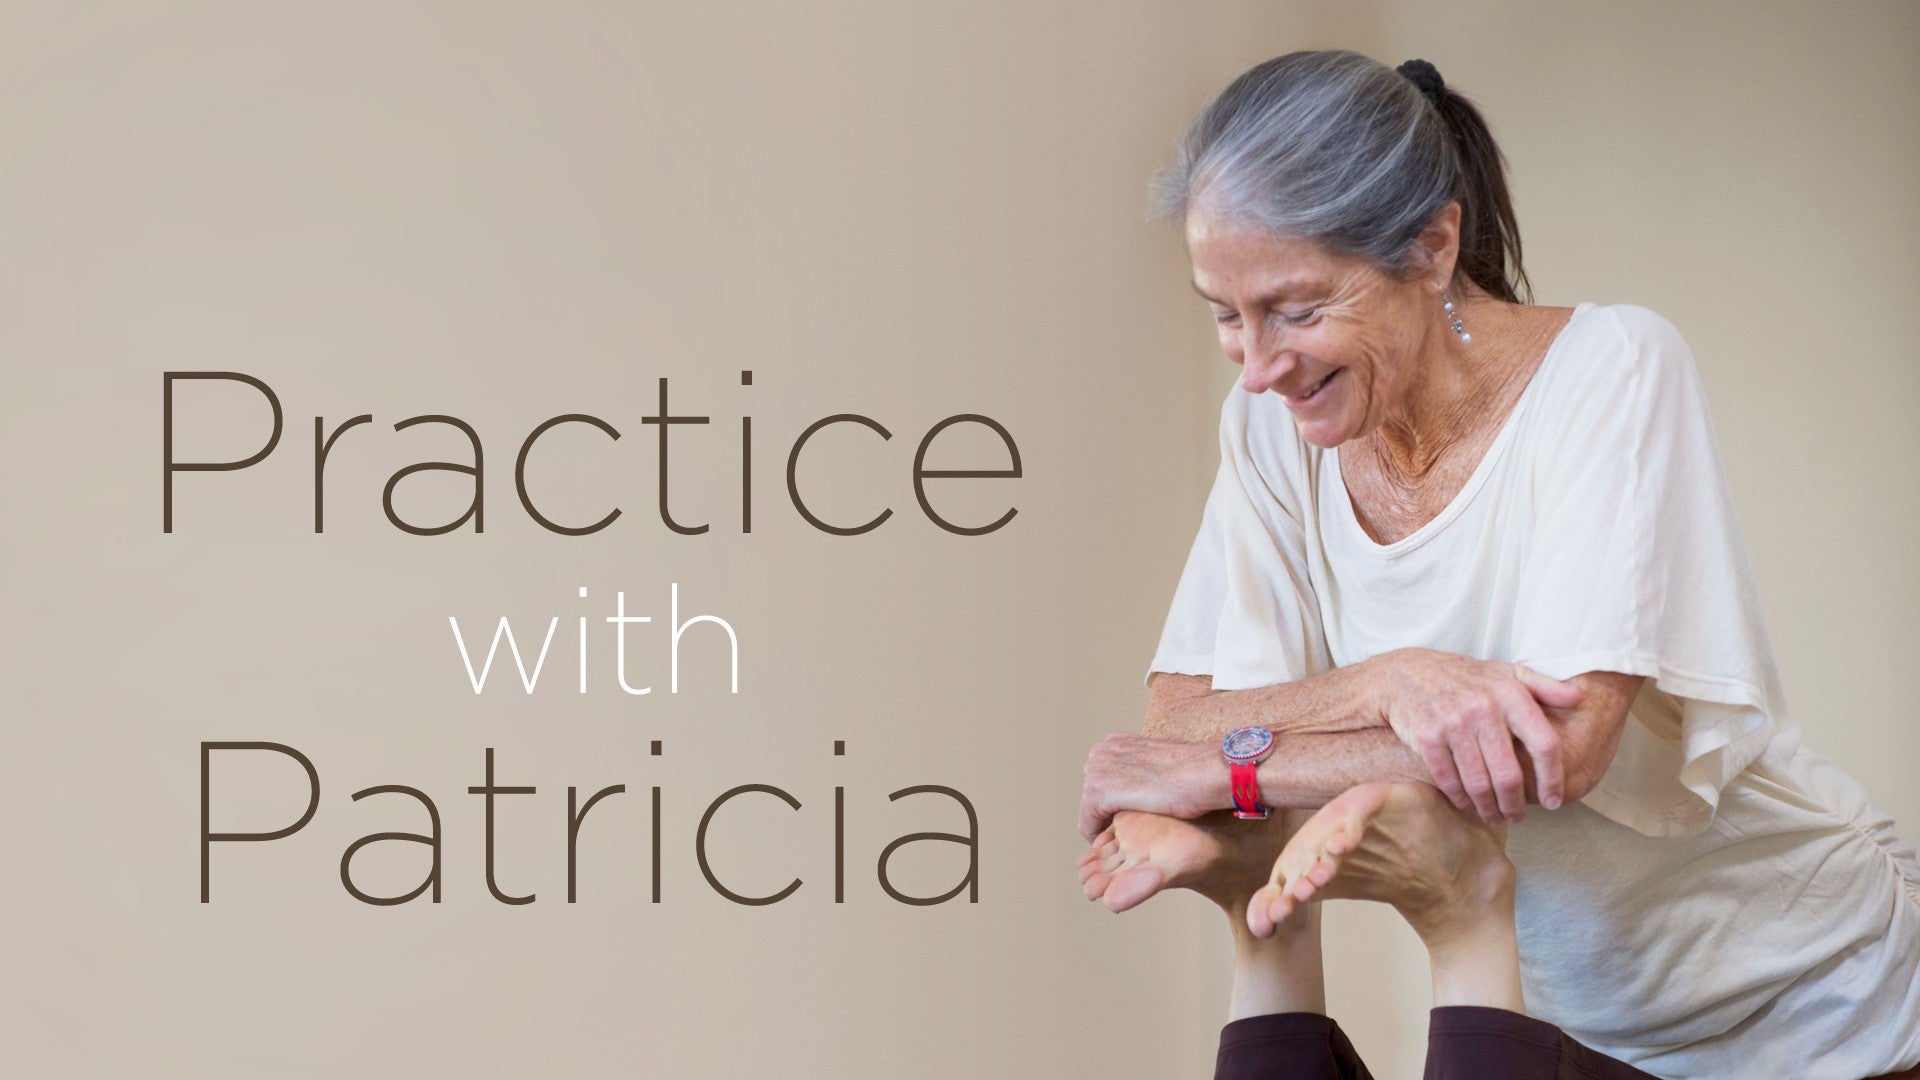
Practice with Patricia: Patricia Sullivan


Comments


1- you might need more support under the back of your head as this version of chair shoulder stand really takes the head back quite a bit, though helpful in reverse curve situations, it might not be the best for your circulation.
2- once everything is set up and you're starting to go back, pause at the place where you're just about horizontal and take a breath or two before slowly easing down the rest of the way.
3- as you are easing down keep the back of your neck long and chin somewhat tucked until you feel the bolster supporting neck and shoulders.
Let me know how it goes!

Thank you!
(I especially love when you say "feel into .... the dynamic stillness."--- YES!)
Much love.


You need to be a subscriber to post a comment.
Please Log In or Create an Account to start your free trial.
