Description
About This Video
Transcript
Read Full Transcript
Hi there, welcome back. Today, I thought I'd show you a floor opening sequence that I often do, and of course, every time I do it, it's different. Just imagine yourself, you can close your eyes if you like, getting up in the morning, maybe it's winter, maybe it's summer, this works pretty good, both seasons. But your body is maybe a little stiff, you're not quite ready to jump into your sun salutations, or whatever you want to do, perhaps meditation. This is one I've used prior to meditation, many times. Sometimes I extend it to be longer, just improvising, and sometimes it's shorter than this.
So feel free to add to this at your own pace, and so on. It's all pretty much primarily on my back until I get up right at the end to do one seated pose. All right, so here we go. Lying on your back, you will be reaching long through one side of the body by reaching long through the right arm and the right leg, for example. And that lengthens the side of my waist, my ribcage, my spine, as well as the arms and legs. And then I release, and then I consciously shorten the right leg that I was stretching before, and I lengthen through the left side.
And now my waist is shortening, spinal muscles are working on this side, they're stretching and releasing on the left side. Right side lengthening, right side releasing, left side lengthening, left side releasing, right side working a little, and so on, back and forth. Three times each side might feel like enough, might feel like you'd like to do more. You can see I've changed the pace a little bit, going just a wee bit faster, and then stop and let your arms relax, bend your knees. And sometimes if the lower back is a bit stiff, it might feel better actually to do that piece that we were just doing with the knees bent, in which case you're doing this more from the pelvis than reaching from the legs.
Same shape, lengthening one side, shortening the other. And if your arms are tight, you can always do it with the elbows bent like this. We don't have to have the arms straight. Alright, so that's a little bit of wake up, and then you can do a little pelvic tilting if you like. This is always, this always feels good.
Okay, and then after pelvic tilting where the lower back comes on the floor, pelvic tilting where the lower back comes off the floor, primarily accomplished from the pelvis. Okay, and then I'd like to walk the feet apart just about to the width of the mat, and the arms can either be out to the side here like this, we'll start like that, and rocking the knees to one side. Now here is a delicious little stretch across the sacral area and across the gluteal muscles, the buttocks muscles, just to the left and right of the sacrum. And once in a while I get a bit of tightening on my right side, and I can always tell when I do this if that's tight, even if I hadn't tuned into it prior. And what happens is that rolling over this a few times, it starts to soften.
And I'm letting my head turn in the opposite direction of the knees, I'm not moving quickly, I'm moving sort of slowly and luxuriously. And this time when I come over to the right I'm going to let my legs stay there for a little bit, and I'm even going to stretch my left arm overhead. So now the left side of the body all the way from the fingertips to the knee is getting some stretch. So inviting nourishment with the in-breath, receiving, and just letting go of effort, of anything as you breathe out. One more like that.
And then back up and kind of centering again, dropping to left, dropping to right, and then over to left. Now that I'm on the left side, raising my right arm, maybe even pulling the left foot, I've brought it a little bit off the mat, which increases the amount of stretch I get across the hip crease quadricep. Some of my students will sneak themselves into half supta virasana here, so that's fine too, if that's available to you. And then there's the reaching, the dropping of the belly back, even if the knee lifts a little bit, and the reaching long through the thigh, all the way from above the waist, reach long all the way out to the knee, and from the pelvis, reach long all the way out through the arm. In a luxurious way, let your jaw soften, let your breath be prominent.
Inhaling, receiving. Exhale, letting go. Inhaling into the back body, the back waist, exhale, let go. Third breath. Now because I walked my foot back, I'm going to slide it back onto the mat to roll back up, center myself again, and think about what would I do next?
Well, I think I'm going to bring my legs up into baddha konasana. So for baddha konasana, I might do a little something with the block here. I'm going to have that right available to me, and I'm going to lift my feet up and bring the soles of my feet together, let the knees come wide, and wherever you can hold on to the legs, perhaps halfway down the shin, all the way to the ankles, all the way to the feet. Where can you get to with your hands and arms? If you can have your arm bones on the inner thighs, that's great. So one way that I play with this one is inhale, not really pulling on the legs.
Exhale, I pull the feet towards my heart space, and then inhale, I release. Exhaling, inhale as I release. I'm not letting go of the feet, but I'm letting go of the pull. Exhale, pull in, rounding the low back a little, inhale, release. This time as I exhale and pull in, I'm going to actually resist my legs away from the pull without sitting up. So inhale, exhale, pull in, but resist the legs away, and I always get this sort of butterfly opening of the legs.
That feels delicious. And then release for the inhale. One more like that, pull and resist away, open the knees away, and then let go. And then you can rock left and right a little bit, which feels good after doing that. And as I'm rocking, I'm not quite opening my feet up yet like we do in Happy Baby Pose, which I feel confident that pretty much everybody can get that this is kind of a Happy Baby Pose, if you've ever seen a child in a crib. So as you pull yourself to the side, actually pull your foot just a teeny bit closer to your heart while letting the other leg relax.
Inhale up to center. Now the leg I was just working with relaxes, and I pull the foot a little bit closer to my chest as I go. And what I experience is a spiraling of my thigh from the pelvis to the knee, because I have my hand on the inside and my elbow. As the foot comes up, the leg lengthens, and it's pretty yummy. However you work this out. So the feet are moving a little bit away from each other. Nice massage on the back. Sometimes I'll hold my feet in Baddha Konasana with a block between them. Ooh la la. So now I feel a bit more stretch right where the thighs join my pelvis, and that's noticeable.
Just holding that steady for a few breaths. And it's interesting. Even after breathing for my entire life, and being aware of my breathing for my entire life as a yogini, I still have to remind myself. And that's 42 or 3 years of doing yoga. So don't be surprised if you have to remind yourself to breathe. The mind moves in many ways very quickly away from the breath. And reminding yourself just remains, you just woke up.
Okay, so you could also do, there's a couple more things you can do in Baddha Konasana there. You can do a half sit up. Inhaling, exhale, curl up with the resistance of the legs. Oh, that's yummy. If it's not yummy, don't do it. Exhale, curl up. You can see the elbows cross in front. One more. Exhale and curl up.
And then, yeah, perhaps you're ready to do some happy baby movements, opening the foot more away from the leg. This will often turn into letting the legs stretch out, and you don't have to keep a hold of the foot. Just let your hand slide down closer to the knee as you do this. And just letting the body topple over a little bit to the side. Sometimes if you topple over too far, it can be a little, you have to use a little momentum to get back.
But that's all right. Have fun. Okay. All right. So back to center, putting the feet down. Just take a couple of breaths. Check in. How's everything feeling? Sometimes this shimmy action comes to mind. It's actually the body asking for it. It's not my mind.
Hmm. Hmm. Okay. Now I'm going to need the block again. I'm going to rock up and grab the block. And I'm going to do a variation on jatara parivar tanasana. So jatara or jatara has to do with the agni in the middle of the body.
So agni means fire, and jatara might have to do with rotation, but it might also be directly related to this movement. I just use the Sanskrit alone on some things that I forget what they mean, but my body knows what they mean. Just jatara parivar tanasana. But I do know that this movement helps to stimulate the digestive fire. And this is not just digestion of food.
Whatever we take in, visually, auditorially, emotionally, touch, has to be assimilated. Somehow our body needs to figure out how to assimilate it. And that, the yogis say, is from this area of the body. And when our jatara agni is in good shape, we have a sense of primordial trust in the world. It's just there. We just trust and have faith in ourselves to be able to be present with whatever comes up.
So let's work on that agni. And the way we're going to do it is we're going to put a block between the knees. This is a thick block, and so if you're thin, the narrowest width is probably just right. If you're wider in the hips, tall and wide, then you can use the medium height. I'm going to use the narrow height, the narrow width. And I'm going to keep my feet a little bit flexed and my knees just a little bit in front of the hips, rather than taking them back this way.
So I have to work hard to keep them here. I have to work really hard. I don't want to work that hard right now. But what I am working is my inner thighs here and a little bit of the outer hip by keeping the block here. And this synergistically, if you're just going over about 45 degrees, if you turned all the way down, that would be a 90 degree rotation. So let's just do 45, halfway down.
And as you're going halfway down and back up again, notice what's working. Notice what's getting stretched. Notice what kind of feels like it has to resist down to the floor in order not to be pulled up, like shoulder, maybe. So as I come now to my right, I can feel my left shoulders getting pulled on. And I have to consciously try to keep it down.
And where does that come from? It comes from the shoulder blade right there. What I'm doing with my hand here on the back side of my armpit is I've got my thumb into the inner side of my shoulder blade and my hands, my fingers on the outside. So when I do this pose, I try to pull the shoulder blade down my back and towards the midline. And that helps me keep my arm on the floor. And I let my head go in the opposite direction.
So looking towards you as my legs go away from you, looking away from you as my legs go towards you. And as I do this and get warmed up, I find that I can actually just push the envelope a little bit and I can go a bit further over. And that feels kind of delicious because I can feel my ribs and my belly working. And here's a little something I learned along the way, that as I'm coming to the right now towards you, as I press my right leg more firmly into the block than I'm pressing the left leg, it gives me support from feeling like I have to work my belly at my shoulder and I can't do it. So you can just use the leg a little more strongly as you're going over, pressing up into the other leg.
I just got a nice little pop in my back when I did that. That's just something to play with there too. And when you're done with that, if you're someone who has the ability to do this with straight legs, you don't use the block. You just take your legs up. And if this is a new activity to you, going over side to side and working the shoulders and the belly to keep yourself from being pulled around and so on, I suggest you get strong with that before you try this one.
But you can kind of move your hips to one side, press your entire leg as strongly as you can from the feet all the way up to the pelvis, press them each against each other. And as I come to the right, I'm pressing my right leg much more strongly into my left and I'm spreading my toes and flexing my feet and coming over. And I'm not coming all the way over because I can feel that I'm starting to strain to do that. Hips to the other side. Exhale.
As you go over to the side, the bottom leg is pressing more firmly into the right. Now you can probably see that I have my hand up there too. That's a nice way to support yourself from falling if you start to feel like, oh, I can't do this. Just bend your elbow and support the leg with your hand. On the other side, the right side is stabilizing down.
So this one too, it's a continuum of going over how far, how far, how far. It doesn't have, you don't have to go to the extreme all the way down just to work with right where you are right now, which might be just part way down and up again. So this is going to be my last one on that. And I can feel the warmth in my tummy, in my area here, my belly area. So just one more piece before we sit up.
Bringing your legs up straight, if your legs don't like being up straight at a 90 degree angle off of your pelvis, bend your knees. But see about keeping your feet flexed. That'll help to stabilize everything. And then put your hands on the insides of your legs. Sometimes like this is easier to have the shoulder blade region and this area of your arm doing the work.
Sometimes if you hold from the inner palm, you'll tend to work too much from up here. And we often do that anyway. So just explore. And you're going to push your legs apart while resisting your legs. So the legs are going, no, no, I want to stay together.
And the hands are going, come on. And gradually you let them come out, but with resistance the whole way and then back up again. So let's add awareness of the breath to this. Inhale in place. Flex your feet.
Exhale. Press out. Take one long breath to get all the way out. Inhale in place. Exhale to come back up.
Again, against a little bit of resistance. Some of you are working with the legs bent. You could do it like this. So we're stretching the inner thighs against resistance, which helps to tone those inner thigh muscles as well as stretch them. Exhale to come out.
Take a deep breath. So whether you're working straight or bent. And last time coming up, inhale. Exhale. Zip them all the way back up.
Bend your knees to your chest. You can make circles in one direction and then the other. And then we'll do our one seated pose in this sequence, which quite honestly sometimes this is my first pose out of the bed, this one we're about to do now, but often enough I decide to do the others first. Because it helps this come so much easier. Like right now it's really easy for me to open my legs.
My thighs feel grounded. My back feels upright. If it's difficult for you to sit upright and have your back coming straight up out of the pelvis, which I'll show from the side when your legs are wide, if you're just a little bit tipping back here, boy does that make the hip flexors, the iliopsoas work hard to try to keep you from just going poof all the way back, right? And then you have to collapse forward to make up for it. So if that's your posture, you're going to sit on a little bit of height, take a blanket, fold it up, put it behind you.
Well, I'll show you from the side. It's also helpful to place yourself so that you can almost be dropping off the edge. Sometimes I use a half round, which I'll show you in the sitting tutorial. So I'm getting close to the edge, and that facilitates some ease in being able to tilt the pelvis forward like this. I think I'll stay right here to demonstrate the first side.
So I'm going to have my belt opened out, and you'll have to decide how big a loop you want, but I would like you to try to use a loop, because if you can reach through your loop like this and get the loop on the back of your hand, and then grasp around the belt, this is such a nice way to be holding onto a belt rather than gripping with the fingers and squeezing hard with the hands. I realized I needed a second block for this demonstration, and I've asked for it, and it's magically appeared. So you're going to have one block to the inside of your leg, the one you're going to be turning towards, and one block to the outside. The outside block, I keep a little bit closer towards the top of the thigh, and the inside block is whatever I can reach to, and the belt is going to be already around the foot so that you can reach for it when the time comes. So taking a breath, exhale, press down on the top of the thigh, you're turning away from. Right now I'm turning towards my right thigh, so I'm pressing down on the top of the left thigh. Why?
Well, if I don't, as I rotate, I can get more of a lean forward, but I'm actually kind of torquing the hip joint, and I can feel it in my sacrum a little bit too. So we're going to try to just avoid that by descending the top of the thigh, and once my hand gives my leg that message, my leg can take over. So I'm putting my right hand on the block, and I'm pushing down on this block, and pushing it as though I wanted to push it towards the foot, but I'll keep it stable here. That pushing action, you can see, it helps my shoulder girdle turn, and as I feel my shoulder girdle turn, ah, back to the leg, keeping that down, my other hand comes to the second block, and you could even turn the block up like this, a little higher height, and you're pulling on that block, just like you wanted to pull it towards you, but you're kind of pushing down on it as you pull so that it doesn't actually move. That transfers the work of the activity of the block into helping me be more upright.
So as I push on the one block, it could kind of put me in this position, and then as I add the pulling on the other block, it really helps me come more upright. It's something I discovered just a few months ago, this push-pull, and then when I feel like, well, maybe I could reach a little closer to my foot, but maybe not all the way there, that's when I'm going to reach for the belt, and the loop needs to be big enough that I can reach in, put it around the back of my wrist, back of my hand, and still grasp onto the block without losing the groundedness of my back leg. So pushing on the block next to the thigh, pulling on the belt, letting the toes come back, lengthening up so that the belly comes up and out of the pelvis, and if there is any forward momentum with this posture, it's a hinging. It's like belly first, then the upper torso. It's almost like a wave.
Waving forward from the belly, then the upper body can come forward. Maybe then you can drop the belt, maybe not. Maybe that's just a little too far for you, and you just keep hold of the belt. And then continuously coming back to your breathing, just know that the breathing can smooth and coax anything. The smoothness of your breath helps to smooth any sensations in the body, helps you to become able to be more present with the sensations, able to interpret the sensations like, oh, that is too far.
If I'm really tuning into my breath, oh, something says maybe I need to make a variation, maybe I need to back off. Or maybe something in the breath says, ah, I can relax with this a little more. So tuning in, I'm just going to take one more breath here, grounding down the tops of the thighs, especially the one I'm turning away from. Next exhalation, sitting back up, turning towards the center, pausing for a few moments before I do the second side. And when I do the second side, I'm going to now face you, just to give you another angle of this work, and I'm going to sit without the blanket this time.
And I'm going to have the blocks over towards the left, because I've already gone to the right. When you're on a mat, if you can get the heels onto the mat itself, it's really nice on the bones of the heels. Okay, and then again, there's that uprightness of the spine and the releasing of the thigh bones down towards the floor. So placing the belt in such a way that it will be reachable and just let it drop and put the blocks in place. Remember, they can be on their medium height or on their low height.
And for some of you, this can be done with the hands on the floor. So you could be pushing with the hand on the outside of the leg to help turn the torso a little bit as you ground through the thigh and then pulling on the mat with the other hand. So it just depends on your flexibility and what's easier for you. I really like that block. That just seems to make it a little less of a strain.
Let's see if I like the block on this side too. Pulling on the inner block, pushing on the outer block. Yep, I'm sticking with the block today. Props are your friends. Can be done without.
Sometimes it's nice to have. Staying with the breath, staying with the groundedness in the pelvis and the thigh. Pushing on the outer block, pulling on the inner block, feeling some of that work now being transferred as far down as the pelvis. Reaching now, I'm going to reach forward and take a hold of the belt, get the belt on the backside of my hand, grasp around, and then continuing to turn. I could reach out with this other hand to the belt, but I feel that I'm able to stay grounded on my back leg and able to keep that sort of up and over sense of coming into the stretch.
I'm ready to shorten my belt with the hand on the outside block. Keep scanning your body for awareness. Notice if you're starting to raise the shoulder blades, let the shoulder blades descend. I almost always feel an automatic up through the back of my skull, down across the crown and over my face, just calming when I get my shoulder blades down. When my shoulder blades are up, the energy is going in the opposite direction.
It just feels very tense. So shoulder blades down, back of the skull, up and over the crown, belly breath. One more belly breath. Reach forward if that makes sense for you. Release.
Sit up. And as I mentioned, this is often a sequence I do before sitting. And sometimes when I come into sitting after that piece, I will sit in Baddha Konasana for the first couple of minutes of my meditation using the blanket in such a way that I can roll my sit bones off of it and my knees come down. So here I am, I'm on the top of the blanket. Even after all these years, my thighs are still up like this.
It has to do with the way the femur fits in, the thigh bone fits into the cup of my pelvis. Not my fault. And as I come to the edge, come to the edge. Enjoy the edge. I walk my feet a little further forward.
I tip my pelvis over the edge of that and voila, my legs can relax down a little more. And the other thing that happens here when my pelvis tilts over is that my shoulders end up right over my pelvis, head over the spine. I just feel so centered. And that helps when I'm ready to come into the meditation, which for me, I might sit a bit higher and have support under my knees for the same reason. I get more of the tilt of the pelvis, more of the openness.
So that's it for now. Enjoy. Namaste. Thank you so much.
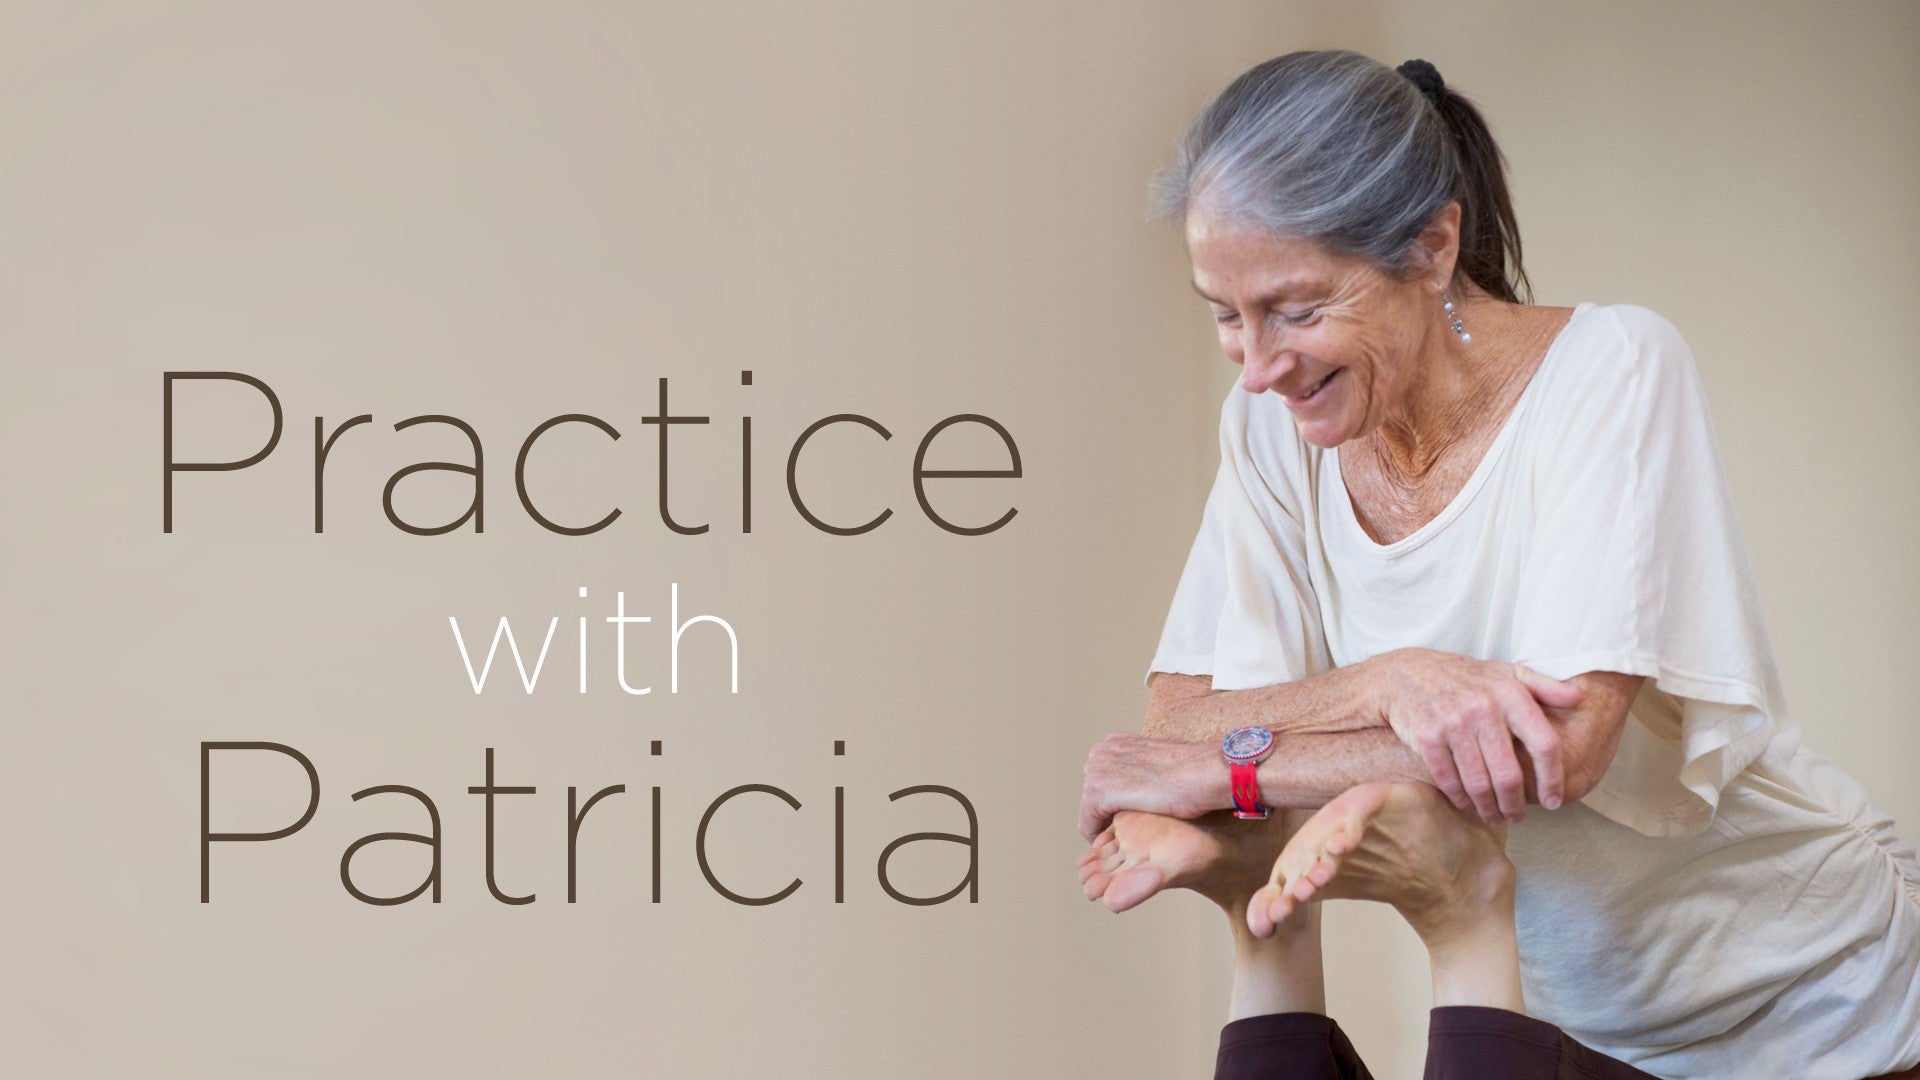
Practice with Patricia: Patricia Sullivan


Comments


You need to be a subscriber to post a comment.
Please Log In or Create an Account to start your free trial.
