Description
About This Video
Transcript
Read Full Transcript
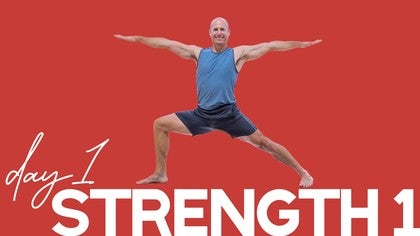
Welcome to day one of our 30-day challenge. We start today in the theme of strength, strength that we will definitely need as we dive deeper into the practice. Great to have you here. Let's get started in a child's pose. We'll start with feet together and knees apart. This is about the width of your knees. Walk out the hands and let your forehead down. Take a few breaths here and do a personal check-in. What's going on in your body? How's your breath? Anything grabbing your attention? Any aches or pains that you're feeling?
Just note these things. No need to do anything about them now. We'll start to see them change as we continue our practice. You may notice that I'm really engaging the arms. I want you to do that as well, firming the muscles to the bone, reaching the spine long. Create some space there. Take a few deep breaths and feel into your pose. And then walk the hands back. Come up off the heels and we'll do a little bit of cat and cow. Mobilize the spine. Exhale, take the spine way up, let the head drop down and other direction, release the spine down, head goes up. Exhale, spine up. Inhale, spine down.
The spine being the center of our body and the center of our nervous system, having a mobile spine is so important. If we have some aches and pains, really ensuring that that spine can move well is critical as we move forward. Let's do two more. Exhale, spine goes up. Inhale, spine down. And last one. And spine goes down. Next we're going to start into our strength journey with a variation on the bird dog. We're going to stretch one arm forward, you choose, but the opposite leg back. We'll keep them connected to the floor right now and bring your attention to your front lower ribs. Draw them up away from the mat, firm around the navel. Take a breath in. As you exhale, lift the arm and leg just a few inches, only a few inches, and this focuses this in on the core.
We'll hold it for about a five count and then release. Second side, opposite pair. Stretch the arm and leg forward in contact with the floor. Really energize that back leg knee. And here we go, breath in. Exhale, draw the ribs up a little and lift the arm and the leg a few inches. Five, four, three, two, one. Good. First side, let's try again.
First pair, arm and leg, keep them in contact with the floor. Take a breath in. As you exhale, lift those ribs and navel area up away from the mat a little and raise up. Here we go. Five, four, three, two, one. Bring it down. And last side, opposite pair, reaching out. Really engage that back leg knee. Keep it nice and straight. Breath in, exhale, ribs and navel up, lift the pair, holding.
Nice and steady, keep that core strong, building strength and release. Let everything relax a little bit, little movement side to side, little movement up and down. Next strength challenge, you're going to curl under the toes and take a breath in. We're going to be lifting the knees about the height of a golf ball, two inches, lift up and hover hold. Five, four, three, two, one and release. Strong core work. I'm sure you can feel the heat building. Take another big breath in, exhale, ribs and navel up, lift those knees.
Couple inches, about the height of a golf ball, right there, holding. Five, four, three, two, one. Set it down. Loosen everything up for just a minute. We'll do one more together. The knee lift, breath in, exhale, lift the ribs a little and knees. Straight up off the mat, holding, breathing and release down.
Once again, let things relax, let that blood flow and we'll take our next pose, downward facing dog. Walk the hands a little bit forward, shoulder width apart, lift up your knees. And we'll start out by pedaling out the knees, feet and ankles, just to get a little bit of flexibility into those parts. Breath is long and smooth. And in today's downward dog, we're going to do a bent knee version.
So whether you've been doing yoga for a long time or if you're just coming to this, the bent knee version allows for a longer spine. If the hamstrings are a little tight, oftentimes it pushes the back up in a round shape. So this version of dog pose gets our spine elongated, opens up the lungs, relax your head down, we'll hold. Long, smooth breaths, you can feel that heat building in the body. And then lower the knees down and take a pause and breathe. Shake out those arms a little bit, move the spine.
Let's lift once again into that bent knee dog pose. Curl the toes under, lift the knees, you can walk the hands out a little bit for that nice spinal length. Long, slow breaths. Raise your heels up, let's move to our next pose, a kneeling lunge. Step your right foot through to the hands, drop your left knee down, and point those toes back. We're going to start with the hands on the knee and begin leaning forward through the hips.
This helps us open up our hip flexor of the left leg and teaches us how to fold into the hip of the right. We're going to pulse this just a little bit. Exhale, drop in, moving the hips forward, inhale, come out a little. Exhale, drop in, inhale, come out. And one more time, drop in, we're going to hold this.
A little extra rooting into the ground by pressing the back shin and front foot into the ground, and from that strength, raise the arms up. The feeling we're aiming at is that by pressing into the floor, we can feel an integrated lift all the way up to the hands, something we're going to be working with a lot through our challenge. A couple of deep breaths. And then release the hands down, and we'll step it back to the bent knee downward dog. Now, if you can do a full downward dog with straight legs, and that's your preference today, by all means, you can do that.
But this will help those who need a little extra space. And then second leg. We'll step forward, left foot, drop the right knee down, point those toes. Hands on the front knee, and we'll take a breath in, exhale, dropping in a little. Inhale, come back, exhale, hips forward.
Inhale, come back, we'll go into one more and hold it. Hips forward, pressing down to the back shin and front foot, feel that rooting into the ground, and now arms up. Take some breaths here. Pressing the floor and getting that inner lift. I call it rooting.
Growing the roots into the floor. And then release the arms, step back again. I'll show the bent knee version of dog pose. Nice long spine, release the head and neck. Strong arms.
And then we'll walk forward to the front of the mat. Feet about hip width apart, hands on shins. This is our first look at a pose called uttanasana, or forward fold. And what we're aiming for here is a long straight spine. Commonly we'll see a rounded shape in the spine here.
So over time we're going to practice on rolling the hips forward and elongating the spine. And from your half uttanasana we'll stand up into a little wide leg tadasana, standing pose here. And we'll continue our strength journey into uttanasana, or chair pose. Stretch your arms forward. Take a breath in.
Exhale, squatting down. And come back up. Inhaling. Exhale, squat down. So we're working on a couple of things here.
The strength of the legs we need in these standing poses. And the mobility of the hips and knees. Exhale coming down. Inhale coming up. We've got six to go.
Exhale. Inhale. It's perfectly fine to let those knees come forward of the toes in this particular style of lunge. Four. Three.
Two. I can feel the heat starting up in those thighs. And one more. Release your arms down. We're going to turn long ways on our mat.
This is called prasarita padasana, or wide-legged pose. And we'll start by stretching the arms out. Remember the concept of rooting. Here we're going to practice that by stretching down through the floor from the hips to the heels. You want to feel the energy of the legs or the muscles of the legs firm around the bones.
I call it hugging the bones. And same with the arms. And just be here for a moment. A few nice long breaths. Feel inside.
And the feeling we're aiming at is by pressing down through the feet that it feels like there's a corresponding uplift inside the body. We'll take this now into what we call goddess pose. Relax your arms. Turn the heels in, toes out. And we'll start to bring it down into a squat.
Right after that utkatasana or chair squat, we go with a wide-legged squat. Arms out. Let's hold for 10, 9, 8, 7, teaching that hip hinge, the strength of the hamstrings and quads. 5, 4, 3, 2, and rest the hands on the knees. Straighten the legs for a moment.
Take a breath. That's some strong work. Bend back down into your goddess pose. This will be for a groin stretch. Take the hands to the insides of the knees.
Press those knees a little bit open and turn your chest to one side and then chest to the other side. And by pressing into the inner knee, we begin to get a little bit of a groin stretch, inner leg stretch. This is going to help us for our upcoming standing poses. Let's get one more each. Definitely feeling the heat in the legs.
And last one. And then coming up, let's walk the legs together for a little tadasana. Feet together here and practice the rooting, pressing down through the legs and looking for that inward upward lift. That's how you know you're doing well with that rooting effect. Then step the legs wide.
This is warrior pose number two. We'll turn the left toes in just slightly and the right leg out 90 degrees. So we want the thigh, the knee, the toes all pointing straight ahead. Stretch your arms. Take a breath in.
Exhale and bend that right knee. Inhale, come up. We're going to pump in and out of this just a little bit. Exhale, bend in. Inhale, come out.
Three. Inhale, come out. Challenge yourself to go a little bit deeper. In theory, this is going parallel to the floor. Today's day one, though, so you do what you can do.
We'll do one more. Bend in and let's hold it. Turn and look over your right arm. Strong legs, muscles hugging the bones. We're feeling that heat as we build the strength.
And then come up, relax your arms, turn your feet in, loosen up those legs, let the blood flow again. We'll do the other side. Right toes turned in a little bit. Left leg out 90 degrees, line up the thigh, knee and toes straight ahead. Stretch your arms.
Good. Open that chest. Big breath in. Exhale, we'll bend the left knee now. And coming back up. So this pumping action is really good in yoga to help understand the directions that we're going, rather than just static holding in the beginning.
Let's get one more. Down and hold. Again, challenge yourself to fold at that left hip. Strong, straight back leg, right leg. Turn and look over your left hand.
Deep breath. And come out. Relax your arms, turn your feet in, heel toe. Nice way to get out of that pose, nice and safe. Shake out the legs.
Tadasana. Reach down through the legs. Look, search for that inner upper lift all the way to your breastbone. And then let it go. Next pose.
This is called side angle pose. Wide legs again. We'll turn the left toes in. And the right leg out 90 degrees. Just like warrior two, the one we just did.
Stretch out your arms. Let's do three pumps in. And out. Coming in, learning to hinge at this right hip. And out.
And we're going down and hold. Side angle pose. In today's version, we're going to bring the right forearm onto the thigh. Left arm up. And holding here.
One note with the back leg. We want the groin area, the inner leg muscles, to be strong and upwardly lifting. We're actually rolling open the front of this thigh. That helps make sure we're not over opening the hip socket on the left. And we're able to get deeper into the hip on the right.
So once again with the arm up, we're holding. And come out. Stretch the arms. Turn the feet. Good.
We'll keep the arms for a little added strength. Right toes in a little. Left leg out 90 degrees. Take a breath in. We'll do three in and out.
Down on the exhale. Inhale up. Exhale working on the left hip hinge. And up. Down with right groin strength.
And we'll hold. Take a breath in. Exhale. We go left forearm onto that thigh. Right arm up.
Focusing on that left groin lifting. Excuse me. Right groin lifting right here. Nice big lift. And we're a little bit deeper into that left hip socket.
Things we don't want to feel in this pose are a lot of gripping or pinching at the left hip. We want to make sure there's lots of space there. Check in with your body. That's really important in yoga practice. The check in.
Come on out. Relax the arms. Turn the feet in. Tadasana. Shake out those legs.
Let the blood flow. Let's go once again with that rooting effect. Pressing down to the legs. Spine lifting. Hunt for that inner lift.
Let's take one more exploration into Parsvokanasana or side angle pose. Wide legs to start. Nice strong energy through the ground. We'll turn the left toes in. Right leg out.
And we're aligning the thigh, knee, and toes in a straight line out that way. Stretch out your arms. Big breath in. We'll go right into it. Exhale.
Bend the knee. Drop into that right hip. Forearm on the thigh. We'll take the top hand just on the hip for now so we can explore what's going on with the leg alignment. In this pose, we try to line up the knee over the three middle toes.
As we do that, press the right buttock forward or in this direction. This all helps roll open the chest, as you can see my body doing there. I'll do it one more time. I relax the hip one more time. Opening the knee.
Pressing the right buttock in. You see the chest turning. Let's hold that much, that feeling there. And as we talked about before, rooting into the floor, we get that open, expansive feeling that we're hunting for in our yoga pose and practice it. And inhale, come up.
Stretch out the arms. We'll go to the second side. Right toes in. Left leg out. Thigh, knee, and hip.
Big breath in. Exhale into the pose. Top hand can rest on the hip so we can explore what's going on in the legs. Once again, aligning the knee over the three middle toes and pressing the left buttock in deeper. That helps us to turn open the chest.
Opens the lungs. Opens the heart. Just one extra thing. Make sure you've got a lot of space across the shoulders. Shoulders aren't crowding into the neck.
And then inhale. Come out of your pose. Feet in. Tadasana or mountain pose. Rest there.
We'll reach down to the ground. Get that inner body lift. From here we'll go into what we call tree pose. I'm going to show an easy balancing version of this starting with the left leg. We'll turn the left leg out with the ball of the left foot on the ground and the heel just against the right ankle.
You can rest the arms at the side or on your hips. Here's the balance. Are you ready? Lifting the left foot. Ready?
Up. So it's a micro tree pose, I call it. And just teaches that balance without having too much to think about. Let down. Release.
And even if you're a seasoned practitioner and this is new to you, try it out. It allows you to feel a lot more than in the full pose sometimes. Here we go. Ball the right foot, left heel against the inner. Sorry, right heel against the inner left ankle.
And lift. Holding there. This is my challenge side, my weaker ankle. It's tough to balance on this side. And then release.
Now if you struggled just in that pose, I recommend repeating that. Otherwise, we'll do one more in the full version, bringing the left leg all the way up, as high and the groin as you can. And this one will challenge a little bit of balance, hands at the chest. Rooting down to the standing leg. Left foot presses into the inner thigh.
Hunting for that inner body lift. And then release. Second side, right leg comes up. High up into the groin. Find your balance.
Once you find the balance, then add the hands. The hands are an expression of that inner balance. Holding there, looking for that inner lift. And then release. We'll turn back to the front of the mat for one more squat challenge.
Chair pose. Feet about hip width. Arms straight out. One static hold. Breath in.
Exhale. Come down to your ability level. I'm going to challenge all the way down to thighs parallel. We'll hold for ten. Breathing.
One note on this pose, like we did in the core work. Front ribs a little into the body. Tailbone a little down. Three, two, one. We'll go into half Uttanasana.
Hands on shins. Half forward fold. Once again, working on our long spine. And all the things we practice today helps us hinge, or at least learn to hinge, more deeply at the hip socket. Holding here.
Strong body. Long breaths. And then from our half forward fold, we'll bend the knees. Take the hands to the floor. Walk the legs back for downward dog.
Once again, I'm going to show the bent knee version. If you prefer to go into straight legs, if that works well for your body, by all means, you can do that. In this pose, relax your head down. Let that neck be long. We're actually trying to use this as relaxation pose, even though it takes energy to hold.
Take some nice deep breaths. Allowing the pelvis to hinge over those thighs. And then bring the knees down for our next pose. We'll bring the toes together. Knees about the width of the mat.
And we're going to start with the right arm. Breath in. Exhale. Bring the right arm underneath you. We call it thread the needle.
And we'll try to rest the right shoulder and right side of the head down. Start here. I use my left hand as a way to help turn the pose a little bit more deeply. Take some breaths here. Let that spine turn.
And then if you'd like to take it deeper, you could lift up just a little. Send your right shoulder through a little bit more. And if it's available to you, you could take the left arm up, rolling a little further into the pose. Here it's easy to pinch the neck with the shoulders, so make sure you've got some space across the shoulders and neck. A few deep breaths here.
And then we'll let the arm down. Use that left hand to help push out of the pose. And we'll go to the second side. This time left arm slides through. Turn, turn, turn the ribs.
And resting the left shoulder down, left side of the head down. Take a few breaths here before you go deeper. And then to go a little deeper, if you'd like to, lift up just a little. Send the left shoulder just a bit farther through. And if it's available to you, bring up the right arm into the air.
Once again, make sure that you've got a lot of space across the tops of the shoulders. So the neck is free. Part of actually learning to relax is making space across the neck. A lot of our work these days tightens up the neck and shoulder muscles. Here's our chance to let those go.
And then release the right hand down. Press yourself up. And a little bit of cat and cow to release the spine. Exhale, spine goes up, push through, tuck the tail, drop your head in another direction. As we go through a few rounds of this, check that you're moving the complete spine.
That means tailbone through low back, mid back ribs, and the head and neck. Last one. And then we'll go from there onto the back. Lay out nice and long. And we're going to work a little bit on the hip hinging that we worked on in the standing poses.
We're going to start with one leg, wrapping the hands around the knee. Breath in and exhale, draw that knee into your chest. Let it come out a little. Exhale, draw the knee into your chest. Couple of things as we do this, we're learning to hinge more and more deeply at the thigh pelvis connection.
It's important that you don't feel a pinching sensation at the hip as you do this. If you do, it means you're going a little too far. Or you could be holding your lower back rigidly and you're pressing into your end range of motion. Let the lower back be soft. Let it flow with you as you pump the hip here.
Let's get three more. Back of the leg, hamstring nice and soft. And one more. Release that leg, let's bring in the other. Breathing in, exhale.
It's like we're sandwiching in the shin, thigh, hip. Watch out again for any pinching feeling at the front of the hip. That is an experience we do not want to have in our yoga. You might need to just back off a little if you're feeling that, pulling too hard. Remember, low back, soft and flowing with this motion.
Last two. This is a motion that we're going to be using a lot as we progress through our poses and practices in our 30-day challenge. To let the leg go, we're going to start with two bent knees to work our way into shavasana. And shavasana is such an important pose, especially in this day and time. We'll start by just lengthening the back of the pelvis a little bit away from the lower back.
So we've got a nice long, low, flat, low back. Extend one leg at a time down onto the floor. Keep that leg strong for just a second. Follow up with the second leg. Let the arms fall out to the sides, palms up, and do just a light little tuck of the shoulder down away from the neck and a little closer to the spine.
Now slowly relax the legs away from one another. Let your eyes close. Hands soft. And take some time for yourself. You can feel into your physical body any parts that have unnecessary tension, you can let them go.
Let the chest be soft. Shoulders, neck soft. And this pose is so important for us to integrate what we've done in the practice, not only physically, but whatever has come up mentally, maybe even emotionally, to get a chance to just be there and feel. We'll take some quiet time and rest in the body. Thank you.
If you'd like to stay in Shavasana for a little longer, by all means please do. We're going to close this practice by resting the hands on the tummy. Bend the knees one by one and turn over onto your right side for a few breaths and rest your head in your hands. And then using your hands, push yourself up away from the floor, nice and easy, head and neck relaxed. And we'll sit in easy cross legs.
Nice strong practice today. Thank you so much for joining us. And we will see you tomorrow for number two of our 30-day challenge. Namaste. Have a great day.
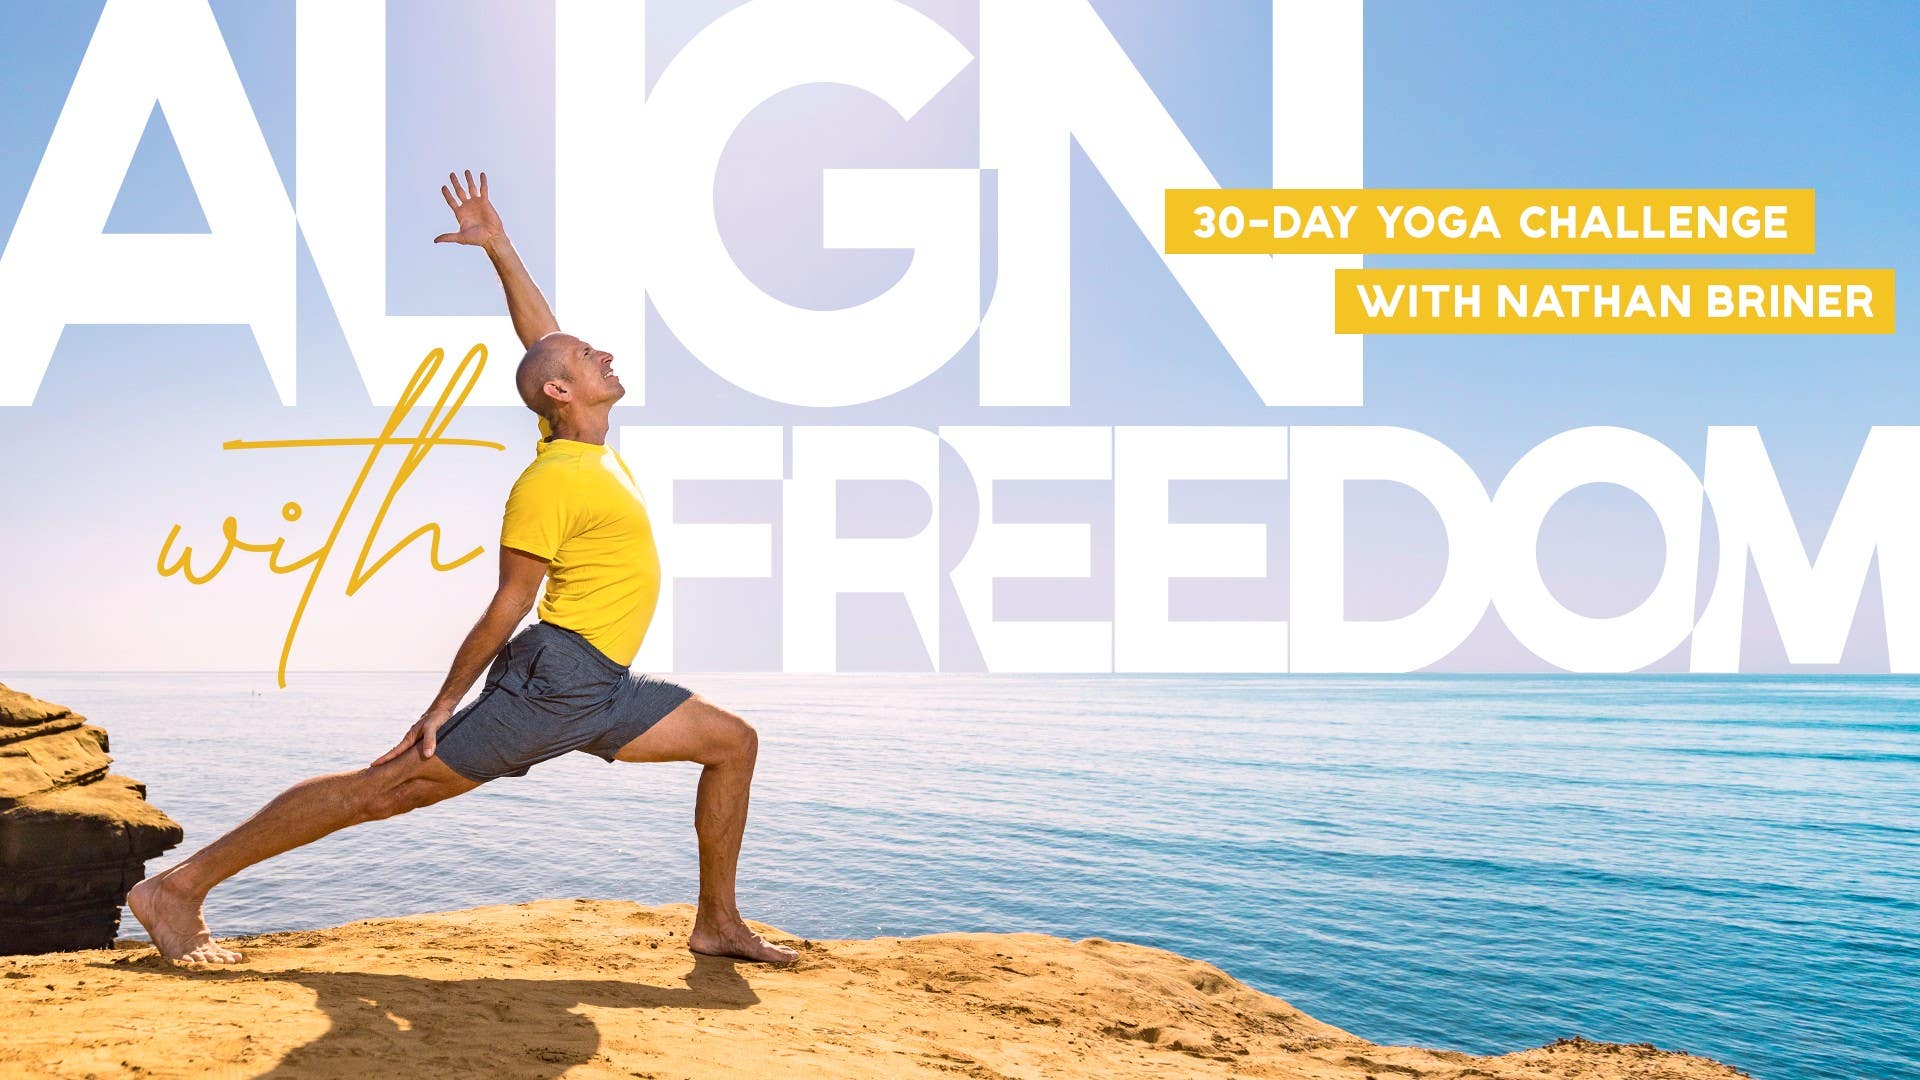
Align with Freedom: 30-Day Yoga Challenge
Mention
 |
Nathan Briner (Teacher) |
 |
Kim I |
 |
Jo S |
 |
Sandra Židan |
 |
LOUISE F |
 |
Kerry N-W |
 |
David G- |
 |
Michelle |
|
|
Diana R |
 |
Jenny S |
|
|
Linda R |
 |
Rachel B |
 |
Arik O |
 |
Rosanna S |
 |
Eric M |
|
|
Fabian H |
 |
Meagan P |
|
|
Lisa D |
|
|
Rain T |
|
|
Satu |
|
|
Maggie G |
 |
Aaron E |
 |
Kira Sloane |
 |
Jenny S |
|
|
Charlie S |
 |
Ashley |
 |
Briana N |
|
|
Susan D M |
 |
Timmie H |
|
|
Steven Z |
|
|
Emma K |
|
|
Barbara N |
 |
Kate M |
 |
|
 |
Sara C |
 |
Joan J |
 |
Matthew |
|
|
M Angela C |
Comments


You need to be a subscriber to post a comment.
Please Log In or Create an Account to start your free trial.
