Description
About This Video
Transcript
Read Full Transcript
Welcome in to day 7 of our 30 day challenge. This is a great day today as we transition from our strength theme into the balance theme. How are you feeling day? What's your body saying to you? How did you do after that warrior challenge? As I mentioned, we're going to be bringing the energy down a little bit as we work into the balance, kind of smooth things out a little, so it won't be as intense. And we'll build up slowly as we progress through this theme over the next few days. To start out, I'm going to have us in cross legs, and I'm sitting on a blanket.
And just to mention, we're going to use a block today and a strap as well. We'll get to that a little bit later. But we'll start in cross legs, and I recommend sitting up on a blanket so you've got lots of room to move the spine. Starting here, we'll take the hands on the blanket or your support, whatever you're on, press down and lift up your spine. Take a few minutes to get some deeper breaths, open up the lungs, and bring your focus into your body. You can close your eyes if you like, taking note of what's going on inside you today.
If you can, put the things of your outer life on the side burner for now. Let's get to you. Then opening your eyes and take the hand support away. We'll start by placing the left hand on the mat, raise up the right arm, and lift up and over. We're going to call this a lateral stretch, reaching down through your sitz bones to create space.
Here's an opportunity to drive a little breathing into the right side lungs, right side ribs, and then release. Second side, right hand down to the mat, left arm comes up, push down through your right arm to create some space, and then reaching. A few breaths. And as we tapped into in the strength theme of our practice, we're creating space inside the body and then filling that both with mind and breath. First side, let's go one more time. Left hand down, right arm up.
Take some breath. And this side bend comes all the way from the right sitting bone to the right fingertips. Last side, right hand down, left arm up. Stretch down through the sitting bone so you can get that inner lift coming through the body. I want to feel like you're actually lifting the organs up.
That's an interesting thing to feel. And then release, let it go. Let's slide the blanket out of the way, and we'll be using the block for the next few poses. Come on down to the floor in what I'm going to call a reclined mountain pose, reclined tadasana. And take a look how I'm holding the block where the long edge of the block is in my palm.
A lot of folks will kind of hold it like this. The best way to hold it is with the palms right up against that edge. Stretch the arm straight up and then take the block overhead. What we're looking for here in this easier version of mountain pose is finding that inner lift in the body that is going to be so essential when we get to our standing balancing poses. Squeezing the inner legs together, lengthen the legs through the heels and toes, and at the same time press in on the block and look for that inner length.
And then bring the block up, bend both knees, take a quick pause, and let's do it again. Legs long, reclined mountain pose, block straight up, and overhead. Press the legs together, reach long through the legs, through the heels, through the toes, squeeze the legs together. Press the block with the palms and straight arms. One note here, as you take the arms over, if you find the mid-back arching quite high up off the mat, you've gone too far for your shoulders.
You may need to bring the block up a little higher. And then release, bend the knees, take a quick pause. New version of this pose, we'll start by straightening the legs, and now we're going to do a reclined tree pose. So we'll bend up the right leg and bring that foot as high up into the left inner thigh as we can. Snuggle that in, stretch the arms up, squeeze the block with straight arms and take the arms over.
Remember, we're looking to keep the back roughly in a neutral shape so we're not over-pressing the ribs up toward the ceiling. Holding this pose. Let's learn now, while it's relatively easy, some of the actions of tree pose. Press the right foot in to the inner left thigh. Press the left thigh against the right foot, there's a connection there.
And see if you can feel that create some inner space in your body. Elongate that space using the block. Squeeze that block and reach. And then release your pose. Straightening down the right leg, let's shift into the left.
Bend the left leg and bringing your left foot against your right leg. Stretch up the block and take the block overhead. We press the left foot against the right leg and the right leg against the left foot. There's that inner connection there. And then we begin to feel how that compression helps us elongate through the midsection, the torso, the abdomen.
We take up that space by squeezing the block and reaching the arms. And then release, bend the knees. You can set the block off to the side out of the way. And now we're going to turn tummy down for another version of tree pose. Lying on your tummy, bring the left leg out to the side in the same way we did just previously.
Here, depending on your hips mobility, you might need to turn your body up a little off the left side so you can accommodate your hip structure. All right, here we go. Same idea. Without the block, we're going to reach, press that left foot against your inner thigh and the right leg against the left foot, holding there, looking for that inner reach. And then bring the arms back to you, slightly different move. We're having the left leg out at 90 degrees, 90 degree angle at the hip, 90 degree angle at the knee.
Here is your challenge, keeping the foot on the ground, lift that knee. Oh, hip work. And then lower down. We'll do five, two, three. And remember, if you need to roll up that left hip so you can get this action, don't hesitate to do that. Last one. And release.
Definitely feel that work in the hip. Send that leg straight back. We're in a reclined mountain pose for just a breath. Now the right leg out in the tree pose shape, right foot against the left inner leg. Press those two points together and stretch the arms, palms facing in.
Tree pose face down. We're learning how to compress the foot and leg together without the need for balance just yet. Then release, bring the hands back to you, right leg in its 90-90 shape. Adjust your hip if you need to create some space. Here we go with that big lift. Ready and lift that knee.
Oh my goodness, that hip work and core strength that it takes to do that. Two, three, four. I can just imagine your face is over there as you're working on challenging this lift. Oh my goodness. And then release, let it go.
Hands on the mat, press yourself up. Let's just do a couple cat cow. Exhale, spine comes up. Inhale, spine comes down. This helps to release those hip muscles. And of course, mobilize the spine, something we're becoming very adept at in our sequences and practices.
And let's move it into dog pose. Climb on up. We'll pedal the legs just for a moment. One knee bends at a time. We'll stretch out the ankles just a little bit, mobilize the calves.
Come into your high-heeled version so we can start to challenge the strength of the legs, action of the thigh muscles, nice deep crease in the hips, and then stretching the heels down to your level. Or as always, remember you've got that bent knee option, high heel option, learning to work what's best for you today. From your dog pose, bring your feet together. We've got some new moves here. Raise up the left leg nice and high, and lift up off the right heel.
Go for length. Find that inner space, strong, active legs, both very active. Then turn the hips open to the left side. Using the hip muscles we've been working on for these last few practices. Then allow that top left leg to bend, holding here.
Wide open hip muscles, hip joints, and then turn back down. We're going to step that left leg through to the hands. Lower your right knee and point the right toes. We've got a new kneeling lunge for you. Come up in a 90 and 90 degree shape.
Arms out to the sides and twist. Right here we're working on a little bit of balance. Not too challenging, but it's something we've got to work with here. And we're working on that core to get that nice twist into the body. Then release, hands to the floor.
Plank pose please. Take a nice big breath in. Exhale to your chaturanga. You could bend the knees or keep that strong leg action. Inhale, up dog.
Down dog, press back. Find your pose. Feet together then please. Raise up that right leg. Come up the left heel.
Very active legs. Get that space in the body. See if you can pull back a little further from the hands. Then turning open the hips to the right side of your room. And then bend the right leg as though trying to reach those toes toward the floor.
We're not doing a full flip of the dog pose, but that's the intention of the leg. And then back to center. Big step through to the hands. You can lower the left leg down. Come up into your 90 degree lunge.
Arms stretch out. Turning the trunk to the right side. Holding here. Finding that middle balance between the legs as you turn the trunk. One more breath.
Revolve to center. Hands to the floor. Step back. You're in your plank. Big breath in.
Exhale. Bend the elbows. Your chaturanga. Hold. And now push forward.
Up dog. And downward dog. Press back. Take a breath or two. Then lift the heels.
Look forward. Bend the knees. Let's take a jump to the front. Exhale. Jump.
Feet together. Hands on the shins. Inhale. Exhale. Fold forward.
Inhale. All the way up to standing, arms overhead. Find the inner lift, inner space. Reaching through the floor with the legs. And release the arms.
Our next pose begins our balancing. Figure four, balancing. We're going to start with the right leg on the floor. Left heel across that knee. This is nice because you get to use your hands.
It's a little extra stabilizer. We're going to start to bend and do the best we can to hold. And it's totally expected that you might wobble. You might drop the pose. We just start right over.
And then come out. Next, left leg on the ground. Bend the knees a little bit. Right ankle across the left knee. We let the right knee fall open a little.
And we've got a figure four shape here. Coming down into a depth that we can work with right now. Holding. Three, two, one. Great hip stretch, the figure four.
Next, we've been working with tadasana, that grounding into the earth to create the inner lift. We're going to take advantage of that knowledge that we've been working with for our balancing poses. Start with the right leg into the ground. Reaching into the earth, we bring up the left knee. Notice I capture around the shin.
Breath in. Press down through the right leg with the exhale and lift up that knee as much as you can into the chest. We try to keep the right leg fully straightened. And then bring it down. Second side.
Left leg. Grab the shin, breath in. Exhale. Drawing that knee up. The left leg, my standing leg is working quite a bit to keep that compression into the floor so that I can find the lift and space and I have the muscles for balance.
And then release. Caught it. First side. Bring the left leg up. This time, capture around the back of the knee joint.
Right leg stability. Strong. The right leg glutes. Hip muscles are very, very powerfully holding us upright. Ready?
Challenge. Can you extend that leg? All the way, maybe? Part of the challenge of this pose is keeping the shape of mountain pose. Try not to distort it as we straighten the leg.
And now we really go for it. You ready? Five seconds. No hands. One, two, three, four, five.
Ooh, yeah. Shake it out. You might feel a little cramp in those quad muscles as they build the strength for these poses. Second side. Capture the right leg right behind the knee.
Push down with the left leg. Strong hip muscles keep us upright. Everything we've been working in on the strength theme. Ready? Attempt for straightening.
Hold your mountain pose. And challenge. Five, four, three, two. We did it. Let go.
Let go. Here's a chance to grab the strap to help us with the lateral version of this pose. And we'll take the strap first. Around the left foot. Right there.
Here's how we work it. Bring the leg up, bent knee. Left hand grabs right down near the heel. Then we can take that leg out to the side. Here again, my right leg.
The glutes, sacrum and tailbone working downwardly toward the heel. That's what keeps me upright. These muscles, the hips, all of these muscles around the leg, top leg, are what help backs remain healthy. Good. Holding out to the side here.
Just this challenge alone is enough for today. And then releasing. Then step the right foot into the loop of the strap. Bring the leg up. I slide my right hand down to the inner ankle.
And I'm holding. Then take that right knee out to the side. I use my hip muscles to fully abduct that leg to the side. Holding here. Mountain pose everywhere else.
This is my challenge side. And then releasing down. We can put the strap off to the side. And we will try for tree pose. Here we go.
Left leg tree pose. It might be helpful if you have shorts on to draw your pant legs up so you can really stick that foot to the inner thigh. Do your best to draw that heel way up the leg. Why? Because that really helps develop your inner lift.
It's much more challenging if the foot is down around the shin or knee. So we start like we did on the floor. Press the foot against the thigh. The thigh against the foot until you feel the lift. And now we take that lift through the fingers.
It is the lift and space that is the moving meditation of yoga. This openness, this feeling of air in the body. And release. Tree pose, second side. Again, drop that pant leg if you can.
And here we go. Press the foot against the thigh. Firm the thigh against the foot. Feel that inner lift. And hold.
Smooth breath. And release. Let the feet down. Mountain pose for just a moment. See if you can feel in your body after the balancing poses as we use the legs in different ways to now find that inner lift in an easier pose, mountain pose.
Stretch down through the legs. Draw the thighs a little closer together. And look for that inner lift and space in the body. Comes up through the middle to the top chest and spreads out and down through the arms. That's what we want to merge the mind into, that space, that open air in the body.
Then we'll turn to the front of the mat. Feet together. Let's flow a little bit. Arms up. Inhale deeply.
Exhale, forward fold. Release your head, release your neck. Hands to the floor. Inhale as you step back to a plank. And exhale your version of Chaturanga.
Maybe challenge yourself for that lifted leg version today. Up dog on an inhale. Down dog on an exhale. And then from down dog, lower your knees to the mat as we explore a new pose today. Patigrasana, gate pose.
Here's a 90 degree position with the hips and legs. We're going to start with the right leg out and stretch the arms. Big breath in. Exhale the trunk over the right leg. We want to learn to fold deeply at the right hip.
You may need a block to support you if you can't comfortably reach the floor. Take the left arm up. So I use my shoulder and arm to help the knee stay open. And it helps me work that right hip forward. Here's our pose.
Let's extend it a little. Turn the left hand over your head and reach. Lift up. We'll bring the legs together. Second side.
90 degrees. Stretch out the arms. And extend over the left side. Use your block if you need it. And we try to stay mostly vertical on this standing leg.
That helps us get some nice opening in the hips. Top arm up. Turn the right arm over your head. Reach for length. And coming up out of the pose.
Feet together. Knees together. We'll come down to the floor. This is a great opportunity to bring a blanket into play again so we can get that extra space in the hips. Wide legs.
We finished our warrior challenge with this pose. We're going to tackle it once again. Turning to the left side. Right hand in the middle. Left hand behind.
Work to roll that right side torso around to the left. And then reaching for the left foot. Any amount you can do. Could be here. Could be here.
Maybe you can go further. Time for you to explore. Work to turn that right side torso toward the floor. Toward your yoga mat. Any of these poses, you want to stay longer?
You can just pause. Hold there and rejoin when you feel complete. Come up. Second side. Left hand in the middle.
Right hand behind. Left side torso turning. And then extend that rotation toward the right foot. Find your depth. One of the cool things about starting our challenge with strength.
As that strength develops, your body is more and more secure to go deeper in the poses. That's so important. And you'll be able to feel that as you progress through the challenge and even review some of these lessons. And take one more breath here on this side. Inhale and come up.
Our next pose is a twist. Marichasana 3 or C depending on where you come from in your yoga world. We'll start with two legs straight. Again, I'm going to use the blanket to help me get a little elevation in the spine. Left knee is going to bend.
And we'll wrap that right arm around the left knee. Left hand behind on the floor. It's helpful in these twists if you take your hand. Don't be shy. Go for that abdomen and help turn it around.
And that really helps deepen this pose. Holding there. Deep breath in. Turn a little deeper. And release.
Extend that left leg. Right leg now bent. Nice and tall. Wrap the left hand around. Once again, you can see me a little easier here.
I grab hold and I slide the abdomen around to the right side. Hand behind. Turning. The straight leg loves to fall asleep in this pose. We want to keep it firm and rolled in from the hip.
Holding there. And then release. Two legs out straight. Staff pose. Dandasana.
Press down on the mat or your blanket with the hands and lift your spine. Legs nice and active. Rolling the thighs in. Strong inner leg muscles. And then release.
Scoot forward off of your blanket for just a moment. Hands forward on the mat. And if you can remember what this leads to, boat pose. Squeeze those knees together. Raise your shins.
Big challenge. Extend those legs. Hold there. One arm. Balance.
Two arms. Five, four, three. You've got this. Two, one. Bend your knees.
And rest. Grab a block for Virasana. We can put the blanket off to the side. You won't need it for now. Virasana.
The block will be this way. You're going to place it back behind you so you can sit the buttock bones on the block. Now I recognize that folding the knees can be a challenge for a lot of people. So if you need more height, grab another block. Put it underneath your bottom.
A block and a blanket. Whatever you need to do so you don't feel any pain here. Reach underneath one buttock. Slide the skin and muscle back. Second buttock.
Slide the skin and muscle back. And holding here. A little bit of action. Connecting the two legs together. Stretch the sitting bones down through the floor.
We can help bring more health to the knees by allowing them to bend, to not be afraid to get that flexion in the knees. Take your time with it. We've got the rest of our lives to help bring as much health as possible to these beautiful bodies. So just holding here. Interlace your fingers.
Let's create more space. Invert the palms and take those arms up. So here it's a little bit more subtle to create that space. You don't have the length of the legs to reach. So we have to press the sitting bones and the knee bones down into the floor.
Let them help you lift that frontal body up. Bring the arms down. Turn the palms to face you. We do that fancy finger shift. This is the low finger set.
I go one up and then press the palms. Sometimes that's the toughest part of class is to do the finger shift. Arms up. A couple notes here. It's common for the more flexible folks to push through their kidneys, driving their back forward.
We don't want to do that. Equally lift the front and back. Balance the effort that you use to lift the body and hunt for that space, that airy feeling inside the body. And then release the hands. Rest the palms on your lap for just a moment.
Close your eyes if you like to. Drawing that attention in as we head to our relaxation. And then you can come forward. Take the block away. Let's put the block off to the side.
If you like, make a pillow for yourself. Lying down on your back. Adjust the blanket so it's just underneath your neck, not underneath the shoulders. Extend your legs and take a moment to grip the knee muscles of both legs. Flattening the legs down and just tightening those muscles around the knee after Virasana.
Heroes pose. Tuck the shoulders gently toward the spine and down away from the neck. Close your eyes. Release the tension of the legs. Balancing.
We had six strong, powerful strength practices. We move a little bit more to quieter practices as we work on balancing. And then this pose, Shaasana at the end, is the cooling to the heat we use in our practices. We need that balance in life. You can watch your breathing settle down.
If you would like to stay longer in your Shaasana, please do take as much time as you need. If you're ready to come out, you can rest your hands on your tummy. Bend your knees one by one and turn over to your right side for just a few breaths. Keep that focus on the inside. And then using your hands, press yourself up to sitting.
Let's find a comfortable sitting position. Great to have you here for this first balancing session. We've got a lot more interesting poses to explore. I look forward to seeing you in the next challenge. Have a fantastic day.
See you soon.
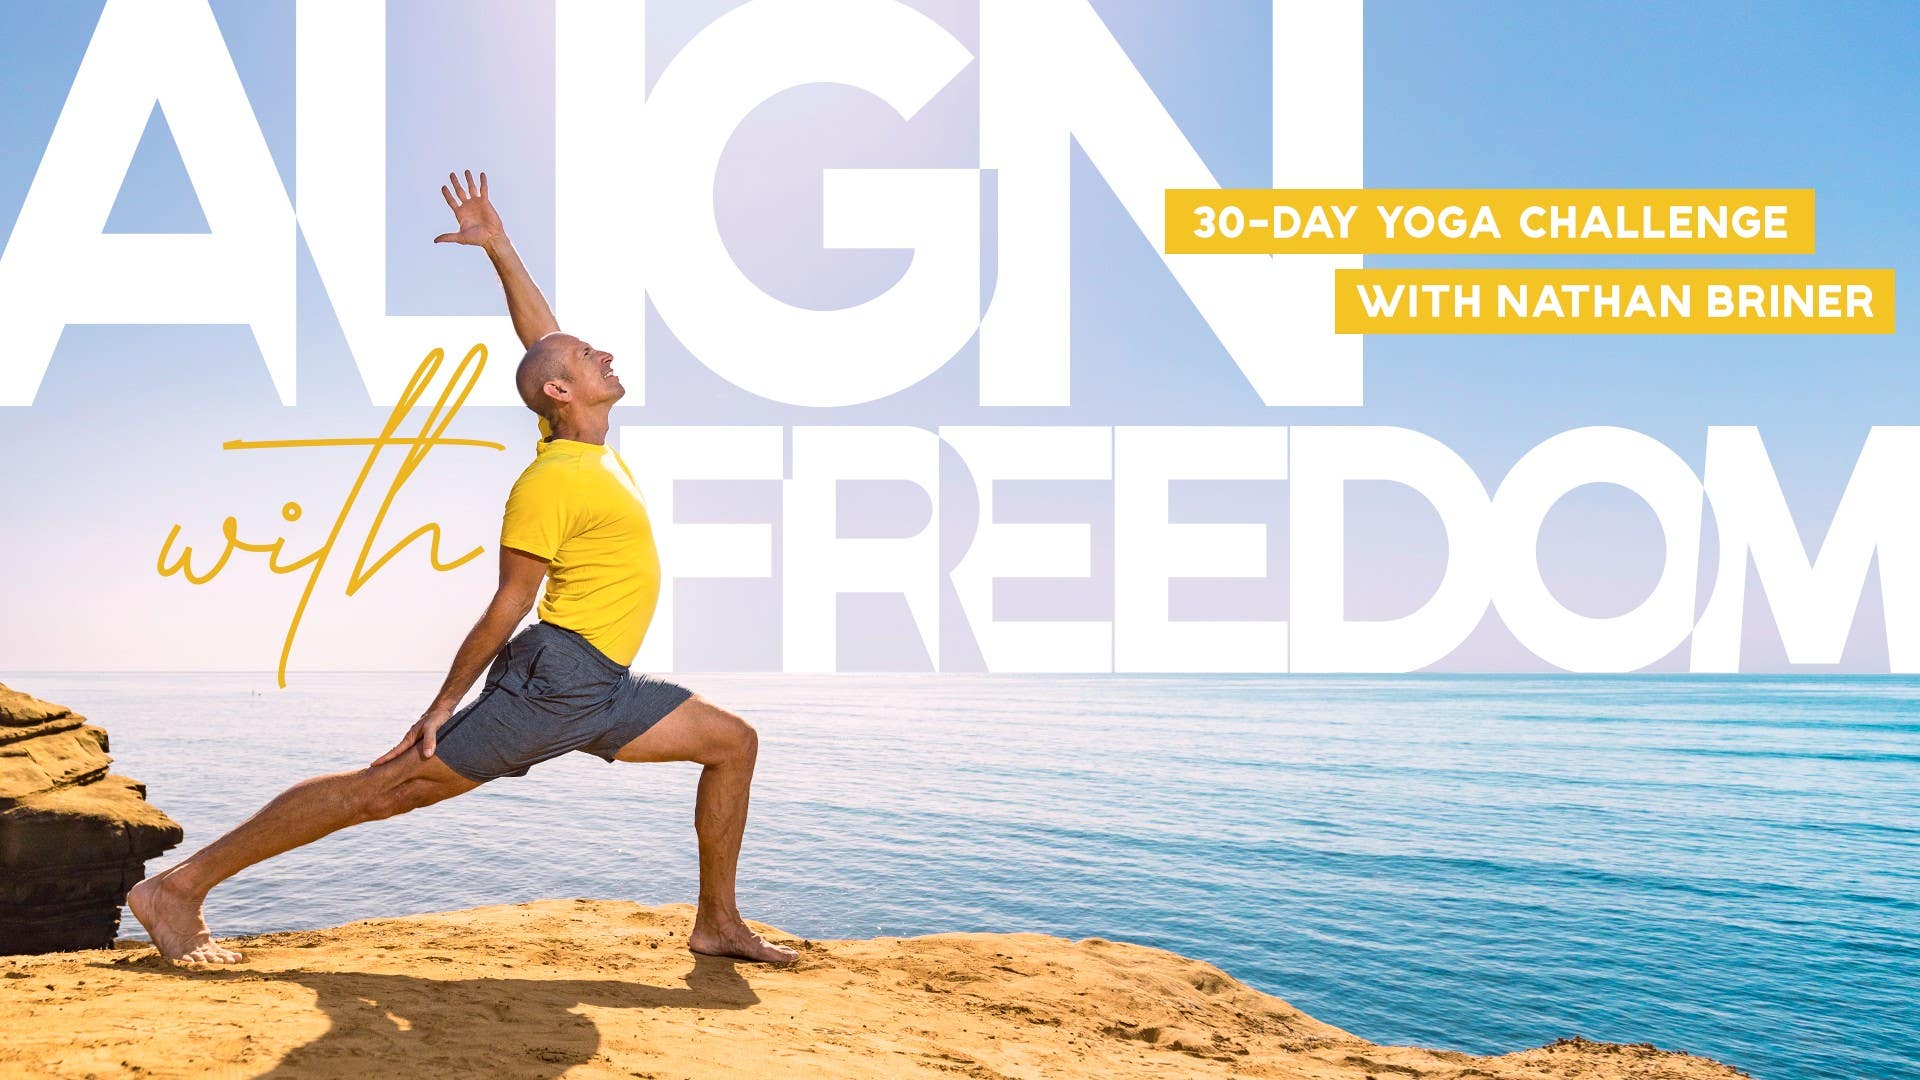
Align with Freedom: 30-Day Yoga Challenge
Mention
 |
Nathan Briner (Teacher) |
 |
Fiona C |
 |
Sandra Židan |
|
|
Borka |
|
|
Ann H |
|
|
Helen B |
 |
Rosanna S |
 |
Caterina C |
 |
mamarudd |
 |
Jodi S |
|
|
Lisa D |
|
|
Hildy K |
|
|
Lisa M |
|
|
Daniel C |
 |
Paula E |
|
|
Patricia P |
 |
Kate M |
 |
|
 |
Joan J |
Comments


You need to be a subscriber to post a comment.
Please Log In or Create an Account to start your free trial.
