What's a Course?
You can now make seasons of select shows into courses!
1. Schedule regular emails to deliver the content direct to you.
2. Watch your assigned videos to focus on the course goals.
To take a course for this show, first select a season and then click the "Take as Course" button for that season.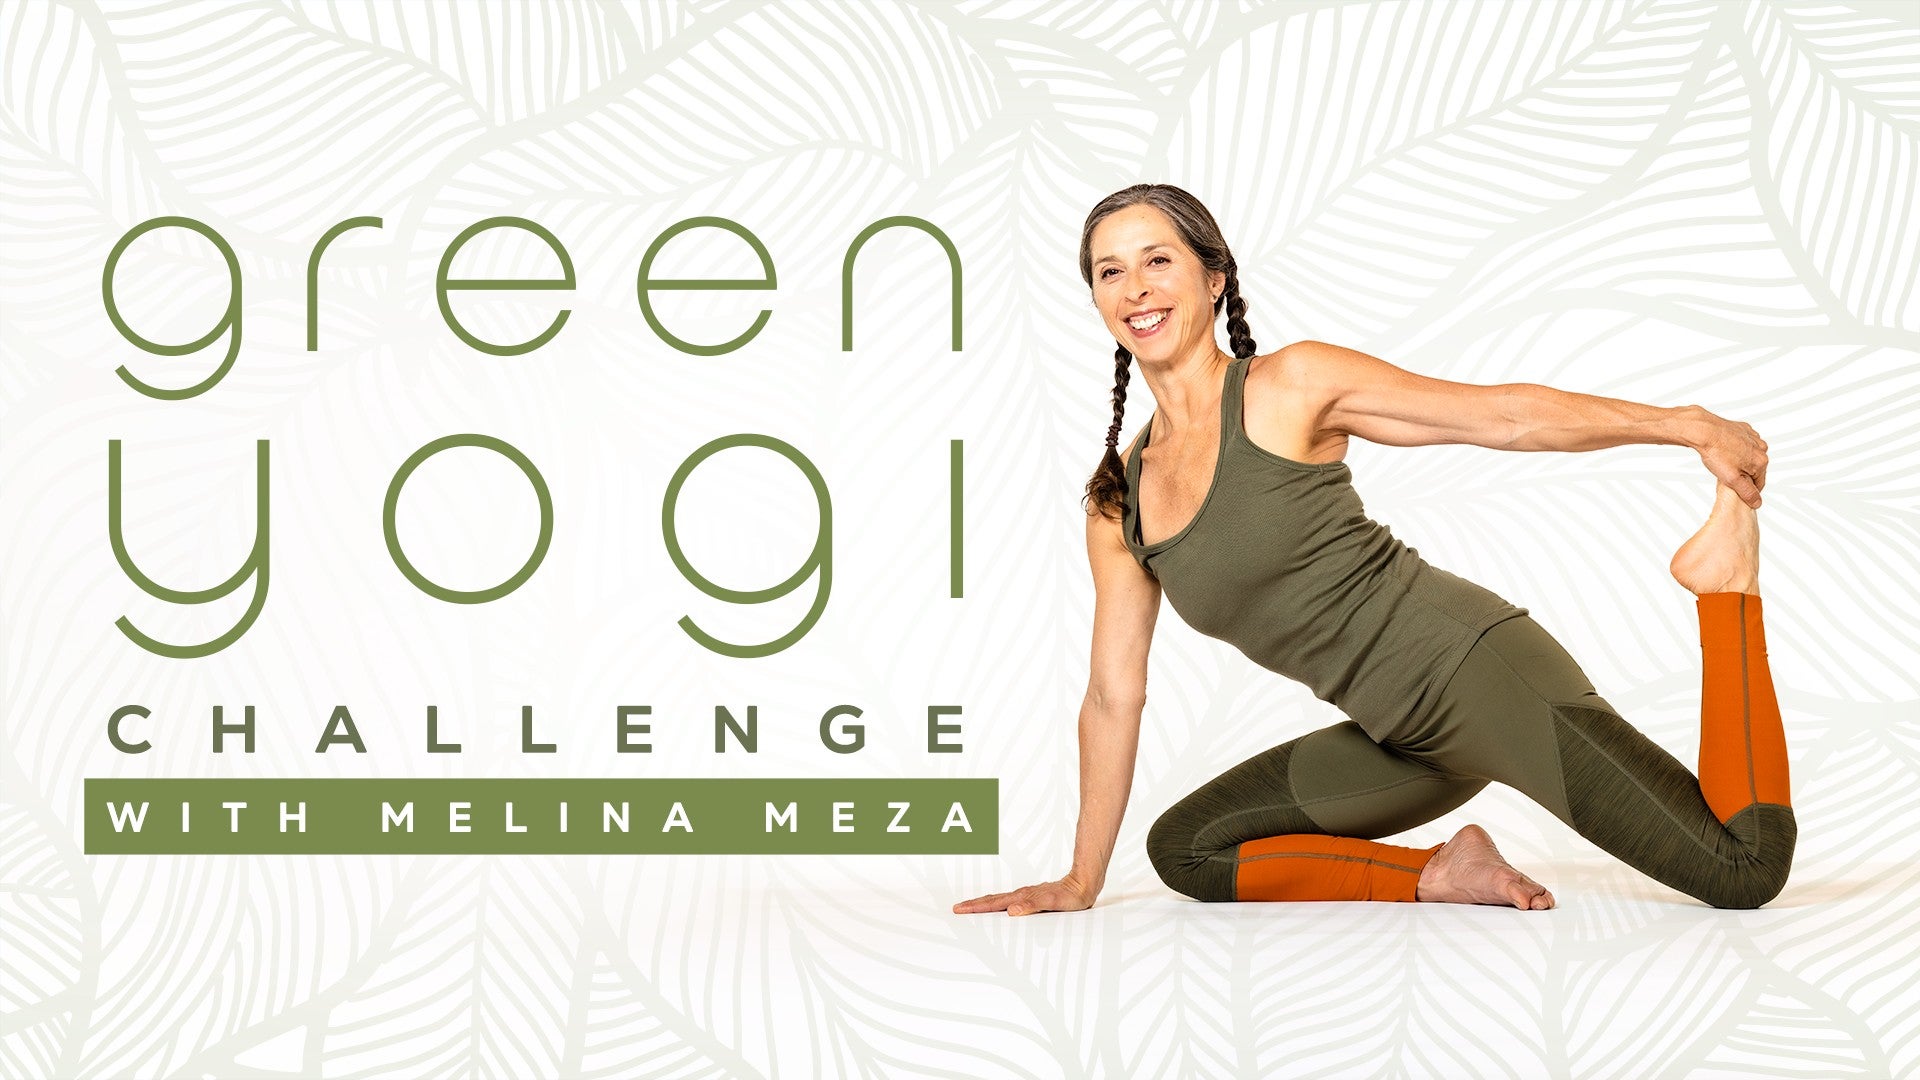
Description
Plant yourself here, watering this moment with the gift of your full attention. In Week 1, Melina leads a class to reduce cold, stagnation, and stiffness and awaken your body, mind, and spirit. This dynamic sequence will massage your joints, play with your balance, and increase strength and vitality in your hips and legs. You will feel warm, joyful, and inspired to plant new seeds and intentions for the season ahead.
Your Homework Challenge for Week 1:
- Stay hydrated: Drink warm water and herbal tea to keep the mind clear and the body warm, and to reduce ama or undigested matter from accumulating.
- Start a Zero Food Waste challenge: Honor food and the resources it takes to grow it by reducing waste. Make a weekly shopping menu to reduce possibility of buying more than you need, and freeze, repurpose, or share left overs.
- Choose organic: Organic products are better for your internal and external health, as well as that of farmers and the Earth.
See attached pdf for more ideas, recipes, and links.
Transcript
Read Full Transcript
Hello everyone, welcome to week one of the Green Yogi Challenge. I'm so excited to have you here for this adventure. For class today, it will be helpful to have one block, and we're going to begin in a standing position. So I want to invite you to stand with your feet as wide or narrow as you like to feel grounded and stable. When you found that width that works for you, a little bend of the knees just so you're not locking the knees as we stand.
Then I want to also add a hand mudra where we bring the palms together. You take your index fingers and separate them, and then press them at the upper knuckle area of the middle finger. We're going to float this Ganesha mudra to celebrate this new beginning, and blessings on our journey into greater health, well-being, as we align with our new intentions for self-care, and also more mindfulness and care for the environment. With that in mind, either keep looking out to your horizon line or maybe you'll appreciate your eyes closing for a moment. Whatever helps you feel a little bit more into this earth body, and that idea that you're planting yourself here, watering this moment with your full attention, which is such a gift to bring your full attention to this moment and your body.
Then creating a clearer sense of what our intention might be for this week, starting to open the green challenge, and welcome more learning around green yoga practices that improve our own well-being and the well-being of the planet. If you have your own personal intention you want to add to make this time more meaningful, let's bring to mind whatever intention you have to make this time more meaningful. A few more breaths as we exhale, letting our weight sink into the ground, plant yourself here. We tap into some gratitude for being alive, celebrating our health in this moment. Maybe keep that in mind as we open the eyes if they closed, and straighten your legs as your arms release to your sides.
I might invite you to let your feet go just a little bit wider apart, still that little bend of the knees. We're going to do a little clearing of some of the upper body with your left arm, reaching over to the right. That's okay if your left heel comes up, and turn that palm forward as you reach out to the side, and then tuck your left hand in your lower back. Reach it back out to the side, palm comes forward, reach back to your right, and then we're back to where we started. Reach to the right, up, and then eventually left hand in the lower back.
Might go a little faster as we reach over to the right, arm back at your side where we started. Let's do a few more trying to kind of clear out any stiffness or stagnation in that upper left corner of your chest. You're weaving or irrigating these channels of the upper chest and inner arm. So have better flow and circulation. One more time.
Doing the first big moves for some self-care, and then we'll leave the left arm down at your sides. Let's treat the right side, same movement. Reach up to the left, and then sweep behind you and right hand in your lower back. Reach out to the side, back over to the left, and we're back to the neutral. Whatever pace feels good for you, right arm reaching up around, hand in lower back.
Reach over to the left. You might find one side you have maybe more range of motion, but subtle channels are re-clearing, opening here. Let's do one more. Big opening for that upper right side of the chest, side body, and then plant yourself here in neutral. Now let's have the arms reach way out to the sides with your palms open, a little heart opening, and let's give ourselves a hug.
With one arm on top, touch your shoulder blades. Open up the chest. Opposite arm on top. Touch your shoulder blades. Then you might go a little bit faster, but we're looking for quality connection to your movements.
Opening these little channels through chest, inner arms, letting your movement kind of feel like it's the fertilizer that we need to make healthier soil, healthier muscles in this case. Now let's have the arms drop down to your side and bring your feet a little closer, and now we'll grab the block, wherever your block might be, and we're going to add that between the legs, and you might do a little experiment to notice do you like medium width or narrow width, whichever one works best for you. So when you bend your knees, your knees point more straight ahead, and I'm going to go medium width. Okay, so engage with the block. Let the thighs hug slightly in as your feet press down.
Start with your arms up, and an easy chair. Hands to your thighs, round your back as you exhale, squeeze your block, and squeeze your block as you look forward, open up through your chest. Arms sweep wide, come on up to standing, maybe hands touch above your head, and then arms down. Again, inhale, arms up. Settle into easy chair, squeeze your block.
Hands on thighs, so we really feel the legs round on exhale. And then inhale, look forward. Rise up, arms out to the side and up, arms down. One more time, maybe a little more quickly, arms up. Chair, hands on the knees as you round your back.
It's meant to be a little quick, look forward. Arms out to the side, we come on up, and then let your arms come down. All right, now let's go ahead and grab that block, and keep your feet probably about as wide as they are with your block in the wide position. Now take the arms up into the air, hold that block if that's okay above your head, and as you exhale, start to turn your toes out a few degrees. Lower your block down in front of you, and medium or tall, we're gonna turn the toes to point forwards.
Let's feel a little bit more into the back of your legs. Turn the toes out, and maybe we come down a little deeper into a squat and look forward. Lift your hips, turn your toes forward, look down or back. Toes turn out, and be willing to go and adjust your heels wider or more narrow so that you're more stable as you're shifting between forward bend and the squats. I feel like you're clearing out some new areas of your legs, and perhaps our movement is kind of the fertilizer to help create healthier muscles, a little bit more range of motion, and definitely more strength.
Okay, the next time the toes face forward, let's go ahead and pause here. You can leave your block where it is as you come up to slowly stand. Now let's go ahead and separate the feet wider apart, and we'll hold onto the thighs with your hands as you turn your right toes out a few degrees and try to do a little bit of a lunge in that right leg. So we're gonna hold ourself here. Then take your left arm and reach it up in front of your cheek or above your ear before we sweep the left arm behind your back.
When the hand tucks in that lower back, turn your gaze a bit to the left. Gonna follow that left hand back around, maybe above your head, above your cheek. And one more time, reach behind your back, look over a little bit your left shoulder. Reach that left arm back over to the right. And then we're gonna come up with your arms parallel to the floor and turn your right foot in a little bit and left foot out.
Bend your left leg like a lunge. And then let's reach your right arm over heads, maybe above your cheek or ear. When we take the right hand behind the back, look over your right shoulder. Follow your right hand over to the left. And you take the hand behind your back, look over your right shoulder.
Reach that arm all the way up and over to your left. And as we come out, arms parallel, let the leg help you come up. Turn your feet forward. Hold onto your thighs as you bend your knees, tilt from the hips and bring your hands down to perhaps that medium height block. Let's turn your right foot out a few degrees so you can deepen the lunge through your right leg and slide this block a bit to the right as you deepen the lunge in your right leg.
Let's see if we can bring the left arm out in front of you as you press your hips back away from your shoulder. And take that left hand into your lower back and look a little bit to the left, really asking a little more of your legs here. Reach the left arm back out in front of you and maybe your hips go a little further back in space. Take the left hand to your lower back, look over your left shoulder. As your left arm comes forward, bring your hand to the block and slide your block to the center.
Turn your right foot forward and then turn your left foot out. Slide your block a little bit to the left. So our hand rests here, but we're asking more of the legs so you're not putting all your weight on your left hand. See if we might bring our right arm forward and tip your hips back. Sweep your right arm to the side, hand in lower back as you look to the side.
When your right arm comes in front of you, maybe the hips go back. One more time, look to the right as you send the hand towards the lower back. Right arm comes back in front of you, grab your block back to neutral, toes face forward. Now in our neutral position, let your feet go a little bit wider if you feel comfortable with that. And imagine you were hugging a giant block in between your thighs.
So there's some hugging of the inner leg muscles up toward the pelvis. And then we can move the block into flatter or taller position so it may support your forehead as you let your hips stretch back in space. And our hope is that we're getting a really good stretch for inner legs, back of the legs, kind of irrigating those channels of the legs and hips if there's any stiffness or stagnation there. If the block feels like it's in your way, go flatter or get rid of that. As we go for that wide leg stance, one more cycle of your breath, becoming mindful of the stretch in your legs.
And then let's bring your feet closer, heel, toe, legs, and feet in, and leave the block there as you transfer your hands back to your thighs. Come up to straight legs and give your legs a little break as you heel, toe, legs in, and maybe give legs, arms a little shake. Right, and we're gonna go back out to that wide stance. Okay, lots of work in the legs today. Let's turn your right foot out and bend your knees, straighten your leg, and adjust the angles of your feet so you feel stable with your head, over your navel, over the center of your pelvis, as best as you can tell.
And then we'll stay in the depth of that lunge as your arms come up overhead. Let's reach over and grab the opposite forearm or elbow and try to lift your elbows up towards the ceiling as you sink a little bit more into your feet. Plant yourself here in this joyful moment of being alive. Right, now we're gonna lean a little bit to your left side and maybe we bend your right knee just a little bit more. Come up to center, and then press into your right foot as you tilt over to your right sides.
Come up to your center. Again, a little tilting again to your left sides, clearing that new space on your right side of the torso, neutral. And then over to your right side, bend your right knee a little more, release your right forearm to your thigh, and then stretch that left hand to the right, sweep it behind you with your hand in your lower back. Look to the left, follow your left hand, perhaps over to the right. That bothers your neck, you look forward.
Left arm behind the back, look to the left. Last time, left arm overhead, press into both feet as you spring up, arms parallel, front leg straight and bring your feet a little closer so it's easier to get to our second side and then start to turn that left foot out. Adjust the angles of your feet as you bend your left leg straighten your leg and kind of dial into where you feel stable here. Head over navel over the center of the pelvis. Then let's bring the arms up, press down into your feet as you grab opposite forearm or elbow.
And let's sink into the feet more as we arch and tilt a little bit to your right sides. Really press those feet down. Come up to your center and then press into that left foot even more as you lean to the left, like confirming that whole leg is engaged. Come back up and tilt to your right sides enlivening the soil, the muscles on your left sides. So you're gonna stretch our earth body a bit here.
Now when we lean to the left, rest your forearm lightly on your thigh and let that right arm keep reaching out to the left. Sweep that right arm behind your back and perhaps look over your right shoulder as your hand slides into lower back. Follow your right hand up, maybe back over to the left as you look forward. One more time, sweep that right arm behind your back. Look over your right shoulder.
Ask a little more of your legs. Sweep your right arm overhead and then we'll rise up with your arms wide. Straighten your front leg and turn the toes in, hands to the hips. And one more time, tilt from your hips. Reach down, touch the floor and explore again how wide your feet might go as we do a little clearing in the inner legs and maybe even you feel this in your outer legs as you press the pinky side of your foot into the floor.
So one more moment, keeping the head up toward the height of your pelvis. So it's different than the forward bend. Now bring your feet a little closer. Let's grab that block and bring that into our hands as we come up to stand. And as your feet come closer and closer together, we're gonna turn to face the short side of your yoga mat with the block in your hands.
Turn it to the wide position if you're using a block with me. Feet underneath your hips where you feel stable. When you hold that wide block in your hands, let's reach up into your air with that block and look up. And then coming down through chair pose into your forward bend with your hands on a medium or tall block. Your feet a little closer together as you reach the right leg into the air behind you.
Then plant the ball of the right foot on the ground with your heel up. Grab your block, take that block up into the air. So we're doing that high crescent lunge and press down into your feet. Energize your legs as you hold the block up. Reach the block forward as it comes down to the floor.
Lean forward, press the block into the floor as you lift your right leg up, hold. And then bring your right foot by your left foot. Chair pose, grab your block. Chair pose with the block in the air. Straight legs, arms down in front of you.
Again, we're gonna go up with your arms. If it feels good, look up. Look straight ahead, chair pose. Block on the ground, medium or tall. Press your block down as your left leg swings up behind you.
Step back with the ball of that left foot. Plant that foot, grab your block and come up into your high crescent lunge and then press down into your feet. Engage the muscles of the legs. Lean forward, plant the block, lean forward. Lift your left leg, hold.
Feet side by side as we go through chair. Grab that block, lift it in the air. Straight legs, arms down in front of you. Again, going up, hopefully it gets easier with repetition. Look forward, chair.
Maybe the block is medium instead of tall as you put weight on that block, send your right leg back. Plant the ball of your right foot, high lunge, crescent lunge as we take the arms up holding that block and then take a moment, press your feet down. Lean forward, put the block down, lift your right leg and bring your right foot by your left. Chair pose, take the block up. Straight legs, arms in front of you.
Again, arms going up, feels good, look up. Look forward, chair. Put weight on the block as you lean forward, left leg swings back. Plant the ball of that left foot, grab your block as we come up through that crescent lunge and press down into that back foot. Lean forward, put weight on that block.
Left leg comes up, feet side by side or parallel, bend the knees, chair pose. Take the block up, straight legs, arms at your side. So hopefully you're getting the flow of that and the legs hopefully start to feel a little bit warmer as you go up, look forward, chair. A little more flexible as we lean forward, swing the right leg back behind you, put the ball of the right foot down. Grab your block, look straight ahead as block comes up.
As the block comes down, lean forward as you lift that right leg. Feet together or parallel, chair. With your arms overhead, straight legs, arms down in front of you. One more time, going up, look forward, chair. Put the block down and put weight on that block as you lift your left leg up.
Then plant the ball of that left foot behind you. Press down as you raise the arms and the block up and then energize the grounding of the legs. Put the block down, lean forward as you lift your left leg and then bring your feet side by side, bend the knees, chair, the block up overhead, straight legs, and then arms down in front of you. So we're gonna leave that block for a moment, believe it or not, and then we're gonna turn perhaps again towards the long side of your yoga mat. So as you find your Tadasana again, maybe your feet are apart a little bit so that maybe you're more stable.
Lean a little forward and back, just getting your feet acquainted with the ground. A little bend of the knees so we firmly press the feet down. Let's raise your arms now again up towards the ears, lean a little bit to your right and let your left knee lift and we're gonna try to bring the elbow knee to touch. It's okay if they don't touch, we're just working at bringing them closer together. Same side again, left elbow to knee, go up, lean a little bit to the right, left elbow to knee, neutral, left elbow to knee, go up, left elbow to knee, and then go up.
And then we're gonna switch and shift your weight to the left, look forward as you bring your right knee to elbow, back to neutral, okay, balance will come and go, right knee to right elbow, couple more times. Celebrating the joy of being alive in this wonderful earth body, having some fun, hopefully in your practice with the balance. One more, just for fun, and there you go. Take your arms down for a moment, give everything a little shake out. Now let your hands for a moment rest at the side of the pelvis.
Okay, well again, shift the weight to your right and let your left knee come up and this time we're gonna circle the leg out, circle the leg out a couple of times, kind of clearing out any stagnation in that joint. So thinking of that movement as the fertilizer to enhance circulation here, and then go the opposite direction a couple of times. It doesn't have to be a huge movement to be beneficial. Let's park that left foot down, stand tall, and now your right knee comes up. Find your focus as you try now to circle that right leg a few times.
Notice that this side feels different than your first sides. And now, well let's go ahead and maybe circle the other way and see if that's easier or more challenging. Obviously it's a little more challenging than my body today doing that, we're going that new way, and then bring your feet back to the floor. Now arms up to the side, last little one in the sequence, with your left knee up, touch the inner knee with your right hand and then go back out to the sides. So we're gonna try to avoid tipping backwards.
Right knee up, touch the inner knee, arms out to the side. Now we might lift the leg a little higher and touch that knee, arms out to the side. Lift your right leg, can you touch the knee with the leg straight, arms out to the side. So we're kind of kicking that leg up and touch the knee or shin, lift your right leg, try to touch your knee or shin, arms to the side. One more, touch the knee, shin, neutral, right leg up, try to make that contact, and then arms down.
Okay, now we're gonna add the block back into the mix. And perhaps you're holding that in the wide position and your feet may be a little bit more narrow rather than wide, it'll be a little easier for balance. So we'll have the arms come up into the air. And as we shift our weight to our right, as we've done before, let's try now to lift the left knee. We're gonna take this block on top of that thigh and then the left elbow on top of the block.
Right arm out to your side, and open the left leg to the left and come back to center. Notice how that feels. I often say this, remember the first time we tried something we might not expect it to go well. So we're just kind of trying out how it feels to open up this new channel while building more strength in actually both legs. Open, close.
One more time, a little open, close. And then we'll grab the block, take it up in the air and press that left foot into the floor. Shift your weight to your left side and take that right knee up. And we're gonna let that block land tall on that thigh, elbow to knee, elbow to the block, left arm to your side. Do a little opening of that right leg.
I like you're oiling a hinge here. We're going a little bit out to the right, neutral. Remember balance will come and go. Back to center. See how this side feels different than the first.
And then we'll eventually find our way back to center. And with the foot down, take a moment here. Find your Tadasana. Now let the arms last time up in the air. Shift your weight a little bit to your right foot.
We're gonna hold the block as we bring the left knee up and let's press that block for a moment to the inside of your left knee. Bring your arms up, press into your left foot. Shift to your left as that right knee comes up. The left hand takes that block, press to the inner right knee. Come back up, shift to your right and the right hand gets that block and we press into inner left knee.
Come up, shift to your left. A few more times and let's do that little mindful hold as you squeeze the block to the knee. Building a little more strength, hold the block as you lift your left knee and then press your block against the knee. Come up, oh, you'd like to do one more, right? One more, lift your right knee, squeeze in because it feels so great.
Back up and then we'll finish with a block pressing into that inner left knee. All right, now let's keep the block up and turn your toes out a few degrees as we start to do a little kind of squatting where we're reaching the block up as you squat, eventually working our way to sitting. So you might keep adjusting your feet a little wider. Work at keeping a long spine and for some of you it might be easier to have the block in front of you. We're trying to work our way down toward the floor without using our hands to help us come down.
We're warming up the legs, strengthening the legs. Imagine if some of us might start to do a little more gardening that you wanna get those ankles and knees warmed up. And maybe this last time we'll make our way down to where you actually sit on the floor and then stretch your legs out in front of you as you put the block down. Let's find your Dandasana. When you settle into your Dandasana, let your hands slide back maybe an inch or two so your torso can lean back just a tiny bit as you try to lift your right leg up off the ground and then lower it down.
And then we'll try the left leg up and down and just feel how you're engaging your quadriceps on that right side, left side. Now maybe we bring the hands a little closer towards Dandasana again, towards your hips and you might lift your leg less. See if you can lift a leg one and then the other as you sit with your head maybe over your navel, over your hips, okay? Or is it better to lean a little bit back? Okay, so now we're gonna try to lift your left leg.
We kinda did this standing and try to touch your shin with your right hand. We'll come back to neutral. Lift your right leg, see if you can reach over and touch your shin with your left hand, back to neutral. Left leg up, touch left shin, neutral. Lift your right leg, touch that right shin, neutral.
Now maybe we reach forward and you touch your toes with your right hand, lower left leg. Lift your right leg, see if you can reach and touch your toes with your left hand. Okay, one more to each side. Lift your left leg, touch your left foot. Lift your right leg and touch your right foot.
And then when you come down, we're gonna lift this time your left leg and we're gonna hold either outer shin, outer foot or the toes and then push your foot into your hand as you sit up a little bit taller. See if you can swing your left arm out to the side and take a peek towards the direction of your left hand. Okay, you're still pressing your left foot into your left hand and sitting up tall. And they're seeing if there's any tightness or stiffness from the waist, the diaphragm, the rib cage. Can we clear out some of the kind of subtle inner channels of the body and create more range of motion in our muscles, our fascia, our skin as we take one more moment here.
And now let's look forward and grab your left knee and your right knee and come into a boat position where we'll pause with shins parallel to the floor and let those arms open out to the side as you take a moment, look towards your toes and engaging again, some more core muscles, bringing a little bit of heat and warmth. And then we might invite the feet to come down, stretch the legs out and with your hands to your sides. Right leg comes up, grab outer leg, ankle, toes, and press into your left hand with your right foots. Okay, when you found the right amount of stretch there, let your right arm open out to the side, maybe in line with your chest, shoulder and look towards that direction. Then we're gonna try to sit up a little bit taller and see if there's any tightness, stiffness around the diaphragm, the waist, the ribs that we might decrease or get rid of as we kind of mindfully work into that rotation.
Breathe into those deeper spaces in the body. One more moment here. And then grab the back of that right knee, then pull the left knee in and we're back to our boat pose, shins parallel to the floor and let your arms reach in front of you or maybe even a little more challenge out to the side as you look towards your feet. And we're still working the quadriceps, the legs here. Now put the feet down, hands down and we'll work our way onto our back.
And when you're on your back without any padding underneath you, let your arms slide in close to your side body for bridge, feet on the ground a little bit more narrow rather than wide. So it'll be easier when we tilt the left knee towards your chest, look up as you stretch your left foot towards the ceiling. As you press your right foot and arms down, lift your hips and try to bring the ball of that left foot closer to the ceiling. As you lift up, the foot goes straight up above that hip. Lower your butt and your torso, let's keep the leg up and try to press up and down.
See your left foot go straight up and down. Couple more, press into your right foot, go up and hold and then lower. Again, press into your right foot, lift and hold another beat and come down. Let's put your left foot on the ground. Tilt your right knee towards your chest and stretch your right leg relatively up towards the ceiling, the leg could be somewhat bent.
Look towards your right foot as you press your left foot and arms down. Try to lift the hips and then lower down. And you might need to readjust your left foot if it's not quite in the right spot so you've got space to lift up and lower. All right, once you start to get a feel for that, we're gonna add the next time, just an extra second to pause, lower. And as you use your arms and your left foot, we lift and we try to reach the ball of the foot up and then go ahead and lower.
Let's put both feet down. Feet now maybe a little bit more like hip distance apart and with your arms at your side, lift your hips and this time we'll go for just neutral bridge, looking towards the ceiling. And imagine you had a block between your thighs that you just gently hug in towards. So maybe it feels like your low abdomen area is a little bit more hollow, the hip points a little more narrow as the legs thighs hug slightly in. So hopefully your lower back feels spacious.
Visualize the knees stretching away from your ribcage here. And take one more moment with your arms firmly pressed down, heels and feet firmly pressed down as we wake up the legs. Okay, let's slowly find our way back to the floor. Let's take your right arm back by your ear for a moment and then we'll roll over onto your right side with your legs stacked and bent. Make a little pillow with your right arm, please.
Let's swing your top left leg back and grab a hold of your left foot with your left hand. And enjoy now a little bit of stretch for that left quadricep. And hopefully we appreciate again a little more joy in this moment of being alive as we dive into that awesome stretch for that last quadricep. I feel like I could stay here for a while. Hopefully you do too.
Enjoy that. Who doesn't need this? One more moment. All right, go ahead and release. Let's go ahead and as you roll over onto your back, let's hug the knees for a moment in towards your chest.
We'll make use of our transition and then move the knees forward. Knees hug in and forwards. One more, knees tip in. And as your knees move forward, take your left arm back by your ear and let's roll over to your left side. And you make that little pillow with your left arm.
And take your top right leg and slide it back and grab your foot. We have access to grabbing the foot. Press your foot into your hand. And we're still stretching that right knee away from your chest. Enjoying again that opening maybe even of that right upper chest, but really trying to focus on knee moving away from ribs.
Finding that delightful stretch to the front of that right thigh, just creating more space on your body, on the right sides. Right, then we'll bring the knees back together and then we'll roll onto your back. As you look towards the ceiling, take a moment, just letting your feet be about hip distance apart, arms at your sides. Let's spread your arms a little bit wider out to the side, maybe in line with your chest. Wiggle your feet please to the edge of your yoga mat.
And I always love at the end of class doing a little windshield wiper tilt, the legs tipping to the right and your gaze turning towards the left. Kind of feel like there's a continuation from the quadriceps stretch here as we feel that stretch of the left knee moving away from left rib cage. Come back to neutral. Let's have the legs fall to the left. Feet again, stay wide and maybe your nose turns towards the right.
And feel again, this is just a continuation of bridge, a way to create more space in your front body and in particularly here, right knee stretching away from the right rib cage. Come back up to center. And as we visit that right side again, legs tipped to the right, you look to the left. Some of you might like adding that right heel on top of that outer left knee. And we invite a deeper stretch through that left side.
That doesn't feel good in your back. Please keep your right foot on the floor. Whichever version you choose, slide your arms towards your ears and grab your left wrist with your right hand and stretch longer through your arms. As we're trying to get that left arm straighter as you hold onto that left wrist with your right hand. Feel like you're doing a little deeper weeding into that left side of your body.
Breathe into those deeper spaces. Arms out to the sides, tip back to neutral. And again, tipping your legs last time to the left. And if it feels interesting to you to put that left heel on top of that right outer knee, please do that. If that doesn't feel safe, just keep your feet again on the ground.
Slide your arms more by your ears and we'd catch the right wrist with the left hand. And then try to press that right hand further away from your head. And as you find that deeper stretch on your right side, try to breathe in some of those deeper spaces that we haven't met yet today or we don't get to when we're moving quickly. And then we'll let the left foot slide off the knee. If it was there, tilt your legs back to center.
And then as your arms come out to the side, it might take notice if there's any last little move that you need to do to get settled or ready for Shavasana. And so anytime that you're ready, we'll let the legs perhaps drop down into the floor. I'll encourage you to grab whatever extra layers that you might wanna add onto your body to cover exposed areas to stay warm. Maybe the extra weight at the blanket also helps to keep you grounded. You wiggle yourself into a comfortable position where you feel maximum support of the fertile ground underneath you.
Maybe with your eyes softening and closing, can bring our attention to our inner landscape. Just feel the result of all the self-care that we've done this morning or whenever you're practicing. And so a moment of gratitude for all the ways that you've shown up for your practice today. Now, can we let the earth support us? And each exhale letting maybe a little bit more weight of your body drop back into the floor.
Each limb, the heads, torso, the hips, heavy and dropping back in towards the earth. And feeling the subtle life energy moving through our earth body, breathing into those deeper regions. And that we might discover more in stillness. Celebrating here as we breathe the miracle of being alive, conscious, presence. Becoming more and more presence and such a gift.
And maybe we feel the gift of being presence, grounded. How that feels in the body, the nervous system, the mind. See if we might stay connected to our breath rhythm for the next minute. The way to draw us deeper into this moment, this breath. It's helpful perhaps reciting to yourself breathing in when breathing in.
And exhale, breathing out when breathing out. And what's it like to be here right now? If you find that helpful to recite to yourself the cycle of the breath where you're at and continue doing that over the next few minutes or letting go of that practice and dropping into the wider spaces of the mind. Dissolving a little bit more into the earth and the environment. Remembering our wholeness.
And more compassion for ourselves and the earth. And more respect for ourselves and the earth. And more respect for ourselves and the earth.
Green Yogi Challenge: with Melina Meza


Comments


You need to be a subscriber to post a comment.
Please Log In or Create an Account to start your free trial.
