Description
About This Video
Transcript
Read Full Transcript
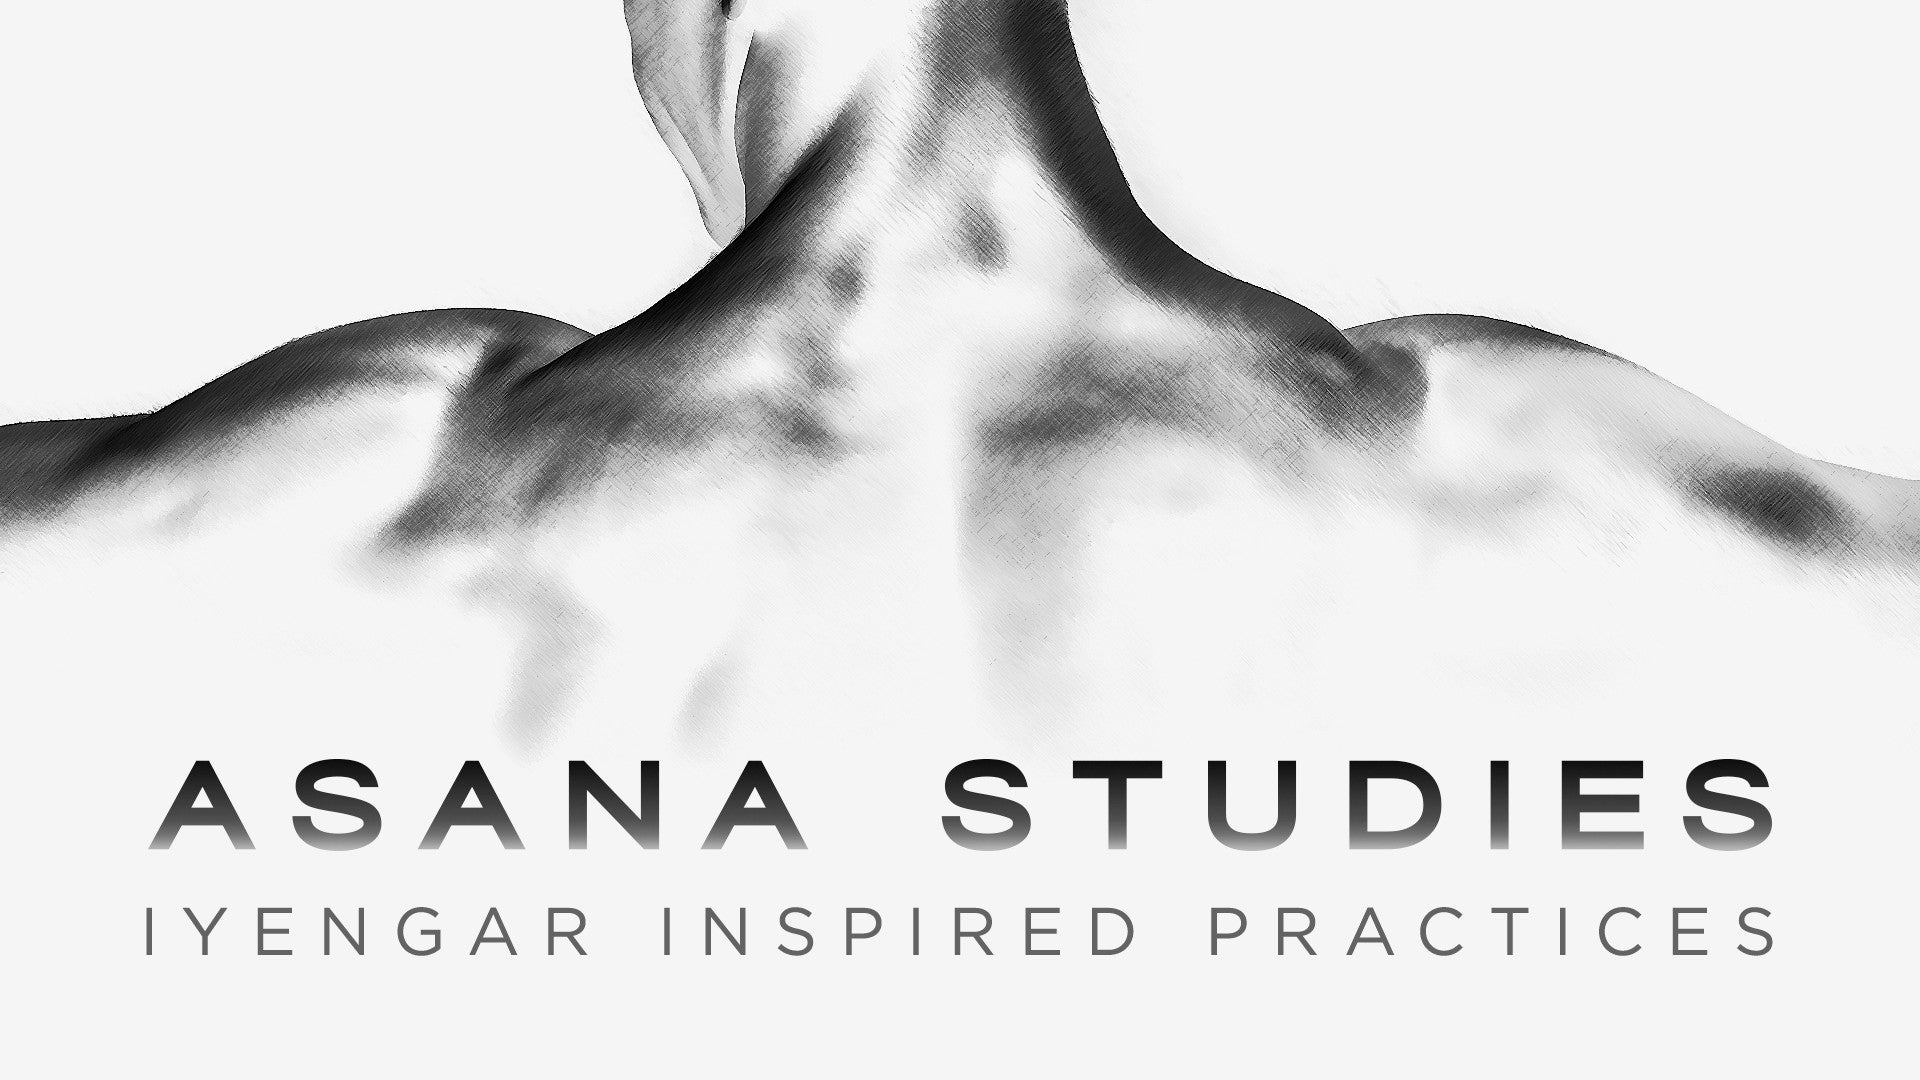
(waves crashing) Okay. Now we're going to talk about and learn about the hand-scapula and the connection between the hands and the scapula. Now we all know what the hands are. The scapula is (hand smacking) right here. Commonly known as the upper (hand smacking) backbone. So the scapula are right here.
The scapula ride on the back ribs. If you were to think of the scapula being like this, they ride on the back ribs. They're actually not directly attached in the way you might think to the back ribs. They're connected. So, we're gonna talk about the connection between the hands and the scapula.
So, there's a connection between each finger and the inner borders of the scapula. So the inner border of the scapula would be right here on my left side and right here on my right side. Each finger, the little finger through the thumb, have a connection on the inner border of the scapula. The little finger on the bottom part of the inner border of the scapula. The thumb on the upper part of the inner border of the scapula.
So, for instance, if we were to take movements of the hands and look at how those movements, as initiated by the finger are connected to the scapula. If I were to take and initiate a movement from the little finger and externally rotate the arms and let the little finger lead the action. Let the spiral go from the hand, to the wrist, to the forearm, to the elbow, to the upper arm, to the shoulder joint, to the shoulder girdle. My scapula will go down, forward, and wide like that. If I were to take from the thumb, and let the movement go from the tip of the thumb, to the hand, to the wrist, to the forearm, to the elbow, to the upper arm, to the shoulder joint, into the shoulder girdle, that's what the scapula does.
Internal rotation. So, hand-scapula. One of the ideas is the hands are very expressive. When you think about how we use the hands, we use the hands so much to communicate. In a lot of cultures people barely say a word without their hand doing something along with the most seemingly trite thing they're going to say.
So we want to use the hands and play with the hand-scapula to learn how to use the hands by way of the arms to shape the shoulders. So just as there's an intimate connection from the legs to the pelvis that comes from the feet, or from the feet by way of the legs into the pelvis, there's a very intimate connection and connectivity that happens from the hands through the arms into the shoulders. So the hands, essentially by way of the arms, shape the shoulders. So for instance, say we're just gonna stand in a casual Tadasana with the feet in good relationship. We should feel how they are and see that they are the way we think they are.
Take your hands, if I took my hands and I took my hands and took my arms to the side, down to the side and then more to the side and then up, side-up and then side-high, as I do that, as my hand travels through that spatial pathway how I rotate my hand and allow that rotational energy to come up into my arm or that spiral energy to come up into my arm I allow my scapula to be receptive then shapes the shoulders. So a lot of times people can raise their arms and they'll do this. You'll see that. Okay, that's one way to raise your arms. Really, another way to raise your arms is that if you take your arm up and you slowly rotate your hand as it goes from down to down-low, to side, to side-high, as you rotate the hand externally and let that rotation come up through the arm the scapula will go down the back, forward, and wide.
And it will accommodate the arm going overhead while this area is rather open, so to speak. So again, we take the hand from reaching down and let the hand, we play with this, I'm gonna let the hand lead the arm. So I'm gonna raise my arm not from feeling my shoulder muscle raise the arm. We know, I know, and you'll learn and you'll feel even if you're not sure or you don't know that the shoulder muscle raises the arm. Okay, that happens.
It's not gonna, the arm won't raise unless these deltoid muscles raise the arm whatever the hand and arm are doing. The deltoid's gonna raise the arm. However, we can change how that happens by initiating the movement from someplace other than the obvious place that the movement mechanically is facilitated which is at the deltoid. So, I'll take the hand and I'll do the same movement with this arm that I did with the first arm. And I'll use the hand and as we move through space I'm gonna be very aware of my consciousness of the hand directing not only the movement of the arm from where it is to where it will be, but the quality of rotation or spiraling that's happening in the arm.
But also I'm gonna add spatial intent which is the idea of accessing space with the fingertips, with the hand to create a sense of length in the arm as I do so. So that will look like this. I reach down and as I begin to lift the arm I feel the hand leading the arm, initiating the movement and I rotate, I reach down-low, side, still rotating, side-high, still reaching and then high. So doing that causes the scapula, this scapula to go down, forward, and wide. So that I can bring the arm overhead with ease and there's lots of space in here which I call the groin of the shoulder.
This is the pelvic groins. These are the groins of the shoulder. I'll show you that from the back. I'll just do a simple shape of the hand, like this. I'll do both arms at the same time.
I reach the arms down, down, side-low, side, reaching wide, side-high, still rotating the hands and from the hands the spiral goes from the hand into the shoulders by way of the arm. The scapula go down the back, forward, and wide. And eventually, as you get used to that and as you get skilled with that you'll actually be able to take the arm overhead and have the groin of the shoulder actually be soft. This is really actually very soft here, very relaxed here. So there's muscles that facilitate that.
But essentially what's happening is the scapula is rooting on the back and from the root of the scapula on the back the arm can fly and be where it needs to be with ease and stay here for some time and this being relaxed and soft. Let's look at that in some more simple actions in relationship to the hands on the floor. So hand-scapula shaping occurs naturally. Oftentimes in Asana, in the interest of creating connectivity and integration and a sense of wholeness, we want to use the hands and the arms in very clear ways to provide support, to provide a base, and to facilitate connectivity and a holistic experience of us being in the body. We looked at it a little bit with the hands in space.
We'll look at it now with the hands on the floor. So essentially the hands by way of the arms shape the shoulders, be they in space as I showed, be they in relationship to each other, working, stabilizing on each other or stabilizing on the floor. One way we can look at it stabilizing the hands on each other if you take the hands, we take the hands in front of our torso and clasp the hands. We press the hands into each other and from the hands we create we can actually internally rotate the arms a little bit. That means that the inner elbows will go in and sort of down and then from there the spiral goes.
From pressing the hands we have to initiate. We want to get a sense to really initiate for the spiral or the rotation of the spiral from the hands, to the wrist, to the forearm, to the elbow, to the upper arm, to the shoulder joint, into the shoulder girdle. When we do that we want to take care that we're using the tips of the fingers on the back of the hand. This is a Bear Lock. The tips of the fingers on the backs of the hands are very firm to create enough active stability so that we can allow that spiral, create that spiral, feel that spiral.
Change interlacing, let's try that again. Spiral goes from the hand, to the wrist, to the forearm, to the elbow, to the upper arm, to the shoulder joint, to the shoulder girdle. We can do it with the arms bent, palms pressing together. This is actually easier in a certain sense because if we bend the elbows we can use the hands and really bring the elbows into each other as part of the spiral, as part of the external rotation that happens with the spiral, the external spiral. Pressing the palms, the elbows come in and get a sense that the spiral goes to the hand, to the wrist, to the forearm, to the elbows, coming into the upper arm, to the shoulder joint, into the shoulder girdle.
And when you bring it to the shoulder girdle just bring the scapula down the back. The hands on the floor. We can also experience the same action. So, I'm gonna take hands and knees. I'm gonna curl my toes and sit the heels on the back of my, my pelvis on the back of my heels.
Now here I'm leaned forward and there's weight in my arms. I'm gonna use the weight in my arms to manipulate the rotation, the weight in my hands, rather, to manipulate the rotation of my arms. So my hands are on the floor. (hands clapping) Very flat. It's like, have you ever cooked pancakes and the griddle's perfect and you pour the batter on the griddle and the batter's perfect and the pancake griddle just spreads in this beautiful circle?
That's what your hands are doing. Just like that. Very active though. Now here I'm going to create a spiral that goes from the hand, to the wrist, to the forearm, to the elbow, to the upper arm, to the shoulder joint, to the shoulder girdle. When I do it here I wanna take care to use the thumb side of the palm, the inner triangle of the hand, pressing down.
If you take the hand and the arm and you look at it, the center of the hand is sort of where the middle finger is and that's also the center of the wrist, the center of the elbow, and the center of the shoulder joint around which the shoulder girdle is. So we have that as an axis point if you think of that. From the middle finger, up through the hand, through the wrist, to the forearm, to the elbow, upper arm, shoulder joint, shoulder girdle. The hand, to the wrist, to the forearm, to the elbow, to the upper arm, to the shoulder joint, shoulder girdle. So, when I put my hands on the floor I'm gonna press the inner palm, or the inner triangle.
If you think from the tip of the middle finger to the center of the heel of the palm to the thumb as a triangle and the tip of the middle finger, the inner triangle of the hand, the tip of the middle finger to the center of the palm to the baby finger as the outer triangle of the hand. I'm gonna try to put weight on the inner triangle of the hand. Now if we put our hands on the floor and relax and put weight on our hands the weight's gonna roll naturally to the outer edge of the hand for most people. It'll be on the heel of the palm. The hand will relax.
It'll create kind of this cupping effect and the weight will roll, generally speaking, onto the outer palm. And if we put a lot of weight on that with the hands relaxed the weight will most certainly be here and out here. So we use the hands in a very active way to distribute the weight to the hands how we would like for it to be enhancing it on from where it naturally is. So I'm gonna try to put weight on the inner palm and from the weight going down on the inner palm that weight is consistent. I'm going to now take a spiral that goes from the weight on the inner palm going this way.
The spiral goes the opposite direction. From the inner palm pressing to the wrist, to the elbow, to the forearm, to the upper arm, to the shoulder joint and on the way into the shoulder girdle. So that's what that looks like. This is what that looks like. And I'll start from being internally rotated so that I can really illustrate that, have some place to clearly illustrate that from.
The weight is on the inner triangle of the hand. I press down and I keep pressure there. As I take the energy from there, the spiral goes to the wrist, to the forearm, to the elbow, to the upper arm, to the shoulder joint into the shoulder girdle. So we have this effect. And we let it go all the way up into the shoulder girdle.
And when I do that the scapula go and I do that and I press the hands to the floor and I push the floor away I kind of hover away from the floor. I don't droop. See this is drooping. Drooping, okay? So I do that and then I move the scapula down the back and I hover and there's a spaciousness there.
Very spacious, yes? The scapula goes down the back and now the scapula are doing the same thing on the back (hands smacking) that my hands are doing on the floor. My scapula are doing the same thing on my back that my hands are doing on the floor. They're attaching (mouth swooshing) very firm to the back ribs. It's a foundation for stability.
Now I'll show that from one other perspective. I'll do it from the hands and knees. And in fact, I'll go into what I call a little 'Mini-Dog.' I'll have the hands distanced shoulder-width apart. I'll have the hands on the floor the way I want them rotated. And I'll put weight on the thumb-side of the palm.
I'll take the spiral from the thumb-side of the palm. Keep pressing the thumb-side of the palm down. From there, to the wrist, to the forearm, to the elbow, to the upper arm, to the shoulder joint and then I'll hover, not droop but hover, and then from there I'm gonna scruff the hands overhead to take the scapula down the back and shift the weight down. As I shift the weight down I keep hovering. I won't droop, keep hovering.
And then I'll (lips popping) pop the pelvis back. So we have a little 'Mini-Dog' here. So I'm scruffing, spiraling, hovering. Hand-scapula. Scruffing, spiraling, hovering.
When we do that, we put those things together. Scruffing, spiraling, hovering, and we have to keep them going. We keep them going. They're layered and then they blend. Thank you.
Asana Studies: Chris Hoskins


Comments


While bearing weight in your hands, it’s from the action of pressing them into the floor that you de-emphasize activating the upper traps – the "groins" of the shoulders. The idea is that keeping the groins of the shoulders as soft as possible while emphasizing strong, active weight in the hands, the shoulders and shoulder girdle are receptive and responsive to the directive of the hands.
There is a very dense quality in the feeling of the hands while actively spreading the fingers away from each other, and actively pressing strong weight through all fingers and the whole hand into the floor; from there up to the shoulders the dense quality progressively lightens, culminating in the groins of the shoulders being soft (though you may experience strong sensation of the forearms and triceps contracting).
Even though the scapulae are so firm against the back of your ribs, it is still necessary from the actions of your hands and arms to mobilize them and slide them away from your ears down your back towards your pelvis. This creates more space in the distance from your ears – and your occipital bones – to your shoulders.
I hope this helps. Let me know if you have more questions. Thanks.


You need to be a subscriber to post a comment.
Please Log In or Create an Account to start your free trial.
