Description
Transcript
Read Full Transcript
Hello, everyone. I'm so glad you're here with me. I've got a special class for you with one of my favorite new props. It's these stretchy resistant band, and we'll also need a block for our practice, mostly just to help you sit in a good way for your knees and ankles. So I wanna invite you to find the comfortable seat. I'm gonna put my block back back under my sit bone area so my knees are a little bit happier and ankles are a little bit happier.
So if you can come to a comfortable seat, you could even sit in the chair. It'd be an easy way to start. So we're gonna dive right in with our thorough band stretchy bands. And oftentimes when your hands are further apart, it makes it easier. And if you want more challenge, your hands would always be a little bit closer together.
So I'm gonna find something kind of easy to begin with, and we're gonna create a little bit of tension in that stretchy band and then take up in the air and then create a little more tension. And maybe you'll love the way the shoulders are spreading away from the neck. Be aware of that tension release. Arms come down. If you like the way that feels, your hands stay right there.
We're going up. And then create a little more tension pulling wider. Be aware of that tension release and come down. So think of it as a warm up. So maybe you keep your hands where they are, or I'm gonna walk mine in a little bit more, create a little bit more tension.
So it's a wonderful way, to start a little bit more strength and some different range of motion or maybe in ways that you've been doing before, but that resistant works is a way maybe that we can get beyond some plateaus if you feel like some of the moves you've been doing have brought you to a place where you're not feeling like you're building strength anymore. We're gonna do a couple more using the band to create that resistance. We pull out and we're trying to be in control of coming in to center, and then we let it go. K. Let's go ahead and take arms up now. We'll focus on keeping the right wrist, straight, right arm up and slide your left hand down, and we're gonna do a little pull down with your left arm.
And then come back up and keep pushing up with that right hand as you pull down on the left, work up, on the left side come again down and up. They'll deltoid work on the left going down. And, and we're aware that other muscles are also working. It's not just one muscle as we're stabilizing our torso here. Still a little work on that right arm to keep pushing up as the left arm comes down. And I'm a huge fan of doing kind of slightly longer reps in some of these poses so you can actually really start to feel what's happening.
So we'll ideally work close to a minute in some of these poses. Feel free to take breaks at any time, or don't grip so tightly on the straps if you're finding your hands or fatiguing. Now let's keep your right left arm up nice and tight for the beginning as you pull down with your right side. Slowly come up. Your hands come closer together.
If you want more challenge, come down, and up, k. So we're working range of motion and also creating a little bit more tone. In this case, the top of that right shoulder, the deltoid area, And, also, maybe you're feeling the size of your torso engaging as you're pulling down and up. Again, giving yourself permission to have softer hands if you need to take little breaks in between. It's finding the way to feel stable in your seats without losing the strap. Let's do one more with control.
Great. And then bring it down. K. Like, give your hands that little break for a second. Gonna come back and hold kind of with your hands about shoulder distance apart. Alright. So now we're gonna raise the arms up, and then we're gonna pull wide and bend the elbows and bring the strap to the top with a chest. So you're squeezing between your shoulder blades. The classic lat pull go up with soft hands and pull wide, and we're gonna try going to the back of the head.
Squeeze between the shoulder blades and go up. And we're gonna alternate. So we'll come to the top of the chest. You can release the tension as you go up and increase the tension as you come down to the back of the head. How awesome does that feel?
Alright. So keep exploring how why to make your hand so that actually feels really amazing. Pull wide and come back up. K. So you might bring your hands closer if you're noticing that feels relatively easy. Pull y. Create that tension as you go back. K. We're trying to keep a steady rhythm.
There's no need to rush. And remember your hands don't have to totally grip intensely on the strap to hold the strap. And It's taken me a while to figure out what's the right grip of the strap so my hands don't get tired before my shoulders get tired. Might require a little experimenting. Let's go ahead and keep it up here.
Now let the left hand stay up and take that right hand behind your back, and we're gonna hold the strap with your right hand behind your back and give yourself some slack to stretch your left arm straight. So now we're going for a little tricep work. Release attention. The hand goes down. And pull up with that left arm really slowly down, pull up with your left, release, maybe feeling that tricep work more than it does when we're doing go move costs and the arms for the stretch. Pull up.
Your hands can walk closer together to add more challenge. Let's do one more and release. Okay. So maybe when you have the stop in front of you for me, it's a little easier to remember which slide was I just working, so I'm gonna keep my right arm up. Left hand goes behind the back and walk your hand up towards your right hand. Give yourself some slack, though, now.
So as you look straight ahead, you pull up with your right hand. Slowly release the tension down. Pull up and down. And then again, you adjust to make it more challenging. Your hands closer together or give yourself a little more space if the side's more tricky. Going up and down without moving your ribs, the pelvis, a stay neutral there.
Do a couple more push up. Hopefully, filling the tricep area potentially already. Go up. Let's do one more and going up. Definitely gets interesting with repetition.
Alright. Let that go. You might roll your shoulders a little bit. Okay. So let's go ahead now, and we'll move that block out of the way. And we'll come up to stand, and it might invite you to face the long side of your mat. And we're gonna have stopped us in front of you, and I'm gonna turn my toes out and engage my legs in that way where I'm in that high straddle position.
So as I hold the a stretchy band in my palms. I'm gonna close it, make a little fist. And we're gonna do here is just simply pull out with my elbows and by my ribs and slowly release the tension back in. Okay. So it's kinda saggy strap. And then I'm gonna pull on the band and feel what I'm doing between my shoulder blades.
Release attention slowly. Elbow stay in as we're working between shoulder blades, front of the chest, come in, pull out, hold, Release in, pull out. Again, if you want more challenge, bring your hands closer together. Pull out. Come in. That was too much. It's a little experiment and finding that right amount that you can do several more times.
It has stays over the navel, over the center of the pelvis. Let's do one more. Working between shoulder blades, front of the chest. Okay. Give your legs a break. Arms a break.
It would come back down into the legs when you're ready. And let's anchor the the stretchy band on that left side of the hip. Hold on with the right hand nice and tight, and we're gonna pull out to the right and stretch out to the sides. And then bring that back towards your left hand, pull out to the sides. Come and, again, working that top of that right shoulder, that deltoid area, and, of course, some other back muscles, even some core muscles, as you stabilize yourself here.
Release. Okay. So you're just firmly holding with your left. Make it more challenging if you want with your hands again a little closer together. He's gonna go close to a minute and doing the repetitions as you look straight ahead. K. Kind of finding the comfortable breathing pattern that works for you here.
Let's do one more movement that you didn't even know you needed. I hope that feels really good because hit take a break. In the legs and arms and come back down, anchor down with your right side, and we'll start to see if we can work at that angle out to the left. Bring the left hand back to the right hand. Pull wide out to the left and release pulling out to the left.
Keep experimenting with how to hold the strap so that you're really focused on what's happening in the left shoulder. In the torso that we're not moving as we reach up and over to the left. K. Can you even imagine that you had a block on top of your head so you're really aware of keeping good posture. It's more about arm, shoulder, chest movement than moving your body. Alright.
Let's go ahead from here and straighten the legs. Take a little rest for your hands. Alright. Turn your toes forward. And we're gonna slide over to one side of your mat. Doesn't really matter which side that you're on.
So be our little in between sequence where we have this strap in your hands, maybe about as wide as your shoulders. I wanna invite you to sit into a bit of a chair pose and pull out on this strap as you sit down into your chair. And then as we come out, release the arms out your side, So we're gonna pull out and release. Now we're gonna step out with your left foot, which is what I'm gonna do, bring my feet together, step out with my left, but we're gonna travel the length of your mat. Pull wide as you squat and then come back. Then I'm gonna step out with my right as I go the opposite direction.
Hands can be closer together. To create more tension and pull as you spread those shoulders because that's usually so much fun. Let's try it again. Pull out wide. There's you squat.
And release. Pull wide squats. Release. So it likes to get legs involved upper body involved. Pull wide. Go the opposite direction if you're ready.
Pull wide. Back together. And last time, going down and then up. Alright. Now if we a little bit more into place where you might come into your triangle base with your feet apart. Let's turn your right foot out first.
And feel stable, hopefully, in your standing position as we take that strap in the air above you, maybe just a little bit wider than your shoulders. So what we'll do is as we start to unlock that right knee, so it's not locked is to pull down with that right hand as you tip to your side. And we slowly release the tension as we come up. So maybe there's a little sag in the band. Create more tension as you come to the side and pull that right arm down and feel your whole back body widen, slowly tip up, release the tension.
Tip to your side and pull down with your right hand. Slowly tip up. Pull down with your right hand as you go to your side. Come back up. Different ways to meet those side.
Torso muscles. Pull down. Come up. We'll do one more. Pull down and releasing that tension slowly as you tip up, bring your arms down, Let's turn your right foot in. Bring your feet a little closer so it's easier to turn to your left side and check out how this feels.
Right. Maybe your hands again. Just about a little wider than your shoulders as you go up, slight bend of left knee, if that helps you to tip to the side and then a little more pull down with your left hand. Release the tension slowly. Tip again to the left and we'll pull down with your left arm. Release the tension slowly.
And find your tip, little mindful pull, releasing slowly, Come to your side, a little pull down with that left arm. Come up. Let's see the last one. As you tip, slow, pull down with that left hand. You come up to center And as you bring your arms down, turn your left foot forward, we're gonna transfer this strap behind you for a moment and have your palms face your buttocks So you're kind of in that position with your arms with your palms facing forward.
We're gonna just move the strap away from your buttocks and back and then bring back in. So as you're moving your strap away, pull wider with your hands. Come back in. Pull wide, pull out, come back in. Let's pull a little bit wide.
Did you move the strap back and how great does that feel between your shoulder blades, opening front of the chest, pull wide, neutral one more time, pull wide and go back. Okay. Now let's come back to center. But your feet go a little bit wider apart, and we'll set up for warrior 2 legs. So if you turn your right foot out, bend your knee, and just find the angles of the feet where you feel stable. So when we have the arms out, we might have the hands a little wider than his shoulders here. So what we're gonna do is bend the left elbow, and you're gonna, like, like, you're pulling the bow push out through that right hand and see that your right wrist is straight.
Now you adjust the tension with your left hand. And as you hold tight with the left, the right arm doesn't move, look over to your left as you pull the left hand away from your right hand. Look forward as we're gonna follow that left hand back to the right. Pull tight on the strap as you look back over your left elbow. Left hand goes back over to the right.
So leg staying one position. Pull that left elbow back. Look over the shoulder. Left hand to the right. I'm gonna raise my arm back up to the height of my shoulder, left elbow back, look over the shoulder.
Reach again to the right, pull back open the chest, back to the right, Last time, let's really push out through that right wrist and hand and look over that left shoulder open the chest. And look forward as you release the tension, arms down, bring your feet a little closer together so it's easier to turn your left foot out Bend your knees straighten your legs so you're comfortable with your foundation. Arms a little wider. Pull out through that left wrist and to feel that you can bend that right elbow and pull it back. And there's some interesting stretch through the chest.
K. We reach that right hand to the left and start to follow that right elbow back look over the shoulder. Right hand to left hand, look over that right shoulder as you open the chest, right hand to left. I'm gonna walk my hands a little closer together, create more tension, look over the shoulder, Slow release and then pull, look over the elbow. K. Maybe 2 more times. Little rotation from the waist, open up through chest.
Hopefully, it feels great in the neck. Also, And let's go ahead and release. Bring your arms down in front of you. And as you bring your legs a little closer together, I'm gonna take a spin to the top of your mat. And as you get to the top of the mat, take your strap behind your back up around your shoulder blades. And just hold it by your chest for a moment. Let's step back with your right foot now into your Warrior 1 footprint.
So it's a shorter step back. And we'll start with our elbows in towards your rib cage, hands really close to the chest, And we start to open my hands out to the side or my forearms end up parallel to the ground. So my arm bones are rolling back from collar bones. And then we start to stretch my arms out to the sides. I'm gonna give myself a little more space to go straight arms and then I pull elbows back in.
Reach out, kind of spreading those back wings, elbows in, reach out, pull elbows in. Reach out. Slowly bring elbows in. Gonna adjust your tension. Let's do 2 more since maybe we've just made a little adjustment.
K. Now let's keep our arms out wide. Lift your back keel, and we're gonna step into the left foot and cross your right leg over for eagle legs. And then we're gonna cross that left arm over your right arm. So you're pulling out through your straps. Open chest. Left arm over a right arm as you sit down in the legs.
Open chest. Think of those big wings kind of folding out in front of you, left arm over right. Open chest. One more time. Left arm over. Right. Let's come up. Bring your feet together and release that strap for a moment.
Step back with your left foot, a short step for warrior 1, and then we'll bring that strap back up around the bottom of your shoulder blades. Hands close to the chest area. And enough room, again, that you can open your forearms and hands out to the side with elbows touching the ribs. Okay. Now stay here and just feel if you can go wider with your arms and then we hug in. Reach out through those long arms, slowly coming against that resistance.
Reach out, spread the arms, creating more space in the shoulders. Come in a little more strength. If you wanna adjust your hands, 2 more times, We're gonna keep your arms wide out to the sides. Lift your back heel and get ready to step into your right foot as you cross your left leg over right and sit into your eagle legs. Now let's bring your right arm over the left.
And then open arms, right arm over left, sit a little more down in your legs, open chest, right arm over left. Open chest. So let's come to straight legs and slowly, carefully bring your elbows in. And we'll bring the arms down. Alright. So now we're gonna come down to sit, and we're gonna do a little bit of work where we're gonna take your stretchy resistant band and tie it around your legs. So I need to usually do this twice but I just wanted to, depending on the length of your band, to have something that creates some resistance.
Some of you might even have a resistant loop bands, but you can make your own with this one here. So once I've got a knot, I've tried it twice. So it's nice and tight, Let me slide my feet over to the right and end up on my right side where I have my head propped up. K. Now from here, when you're on your side, maybe some of you have done physical therapy before, and this will feel a lot like that. As you tilt your left thigh up away from the lower knee and push into the resistance, knee down and knee up.
The feet are just staying together for this first first one. Let's do about 5 more. 1, 2. Hips say neutral, 3, 4, 5. And I always love now to take my elbow to knee. We've done this in a different class where you bring elbow to knee and try to kick back as you reach your arm forward, elbow to knee.
Maybe your arm reaches a little out at that angle to help you balance It's a little different, right, when you're working with a strap and you push into that resistance, extra strengthening for that hamstring and glute. And the psoas as we bring that knee up towards the elbow. So pulling up against the resistance, Right. It's just some fun new things to play with. Okay. Let's come around and see what your other side feels like as we spin around And with your legs stacked, you might be in this propped position with your head up. And, start simply lifting your right thigh away from left knee.
Come down and up. K. Let's do 5 more together where you push up into the resistance, release, up and down, going up and down. And up and down. Alright. Now we'll do that one where you bring your elbow towards your knee. You sometimes need to adjust your band, elbow to knee. Let's see if you can kick that right leg back and feel a little more challenge in that hamstring and glutes.
Albota knee. Kick the leg back. Albota knee. And that right arm is just more or less helping you with balance as you're reaching somewhat out in front of you kick back into that band. At least Alright. Last one.
As you finish that last kickback, Let's keep your right hand in front of your chest, and then we'll go ahead and turn over onto your back. So now when you come to your back, we'll keep the band right where it is. And let your arms be at your side. And think of bridge posts now where we have our feet under the knees, arms, press into the ground at your side, push out a little bit into your strap and lift your hips and sacrum an inch or 2 off the floor. An early bridge lower down and see if we might move the feet a little wider and push out into your strap as you lift your hips up and lower down.
It can release the tension in the legs as you're lifting push out into the stretchy band. And lower releasing the tension. So we don't have to lift that high. And if it feels good for you to lift higher, we lift, push out into the band, release. Let's try just a couple more, push out into the band, release.
And this last time, let's hold as you lift your hips, push out into your band, just kind of explore legs a little more parallel push out. Like, you're doing a little tiny pulsing with the knees moving an inch or 2 out and then in. Kind of feeling what you're awakening in the femur and the joint of the hips by doing that move. K. Let's lower down and tuck your hands under the back of your head. When you're supporting your head, lift your feet off the ground so shins are parallel to the floor. We're gonna stretch your right leg forward, pull the left knee towards your chest, and then lift and twist.
Let's see what's different when you're doing this with a resistant band. Push out through that left leg. Pull in with your right knee twist. Neutral. Push out through rights, twist, neutral, and the stretchy band sometimes moves.
So see if you're okay with that or readjust it. If it's moving in a place that doesn't feel right, push out while pulling in Push out while that right knee pulls in, in this case. Kind of fun to make that pose maybe you've done before a little bit more challenging. So, again, that resistant work can sometimes help us get through some plateau times in our practice. Or something new to play with.
Okay. Let's come back to neutral now, and let's slide the strap off your legs. And we're gonna keep maybe that similar size loop if you can and slide your hands and so your thumbs your band is around the thumbs of the index finger, little saddle. So if you have your hands in the air and maybe they're about shoulder distance apart, you can push out into your strap and pay attention that your lower back is neutral as you try to keep pushing out into the strap and take your arms as far back as you can knowing this is just the warm up come back. So we're trying to do this multiple times. So eventually, we might get the thumbs back.
It might not happen right away. If you are pushing out into the strap, when your arms go back, my arms start to do a little shaking there because they're not used to the challenging strength work with this range of motion. So maybe you'd notice a little shakiness too Maybe let's try 1 or 2 more where you're slowly pushing out with your hands. And release. Okay. Let's do one more stretch back.
And then come back up. Now let's undo that loop. So you can still keep the knot there. It's not a bad idea. And just feel for a moment.
It could be a nice way to work the hamstring with the left foot in the air. Walk your hands up pretty close to your foot as you push up into that stretchy band. And then with a little resistance changing, we bring the knee to the chest and increase the tension as you push up. Decrease as you slowly bring knee to chest. Push up and release and push up So getting the hamstrings fired up in a different way, if you imagine you had a more stiff resistant band This would bring you a little bit more deeper into those hamstrings.
Okay. Last thing you'll do here is kinda find a point and flex the right foot to get your calf challenged in a good way here, pushing against that resistance. K. Let's bring that knee in slowly release that tension and take your right foot up just to give you a little taste of how to work your legs here a little bit more as you push into your stretchy bands and the knee to chest. You can always walk your hands closer. If you need more challenge, push up in a stretchy band and release. Push up and release up and release. So we'll keep the leg up this next time.
And try to point the foot, flex the ankle, and you might need to give yourself a little more slack because it's kinda challenging for that calf. Point and flex. In various ways, we can play with the band. Right? Now as you resist, re release, not resist. Don't resist the release.
Hold on to the strap. The ends And as you hold on to the ends, that last little thing we're gonna pull wide and bring your elbows to meet the floor as the strap comes towards your chest. Go up, straight arms, pull wides, shoulders, press back into the floor. Go up. Pull wide, elbows touch the ground, pull up, pull wide, And nice to do these when your back is neutral on the floor.
Pull wides. Let's go up. Last one, pull wides. A little challenge in arms come up. And then maybe you take your arms all the way back and try to now feel like if your arms can rest back by your ears and just a little bit of tension, not a lot, just a little tension to feel aliveness through upper shoulders mid back. And they're gonna keep your strap there and let your palms open. So let go of this strap and have really wide open arms. And maybe you take a moment on your back to have wide legs, like you're in an ex shape on your back.
And just a moment of gratitude for all that you did in your practice today, and maybe some new places that we got to visit with our new friend, the resistant band. If you need a little more time on your back, you might stay here or start to bring your legs in and to bring yourself up in a good way. Just to notice how you feel when you're sitting up. Do you feel a little stronger in some muscles? I hope you do. And I hope you enjoy visiting your practice again with your strap.
Thanks so much for experimenting with me. Namaste. See you next time.
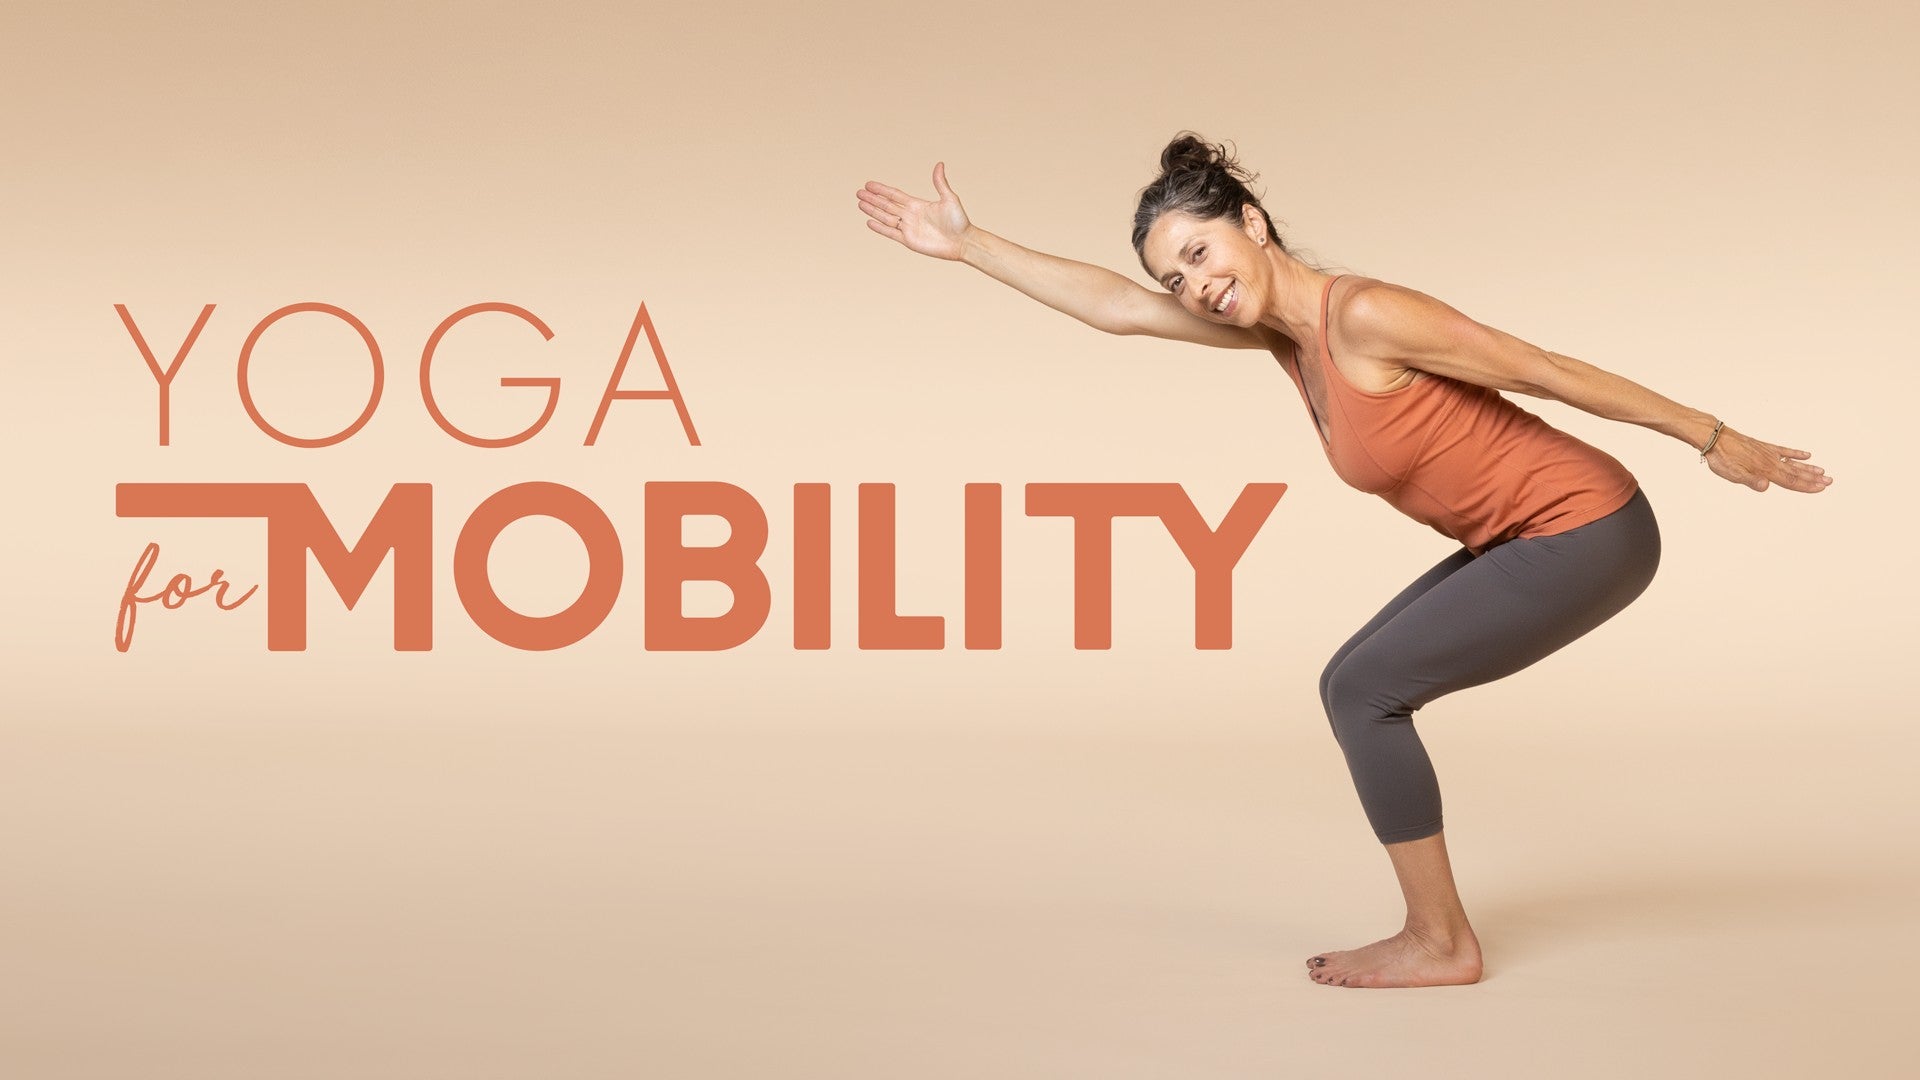
Yoga for Mobility: Melina Meza


Comments


You need to be a subscriber to post a comment.
Please Log In or Create an Account to start your free trial.
