Description
About This Video
Transcript
Read Full Transcript
Hello, everyone. Thanks so much for joining me for class today. We got a great class designed around the lower back and how to take care of it, both strengthening stretching and relaxing. And to do that, we'll want a bolster, a strap, a couple blocks, and a blanket And while we're sitting, getting connected, we're gonna make our tiny loop with your strap. And if you'll make a loop, that's just big enough for your foot.
That's all we need, but I think it's gonna be easier for making this loop while we're sitting. So as you get that settled, hope you're having a great day. And once that is sets, we can set that to a side and then turn your bolster. I like to make it into a little bit of a lifted shape. So it supports the back of my knees and my hamstrings, but also keeps my feet on the ground.
Blanket. I'm gonna fold it a couple times, depending on the thickness so that when you come down to your back, Just your bolster where it supports your legs, and the blanket supports the back of the head. K. When things feel stable and good for you, let your hands, if you're comfortable end up sort of around your belly area, the sides of the abdomen. So I always feel like a good place to start is on the ground, so we have that giant prop of the floor to support us. As we try to do a little belly low back releasing with a few deep focus breaths. And I like to have my hands on the side of my abdomen, so I kinda have a focal point of where I'm trying to breathe.
And it doesn't always happen right away that I can get some movement down in this area. So perhaps we're just being patient as we wait for our belly to soften, widen, and expand as we breathe in. And to kinda feel with your hands how your belly drops in a little bit towards your back as it softens and releases. And we don't need to necessarily need to change the breath, but we're just bringing awareness to the breath and and how this abdomen area moves as you breathe. And even if you've done this before, just notice how it feels right now.
In my experience of having, a fair amount of lower back pain in my life from time to time. I noticed sometimes my belly can get really tight when my back at tight. So I like this work as a way just to soften the belly, which might be precursor to releasing the back. Let's try maybe 3 more cycles just to get oriented in the center of your body. Alright. Now when we're ready, we're gonna let the hands and maybe reach down where that bolster is. We might need to just catch it as it falls towards you as you tip it so that it goes flat.
And when it's flat, then we'll drape your legs over the bolster so it's catching maybe the upper hamstring area. So hopefully that little lift under the knees feels good in your back. Alright. Let's go ahead and grab that left knee and bring it towards your belly and chest and create a little stretch for that left, low back, and buttock as we take the right arm back by your ear. Big breath in and out. And then we'll drape that left leg back over the bolster and reach forward and grab the right knee with both hands for moments stretched the back of that glute.
Stretch that right low back. And if it feels okay, let's take that left arm back by the ear. Give me one more moment here. Right. Now let's tip both knees in towards your chest. And as the knees tip in hands on the knees, we'll move the knees forward.
And your feet may or may not touch that bolster, tip back in so we more evenly stretch the back of the glutes and hamstrings, legs forward, tilt in. And now let's keep your feet on the bolster. Arms out to your side as we'll put the left heel on top of that right knee. From here, lift your right foot off the bolster, and as your legs tilt towards you, you might notice if you got tightness and that left hip. Legs go forward. We tap the bolster.
So for some of us, it'll be better to go back and forth a few times. Prepping for the figure 4 stretch. And some of you might have access to grab that right leg or front of your right knee or put the strap around the back of this right leg to hold here. Right? So see if you wanna do a holding or continue doing the tipping and maybe rock a little bit right and left, so this left femur kinda drops into a better spot for you to hold. And sometimes if our bat feels a little bit tense, feel nice to stretch the muscles towards the outer hip and create a little more space around that sacrum.
K. So when we're landing in that spot that might feel healthy for us, we might notice our eyes soften and drop a little more into the face. Maybe you notice there's a decrease in tension in the back of the ribs. One more moment. Just meaning whatever is here in that left hip area, and then we'll let it go. Put both feet on the bolster.
Let your arms again open up to the side. Let's put your right heel on top of that left knee or that knee area. Lift your left foot and see how that right hip responds. Let your foot touch the bolster again and tilt back and forth a couple times and see if that's gonna be a better rhythm for you. Or if you're someone who grabs the back of the leg or adds the strap or holds the front of your knee, which one serves you better, And then we are hopefully being kind and patient as we go into your right hip.
I like tipping a little bit right to left, to get that right femur. I'm in a better spot and then settle. And maybe on the sell, we feel more weight drop back into the floor and more willingness to meet that support, we might notice it alone releases some tension in the back as we welcome more support. Can you tell that back, area? It doesn't need to support us here? The Earth is gonna support us here for a few moments. As we dial in to where our body feeds a little bit more attention and focus and care. Send your breath there.
Right now, we're this next moment. Maybe we're ready to let go of that left knee and put both feet on the bolster. And we'll go ahead and find now your strap in that little loop that we made. Let's take the left foot first up into that strap, into the loop, and then see if you can drape your right leg down over the bolster. If your lower back doesn't like that, put your right foot on the bolster.
So I'm gonna drape my right leg down, and I'm gonna slide my hand away from the foot and slide all the way back behind my head if I can, and I'm gonna let my back muscles open as I reach for the tail of that strap and then gently pull so I feel a healthy left hamstring stretch. You might also be noticing you're getting a shoulder stretch and some more widening of your back body into the floor. So let's see if we can enjoy that. And as you exhale, kind of feel more contact with the grounds. I feel like that's the direction we're going for is more contact with the ground.
K. Let that big, wide, solid earth support you. You take 1 or 2 more moments just letting that left leg stretch. And then maybe over the next cycle of your breath, we'll wind that down. Walk your hands back up and put your right foot back on the bolster, slide your left foot out of the strap, put your left foot on the bolster, and then the right foot goes in, stretch it up, and see if we can put that left leg straight, or if it's better to have a bent leg, slides your hands away from your right foot and kind of go towards the fore behind your head until you find that healthy stretch, it's totally okay to have a bent right knee. K. Just kinda generally working toward a straight leg.
Alright. Now find that right angle for your shoulders so that you're encouraging your back ribs to move towards the ground. We're not pressing down, we're just encouraging the ribs to settle. And now let's enjoy wherever you are whether your eyes are open or close, I'm just gonna sense where your body needs a little bit more attention. Imagining those hamstring muscles, widening, and lengthening without gripping your back. K. So choose select go whatever tension you could let go of in your lower back area.
Alright. Maybe 1 or 2 more cycles here. Enjoying that stretch in shoulders. Your leg, the support of the ground. It will walk your hands back towards your strap, put your left foot back on your bolster so it's a little easier to slide that strap out of the way. Right? So we can take that strap now and set it over to a side. We will be needing that for a bit and see from here now if we do one more tipping of your knees towards your chest.
A hand holds the knee. We're gonna circle the legs. Got a little massage for the hips and the ball and socket joints. And then as we tip the knees towards the chest, let's send the legs up in the air and arms back by your ears. So we're stretching shoulders and legs and upside down, down dog, tip legs back in.
Two more times, legs up, arms by your ears. Tipping these in. Last one, upside, down, downward jog. And then tip your legs in. Alright. So let your feet go down.
See if your feet could kinda kick the bolster over to your left. And as you slide it over to the left, let's turn it that long way. So it goes from your hip down towards your knee. And then stretch your left leg down to the floor. Tip your right knee in towards your chest here, a little low back release, And then if we can, now we're gonna tip a little bit over to the bolster.
So that right leg would come towards the bolster, And if your back felt really sensitive, we could also add a block between your knee and the bolster. Otherwise, we kind of just guide the knee towards your bolster and you might start with your left, right arm down at your side. Let's see if we might look towards the ceiling and start to sweep your right arm up towards your ear direction, and then right arm comes again down towards your side. Right arm sweeps out to the side and up, and then comes all the way back down. Again, a block between the d and the bolster if your lower back is more sensitive. Otherwise, we're stretching from that low back up through your chest.
Back down. One more sweeping action of that right arm up towards your ear. And then let yourself hang out with your right arm at some angle that helps you open that upper chest. Without compressing in that lower back area. And let's take 1 or 2 more breaths with your right chest opening.
Maybe releasing some tension through outer right side of your hip or down towards your outer right leg. As you slide your arm down to your side, let's roll onto your back, and we're gonna make use of the transfer. We're gonna take that bolster and put it on top of your torso so it's turned so the narrow edge of the bolsters between your chest and down to your pubic bone. Cross your ankles around that lower end and your arms reach for this upper end, and we hug the bolster into our body. It's kind of an alternative to child's pose, and my like to rock a little side to side to massage along the sides of your torso.
I've heard again this is, for some people, kinda their favorite yoga pose to do or yoga inspired pose, it's quite grounding, comforting, Soudin. And the sad news is we will need to let it go in a moment, but just take it in one more moment. Be totally present for maybe whatever joy you're experiencing here. And then we'll let it go as we under the ankles and the arms and transfer that bolster over to your right side Again, that long way. So it runs from your hip down towards your knee.
Right. Leg goes straight. Left knee comes in towards your chest. Take a moment to hug in the end. Enjoy that pose. When you're ready, let's do a little tippy action over to your side.
So the knee might end up on your bolster, and your left arm would be to your side. You need to be more sensitive here. Please put a block between your knee and the bolster. With slider left arm up towards your ears, you potentially look to the ceiling. Arm comes down.
And that little sweeping action where we kinda stretch for that lower back up towards your shoulder. Come down. Try to find that easy pathway to move up. And down. Right. Now as you let your arm come up towards your ear, when we come down, find a interesting angle where we open up inner left arm chest and maybe feel some release of tension along your outer left hip and down towards your outer left leg.
And meaning whatever you discover here with a big full, comfortable breath in and out, And as we excel, maybe that willingness to let go of a little bit of tension here. Alright. And then we might slide that arm down to your side. And as we tip back to center, again, good news. We'll get one more of our little, child's post variation. Tip your bolster bolster to that tall edge grab the top end, hug it in. Maybe you crossed with the other ankle on top. If you can remember your normal pattern, and then do the other ankle.
And you're literally squeezing that bolster down into your body. So hopefully you feel more contact with the ground behind your back. And if you like rocking, you rock, And then we're just gonna hug a couple more moments and soften your shoulders back towards the floor. Feel that widening, of the muscles away from your spine, and for sure that widening around the sacrum area One more breath cycle here. And as we uncross the ankles and the arms, we'll put the feet down, and we'll set the bolster to your side as we'll get ready to do a little move where we're gonna come to our side.
And I wanna encourage you maybe to roll over to your left side, and you can join me. If you like putting the blankets on top of your left arm, here we are on our side, getting ready for our clam shells, which to me are part of lower back care, with maybe your right hand on your outer glute or outer thigh area, Today, I'm gonna press on the outer thigh so that when I lift my right leg off my left leg, I got a little bit of resistance I can push into, not a lot, especially in the beginning, lower down. Press into your right hand if you like that work lower. Do a little lift and hold, lower a lift. I'm keeping my hips stacked, so it doesn't really matter how high I go It'd be more important that you keep your hips stacked. Let's do 2 more lift and lower.
Your choice to create some resistance or not. K. Now when we do the lift, we're gonna tilt that leg back and see if you can reach for your foot with your right hand and then press your foot into your hand as you stretch your right knee away from your chest. So a little quadriceps, so as stretch. K. One more moment here. Let's bring your knees back together, and we're gonna flip around to face the floor and we can use this folded blanket as a little bit of a ledge to rest your forehead on.
So if you're comfortable, rest your forehead here points your toes straight back. I'm gonna send your hands way out to the side off your mat with your fingertips on the floor. And rest your forehead down. But try not to put too much weight on your fingertips, elbows pointing a bit out to the side there. And we're gonna inhale and do a little lift of your face away from the blankets and then lower down.
So just kinda grieving the upper mid back inhale a little lift of your forehead away from the blanket, lengthen and lower. Inhale, little lift up. And lower down. And we'll do 2 more, a little lift up, think of lengthening as you come up, and lower down. And the neck is also part of the spine where lengthening, so left with a nice long neck.
And then come down. Let's turn to your other side. So I'm gonna have my back to you for just a moment. So we're gonna turn to your right side with your legs bent. And maybe that blanket is draped over your right arm. Left hand comes to that, outer thigh or buttock area, whichever you fur and push lightly against your left hand as you lift your leg up and lower.
We do a little lift. And lower and lift. Again, more important to keep your hips stacked than how high you lift, and down. A couple more times going up and down. Up. And down. Now next time we do our lift, we'll keep the lift, send your leg back, and see if you can catch your foot with your hand, and then press your foot into your hand.
Left knee length and lean away from the belly and chest. Comfortable breath here into that front of that soas area. So nice if we've done a lot of sitting when that so as area gets short to stretch that. So maybe we can support better posture. And then we'll go ahead and let that go and bring your knees together. Let's go ahead and press up away from the ground.
And as we come up, we're gonna take this blanket and open it up. So we've got some padding for under your knees, and we're gonna turn around a face, the short end of your mat as we come into kind of a classic tabletop position. Just a nice moment, maybe when you're knees are part to do a little wiggling of your hips side to sides, circling around, really seeing the tension in that lower back area here. Alright. Now from here, let's go ahead and walk your hands towards your knees, and we're gonna grab a hold of your strap. And we're gonna repurpose your strap and open it up. So you got it in your hands as we step your right foot forward k. Now when we have that right foot forwards, make sure that you can do a little test and you can drop your hips a little forward and back. So we could do a little lunge.
And then we'll find where we're nice and tall in our spine, and we're gonna simply raise our arms up into the air holding that strap nice and wide. So maybe as wide as your yoga mats. And from here, let's go ahead and pull tight on this strap and bring it down towards your chest. Kinda bring it a little bit of energy between the shoulders. And go up, and then we're gonna bring it down towards the back of the head, open up the chest, lift it up, and then do a little tip forwards. Come back, pull it down top of the chest, raise it up, pull it to the back of the head, open that chest, leave this strap up, create some tension, tip forward, Okay. Now you might keep your hands right where they are, bring them just a half an inch closer together and see if you like that feeling they're bringing to the back of the head.
Up to the top of the chest, up, and then our little lunge forward and move the hips back. One more. Let's bring it to the back of the head. Go up. To the top of the chest. We'll go up and then a little tip forwards.
And then let's come back and bring the strap down. I'm gonna fold mine since a a little long and reach it behind me. And while I'm looking straight ahead, walk my hands towards the to other and just do a moment where I open up through the front of the chest and pull the strap tight, move it away from your buttocks. If you like just a little bit of a lunge forward and a little movement back, try to look straight ahead, keep good posture, move it back. And now let's bring your right knee to the blankets and take your left foot forwards. Okay. We're gonna open up that strap again.
So it's probably about as wide as your yoga mats. Create a little tension so we're opening up or mid back, getting those ribs slipped away from the hips. You might test again that you can lunge forward. K. Now let's pull it down to the top of your chest. Go up, pull it to the back of the head, go up, and then we'll do a little lunge forward pulling tight on the strap.
Come up to neutral, pull to the top of the chest, go up, back of the head, go up and the little tip forward. Move back. Hit 2 more times, top of the chest. Reach up, create some tension as this strap goes to the back of the head. We go up and a little tip forward.
Come back, last one, top of the chest, up, back of the head, go up and that little low lunge. As you come back, maybe fold your strap and haps. We've got a little less fabric to play with. Hold the strap. I've got my palms facing away from the buttocks. I'm just gonna stretch my arms away from my buttocks. Okay. So we're looking for that stretch, the front of that right hip here, and you might already have enough stretch or just a little tip forwards as we move the strap away from the buttocks.
You move back and bring that strap in front of you. Alright. Now from here, let's go ahead and curl your toes under for a moment and see how your feet feel. That much to do with the lower back. But just good before we do a standing pose. And we'll lift the knees, and let's fold that blanket.
And just for a moment, we're gonna come up to stands and have your strap in hand. So, as you maybe fold your strap, just a little less fabric face the short end of your mat with your feet in position like you might have for a chair or feet under the hips. So we're gonna keep a long back and pull on the strap as you reach out with your arms and then straight legs, bring that strap towards your thighs. K. Bring some energy into the legs. The feet are really grounded and then come up.
So try to press into your whole footprints whole footprint, nice and solid as you stretch your arms in front of you, and then exit. The feet are rooting down as you reach your arms out, pull on the strap, come up, and coming down low less if that feels better for your back, come up. Some of you might experiment going a little further out. Coming back. So two more, little chairs squats, release, one more little squats, energy in the legs.
Now let's set the strap to the side, and we won't need that. This next piece all we're gonna try to do is turn your toes out a few degrees, hold your legs. And as we work our way towards the ground, we might hold the knees. And then as we hinge a little deeper from the hips, we slide the hands down and hold your ankles. So legs are doing lots of work, and your back hopefully doesn't feel like it's doing the work. And then we'll put the hands on the floor, and then we'll transfer 1, the other time down And I'm gonna have you grab your bolster again.
So if you can curl your toes under do as you lift yourself up to see where did that bolster go. We're gonna grab your blanket and open that up for a little bit of padding under your knees. Just give us something super comfortable. And then take your bolster out in front of that blankets. And then our blocks, we're gonna use them one flat and then one may be in the medium position.
So you have a little bit of a ramp with your bolster. K. Now let's go ahead and return my legs to the side. So I'm gonna be at my left hip here to start, slide my feet a little forward, and maybe have the left side of my rib cage kinda end up on the bolster as I walk my hands forward and then turn my head to a side so I can let my upper back wide in here my knees stacked and hopefully kind of find a comfortable position where we can find a little more stretch and access to the upper mid back. And if you felt like you wanna try a slightly more challenging variation, we would come to straight arms and turn your head so that your right side of the head is on the bolster. And if you had some neck upper mid back tension, it'll be more challenging to look that way.
So we might look back towards your knees. Give yourself a moment just to dial into that area of your waist, the mid upper back, or other areas that you might be feeling this stretch. We're gonna look down at the bolster. Slides your hands a little more under your shoulder line. And as we lift ourselves up, let's put our knees on the, blanket and make use of this. Just for a moment, drop your forehead to the bolster arms out in front of you kind of stretch like you're doing down dog with knees on the ground.
Or if you want a little more boost of energy, lift your knees up with your forehead pressing into the bolster, kind of getting that full leg body stretch. These will come down whenever you're ready if they went up and switch. So your legs are pointing the new direction, and your right hip is close to the bolster. Kind of frame the bolster with your hands and that right side of the rib cage might land on the bolster as you then tip into the bolster and let your elbows slide a little closer to the floor. They might not actually be on the ground.
Then can we wide and through upper shoulders? Notice if you feel any tension along that waist area, the diaphragm area, upper mid back, Things are registering this pretty easy. You might go to straight arms for a moment and then turn your gaze so that your left side of the head is on the bolster, and then your elbows drop down again. Got tension up or mid back. We might keep looking out to the left.
And then hopefully just welcoming that support of the bolster soft and intuit. Imagine your weight is sinking into the bolster down towards the earth. Back, body gets a little wider, more spacious. If you're ready, we'll slide the hands more under your shoulder area And one more time as you turn towards your bolster knees on that soft blanket, then you might walk your hands forward, forehead touching the bolster, hips back, and you might like having that full stretch through arms and torso. Last little boost of energy, if you wanted a little knees up, act and stretching the legs, shake them out, and they'll come back down, walk your hands in.
And perhaps from here, we just simply slide your bolster out of the way and maybe grab 1 or 2 of your blocks with your knees on your blanket and slide your block down so you can sit in a neutral position where you have a tall spine kind of mimics how you might be when you're standing. And we'll just find our good posture here to get ready for the day. With some good self care for our back. So thanks so much for being here. Hope that serves you well.
Have a great day.
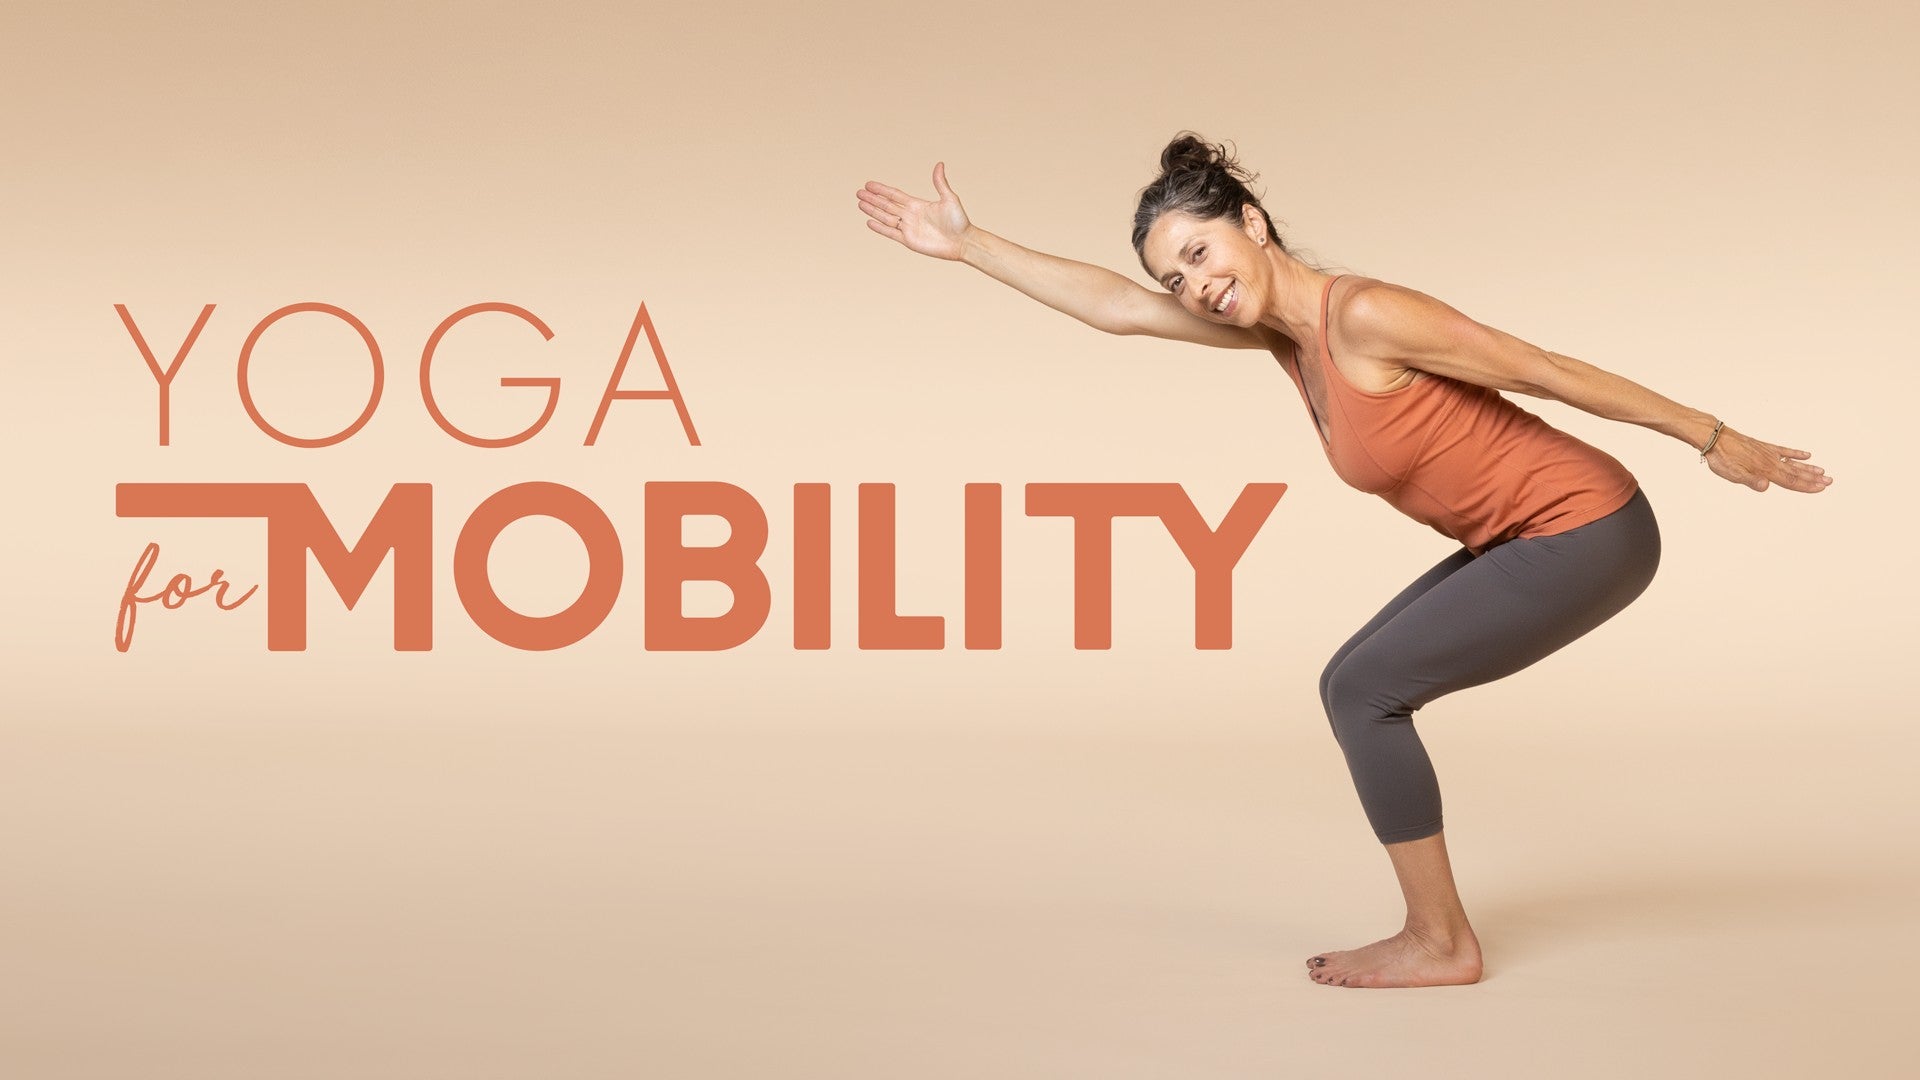
Yoga for Mobility: Melina Meza


Comments


You need to be a subscriber to post a comment.
Please Log In or Create an Account to start your free trial.
