Description
About This Video
Transcript
Read Full Transcript
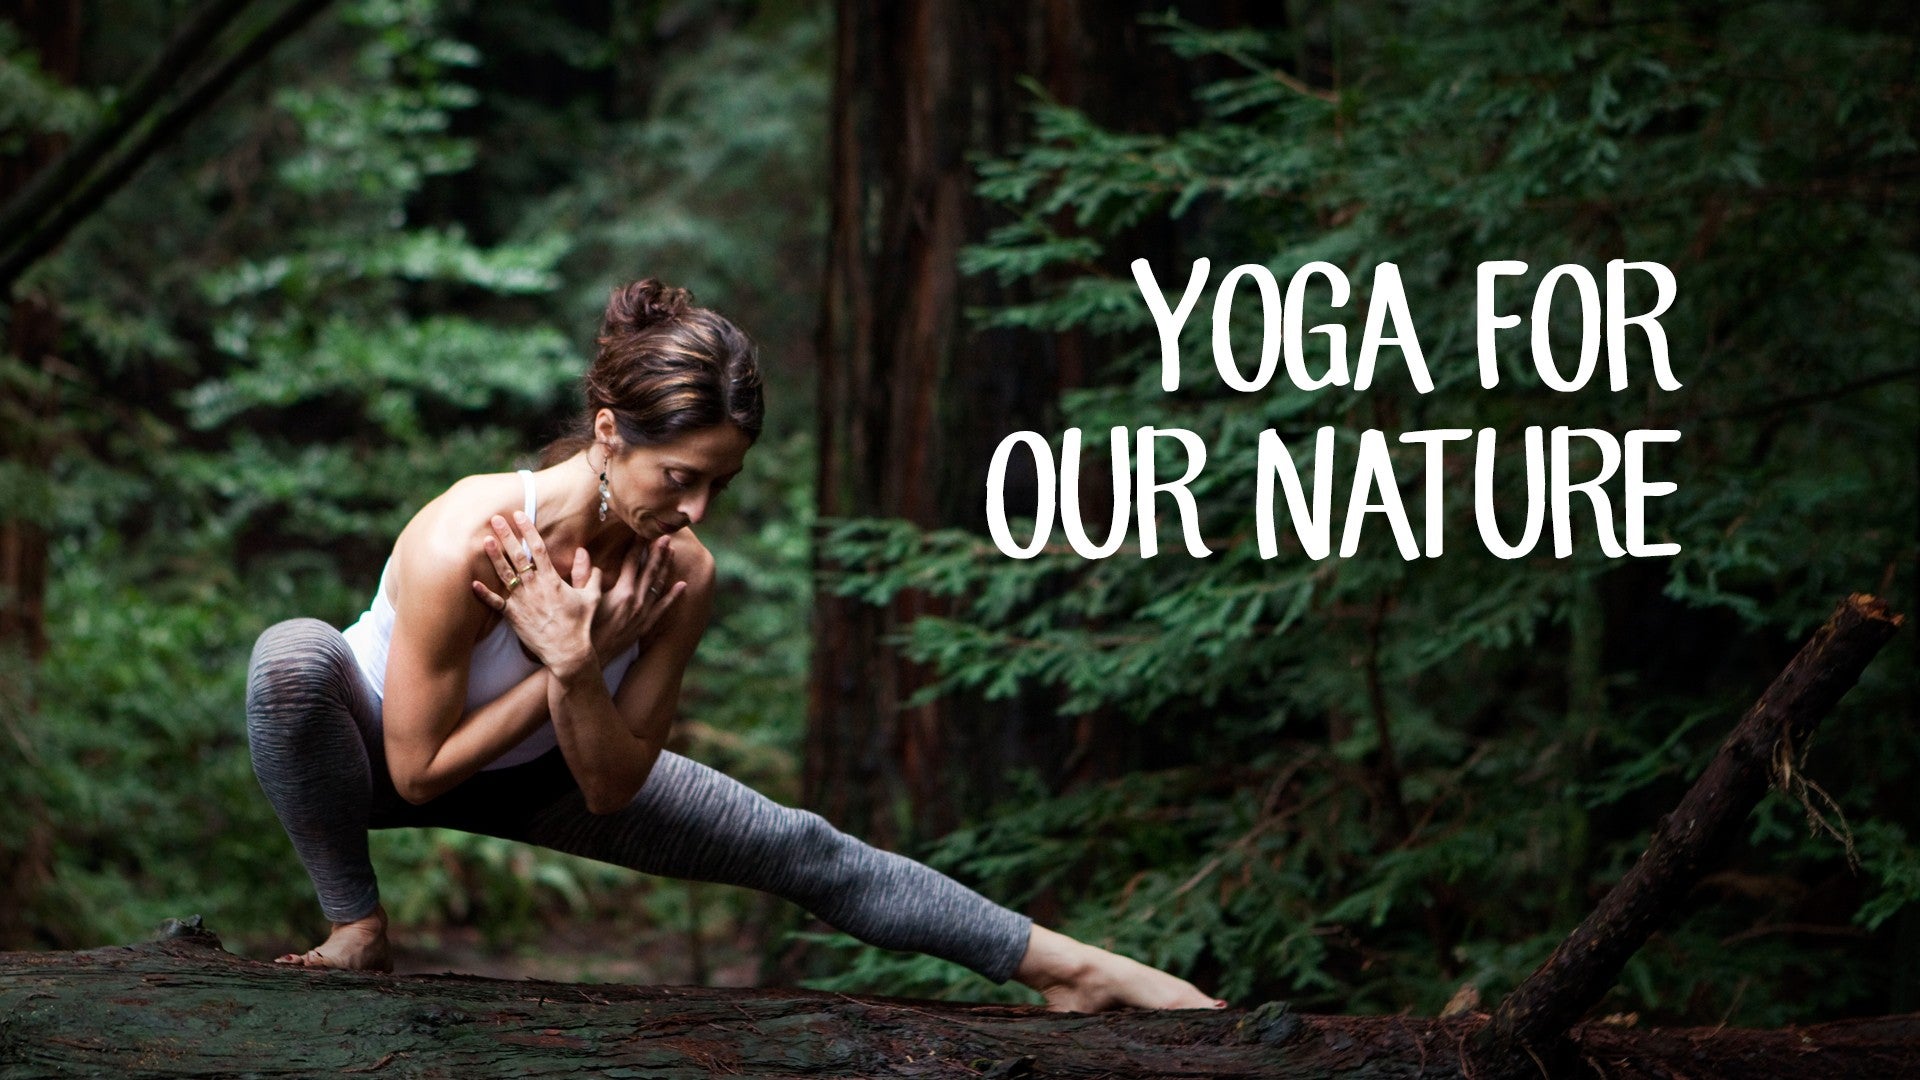
(ocean wave) Hello, and welcome to the cooling your pitta practice. This will be a wonderful practice if you are anticipating a stressful day, or if you are at the end of a stressful day and you're looking for some place to be a little bit more relaxed and a little bit more receptive in how you're moving, to let go, a little bit, of doing things right, and actually just allowing yourself to be more in the flow of your practice, maybe even a little bit more playful in your practice here this afternoon, morning, evening, whenever you're practicing. For this class we could use a bolster, a block, a strap and a blanket. And if you can find your props, we're going to start with a bolster and a blanket right away. The bolster's going to support your spine, and the blanket, if you fold it, is going to support the back of the head.
So if you find, eventually, your legs out in front of you and scoot the bolster so it's a few inches back, away from your sacrum, so when you come back, it's catching your lower ribs, and if you can adjust the blanket so it's actually supporting the base of your skull, not so much your neck. So you get a little bit of traction feeling through the neck. And then we'll let the arms come down at your side, if you're comfortable, wiggle around until the pose makes sense for you. And when and if you're comfortable, close your eyes. And take a moment just to feel the softness of the blanket underneath your head.
And perhaps starting to feel that softness of the bolster underneath your shoulder blades and your spine, your back ribs. See if you can invite that soft quality into your belly area. And then allow for that wave-like, rhythmic movement in the lower abdomen in a way where you feel your navel sinking towards your spine as you exhale, and feel your navel reach a little closer to the sky as you're breathing in. As you're exhaling, navel moving in towards your back body. And eventually feeling that wave of relaxation going all the way down to your hips.
Sensing where the back of the pelvis meets the floor. And allowing your legs to feel that cool ground underneath you. Once again, allowing yourself to let go of doing the practice right or wrong, we're just coming into this to move the fluid body, to be a little more playful, more intuitive. To balance our nature where we are often, in our culture, quite yang and quite stimulated and often have a tendency to need to do things a certain way. So in our practice, softening that need to do things the right way.
Take a few more breaths, enhancing that good feeling of first, supported posture, and then after the next moment or two, I'm going to have you start to bring your legs together, side by side. If you can locate where your block is, and we'll use our block in our hands, in the air right about your chest. So if you turn it the long way, the wide way, and press your palms into the block. Engage your legs so they're rooting down, and just start to inhale, let your arms reach back towards your ears, and as we lengthen the arms back towards the ears, see if you can keep your ribs from moving toward the ceiling and try to keep your ribs moving slightly down toward the bolster. I'm going to try again, bringing the arms back up above the chest, stretch your heels toward the front of the mat as your arms and the block are moving toward the back of the mat, into the space behind you.
And just a couple more times, just allowing for that movement. If you feel tight or stiff anywhere along the way you can pause, and then breath into that new space that you're making as we're going through the simple movement pattern, having the intention to lengthen the side body and connect a little bit more to your breath. One last time, with your arms going back, and then we'll slowly bring the block above the chest. You can set the block out of the way, and as you bend your knees, turn to your right side and then we'll get rid of the bolster, we'll keep the blanket. And as you get the bolster out of the way, use your blanket underneath your head as a little pillow.
With your head resting on the side, stretch your arm straight out from the shoulder line, knees up toward the hip height. And when you're ready, as you inhale, I'd like you to follow the left arm up into the air and over toward the right side of the room. And then when you exhale, bring that left had back over to the right hand. Couple more times, as you inhale, follow that moving hand with your eyes. Exhaling as the left hand comes back to the right.
And again, inhaling, opening the chest, and exhale, bringing the hands back together. Last time, as you inhale, opening up the chest, and exhaling with your hands together. Right, so from here, you're going to use one hand to help you stabilize so you can stretch both legs out nice and long here. You'll be balancing on the right side of your body. As soon as you feel steady here, take your left arm toward the sky, and there's no way to do this right or wrong but we're trying to stabilize on your side.
Lift the left leg away from the right leg until you're in a balancing pose on your side. When you exhale, lower your left leg and your right arm, reach out as far as you can through your left fingertips. Inhale, lift the left leg and the left arm up, and then as you exhale, lowering the left leg and lengthening through your left side. Inhaling, lifting up, find your balance, and then exhaling your way down. See if you can feel those left glut muscles turning on as you lift that leg toward the sky, we balance.
And then exhale, lower the leg and stretch the arm. This time we'll take the left arm down to your side, roll onto your back, and as you roll onto your back, we'll hug the knees towards your chest as you exhale. Just to keep the body fluidly moving. Raise your legs up, reach both arms back by your ears, and then exhale, hug the knees into the chest. Again, inhale, legs up, arms back, it's like you're doing down-dog on your back.
Exhale, hug knees in. One more time, legs up, arms back, and then exhale, hug the knees in. So when we roll over to our left side, I'm going to turn so my back is towards you. But once again, knees are hip height, arms are stretched out from the shoulder line, and when you're ready to breath in, take your right arm up in the air and over to the left, following that moving hand. Exhale, right hand back to the left hand.
Again, inhaling, opening the chest, turning the neck, exhale right hand to the left. Two more with your rhythm, inhale, opening chest, exhaling, hands together. Last one, inhaling, opening chest, and then exhaling the hands together. Use your right had to help you as you need to just stabilize, stretch both legs long, and as you find your balance on the left edge of your body take the right arm in the air, and lift your right leg toward the ceiling. On an exhale, lower that right leg and right arm down.
And again, inhaling, lifting that right leg and right arm. Noticing each time the balance could be a little bit different, exhale, down. Have fun with any wobbliness that's happening through the center of the body, that's not uncommon, exhaling, leg and arm down. Alright, so we're going to take the right arm down to your side, roll onto your back again, and this time, as you're on your back, take the blanket that's out from under your head so now you're on a neutral spine, with nothing underneath you. We're gonna have the arms slide down to the side of your body in preparation for bridge.
With your feet under your knees, inhale, lift your hips and your arms up on the inhalation. When you exhale, take your spine back down and your right arm only, and right at the end, look over your right shoulder. And then this time, lift your hips and your right arm up. Breathing in, and then exhale, lower your hips, your spine and your left arm down. Right at the end, look over left shoulder.
Lift your left arm, your hips, everything comes up on inhale, and then exhale both arms down with your spine. Okay, so that's one set, we'll do that one more time. Lift your hips and both arms up while you breath in, exhale, the spine comes down with the right arm, looking over the right shoulder. With your right arm, your hips, as you breath in, and exhaling the hips, the spine, the left arm comes down, look over the left shoulder. Inhale left arm up with your hips, and then exhaling, spine comes down, and both arms come down.
Please let your hands now find the front of the hipbones, and we're going to try to keep the stable as you take your right leg up in the air. And we'll start to make some circles with that right leg. Maybe small circles to begin with. And try to feel like your hips feel stable, right to left. If you notice any popping sensations in that right hip, see if you can make the circles smaller, or go slower, so you don't have any big, popping sounds, as we start to feel like we're carving out some new space here.
And there's no way to do this right or wrong. So have fun with the movements, and then go in the reverse. So we're creating some space, we're strengthening some of these deep, core muscles, and any popping, cracky sounds you want to go a little bit slower, or make the circle smaller. Next time the leg comes up, lift the leg all the way up, reach for the knee or the calf. And as you exhale, just take a moment curling your head towards your knee, and we'll bend that knee and switch up to the other side.
So hands to the front of the hip points, lift that left leg up, and keep the hip point stable as you circle out and around, making little circles with that foot in the air. And notice, again, how much lower abdominal muscle awareness you have to have to keep your hips from rocking around, or to keep from making that popping sound, potentially, in that hip. Okay, and then go the other way with your circles. Notice one side might be really different from the first side, that would be normal. Just having fun, going with the flow, not worrying about doing it right or wrong.
And next time that the leg comes up, let's reach for the knee or calf, and just one time, exhale, curl your head up towards your knee. You'll come back down to the floor, grab your knees, pull them toward your chest, and then let your legs stretch up, and we'll rock and roll on the spine, just playfully going back and forth, not worrying about nailing it or getting it right. One more time going back and forth, and then from here we'll come around. Cross your ankles, and then flip over to all fours. And if you discover you need a little more cushion, go ahead and add a little bit more cushion.
With your hands under your shoulders, knees under your hips let your hips swing a little side to side, and just loosen up shoulders, hips, your spine, with any circular movement pattern. And if it feels okay you might even close your eyes and just tune in to the rhythm that your body would like right now, how low or how fast to move. And then come into a little more of a stable, all-fours position, curl your toes under, and then to get rid of any extra heat or anticipation of heat or frustration, we'll do a few Lion's Breath. Start by looking forward with your eyes closed. And then as you exhale, as you round your spine, open the mouth, reach your tongue towards your chin and at the end of your audible exhale, lift your hips and knees up and back into down dog.
And then we'll bring the knees back to the floor. Close your eyes, as you look forward, arch to look forward. Exhale, audible breath. (breaths loudly) Lift knees and hips up and back for a moment, and then back to the knees, to the floor. Close your eyes, arch to look forward.
Exhale, audible breath out, lift the knees and hips, and then hanging out in that downward dog, take another moment here, just breathing in, one breath, and then breathing out. Slowly walk your feet up toward the back of the wrist. And then take a moment with your feet hip distance apart, stay in your forward fold. We're going to take a moment to come out of uttanasana with bent knees, and roll your spine up towards standing position. We're going to take a little turn toward your left, bend your knees, and then roll slightly over that left leg, come down once again, touch the cool ground, and then roll up from that left side, all the way up to standing.
Bend your knees, turn to the right, and take a soft roll down over your right leg, coming forward and down. And with slightly bent knees, roll your way back up. And then when we get to standing position, if you can find where your block is, we'll use the block now in between the inner/upper thighs, and when we're decreasing the pitta we're not doing a ton of work that brings a lot of heat into the upper part of the body. So we're doing more of a modified sun salutation. And in this way, you squeeze the block with your legs, let your arms come up on the inhale and catch ahold of their left wrist, and then as you exhale, lean over to your side.
Come up to the center position, capture the right wrist and exhale over to your left side. Come up to your center position and then bend your elbows out about shoulder height, lift your heels, and as you squeeze your block turn towards your left side looking slightly toward that left wrist, tippy-toe twist, come back to center and then looking over to your right wrist. Come back around to this center, put your feet down, bent your ankles in a version of chair, where, be curious where your ankles stop bending and then stop going down. Just hug the block with your legs, arms towards the ears. When you're ready to exhale, bring your hands towards your knees, slide down towards shins, ankles, or maybe touching the ground as you exhale, and then re-engage with the block, a slight squeezing in with the thighs, bend your ankles and knees, and then keep your legs bent this round, and inhale, let your spine slowly rise up, it will feel like a little back bend, stay active in the feet, and then come up into straight legs, and then the hands back in front of the chest.
Let's try that again. As your arms come up, maybe close your eyes, at some point, catch the left wrist and lean to your right side, and see what it feels like when your eyes are closed. Maybe your speed, the pace of it, is a little bit different. From center, grab your right wrist and lean over to your left side. Maybe you feel a little more stable here through the feet.
Come up to the center, let your elbows open out to the side, goalpost arms. Lift your heels, and then have fun with the balance as you twist towards your left side. Back around to the center, balance will come and go, look toward your right side. And then coming back to the center. Reach your heels, let your arms come up toward your ears, and then sink down into your ankles.
When they stop bending, stop moving. Squeeze your thighs with the block, come back down to knees or two shins in your forward fold. Exhale, touch the ground, it's okay to bend your knees. And as you squeeze the block, one more time, come into that deep version of chair, fierce pose. Come all the way up with your legs still bent underneath you, taking one more moment here, and then inhale all the way up into straight legs, arms down at your side.
Okay, now we'll take that block, and then transfer the block behind you so that your palms, I'll turn sideways for just a moment, or to the back for a moment, so you can have your palms squeeze the block, and while you look straight ahead, try to keep good posture, this one's more for posture awareness. See what it feels like to squeeze the block and then start to move it away form your pelvis, away from your spine. And notice your elbows aren't, maybe, all the way straight for all of us, that's not the goal. The goal is just to try to bring some posture awareness. Even though there's not a lot of movement happening in the outer body, there's a lot of sensation and work in the shoulder area to bring the shoulder blades toward your spine.
Try to feel your arms maybe lengthen away from your back. Make sure you're blinking, make sure you're breathing, and maybe even noticing the edges of the lips slightly curving toward the eyes, there's some pleasure in the pose. Try to keep a little bit of this muscle awareness in the upper body as we let go of the block, try to keep some of that posture. And then from here, if we can keep your left foot forward, we'll step into a Warrior One footprint, where your feet are about as wide as they would be on a train track, hold the block straight out in front of your chest, and then as you lunge into your front knee, make sure you can feel into the corner of your back right foot. Now as we inhale, I'm going to have you lift the block up into the air above your head, and then literally try to lift the block toward the ceiling, and as we go in and out, we'll straighten the left leg, lower the block, and then bend your knee and lift the block back up in the air above your head.
Straighten the left leg, the block reaches forward, in front of the chest, bend your left knee and inhale, lift the block above your head. One more time with the block out in front of the chest, both legs straight, bend that left knee, if it feels good, lift your gaze more up, squeeze the hands into the block, one more inhale, and then lowering the block down in front of the belly. Step the right foot forward and we'll transfer with the left leg back, feet, again, about as wide as you need to, so that you feel stable. Could be different on this side. So feel, with the block out in front of you, you're squeezing the hands into the block, press into your back left foot, and we'll bend the right knee as you inhale, lift your arms up beside the ears, straighten that right leg as you lower the block down.
Inhaling, as you stretch up through the arms, lunge through the front leg, exhale as you come out. Again, inhaling, going into your flow, looking up if it feels good, and then exhaling as you come out. Last one. Inhaling, as you go into the pose, if it feels good, look up, squeeze the block, and then take the arms down, and as the arms come down let's turn that right foot in so you're facing the long edge of your mat. From here we're going to take this long, wide block down, underneath, maybe, the belly-line, and with the feet apart, so that your hands come down, potentially, to frame the block, and you might need to adjust where it ends up, as you bend your elbows, and take a moment to let the head come down toward the prop.
And if you notice the prop is not the right height, some of you might want it taller so you can rest your forehead or the top of the head on the block, and others may find that it's in the way of you bringing your head down to the floor. So notice, with bent elbows, if you drew a line from your elbows to your wrist, that would be the direct line here, so you can squeeze your elbows a little closer together. Just breathe into that forward fold. Just take a moment with your eyes open so you're not going to fall over in any way, stable through the feet. Syncing up with your breath, inhaling and exhaling.
And over the next breath, keeping the head down, when you're ready, on inhale, walk your hands forward to come to that new altitude and just pause for a moment. We'll take that block back down now, underneath the line of your face. From here, with your hands now up on the block, you're going to take your right arm and reach out to your side, shoulder height, trying to keep the pelvis level from right to left. Then as you exhale, bring the right hand back down. On the inhale that right arm goes up maybe a little bit higher than last time, and exhale with that right hand back down.
Third time, inhale, right arm goes up, maybe higher than last time, and exhale the right had to the block. And then switch out, left arm floats out, shoulder height, exhale left hand to the block. Inhale, left arm goes up, maybe a little bit higher, open the chest, exhale, the hand comes down. Third time, inhale, go as high as you're comfortably going with your breath, and then both hands down. So from here, with your feet scooting a little closer together, turn your right foot out to be a big lunge here, set the prop to the side, and then we'll come down to plank position.
And then from your plank position, coming down, knees, belly, chest, to the floor, with your arms straight out from your shoulder line, and then the forehead down to the floor. And soon as your forehead come down to the floor, see if you can tune in for a moment to your belly area and allow that to relax and soften toward the floor. And when you exhale, that you can feel your belly area lifting sightly toward the back, away from the earth. And a few more times, just to make sure you've got good breath awareness moving down to the center of the body. Long exhale, naval lifting towards spine.
So we're going to do a little action here that looks like you're swimming, potentially. So the next breath or so, lift your feet off the ground, float your hands up off the floor, and look a little bit forward. And then as you inhale, let your arms open out to the side, let your legs separate out to the side, and the arms come back toward the legs. When you exhale, bring your legs together and bring the arms, again, forward, maybe hovering above the ground. Separate the legs, reach your arms back by your thighs, curl the chest, maybe, more up.
The lower the legs, bring them together, bring your arms forward. Let's try that again. Inhale, float up, separate the legs as your arms travel back toward the sides of your legs. Bring the legs together, arms forward, as you come down. Inhaling, lifting the legs, out to the side, arms sweep back towards your legs, and then lower the legs, they come together, the arms reach forward.
One more time. Lift everything up, separate the legs, swim the arms back towards your legs, and then exhale as you come down to the floor. As you come down, please stretch your left arm out a little bit wider than your shoulder line, and then take your right arm out, wider than your shoulder line. We going to feel for your feet, they're right at the edges of your mat. We're going to keep the feet pinned down to the floor.
This is just a little creative roll over to your left side, roll onto the left edge of your body, but keep that right foot connected to the right corner of the mat. Stretch this right arm out to your side, and there's no right or wrong position for this right arm. It might start by your ear, then it might start to reach down more and more to the line of your chest. Again, my right foot is on the floor and reaching away from the right hip, turning my belly a little bit toward the ceiling, and I'm allowing my right chest, my inner arm, my inner hand, to feel a lovely stretch. You're welcome to be a little more creative if there's any position that would make this feel even better, maybe bend the right knee slightly, and then making sure that the head is touching the ground, that you're not holding your head off the floor or resting it on your arm bone.
Let's take another moment with the right side of the chest rolling open toward the ceiling. And we'll sweep that right arm up toward your right ear. We're gonna roll ourselves back to the floor, and then once you're on the ground, that right arm is straight up from the shoulder line. Keep the feet as wide as your yoga mat, and when you roll to your right side body, you can let that left arm maybe reach back toward your ear line. I'm reaching my left foot toward the front edge of my mat.
And then in that way, as I start to play around with, what's the best position for my left arm, stretch it out, maybe at my shoulder height. And maybe close your eyes and allow yourself to feel. Again, what's the best position, what little alignment, adjustment, do you need to make so it feels really good in this moment. With the left chest opening toward the ceiling, with the left belly side potentially turning toward the ceiling. Keep rooting down through that left foot.
Take another big full breath up through the chest. And now, to make things simple here, we're going to take the left arm straight down toward your back, you're going to roll over onto your back here and if you're no longer on your yoga mat, then scoot back over onto your yoga mat, and then find where you block is. So I'd like you to take your black and have the fat shape of the block, insert it underneath the pelvis. So you've got the flat edge, to begin with. And what I'm gonna have you do is to have your arms at your side, the palms face up toward the ceiling, and we'll let the feet come up off the ground, make sure the block feels like it's in the right spot and then stretch both legs up toward the sky.
And then as soon as you feel like you're stable enough here, let your eyes close so you can just tune in to that fluid movement from your feet, down towards your lower belly. And sense and feel into the fluids moving from the lower belly down towards the stomach, toward the organ of the heart. Sense it feed onto that fluid movement, moving toward the grain. And you might feel there's a little bit of work required to hold your legs up in space, so it's not quite as restorative as legs up the wall. And still, a little bit of challenge, enough to keep you alert and awake.
If you're comfortable, close your eyes, and try to hold the pose without putting too much effort into the pose. Can we soften through some of the muscles of the legs? Soften any tension in the jaw or in the eyes. Give yourself just a couple more moments with your legs up, often a wonderful way to reduce stress, especially when we're holding this a little bit longer, we can start to trigger the rest and digest side of the nervous system, to help us calm down if we've been experiencing a lot of stress. Let the knees bend first, and put your feet on the ground.
And put your feet on the ground, and as they touch the floor you might explore where the edges of your mat are, and for some of you, you might appreciate the feet wide, some of you, feet a little bit more narrow, and we're going to stay with the prop, you're welcome to keep this low height. Or, if you like for your bridge to go to the next height, a little bit taller, so you're feeling like it's a little bit more of a supported, almost, inversion, with your hips up higher than your chest or the heart. So once again, with your arms out to the side, once you've found the right height, if it's comfortable, close your eyes and just allow yourself to surrender the effort that you might do in a more active practice so that you can awaken a little bit more to the present moment. And perhaps experience some of the beauty of this present moment, the wonder of this present moment. Which is not always easy to discover when we're stressed or working really hard in a pose.
So I'll invite you to stay with the challenge of breathing in and out with enough mindfulness that you're adjusting your breath to meet the needs of the changing sensations. Noticing what it feels like, again, to be present as you're breathing in, and being present as you're exhaling, just to know, right now, what does your body feel like? What does your mind feel like? And going through that self-discovery process, by relaxing into your posture, into your breathe, you become more and more aware of the inner landscape in a way from some of the external external stressors. Start to make a comfortable home within yourself.
Take three more breaths, where you are, here. Filling up on the in-breath, letting go of any stress on the exhale. Noticing the end of the exhale, maybe you feel, perhaps, a little bit more grounded in the present moment. At the end of our third breath, if we lift the heels up so that we've got a little bit of space to draw the pelvis away from the block and set the block to the side. And then in finishing that sequence you might hold the knees with your hands and just rock a little bit, side to side.
And if there's any last cravings of poses you want to do, make sure you finish the last movements that would make you comfortable for a little savasana. So at any time that you're ready, we'll let the legs stretch out to the floor, arms out to the side with your palms facing up. And wiggle around, so you feel like you're taking up a lot of space when you meet the ground. And try to absorb some of that coolness from the earth into the deep bones of the body. And continuing to find that balance between surrendering and awakening to the moment.
Let's see if you can start investigating, again, the quality of relaxation in the face. Can you open a little bit more between the eyebrows, you widen a little bit more across the forehead. Soften the muscles around the cheeks, around the lips. And then softening all the way down into the throat, into the chest. It feels good to sigh, let yourself sigh, audible breath out to help release any lingering tension.
(deep sigh) Continue that if that's helpful. We'll explore if there's any lingering tension in the lower back. In the belly region. Letting go of any holding patterns in the legs. Trying to soften those large muscles in the thighs, back of the legs.
And where the contact points for your calves meet the cool ground, the heels are in touch with the floor. Trying to use the stability of the body to help train the mind how to become a little bit more stable, a little bit more present, breath by breath, moment by moment. And being open to the wonder and the mystery of this savasana, this quiet, reflective time. If you have space in your day to stay in savasana a little bit longer, you might hit pause and take as much time as you need here. For those of us moving forward into the day, if you could start making little tiny movements in your fingers, in your toes.
Little circles with the wrists and the ankles, preparing your body to move, bringing the feet down underneath the lines of the knees. When you're ready, roll over onto your right side, and stay in that fetal position for a moment, perhaps with your eyes closed if you're comfortable. And leaving behind any stressors you were able to leave behind, as you come up to a seated position. Adding whatever kind of cushion you might need in your seated position to really relax in your lower back, in your knees, or any place where you might gather some tension. So please, wiggle around until you feel like you've got good posture, corrected any postural imbalances you're aware of.
And we're going to take the right hand toward your face, curl your index, middle finger in towards your palm. And for eight breaths, if we can block the right nostril to cool the pitta and breathe in through your left nostril, and breathe out through the left nostril. And breathing in, and exhale out through the left nostril. And again, breathing in, and breathing out, chandra bhedana, more of a cooling practice, breathing in in your rhythm, and breathing out. Couple more rounds, breathing in, and breathing out.
Breathing in, and breathing out. Over the next round in the breath, both hands stay at the knees, take a couple breaths through both nostrils. And trying to remember the slow, calm, rhythmic way of breathing, and anticipating, perhaps, a stressful day, or staying with this style of breathing perhaps at the end of a long, maybe stressful day. In this way, may our yoga practice help to balance the stressors we meet in our day-to-day lives. Put the hands together in front of the heart, we offer our gratitude to the practices of yoga.
Have a wonderful day. Namaste.
Yoga for Our Nature: Dosha Jam


Mention
 |
Melina Meza (Teacher) |
 |
Sandra Židan |
 |
Hannah H |
 |
Susan W |
 |
Leah K |
|
|
Dannette W |
 |
Kit S |
|
|
Judy S |
 |
Sarah Beston |
Comments


You need to be a subscriber to post a comment.
Please Log In or Create an Account to start your free trial.
