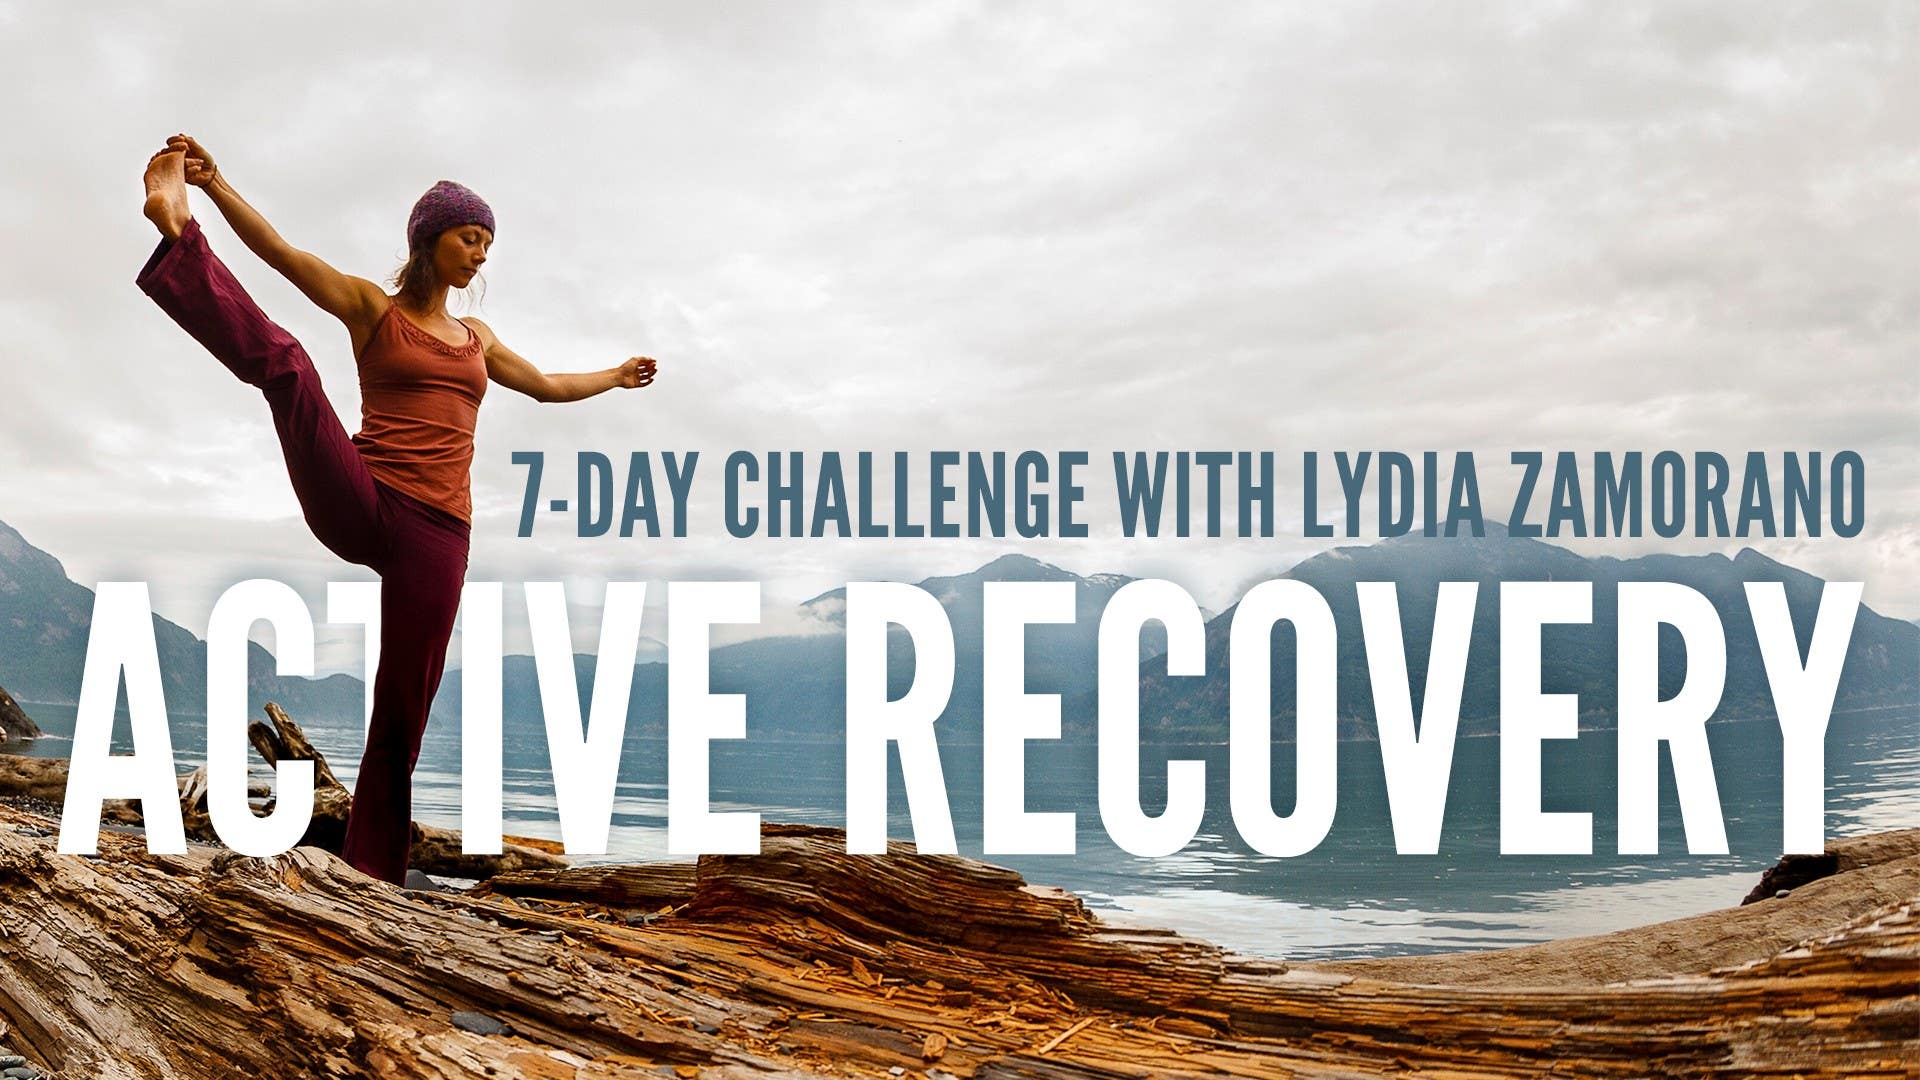
Description
About This Video
Transcript
Read Full Transcript
Chapter 1
Tutorial
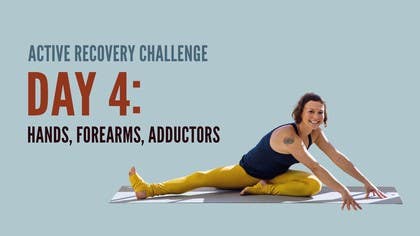
Welcome to day four. First of all, I really want to check in with you. How are you feeling? Have you practiced four days in a row before? And is your body sore? And I just wanted to touch on a few things that you can do to work with soreness. So one thing is that if you're working, if you're used to working at like 100% effort, and I think I've said this before, but I'll say it again, and you're really thinking that you need to go into that deep sensation of stretch or feel that stretch really deeply, you can try working at like 70%. And also another thing that really helps me is easing into the stretch. So instead of going right into it to your maximum, kind of easing into it.
And so it's like a good massage therapist knows how to get in there gently and warm things up and then go a little bit deeper. So you can think about that in your stretches and in the way that you're moving your body, especially if you have the tendency of going for it all the time. Your yoga practice might be an opportunity to soften that effort a little bit and really find a bit of the opposite. Another thing is stay hydrated. So you're actually really hydrating your tissues with all the pressure work that we're doing. And I said it before, but I'll reiterate it is that when you're pressing those tissues together, you are pretty much squeezing the fluids out of the tissue.
And then when you let go, you feel that warm rush of fluids into the tissue. And that's hopefully if there's stickiness or the layers of the fascia are starting to have adhesions and stick together, the hope is that the fluid will push through some of those adhesions and you'll get slipping and sliding through your tissues again, which will help pliability and mobility and strength. Because if the lines of your muscles are held tight and they're dehydrated, they're also weak and they're more susceptible to injury. So in our day four practice, we'll work with the hands and the wrists in a way that can help release some strain if you are using your hands a lot, small micromovements, repetitive movements with your hands that's supportive of that. Go easy again, start easy. And then the more you do these practices, the more you'll know how your body responds to the practices.
So check in to the day after. How do you feel? Maybe you can go a little bit deeper into the sensation and into the pressure work. So you'll be able to learn as you go. I usually practice seven days a week myself. It doesn't mean that every practice is really long or every practice has a lot of movement in it. But I do. And you can ask me about that in the forum as well as touch base with how you're feeling or if you have any questions about the challenge so far. Just to touch on the inner thigh work, you use your inner thighs all the time.
So if you're walking or hiking at all, you're using those inner thighs to help stabilize your hips and your thigh bones and sitting down and getting up. And to put some energy into lengthening out that tissue, because if you're a really active person, you're probably doing a lot of strengthening in that tissue. This practice will be really supportive of that. And it's also an injury prevention practice because if you're not giving that much energy to your inner thighs and they become really tight, the whole inner line of your leg can get quite tight and bound up and dehydrated. And it can turn your ankle out like that in your standing position.
So it can make your ankle weaker and more susceptible to injury as well as pulling things in the inner thighs. Maybe you've heard some people even pulling those inner hamstrings in the yoga practice. So keeping a good balance between strength and flexibility, pliability, mobility is always a good idea for injury prevention. So I look forward to this practice with you. And like I said, reach out.
I'd love to hear from you. And we'll see you in day four. Namaste.
Chapter 2
Practice
Welcome to day four. I'm certainly wondering how it's going for you.
So don't hesitate to reach out and tell me how it's going in the comments. Today we'll be working with the hands, a little bit the wrists, the forearms, and then the inner thighs or the adductors, that whole inner thigh line. So really useful actually after any activity that you've been doing with your legs and if you've been having a day with working with your hands or micro movements or repetitive movements in your hands as well. So let your hands come up and out in front of you and your arms shoulder height and purse your fingers together like you're making little swan heads and then turn them in towards your armpits and just take a nice deep breath here into the sensation of stretch across the top of the wrist and the forearm. So you can stay here bringing your shoulder blades together and a little bit down on the back without jamming the top of the shoulder joint.
Or you can catch the outsides of your ribs with those little swan heads and press your wrists in towards each other. So this will intensify that sensation of stretch. And for me if I round my spine a little bit here, it's even a little bit more. Nice deep breath into that, wherever you land. You can get a nice sense of feedback of your breath by feeling your ribs expand.
And then we'll release that, roll the wrists around a couple of times and come onto your hands and your knees. Knees under the hips, hands under the shoulders and then take your left hand and lift it up and turn it all the way around and slowly drop your wrist to the floor. So it might not get down all the way but pause where you feel a good sensation of stretch and you're getting nice long lines of stretch through the forearm and out into the fingertips. So press down through your fingertips. You could even circle around here if your wrist is grounded.
Circling around the wrist joint one way and then the other. And if you wanted more, if you're not feeling much in this you could also try bending your elbow. So you'll definitely feel something there. Release that, shake it out and switch sides. So all the way around fingertips press, tenting your fingers up and then slowly drop.
And especially if you're a hyperextender through the elbow, which I don't think I am much of, you could try just keeping a little tiny bend in your elbow. If your wrist joint hits the floor, you can circle around in that one way. Just go nice and slow, nice and easy. Press into your fingertips and then the other way and let that go. From here, walk your knees a little bit closer in and rest a bit back onto your heels and then take your right forearm down on a diagonal in front of you and open up the palm of your hand and your fingers and take your left forearm bone or lower arm bone and place it just below the elbow and apply some pressure.
So if I lean forwards, I'm going to get more pressure. If I lean back, I'll get less pressure. So you just check in how much you want to give and then lean in and close your hand and open it up. So we're just flossing through the tightness in the forearm and the pressure here of your left arm on your right will press all the tissue together and then when you release, it'll send that warm rush of fluid into that area and hopefully separate some of the muscle tissues, the adhesions, all the sticky stuff that starts to stick together. Then we'll move to the center of the forearm and press down there and then open nice and slow and close your hand.
This is a nice little trick if you've been working with your hands a lot. And then down a little bit closer to the wrist joint, press and open. It might get a little harder to open your hand here. Just nice and slow, breathing into that and let that go. Nice flush of hydration there to the tissue.
Left elbow in the center point of your palm and you can move it around and just give the center point of the palm a little massage. I've also tried to open the angle of my left arm and then close and even kind of circle like a mortar and pestle here. And those hand bones, you've got a lot of bones in your hands, can get stuck together. So you can even work in between the fingers and try to open up those bones a bit. That might not happen in one session, but here's trying.
Okay, and then we'll switch sides, left side on a diagonal, right, lower arm bone right above the elbow crease, as much pressure as you want and open and close there. Move it center of the forearm. You can wiggle forward and back as well, open and close nice and slow. Breathe into that. Just when is the last time you gave your forearm some love?
Like, come on. And then right up above the wrist joint, press down there and open and close. This is potent for me since I spend a lot of time hanging from my hands on rocks. Okay, and then we'll take our elbow right in there and dig in. You might even find the headache point that is in between the thumb and the index finger, which is a really nice spot.
And again, just monitor how much pressure you want to give there. It's a little hand massage, a little self-massage technique, giving yourself some attention. Okay, and then we'll come up from that. You might open and close your hands a little bit, rotate your wrists. And then we'll take our right hand forwards and take your left hand, curl all your left fingers around your right thumb, and pull back on the thumb as you stretch down through the fingers.
This is a lovely stretch for the webbing in between your thumb and your index finger. And then we'll switch to our pinky finger and pull back the pinky finger, but as you're pulling back, resist by curling your pinky finger back up, and you should get a nice, even stretch into the hand as well as just the finger. We'll go through all the fingers like that. Resist. When's the last time you stretched your fingers?
That's what I love about the yoga practice. Nothing is left out. Okay, let's switch to our left thumb. All the fingers come around. Pull back and press down through your fingers.
I love this one. You're also opening up that headache point. So if you have headaches, who knows? Maybe some relief. Pinky finger, pull down and resist.
And you might notice some weakness in your fingers by doing this, some fingers that are tighter than others. Resist to get that nice, even stretch right into the index. Nice, and we'll release that. Let's take our hands out to the sides and internally rotate them. So your thumbs are down.
Take them behind the back and curl forwards as you do that, and then bring your lower shoulder blade tips together so your collar bones are nice and wide. And start to stretch back your hands without flaring your front ribs forward. So keep your front ribs in. Take a nice deep breath into the front of the chest. I really feel the difference in my two shoulders here.
Maybe you do as well. And then we'll hook the hands over to the right side. If they don't come all the way around, that's fine. Just bring them over to the right side. Squeeze your elbows together and let your right ear come down towards your right shoulder and just nod a little bit there.
Maybe each nod, it allows you to go a little bit more into some length and space. And then center it out. Open it back without flaring the ribs. Stay nice and neutral in your spine. Hook your hands around the opposite.
Squeeze the elbows together to the left side. Beautiful. And then let your left ear come down towards your left shoulder and do a little nodding here. The nodding for me has been really wonderful for easing into this. So I have a lot of tension in my neck, and I don't know if you do too, but this helps me ease into it.
The nervous system feels safe and supported. I'll stay for a breath after a bit of that introduction. Okay, let's let that go. Release maybe a few shoulder rolls, and we're going to work our way into our downward dog. Spread your hand bones nice and wide, but not too wide.
Press into your fingertips, tuck your toes, collar bones wide, and reach back into downward dog. Pedal out your feet. All right, inhale your right leg up. Bend your right knee. You might need to come high up onto your left toes here to give yourself some space.
And then circle your right knee in a big circle three times. One. Two. If you have the space, drop your left heel down. Three.
Reach that leg out and back, three-legged dog here. And then exhale, knee into the nose, shoulders over the wrist. Take your foot on the inside of your right hand and come up onto your fingertips. Look a little bit forwards and breathe a couple breaths, just introducing yourself here to the lunge, moving your sit bones in opposite directions to three and nine o'clock, shooting your tailbone away from your skull. And then plant your back foot on an angle at about a 45 degree.
Try to keep your knee over your second toe here as much as you can and walk your hands around so that they're on the inside of your right thigh, your right leg. And you can walk them forwards and allow your head to fall. So it's sort of like a surrendering warrior shape here. Curl your buttock of your right leg underneath you. So that it keeps your right knee tracking over your second toe.
And then you can walk a little bit more around to the left. Place your right hand on your right knee and just encourage it to go a little bit forwards and a little bit towards the pinky toe. You could even turn your fingers on the inside of your knee and give a little push there as long as it's not painful. Nice deep breath. And then we'll walk our hands and parallel our feet so that we're in a wide-legged forward fold.
Adjust your feet so that they're in the same plane. Inhale and lengthen your spine. You can bend your knees as well and exhale, walk your way into your forward fold here any amount. And think about widening your feet, widening your toes, pressing into the inner and outer edge of your foot and widening your hamstrings. So right around your sit bone, all those four hamstring muscles widening, giving more space for the spine to slide forwards and down.
Head releasing. It's actually better if your head's off of the floor here because your neck gets more traction. Beautiful. We'll come up a little bit. Take your hands on your ankles and you may need to bend your knees a bit more for that.
And then shift over to the left and start to pin your right foot down and straighten your right leg any amount. So you should feel this in the inner thigh. And then we'll come up and over to the other side and slide that left inner thigh into length. It's like you're pinning down the four corners of the foot and pulling up into your pelvic floor. Up and over to the other side.
Linger there. And up and over to the other side. Your torso can be well forwards here. Nice. Come into the center.
Hands underneath your shoulders. Walk all the way to the front of the mat into a lunge. Exhale into your downward dog and pedal it out. Go ahead and inhale your left leg up. Bend your knee.
Maybe come high up onto your right toes to circle your hip three times. One. Two. If you have the space, drop your right heel. Three.
Three-legged dog, nice long bones there. Exhale, knee into the chest. Shoulders over the wrist. Place the foot. Come up onto the fingertips.
Good. Get long. Get spacious. Relax your jaw. Press out through your back heel.
Plant your back foot on about a 45-degree angle. And start to walk your way around. And as you walk your way around, just think about this knee coming right over the second toe of your left knee. Your left butt curling underneath you to create a little bit of that external rotation in your femur bone that will help to align your knee there. You can walk out a little bit into this surrender warrior shape and always coming up onto your fingertips and grounding more into your legs will support your spine, especially if you're one of those people that have neck and shoulder tension.
This is something that you can do a lot. Work the pose from the legs. From the opening of the tissue of the lines of the legs, feed the spine length. Beautiful. You might walk a little more around and then you can take your left hand on the inner knee and very gentle pressure.
You're not wrestling with yourself here. Maybe a little bit sometimes. You can give a little nudge in the right direction. And then walk all the way around and parallel your feet. Good.
Bend your knees a little bit. Inhale. Open your spine. Exhale. Walk it in and let go.
So if this is feeling really challenging for you, you can always open a little bit more space in between your feet as you fold forwards. It might just give you a little more space in the pelvis. So as I'm talking about widening the pelvis, widening the feet will help to widen the pelvis. And maybe bending the knees will also help to deepen the hip joints and get a bit more of a fold at the hip joints instead of a rounding. So you don't want to feel this in your lower spine so much.
Good. Let's come up a little bit. And hands on the ankles, bend the knees, and a side-to-side oscillation. Plant your right foot, lean over to the left. Plant your left foot, lean over to the right.
Torso as well, forwards. Breathe into that opening. Imagine you're pulling a long line up through your inner thighs. Center it out. Walk your hands around, shape of a lunge there.
Maybe look forwards and exhale your way into your downward dog. Then we'll walk our feet forwards. You might come up onto your fingertips and turn your feet out and start to sink into a squat. So you might do this kind of coming over to one side and then the other. Take your time.
And just the way some people are organized and the tightness in the Achilles and the calves, your heels might be off, and that's fine. If your heels are really well off, then you could use a blanket underneath your heels. So I'll show you that. Or anything you got. Blanket underneath the heels.
And even though I can put my heels down, I love this variation. It just gives me a little more space in my low back. Sinking into the squat, the knees are wide. The elbows are on the inside of the knees. And just allow your lower spine to drop.
Just imagine you're dropping the blinds of your lower spine and your lower spine just sinks down. If you can come a little lower here, bring your right shoulder on the inside of your right knee. Fingertips down to the floor. Left hand on your left knee. And start to twist.
So you're turning your right lung forwards and your left lung on top of your right and up. If it feels okay, let your left arm come up. And we'll switch sides there. So you can lean in forwards. Grab your shoulder on the inner knee.
Fingertips press out. Sometimes you'll hyperextend the elbow here if you're really trying hard to get into this shape. Instead of doing that, try keeping a little bend. Lift your chest and roll open. Right hand can come on your right knee.
Right arm can come up. Spiral it open. And then come back forwards. Here's something fun to try. You can lift your buttocks a little bit.
Bring your upper arm bones onto the knees, just below the knee joint or somewhere along the shins. And lean forwards so your torso is coming forwards almost parallel to the floor as your bum goes back. And I'm pressing a little bit, kind of bracing. And I feel this in my inner thighs getting a nice deep stretch. It's almost like flipping the happy baby pose in space.
Okay, we'll let that go. I'm going to take the prop out of the way here. And you can try this is sitting down without the use of your hands, or of course you can use your hands behind you to sit down. Take the feet forwards. Walk your hands back behind you.
If you're feeling really sticky in the wrist joints, turn your hands away from you like that, but keep a little bend in your elbows or turn them in towards you. Then circularize your shoulders up a little bit back and down without jamming the top of the shoulder joint. And then move your tailbone towards the back of your knees as you lift up into a table top. And you can, if it feels right on your neck, you can let your neck slowly fall back into that pillow of your trapezius muscles. Or you might not think it feels like a pillow, but there's some support there.
If you're really hunching like this forwards and you try to put your head back, I would recommend looking forward still until you can really circularize the shoulder girdle into opening the collarbones there. Deep breath. Press into all your fingertips. Bum comes down first as you exhale, and then roll through your spine, low spine, mid spine, upper spine comes up. I'm going to turn to this side just to show you our half straddle that we'll go into next.
So your left leg comes into external rotation with the outer foot on the mat, and I would really recommend using a blanket here to elevate your hips, and your right leg comes out as wide as is comfortable for you. So it's also, if you have really tight knees, you might want to put another blanket or a support or a block underneath your knee. Then we'll start to walk a little bit forwards here, and it might be helpful to reach back and grab a hold of your buttock muscles and move them back behind you so that you're well grounded onto the front edges of the sitting bones, which will really allow your lower spine to lengthen forwards and not to strain. So this might be a lot right here. If you don't have an extra prop for your knee, you can always bend it and keep coming a little bit more forwards, totally personal how far you go forwards.
And you can also walk away from your right leg. Let's take a few breaths into this. Walk it back into the center. Check in. Can you go a little bit further forwards or do you need to come out?
The neat thing about these practices is your body will feel different every day, and pretty much every moment, every breath of your practice, you're asking yourself that same question. Can I go a little more forwards? Can I go a little bit more in? Or do I need to back off? And every day is different.
Every stage of life is different. Okay, we can come on up here, and then if you have your dowel handy, you can take that and snuggle it right underneath the top of the hamstring and just in front of your sit bone. So right there. And then we'll turn our belly button towards the right leg and walk forwards. And if this is pulling too much, you can also bring your left knee more forwards.
Walk in. And I'm getting a really sweet pressure there for the top of the hamstring, and I can move side to side into it. And I almost want to feel that those hamstring bones, they want to kind of converge into one tight string rope. And I want them to widen and soften and lubricate, so I'm hoping that this will help me out with that, giving more space there, especially to that outer hamstring when I lean to the right. So sweet.
Okay, we'll let that go. And let your left hand come down. Come onto your outer right foot and elevate on your left shin. Reach your right arm up, sink your tailbone down, and you can open up your chest here in this nice chest expander. Keep your bottom hand nice and strong.
Lift your heart off of your bottom shoulder and exhale and roll it down. Gorgeous. Let's switch sides. So right leg in, left leg out. Adjust accordingly.
Maybe bend the knee, maybe prop. Walk a bit forward and move the buttock flesh back so that you're feeling that you're coming onto the front edges of the sit bones, and the blanket will really support you in that. Okay, we can walk a little bit over and away. Maybe there's a bend there. A couple breaths.
Walk back center. See if there is a little more or a little less. Maybe less is more. Beautiful. And come on up.
And your dowel might be there for you for right underneath the top of the hamstring. And right below the sit bone there. And then you can turn your torso towards that leg and walk in a bit, oscillate, check it out. Maybe you find that outer hamstring and lean into it. And you can also do this without the prop.
Grounding down a little bit through your right sit bone to get that nice stretch through the QL, the lower back. And we'll walk back to center. And then we'll take these props out of the way. And put your right hand out, palm faces out a little bit, ground onto the inner left foot. The right shin, lift up, stretch your arm up.
Keep pressing into your right fingers. Chest expansion with your front ribs down, opening into the top three ribs. And exhale, bring it all the way down and make your way onto your back. And on your back you might take your knees in, cup your hands on your knees, and just allow your inner thighs to open up there. Lower belly to soften.
Maybe roll your ankles a couple of times. And then we'll slide into our shavasana. So you can let your legs release. Let your arms come apart. And merge with the earth.
Take a deep breath in, exhale it all out. Thanking yourself for taking this time to create habit. Habit of self-care and focus and balance. Giving back to your body. It's simple, but it works.
Reach your arms up over the top of your head, and of course you can stay here for as long as you like, which I encourage. Draw your knees in towards your chest. Roll over into one side. And this also might be a nice place if you had the time to look up a meditation and practice that. We made it, day four.
So happy I get to spend my week with you. Please keep in touch. I'd love to hear from you. Namaste.
Active Recovery Yoga Challenge
Mention
 |
Lydia Zamorano (Teacher) |
 |
Sandra Židan |
 |
David G- |
 |
Lina S |
 |
Diane NM |
 |
Fabian H |
 |
Kate M |
|
|
Sarah B |
 |
Glenford N |
 |
Joan J |
 |
Jenny S |
Comments


You need to be a subscriber to post a comment.
Please Log In or Create an Account to start your free trial.
