Description
About This Video
Transcript
Read Full Transcript
I thought we'd do a little spiritual warrior Yajna today. Yajna is a word for sacrifice. And as Ravi tells us, Yajna means, the sacrifice means to make sacred. So I want to work on the sacrifice of the protection that we all have around our hearts, and actually make it sacred, make the space around the heart sacred and a little more open, which means that we might feel just a teeny bit more vulnerable, but that's a really opening place to be. So we're going to be working with loosening the case around the heart.
And we're going to just start really simply by doing some shoulder rolls. And you can just stand with your feet parallel to each other. Actually, sometimes I suggest to my students, just to keep balanced with respect to the way the pelvis is moving and the thighs and so on, to keep a block between the knees, a foam block. If you're using cork, you can move it up a little and so it's not on the bones. And you're going to just roll the shoulders forward in a nice, gentle, easy way.
And this is about drawing the shoulder blades together and then allowing them to come apart. It's also about just allowing the scapula on the back to start to move, because they are part of what supports the heart space. And if they're not supporting, it's harder to stay open. So we're loosening and alternately working the muscles of the back. And then we'll go the other way.
We started rolling forward, now we're rolling back. And notice what I'm doing with my hands are lightly touching my thighs and mimicking the circle of the shoulders that I'm making. So rather than getting involved with the arms, I don't use my back in the same way as if I'm doing this. I'm really kind of helping my back to tune into what I want to be happening by keeping the hands on the thighs. Okay, so having done a number of those, you can loosen up.
This actually helps to stretch part of the sides of the casing. So now part of the armor that we have around our chest is not only the rib cage itself, but is the musculature that comes from the arm and connects to the sternum here. And we have the pectoralis muscle here. And so you can go to a wall. I think you can put the block down now.
And standing so that your hand is right about at shoulder height and then turning your hand just a little bit backward, the point here is to let the elbow turn inward. So if the elbow is pointing back, the shoulder blade, the shoulder is going to be dropped forward and the shoulder blade will be off the back. And so we want to bring the shoulder blade down the back. And I didn't do that from just turning my elbow. I'm doing that from my upper back here.
And so now that I've got the shoulder blade against the back, I can hold that steady and imagine keeping this elbow in place and not letting it roll back as I turn away from the wall. Maybe 45 degrees with your feet and a little bit with the pelvis and actually reaching across to the pelvis like this helps to keep a wide feeling across the back of the pelvis, which tends to make the sacrum happy. So this can get very intense pretty quickly sometimes. And since we have a bundle of nerves that leaves the neck and goes under the collarbone and out into the arm here, sometimes the fingers will go numb. So if that happens, even if it happens in the first five seconds, just turn around and let your arm come down.
And then you could do the second side and repeat. So just being here for a short time is fine. Over time, repeating over days, that will probably stop. So here I am. Another way that my students find it useful is to take the fingers right along the sternum and kind of coax the muscle tissue and just the sense of opening towards the shoulder because the pectoralis starts on the arm and it comes across all the way to the sternum, all the way from the top to the bottom of the sternum.
It's this big, big muscle. So we need it and we also want it to be a little more open. So if you just coax towards the shoulder that often, we'll help that to release. So then when you turn back, pause a moment before changing sides and feel. You can even close your eyes.
When we close our eyes, we move away from that very compelling visual field and we can sense inside more acutely. And I really am sensing much more space over here. Warmth. Okay. I can even feel that in my nostril and my sinuses.
Okay. So I'm going to turn around now and put the other hand at the wall. At first, my feet are sideways and hand approximately shoulder height. Again, getting the shoulder blade to come down the back. And then once I have the shoulder blade down the back and the elbow moving forward, I'm going to turn my feet about 45 degrees, turning the pelvis and the rib cage.
Everything turning away from the arm. And then right away I can feel that this side feels tighter and I'm going to coax some tenderness here and some release. And I'm even going to back off a little. So I can still feel a stretch. I turned back a little more towards the wall.
And I feel like I can breathe into that area more easily than when I was getting a bigger, maybe I might define as better stretch. But I think to be able to feel the breath move into that part of the body is equally important. And sometimes people do this stretch. Oh, that feels good actually. But then at some point you want to start to coax also the ribs to calm down and move towards the back a bit even though you're keeping your low back arch.
So that feels like long enough there. I'm going to turn back and let the hand come down. I'm just going to stop and savor that for a moment. And now I can feel both sides are much more open. Yeah. Okay.
So I often do this one with blocks. It's a wall stretch to help to open the front. And the blocks go, you push the blocks up and notice that I'm holding the block in such a way that my wrist is supported rather than holding the block in such a way that my wrist might fall. So if I hold it here, my hands and arms might collapse. So just going up.
And then I place my foot just about the length of my own foot away from the wall, hip width apart. And then I lean into the wall from my chest and my chin and then I pull back. So watch what happens to my lower back and my whole spinal shape when I bring a greater arch into my lower back. So I'm kind of reaching up through the arms and pulling back through the tailbone and up. So this one can be held for, I don't know, anywhere from 10 seconds to a minute, depending on your tolerance for it.
And the reason why I say that is it can be quite intense. So some of my more flexible students think of this as delicious. And some people who are a little bit tighter can't tolerate it as much. But again, repeating these things over time helps. So you're leaning your chest into the wall.
Some people like to take the chin up. I want you to be comfortable. So if that isn't comfortable, just let your face be parallel to the wall. Tailbone up. Tailbone up and back.
And then just glide the blocks down the wall when you feel done. And then we can work on approaching that from another direction. So when the pelvis can move freely and move either in a forward direction or back, we have a lot more choice with what we can do with our body. If the pelvis is kind of stuck in a rolled under position, if you watch as I do that, I also collapse the front of my chest. So I suppose I could lift up, but that takes a lot of effort.
And one of the key points with being able to have some freedom with the pelvis is actually to think about the movement of the thighs. So this is a little trick for working with that. You can take a belt around your hands like so, a little bit wider than the shoulder width apart. And then you can see that I've got my thumbs loose. And I'm pushing my thighs backward as I lean a little bit forward.
And I'm thinking about the thigh crease as going very deep back towards the wall here. And I'm not going to go very far down. I'm just going to push and push and push and just tune into that sense of the thigh bones going back as the body comes forward. And you can see that I'm keeping my chest up. I'm not trying to go into a forward fold down, not yet anyway.
So breathing in, just imagine that's nice support. And I can feel it. I can feel some space now coming into my back and my hips. So that's like a little tutorial for how I want my hips to move. So now I'm going to go away from the tutorial.
And I'm going to just have you put your hands up on your back like so, or like so, whichever you can do. And you're drawing the elbows together. Now, you can draw the elbows together by using this part of the arm, but I'd like you to tune in and see if you can also do it from the area between your shoulder blades. So your hands are up, your elbows are a little bit wide, and you're going to start drawing them back. So earth to scapular muscles, drawing back, drawing back, drawing back.
And you can see that because I can feel that because I opened here a little bit, it's a bit more accessible than it might have been earlier. So as I draw back here, I'm going to then hold this piece and allow the thighs to go back as if I were pulling the thighs back. If I were Durga, I'd have plenty of arms to hold onto the belt, but I'm still Patricia. So here we go. And then I'm going to kind of stand up with this. I'm staying up.
I'm just trying to develop the strength in my back, upper back and lower back, to create an arch like that. And because my elbows are coming together, it develops the strength symmetrically. So what's your tolerance for this? It may be, you know, you may be able to enjoy this for 10 or 15 seconds. Up to a minute is useful.
And then just come up and you can shake it out. And then we'll go to the next one. So we've got one or two more preparations before we go into warrior pose. I'm going to get the belt out again. And we're going to hold it back.
Now, when you have a lot of extra strap there, it might be good to take a hold of some of the extra straps so that it doesn't flop around too much. And I'm holding it here like this so that the backs of my hands are facing the front of my body rather than the palm of my hand. It just helps with the shoulder blade movement. You can also see that I'm holding on to the buckle here so that I know where it is and it's not going to get loose and fall on my back or something. This is a forward bend.
And we're going to incorporate some of the stuff we learned. We're going to keep moving the thighs back and the thigh creases back. And we're going to be going for this strength of the upper back, this supportive capacity that the back has. So I can take the belt back just like this, and I'm basically here right at the moment. I'm just using my arms.
If I don't think about it as I pull my arms back, but if I think about drawing the shoulder blades together first, not the top shoulder blades but the bottom shoulder blades, as I draw the bottom shoulder blades and lift my arms back, I have much, much more support. Here's another thing that you could watch. Watch my collar bones and my shoulders. If I lift my arms up and I'm not using my back, then I actually collapse my collar bones. If I use my back shoulder blades and I lift my hands, even if I just lift a little, I actually get more opening across the front of my chest and I don't collapse my collar bones.
So let's do it that way. Here we go. So conscious of the space between the shoulder blades and bringing the hands back, and not compensating too much by throwing the ribs forward, although actually I want us to do that at first. So thigh bones are going back, thigh creases are deepening, hands are trying to stay lifted off of the hips a little bit. If that isn't possible, just keep them back.
Keeping them back or lifting, you keep coming forward and you're slowly coming down. By now some of you will be more comfortable and you'll actually feel more of the thigh crease action if you bend your knees. So I don't mind, nobody minds, you're doing this on your own. And coming forward, coming forward at some point, in order to relax down, just kind of have to let the arms relax a little bit. And I'm actually stretching down, pushing down into my heels and bringing the arms up and back if possible.
And then bending the knees, dropping the hips a little bit, letting the arms come down and coming up. If you ever feel dizzy coming up, going about halfway back down again can help your circulatory system to get some more blood to your head and then come up again. Okay, we're going to do that again, then we're going to do a little variation. And this variation will be down, but turning and letting the shoulder open with the turn. So here we go, keeping the thigh bones moving back, thigh creases softening and deepening, lifting the hands back and up, sort of milk this part of the pose for a while, and then letting down, letting down, bending the knees is fine, and then arms go up.
I drop my strap, so down I go again. And here you are enjoying this. I'm telling you this is legal, bending the knees. And what you're going to do is you're going to have one knee bend more than the other. So I'm turning to my right and that is my straighter leg.
And I'm letting that help me to open again in the shoulder region. It's quite yummy. And then I'm going to bend both knees and turn the other way and open the other shoulder. And then bend both knees again, it's just a nice way to transition. And as you turn around you can straighten or partially straighten the leg on the side you're turning towards and reaching up to whatever degree you can.
And then exhale, bend both knees and turn to the other side. And then back to center, both knees bent and you can uncurl up from there, letting your head come up last, roll your shoulders back and let the belt go back down. Now some years ago I read an article in The New Yorker about Nuryav, Nuryav the great dancer, and he was not able to leap as much as many of the dancers. He didn't have as much leg flexibility. He didn't even have very much turnout.
Imagine that. I mean that's like me. I can't hardly turn out. But what he had was passion and he put his whole self into his movements. So I've been very inspired by that because not all of us have a great deal of capacity for looking like the perfect yoga pose.
So here's a little thing I've developed for working with warrior pose, starting with the feet not very far apart and coming up high on the toes and really getting the hips to lift. So the pelvic wheels, we've been turning them this way a lot to help open the chest. Now we want to stretch across here. What are the pelvic wheels? It's an imaginary wheel that turns the hips back or forward, at least in the way I'm using that term right now.
So we're lifting up and descending through the tailbone and then bring your heel down and lift the front half of your front foot. And as you do that, you get a little calf stretch and then you can come up again and stretch the back toes, stretching the bottoms of the toes, and you're getting this sense of lift and you're starting to feel a sense of opening. And then we switch the toes. Now you're going to be on the toenail polished side of the foot. If this causes cramping, just go to the top of the toe.
So now we're doing here, as we're doing almost a forward and up movement to try to enhance that opening even more. And we'll bring it up into something that hints at the passion of the Nuryev pose. And I'm holding my hands like a lotus, an opening lotus, which is connected to the crown, and then just bringing that back down to the heart and stand on both feet, and then we can do the second side. So you're back again standing on the toes and you're pushing into the ground with your toes so your toes stretch. Everything else is lifting and opening and rising, grounding, rising, grounding, rising.
Inhale, the breath comes up, over the crown, down the back of the neck as you exhale. And then back on the heel, lift the toes, stretching the calf of the front foot, back forward again, stretching the toes, actually working the calf, opening, lifting, back and lifting the toes one more time. So here we go, going to turn the toes back, stretching, what are we doing here? We're stretching the top of the back foot, we're stretching this lower part of the front of the leg, and then we're opening, opening, and this somehow turning the toes back, what we feel is just more lift. And so we take that, we take that rising up and we allow that to be a part of this pose.
And it's really evoking Warrior I now, it's really, we're really, but it's also in and of itself a beautiful, wonderful feeling. And then taking whatever that energy of the lotus might mean for you back into your heart as you stand on both feet. Okay, so now we'll just take it into the Warrior I pose. I'm going to start with my left foot back and my right foot forward, and I actually like to start with my feet together, so I'm going to just turn to my side and give the stance here, rotate the back foot in, turn the front foot out, and here's my stance for the Warrior I, okay. And now that I'm in a wider stance, I again feel like I might, to enhance the pose, I'm going to bring in an element that we just did in the Nuryav thing.
So lifting hips, feeling the wheels turn, and descending from the tailbone, grounding into that back heel as you come back down. Very stable there now. And that stability, we're so rooted, we can come up into the full Warrior pose. So I'm inching forward from my toes because I sort of feel like I'm not wide enough. So here we go, and you know, I can't always straighten my elbows.
So I don't try too hard, but you can always give yourself a nice wide V, V for victory, or you can bring the hands together in that lotus. What is this gesture? To me, often yoga is a kind of a gesture. So the gesture of receiving, perhaps it's the gesture of giving. And then, of course, all the while grounding into the heels, broadening the back of the sacrum. Feel the back, supporting the chest in this opening, and then straightening the leg.
And turning back so that your feet are parallel, and then stepping together. It's nicer on the knee joint if you have any knee issues. So I've turned around so I can do my left leg. So you can join me in that. And as I'm doing this on my legs, I'm remembering how nice it can feel to imagine, to take my awareness down the outsides of the legs and into the floor, connecting.
And then to turn it around and imagine a line of energy coming up the inside of the legs. Down the outside, up the inside. And that just comes right straight through up into the spine as well. So here we go. We'll turn back foot, then the front. And you know what? It's not a problem to turn the front and then the back either.
So you're turning the back hip around, coming up onto the toes, and really open this space here. And then finding your balance here, and you're grounding down, down, down. Into the floor with that back heel, and then from the grounded place. Sometimes I make these gestures with my hands because my hands talk to my body. So I'll go, and I feel more grounded.
And then it's the same thing with sweeping up. So sweeping up towards the opening lotus as the knees are bending. So we're grounding and opening and broadening. So what the heck is a spiritual warrior anyway? A spiritual warrior is one who sees problems as opportunities, who takes each moment as it comes as an opportunity for awakening.
So when the heart is open, sometimes there's more vulnerability, but there's also more connection. The heart is a place from which we connect both to our own depths and also just to all beings. So from heart to belly to earth, touching in, knowing we belong as we open. Thank you very much.
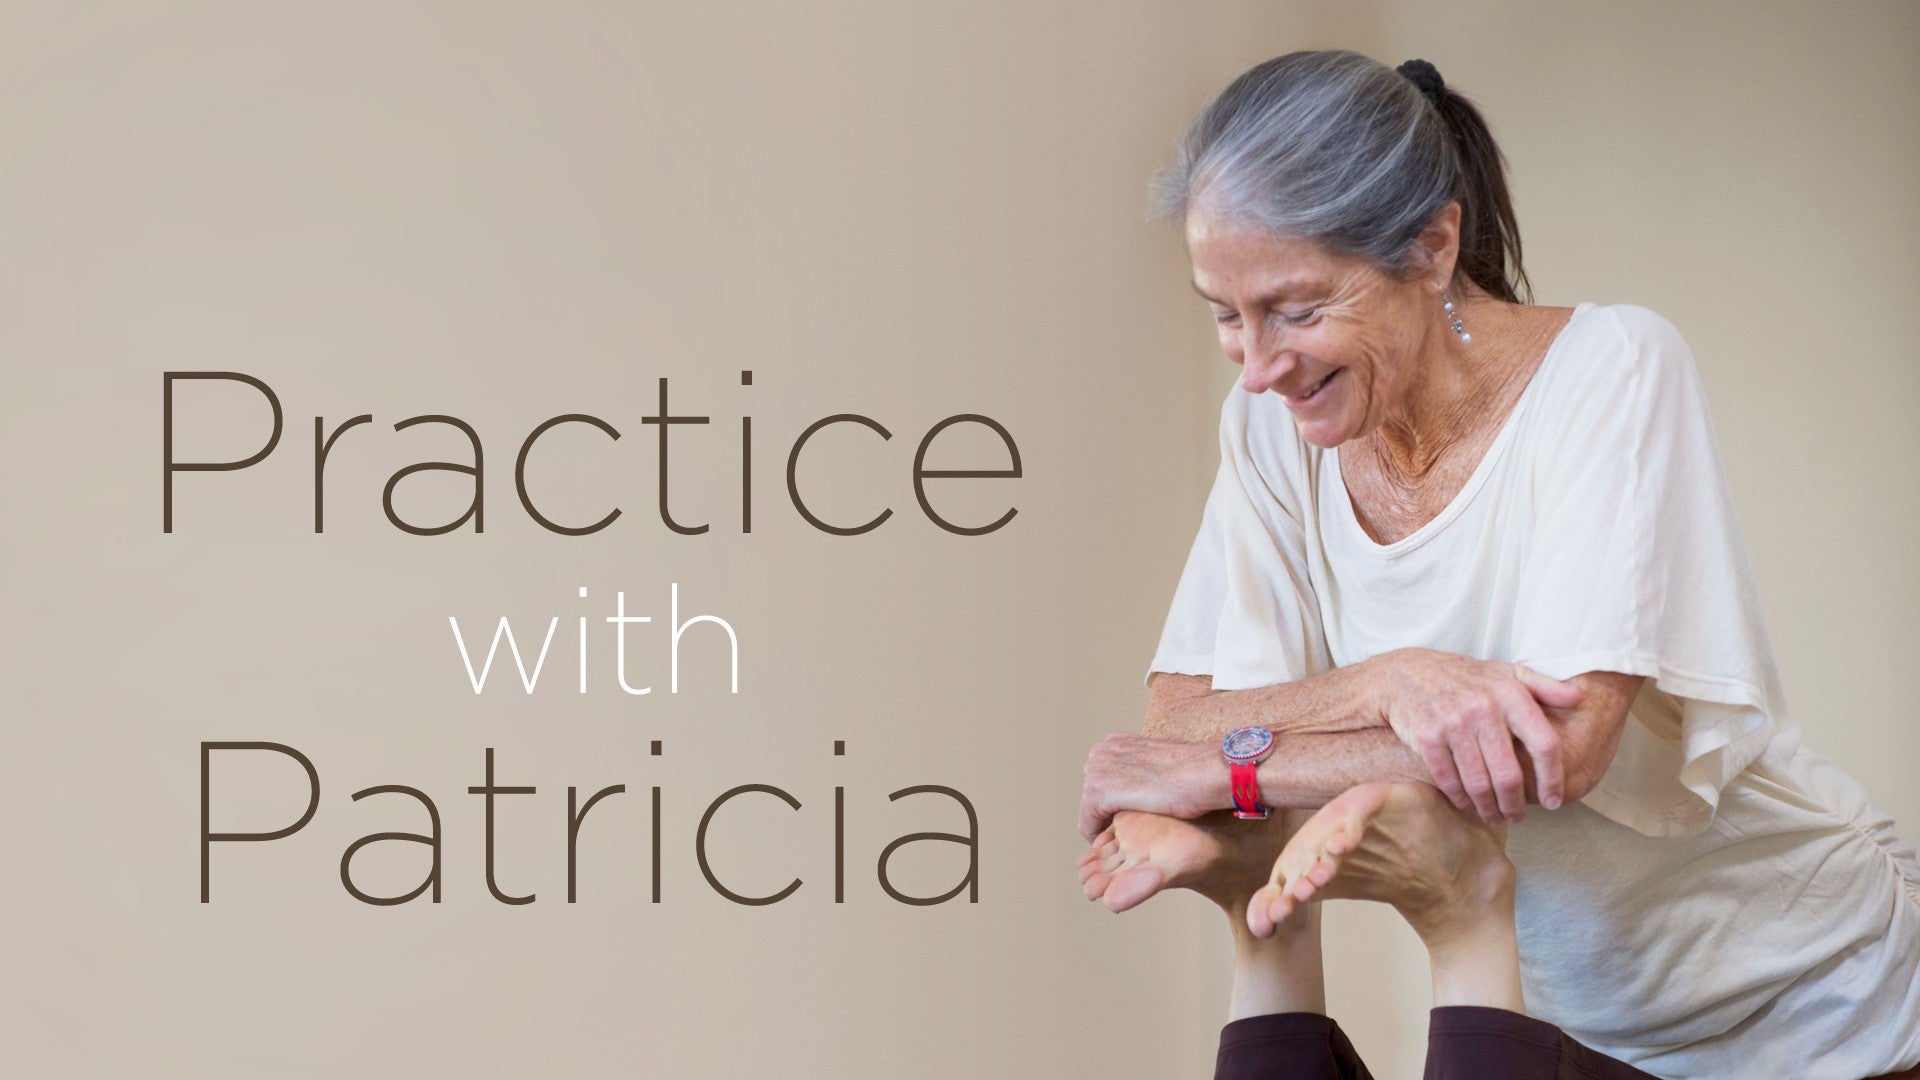
Practice with Patricia: Patricia Sullivan


Comments


You need to be a subscriber to post a comment.
Please Log In or Create an Account to start your free trial.
