Description
About This Video
Transcript
Read Full Transcript
(ocean waves gently lapping) Welcome to the Earth practice. This is a class that will be slow and great for learning some foundational pieces in the asana. To get you set up for this practice, if you can find a blanket, two blocks, and a strap and a spare wall, we'll begin. Start with the blanket folded and placed right up against the side of the wall. The entry into this pose is actually probably the trickiest part, which, if you curl onto your side and as you roll onto your side, ever so slowly stretch your legs up the wall.
As the legs come up, if you notice, the hamstrings feel really tight. You might need to slide a little bit away from the wall, otherwise we're leaning them into the wall and at some point, just let your arms rest out to the side, or, if you prefer, your hands could stay on top of your belly. So, finding enough support with your heels in contact with the wall, let your eyes close and just start to feel all the points of contact with the wall and your legs, the points of contact with the pelvis, the wall, the back of your hips and the blanket. The points of contact with the back, ribs, shoulders, arms against the Earth. Allowing the arms to feel heavy as they settle into the ground or the hands heavy over the belly.
So, maintaining this position, just allow your breath to naturally move in and out through the nose without trying to force or alter the breath. Just breath awareness, coming in and out. This is a way to start to slow down the thoughts. Come into more contact with the moment just by taking a few more deep breaths in and out. From here, as the legs, we'll make our first adjustment by first just letting your legs slide away from each other on the wall and you might use your hands to help support the legs as the legs widen out to the side.
Some people prefer to press their legs into the wall, others prefer to not press their legs into the wall. So, make sure you find which one's best for you. I'll just show the example of pressing the legs toward the wall. Point your toes toward your knees and just take a moment to stretch a little more into the inner legs while receiving the support for your spine, the support for your legs. Really breathe down the center of the spine, all the way down to the center of the pelvis.
A few big full breaths in and out. Try to let go of any gripping tightening in the hips or the buttocks as we support the legs near the wall. The next area we can get some support here is if we draw the legs together and then, with the legs together slide the heels down the wall and then let your knees open away from each other. Here's another option where you might press the knees toward the wall as a great place to start opening the hips, since your back has the support of the floor and you have that wall to reach toward with your legs eventually. Take a few more moments in that way, opening up the hips.
Try to sense and feel the breath is working all the way down the center of the spine toward the center of the pelvis. We'll slowly bring the knees toward each other and as we start to slide away from the wall. Wiggle away. That's usually the most awkward part. And as you get yourself away from the wall, take the blanket and then we'll take that and slide it right underneath your head.
So, you've got a little bit of cushion here and if you raise your feet up to the height of the knees and just simply start by taking your left foot to the outside by your right knee area. As the left knee moves toward the wall, away from your shoulder, for some of you that may be just the right amount of stretch to work with in the outer left hip. Just receive all the support in your spine and the support through that right foot. If you'd like to make the stretch a little more intense or sharp in your outer left hip, then reach forward for the front or back of your right knee and just for a moment, squeeze that right knee in a little more towards your chest. Relax the shoulders toward the Earth and let your breath move down to where you might be experiencing some sensations in your outer left hip.
After checking into that side, we'll put the right foot on the wall, left foot on the wall and just prepare for the right side, which could feel different from your first side. So, just for a moment, practice swinging that right knee toward the wall, away from your chest. If that's a good amount of stretch for you in your outer hips, stay here or else reach forward and catch your left knee front or back of the leg and start to work your knee a little closer to your chest. Relax the shoulders back to the Earth. Big full breath in, big full breath out.
As we're ready, release that left foot to the wall and then the right foot to the wall. We're going to keep moving back on the floor and, as you slide back that next amount, this is where we want to have access to a strap in a moment, so take that with you. As we move further back, we're gonna take the blanket now underneath the bottom of the pelvis. So, if you lift your hips up and set this along the back of the hips. Make sure that when you stretch your legs out, you don't touch the wall with your feet, but you're really close to touching the wall with your feet.
We'll start by bringing your right knee towards your chest. With the right knee towards your chest, raise your left leg up in the air, shoulders back toward the Earth. As you exhale, lower this left leg toward the ground, almost to the floor but not quite to touch. Pause as soon as you feel like your pelvis tilts forward. So, we're gonna inhale, lift the leg up.
Exhale, lengthen and lower down while trying to keep stable through your hips and lower back. So, what we start to feel is some of the inner leg, pelvic floor, lower abdominal muscles engage to stabilize the pelvis as we move the leg up and down. We'll go ahead and switch and if we bring the right knee towards your chest, stretch your left leg above the floor for a moment and then inhale as you're ready to take the right leg up, inhale as you're ready to take the right leg up and exhale as the right leg comes down as far as you can lower the leg without the pelvis tilting forward. Coming in and exhale, lowering the leg down to the floor, or just above. Two more times.
Then, when you're done, we'll press both feet down to the floor. Lift your hips and then, one more time, we're just taking that blanket around the back side of your head for a little bit more cushion and a little bit more support. This time we want the feet pressed into the wall, heels on the floor. Let's start with the right foot pressed into the wall as we bring the left knee towards your chest. Take the strap around the bottom of your left foot, toward the bottom of the arch and, as you walk your hands up toward your foot, just make sure that you haven't lost connection with your lower right leg.
Press the leg into the wall and try to find the right amount of hamstring stretch. Some people will find the need to move the leg toward the wall to lengthen the hamstrings in a good way and some of you might prefer a little bit more stretch with your toes reaching away from the wall. Lots of different hand positions. You might wind your hands around the strap and soften through the elbows and let the shoulder blades feel nice and heavy. So, take a moment when you're here.
Relax your eyes. Just feel the ground underneath you. Head, shoulders, lower ribs, pelvis and that right leg. So, maintaining the support, maintain your connection to the ground as we grab the straps with your left hand. Take your right hand on top of your right thigh as if it was a sand bag.
We're gonna stay rooted down through that right leg as you open your left leg out a few inches to the side. Just enough so that you don't lose contact with the Earth underneath your right leg, underneath your right buttock. Take one more breath here. Come all the way back up to the center and then we'll switch out. We'll press the left leg down to the floor into the wall.
Sometimes we have to re-scoot back in. Readjust the blanket. Take the right leg up, the strap around the bottom of the arch and notice, in the beginning, should you bring the right leg a little closer to the wall to be gentle with the hamstrings. Root down with your left leg. Then, gradually bring your right toes further away from the wall until you feel just the right amount of stretch in the back of your right leg.
You might wind your hands around the strap as we did on the first side. Soften the elbows and release the shoulder blades back to the Earth. Relax the gaze and settle into your shape by feeling the ground underneath you. See if you can surrender more of your weight to the Earth. Just notice a little more ease, perhaps, in your breath moving toward the sensations in your right leg.
Last breath. We'll gather the straps with your right hand, left hand on top of your left thigh just to hold that side down. Open your right leg a few inches out to the right without losing the ground underneath your left leg or without losing the ground under the left buttock. Take one more breath, holding the leg out to the side. As you inhale, take that right leg all the way back up to the center and then we release the strap.
Okay, while you're on your back, bend both of your legs. Start to roll the mat up while your still receiving all of that support from the ground. Then, from here, as you roll over to your side, we'll come up toward all fours. When you come to the all fours position, you might move your blanket out of the way. Come to all fours and just stretch right leg back and just feel where the wall is here.
We'll have the toes curled under, the heels press into the wall. Have your hands underneath your shoulders so that you feel really clear in your alignment as we get ready to stretch back then with your left leg. From that Plank position, let your hips stretch up and back into your Downward Dog. We move the hips toward the wall and adjust your feet as wide as they need to, to help you feel the most stable in this position. So, as you ease your hips back toward the wall, spread the fingers wide.
We'll step forward with your right foot. Bring it toward the back of your right wrist or up in that area. Take one or many steps to bring that leg forward. Then, we'll slide the hands back so they're underneath the shoulders, so if it's hard to reach the floor here, this is a good first point for your blocks. Otherwise, we're gonna try to reach into the wall with your left heel as you lengthen all the way forward to the crown of the head, chest settles on that right knee.
So, you're just gonna get some energy moving through the legs in that lunge. Then, we're gonna take the lunge and change that by bending the back knee. You might scoot your right foot closer to the wall as you grab your hips and then slowly bring your spine up. We're gonna lean back toward the wall so you feel the pressure of your left heel on the wall and the support of your back left leg. From this point, just bring the hands in front of the chest and let your chest stretch a little bit up towards the thumbs.
So, we're lengthening up toward the sky, pressing into your back heel and then, from that raised lunge, bring your hands down, come back into your Plank Pose. As you breathe in, reach through both heels. Lengthen through the crown of your head and then exhale through Downward Dog as we transition and step your left foot forward towards your left wrist. Feel, again, that energy moving through your back leg, like a full proper lunge. Stretch through the right heel.
Lengthen through the crown of your head. Make sure that your chest is close to your left knee so that you're not straining the back. One more breath, energizing the legs in the lunge. Hands up toward the side of your waist. Bend your back right knee and then lean toward the wall so your spine is vertical.
Drop your right knee enough to feel long through your lower back. You're actually pressing into your back heel to feel a little more stretch through the front of your right hip. You've got the wall to support you, even though we're balancing. Hands up toward the chest, just a little gesture of lengthening up through your upper mid-back. Find the balance in the breath.
One more round. Then, as we lean forward, set your heels back onto the wall for a moment in that Plank pose. Then, from Plank, exhale back into your Downward Facing Dog. From Downward Dog, we'll step the feet away from the wall, maybe about three to four inches, then we'll walk the hands back towards your feet, so we're going to sit back with the sit-bones on the wall. Then, try to really ground your feet into the Earth as you stretch the bones of the legs towards straight.
Slide the sit-bones up the wall, at least, have that intention to move the sit-bones up the wall as you find your version of the Forward Bend. You could also, again, if it's hard to touch the floor, take a block underneath you and you bring the floor up to your hands. Wherever that works for you to have straight legs. Take one more moment just feeling the support for your hands, support for your pelvis and for your feet. From your Forward Bend, move the feet another inch or two forward so you can bend your knees.
Grab a hold of your hip bones and then come up to neutral where your spine's leaning into the wall. Try to feel, when you're here, the points of contact with the back of your hands, arms, shoulder blades and then bring your awareness all the way to your lower ribs and see if you can get your lower ribs to also lean back toward the wall so you're avoiding a big back bend as we come towards this version of Chair. So, you're looking for more support, more contact with the wall. If you want to go a little deeper into feeling the legs engage, we slide down the wall, thighs parallel. Press down, root down through the feet and, just for a moment, try to feel like you're pressing the wall back away from you with your arms.
So, there's an active action happening here. We're pressing the wall back with the arms. One more breath here. Then, let your arms come down at your side. Press away from the wall and as you come up away from the wall, we'll turn and face your wall and the leg that's closest to the wall, the right leg in my case, I'll let that knee come up and set up for a Tree.
So, as I look down, my lower foot faces straight ahead, so I'll take my right heel somewhere above my knee or below the knee. Just not right on the knee. And give yourself permission, if you need to, to turn if necessary a little bit toward the wall, so not being overly concerned about squaring the hips. Just soften as you need to, to face the wall. As we lengthen the knee into the wall, lengthen the thigh into the wall.
Bring your hands up towards your chest. This is a wonderful way of working with Tree without worrying about the balance. Just coming into a very stable shape with the support of the wall, the support of the lower leg, muscles rooting down toward the Earth and just that opportunity to stand a little bit taller in your posture. I always try to imagine this outer greater trochanter is just moving more into the mid-line so I can stand with a little more ease on this lower standing leg. One more breath.
Then, you can touch the wall. Get that support as you release the right leg down and we'll turn. I'll turn my back to you as we get to the other side. So, if this side's different, again, just adjust your heel above or below the knee. Allow this right hip, in this case, to turn if necessary a little bit toward the wall to keep the knee on the wall and to keep your lower back feeling spacious.
We stretch through the right leg. Bring your hands up towards your chest. Just feel again this outer greater trochanter bone coming more in toward the mid-line. So, we sharpen and lengthen down through your right leg. Hands in front of the chest just giving that suggestion that we're lifting the chest up towards your thumbs.
You're just using the support of the wall to feel a little more stable in your balance pose. Eventually, this stable quality transfers to the posing we do in the middle of the room. One more breath here. We'll relax the arms down. Touch the wall as you release that left foot to the floor.
Then, we'll turn and face the front edge of your yoga mat. So, in this case now, if we try Warrior One with the wall, right foot back into the wall, hips are squared toward the little edge of your mat. Think of a short step, maybe three feet between your right foot and left foot. So, I'd like you to first feel that downward action of rooting your right calf towards your right heel. If we keep that our primary action today, to receive that support as you bend your left knee as much as you can without losing the contact of the wall with your right heel.
Both arms would either come up or the hands in front of your chest. It's a really simple practice. So, we're focusing a little more on your back calf reaching into your back heel into the floor. Take one more moment and lunge as far as you can lunge in your front knee. Notice that there's a tendency to bend your back knee or to release the calf stretch, so keep going for that calf stretch down to the heel.
One more breath, working our Warrior One. Then, from the Warrior One, with your knee bent, if we reach down to touch the floor under your shoulders and if it's difficult to touch the floor, this is where you would want your blocks, underneath your hands to bring the floor up to your hands. So, if we begin to straighten your left leg and now imagine you're reaching your left sit-bone back to the wall, lengthen through your side waist. Come up to the tips of your fingers and feel your back heel once again press down into the wall. Often, when we use that back leg in this way, it'll get the hips to move back away from your shoulders with a little less effort.
You can fold forward as you wish, with hands on blocks or hands on the floor and just soften over that front leg. Just bow into the left hamstrings for a moment, while keeping energy moving down through your right heel. Then, let your spine come forward. Reach up for the side of your waist and all the way up to stand. We'll take that back right leg forward.
Let's feel the difference in your legs. Then, the right leg stays forward and then the left leg will go back to the wall. So, if you look down to your feet, you might see that they're more on train tracks than a balance beam so that you're wide. It's a short step and as you start to bend your right knee, just make sure that your left heel is still reaching back into the wall. Try to feel that firmness in the back leg.
Bend your front knee as much as you can without losing contact of your left heel. We'll gather the hands up in front of the chest. Just take a moment, again, what's happening in your feet. Lunging a little deeper into the front leg while getting that lift into your upper mid-back. Just take a few more moments.
Just ground down into the feet. If we can keep the back heel plugged into the wall, front knee bent, lean forward, rest your hands under your shoulders or recruit your blocks and bring them underneath your hands. Start by pressing into your left foot, the back one. Gradually straighten your right leg and as you exhale from here, try to feel your right sit-bone is reaching back to the wall. Back heel roots and then a little bit of a forward fold.
Take one more breath in your forward bend. Press into your back foot and press into your back foot as you grab for the top of the waist. Inhale, come all the way up and then relax your arms at your sides, step your back leg forward and shake out the legs. So now, we're gonna take a turn toward the wall and try a Warrior Two, so if we put the right foot, in my case, to the wall first, turn your left foot into the middle of the room. We're gonna use the right hand to support our alignment in keeping our shoulders a little bit more stacked over the hips.
So, we might not lunge as deep as you usually do, but I'd like you to feel like we're starting to work your right foot just as much as your left foot. Left hand on the knee, just start to ease into the lunge and so if there's any tendency to shift your shoulders to the left, we can keep shifting the shoulders more to the right and then see what happens in the legs when you're actively using your back leg as much as this front leg. So, it should feel really even through the legs, easy through the spine as we stretch up. You might even take the opposite arm up with a flexed wrist and just take a moment to sit deeper into your shape while activating that right foot, maybe more than you're used to. One more breath here.
Then, if we can drop the hand down, turn that left foot in and just take a moment to bend forward and when you bend forward, try to activate your right foot so you're really reaching down, outer leg toward the heels. Take just a moment in between, drop the head down toward the floor. Your version, just a big exhalation, like it's a little flow. As you inhale, let the head rise up away from the Earth. Keep looking down as you grab your hip bones and inhale all the way up to stand, with eyes looking down toward the Earth.
Heel-toes your legs and feet toward each other and then we'll take a spin to the other side. So, if you press your left foot into the wall, a little Warrior Two stance. Right knee lunges into the room and then plug the left hand into the wall to help us keep the shoulders stacked over your hips. As you ease on down, try to feel maybe the tendency is to use the right leg more than the left leg. So, you try to even out the work in the legs.
Your left leg, left foot is working as much as your right foot in the place that's closest to the ground. Bring your right hand up, flex the wrist and then keep engaging with your feet and see if your body gives you permission to sink a little bit lower without losing contact with your left foot. Let them work 50/50. Bring your right hand down to your knee. Help to turn that right foot forward and then we'll walk the hands down to the floor.
This time, if you want, you can grab a block to put that underneath where your head might go as you come down if you don't naturally touch the floor. If you easily touch the floor with your head, you want to walk your hands back to line up with the arches, press into the wall and then slowly each your way down to eventually looking under the lights toward the ceiling. Eventually. Then, as you come out, just using that as a little flow, press into your left foot, catch your waist and inhale all the way up. Arms at your side, heel-toe your legs and feet toward each other and then shake out the legs.
So, this next one, one for the shoulders. We'll use the block and if you frame the block with your index finger and your thumb, draw you elbows in underneath the middle finger line and as you actively squeeze your elbows toward each other, you should feel your chest muscles start to engage. So, we're going to lower the block to about the height of your throat and if you press the block into the wall, feet apart hip distance, bend your knees and put your elbows on the wall and then, while gripping the block, lower your head down between your arms. So, ideally, we step the feet back just an inch or two so that while you pres your elbows into the wall, you can stretch your hips back away from the wall. Those of you with flexible lower backs, just be careful you're not dipping into that mobility and try to lift your ribcage, lift your sternum, away from the Earth and keep looking down toward the floor as you stretch your hips back away from your elbows.
Your elbows actively pressing into the stable wall. One more big breath in and out. Then, we're gonna walk the feet toward the wall and we'll keep reusing the block as we come down and do that same shape on your belly. So, this way if we tend to hyperextend in the rib area, we're gonna block that movement with your belly ribs on the floor. So, we plug the elbows into the wall, wrap your hands around the block and squeeze the index finger thumb into the prop.
Stretch your legs back and then lower your head down. What you're trying to feel is all the points of contact, again, with your hands, your elbows, the sides of the arms and chest, releasing toward the Earth as your feet and legs are wiggling back away from the wall. Another big breath in and out here. Then, if you lift your head up, you can set your block off to the side. Then, from here, bring your hands back towards your chest and press away from the wall.
We're going to bring your knees together, feet to the side and swing your feet forward so you make the contact with the wall here. So, then once we have the feet on the wall and we think about straightening the legs down, if the pelvis tends to rock a little bit back, as it does for many of us, I'm gonna suggest using a folded blanket underneath your hips and as you have that little bit of extra support, oftentimes it will help us find a more natural curve in your lumbar spine. So, we'll do an asymmetrical pose here. If we take your left foot to the inside of your upper right thigh and when this left knee comes to the floor, if it's not touching the Earth, set perhaps a block underneath it to support it so you've always got solid points of contact in the legs. Then, as you set your hands down, lift your spine up tall.
Press into the wall with your right foot so we're activating the right leg as you lean forwards, and then I'm gonna have you reach toward the wall. So, as you have these new points of contact with the wall, soften through the elbows and we're trying to keep the side body long as you come forward over this active right leg as if you were in your Tadasana in the right leg. So, come forward into the sensation. Some of you might walk your hands up to keep the lift in the waist and some of you might walk your hands all the way down, closer to the floor, maybe even the hands on the floor. As your head is reaching toward the wall, feel your foot press into the wall and that lovely stretch that comes into the right leg.
So, just getting the feel of that and then we'll walk the hands back in. Stretch out through your left foot, right foot is somewhere in your upper left thigh and if your right knee's the one that comes up, again, switch the block underneath your knee for extra points of contact. Start for a moment by lifting up through the side body, side chest and then come forward with the intention to keep the torso long. Reach into the wall with your left foot and then, one hand at a time, find these new points of contact in front of you. So, we're keeping the lift of the side body, rooting down through your left leg, all the way to the left foot and then just ease forward until you feel these wonderful sensations in your left leg.
Sometimes, enhance with the hands walking down or sometimes with the hands on the floor. Just take a moment, bow forward over that front left leg. Then, press into the wall as you prepare to walk your hands back in. Come all the way up to neutral. So, for our final seat, we'll actually use the wall for a meditation pose, so if you take your blanket, we'll use that to sit on.
We also need one block. So, from here we're gonna sit facing into the room, back to the wall and as you scoot back to try to find a cross-legged seat, whichever leg you like on top, take your flat block and let that support your lower back. So, oftentimes, if you're looking for that seat of meditation and you haven't quite found it in the middle of the room, we'll use the wall. It's so lovely to raise your hips high enough that the knees drop, support the arch of the lower back with a prop and then you can sit here and hopefully be really comfortable. Okay, so try to lean into the support of the block.
Let your hands face down as a grounding gesture, on your knees or your thighs. Close your eyes when you're ready or keep looking down toward the Earth. As you start to settle more and more into this stable seat. Just keep feeling the points of contact that you're making with your legs, pelvis, the back, and encouraging yourself to settle into the heaviness of the posture, while at the same time keeping a sense of lightness as we lift the spine and still allow the weight of the body to feel heavy, rooted. Stable, like the Earth.
A lovely meditation as you come into the Earth practice is just to imagine yourself sitting as stable as your favorite mountain. So, there's a wide base. Then, feeling that upward movement toward the top peak of the mountain without losing the stability of your base. Big full breaths in and out, until you feel at ease at home in those moments between the breaths. While receiving the support of the wall, take a few bigger, fuller breaths into your lower back, into the block against the lower back.
Really pull the breath in and down. Then, in closing, letting your hands come up in front of the heart center and creating a moment for an intention and how to use the energy from the practice to serve your day. We're dedicating the practice to someone. May others always benefit from our practice. Namaste.
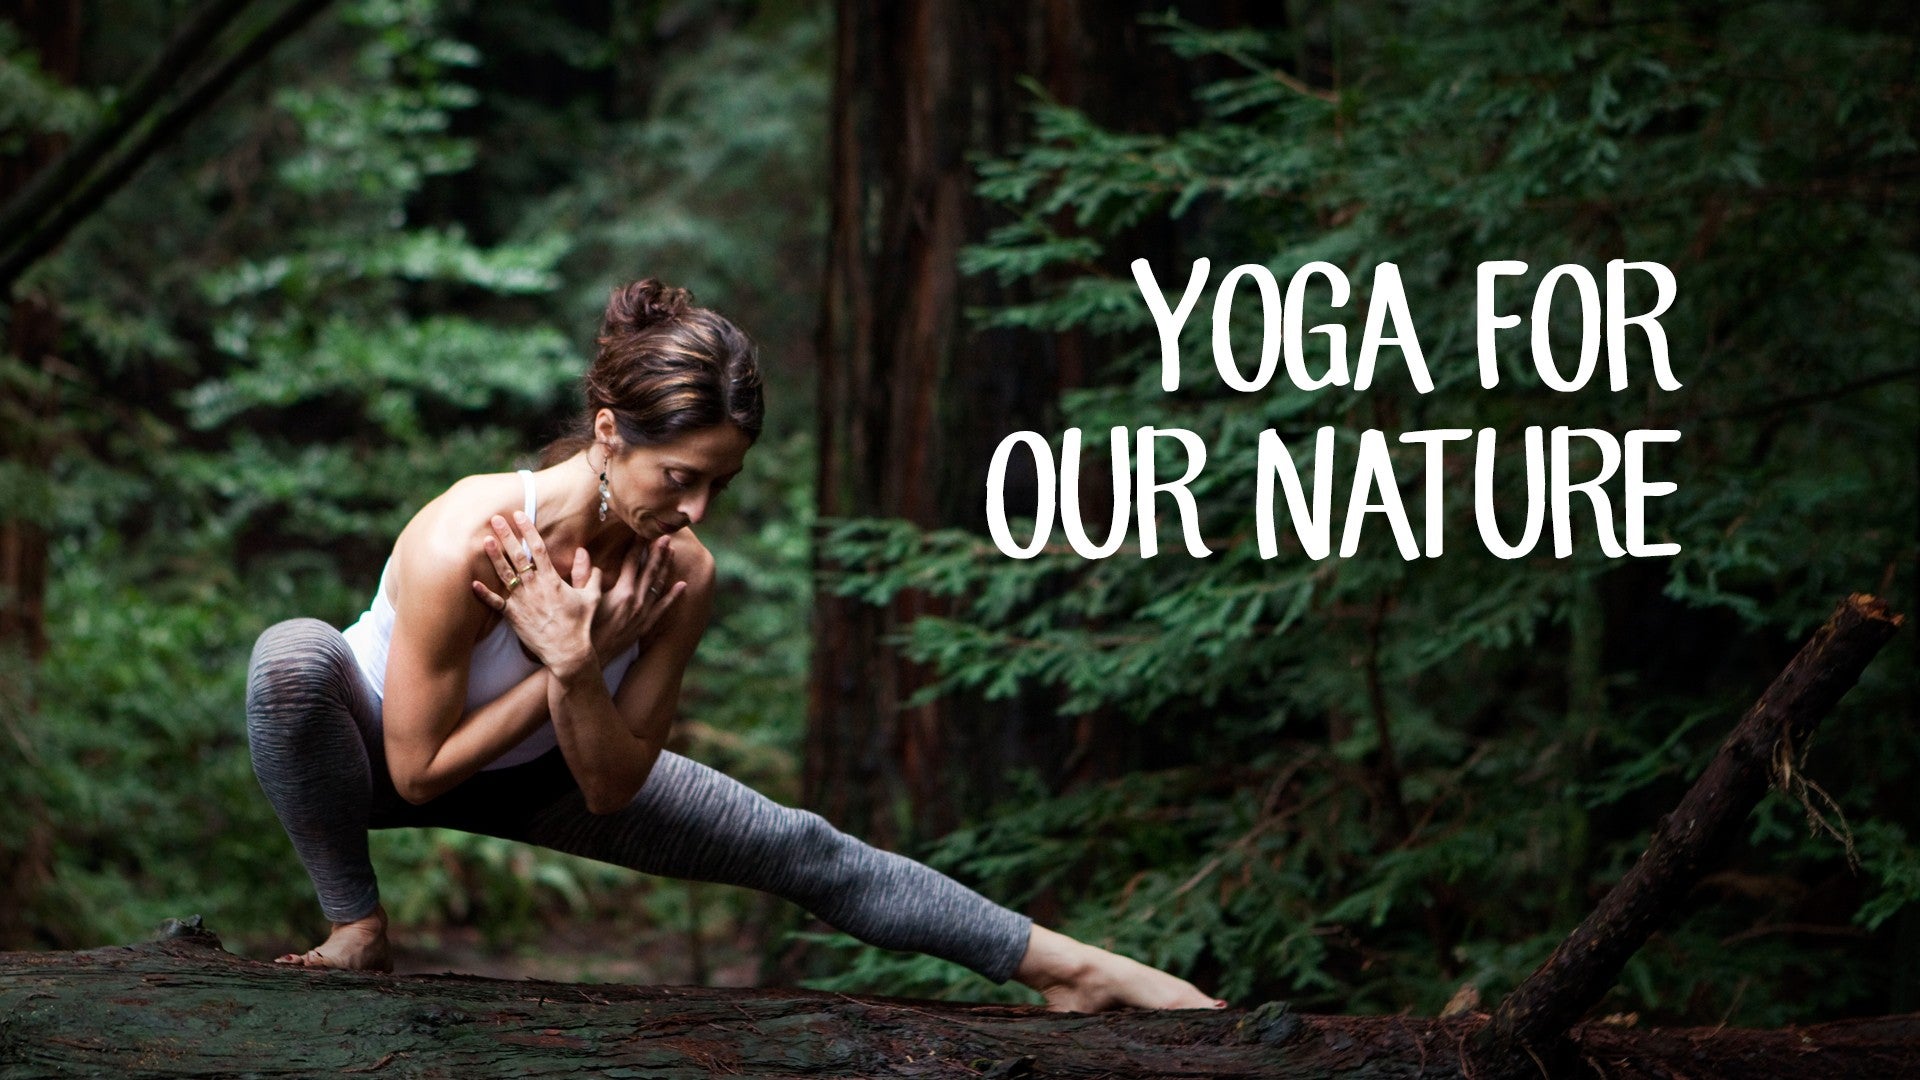
Yoga for Our Nature: Elemental Yoga


Comments


hugs, M


You need to be a subscriber to post a comment.
Please Log In or Create an Account to start your free trial.
