Description
About This Video
Transcript
Read Full Transcript
Chapter 1
Tutorial
Okay, day five. Welcome to this little tutorial on the spine. So the spine is what we'll be looking at in this practice session. And I did say it in the practice session, but I'll say it again. You don't need to feel like you have to have really deep backbends and really deep forward folds to have a healthy spine or even really deep side bends.
So the spine, if we can keep it strong and neutral in its natural curves, and we have enough pliability and suppleness and mobility in the bigger joints of the body like the shoulders and the hips, then we're happy in the spine. What can happen, and what you might find out in this practice, is that you have stuck parts of your spine. So it could be anywhere along the spinal column where you feel like things are just not moving. And so I wanted to give you a little exercise that you can tag onto this practice just to check in to where those stuck areas might be and how to sort of isolate even the vertebra of your spine, the little pieces of your spine, to move together in a nice big wave and then also to have their own movement. So they're not all stuck together and cramped so that there's length and space and an evenness of tone through the spinal column.
So let's get on to all fours and just play with that. So in your all fours position, you've probably seen the classic, and I think I've done it in the practices, Cat-Cow. So as you inhale, you will arch the spine and the shoulders come a little bit closer together. And as you exhale, you will rail in the spine and the shoulders blades come apart and the abdominal wall comes back in towards the spine. So instead of moving the whole thing into an exhale pattern and an inhale pattern all at once, let's try starting from a neutral spine, starting the exhalation and starting to curl the tailbone, sacrum, and then the five lumbar vertebra, and then one at a time if you can think 12 pieces of the thorax and then the seven cervical.
So it's quite slow all the way to the base of the skull. And then when you inhale, start with the tailbone, lift the tailbone up, let the sacrum drop, and then drop all five lumbar, all 12 thoraxic, and all seven cervical into an extension pattern. So you're going slowly through the whole spine. So always starting with the tailbone, exhale, tailbone curls down, and then work your way up the spine, seeing if you can do it one vertebra at a time, spreading, lengthening, articulating, and then start with the tailbone and work your way all the way up. We could probably spend a lot of time on this, but notice if there's parts that want to move quickly or move in clumps.
And this might just be a really interesting meditation and exercise to tag on to some of these practices that we're doing. So we'll be rolling through the spine a little bit, we'll be working a lot with twists. One point in twists is that when we twist, often one side of the body can get short and the other side can get long. And so we're kind of compressing one side of the spinal column and opening up the other, which is actually okay in a side bend you're doing that, but to get the maximum length through your spine, if you keep your head over your pelvic floor and both sides of the trunk evenly long, you're going to get a lot more length. And if you think about a wet towel and you squeeze it together, it's not going to have that much movement, but if you open it apart, you might get a really good ring out of it.
And it's not that you want to crank your spine or anything, but that you're going to get more rotation if you have a little bit of space. Instead, if everything is jammed together, you're not going to get that much movement. So that's something to think about. Twists are so nourishing for your spine. Just like the pressure work, when you press the tissue and you press everything together and you squeeze all the fluid out of it and then you release it and all the fluid rushes in, it's similar in a twist.
You're kind of squeezing and pressurizing and then releasing. And the hope is that a lot of fluid and healing will come into those areas. And hopefully this practice will give you a lot of insight into what's happening in your spine. Many of us have low back pain. Hopefully you can add this into your movement repertoire and do it over and over again to enhance the health of your spine.
And I look forward to practicing with you in this session, day five, and keep in touch. So if there's any questions that you have regarding the practice or anything that I say, I'm here for you and we're totally in this together. So please reach out on the forum and let me know how it's been going and how the 30-minute practice time has gone for you. So see you in day five, namaste.
Chapter 2
Practice
Welcome to day five, the spine.
One thing I want to say about the spine is that we don't actually need to have a ton of range of motion in the spine, like huge back bends and big forward folds. More we want to have a nice even amount of mobility through the spine and then we want to be able to keep the spine in neutral. And that usually means keeping the shoulders and the hips and the bigger joints of the body nice and supple and pliable and strong. So all the other practices will actually support this practice. So let's take our right hand to the outside of the left knee so you're coming into a little bit of a twist and then let your left arm reach up and you're in an easy seated cross-legged position and we'll hang off of that hand.
So you're getting a nice even side stretch across the left side of the body. I didn't mention this, but if it helps you to be elevated on a blanket, then please have a blanket with you and we'll also need a ball for this practice. So a side bend here and then let's cross our left arm in front of our right so that you're criss-crossing your arms. Inhale and arch your spine and then exhale and round forwards. Take a nice deep breath into the inner shoulder blades, upper back, neck and as you come upright, keep your left hand holding your right knee and reach your right arm up and then grip your fingertips on your knee.
It's okay if your knee comes up a little bit here too and lean off of that. It's like you're hanging off of your fingers to get a nice even stretch through the right side of your spine. You might look up, you might look down here and then we'll come across with the right hands. You're criss-crossing your arms, inhale and arch your spine and exhale and round forwards, keeping your outer hips nice and grounded as you round, breathing into the spaciousness between the shoulder blades there, back of the neck, tuck, chin and inhale and come all the way up. I'm just going to turn this way so you can see, take your feet out in front of you so that your heels are far from your groins and your hands on your shins and then inhale and arch your spine and exhale and round your spine.
This is like a cat-cow movement with your feet in this position, feet together, far from the groins, inhale and arch your spine and exhale and round your spine and then just notice as you do this a few more times, are other places in your arch that feel like are getting cramped and can you lengthen them? So for a lot of us, that's happening in the neck. If you tuck the chin a fraction and lengthen through the back of the neck, it might change the arc there into more lengthened arc and exhale, round and see if you're rounding more in one place than another. You can kind of hang off your shin bones here one more time, inhale and arch, lengthen it and exhale and round, beautiful. And take your knees together here, hands on your knees, cupping your knees and just roll to the front edges of your sit bones, lengthen out your whole spine.
You don't need to back bend but just lengthen out and then lean back, keeping that shape, not disturbing the neutrality of your spine and lifting your legs off. So you're coming to this boat pose. Your shins can be parallel or your legs might start to straighten out any amount. Look at your toes there, keep your collar bones wide and you can hang on or you can let go here. And if your hip flexors are doing all the work, then bend your knees a little bit more.
This is also a full posture. All right, so then let's start to lower down, starting with the tailbone curling under, the lower abdomen dropping down, kind of vacuuming out your lower abdomen and rolling down into this half boat and seeing if you can bring the abdomen low, low down and continue to breathe through the cylinder of your torso here. Sometimes you might need to hold onto the neck if your neck is fragile or tender. Then let's let the head come all the way down, let the legs come up and take the hands out into a T position, spread your toes, you can always bend your knees a bit here and we'll draw a smile in the air with the feet. So exhale over to one side, inhale through center and exhale over to the other side, inhale through center and see if it's possible to keep your shoulders grounded.
So this is a nice abdominal strengthener, oblique strengthener and also a nice massage for the back of the pelvis and can really minimize tension in your low back. So you can work at like a nice gentle effort to massage through your low back or if you want a little more intensity you can lower your feet close to your hand and pause there and then lengthen your hips and your head away from each other, inhale through center and you can intensify it again by bringing the feet close to the hand, reaching through the top leg, supporting the bottom, supporting the top leg by bringing the bottom leg into the top leg and then coming through center. And then we'll take our arms over the head and do a little bit of rocking and rolling through the spine. So if you need to, you can use a little momentum to pop your hips up, exhale as you come up and lower down. So you can do this quickly or you can do it slowly, coming up and then really rolling down super slow, seeing if you can touch one vertebra at a time.
And notice where there's those places that want to clunk and see if you can go slowly through those areas until you hit the top rim of the sacrum. Maybe we'll try that one more time because it's so good. Roll up and as you roll down nice and slow, noticing those little sticky places. I don't know if you've ever seen those kids toys that are those wooden snakes that move in a nice slithery way, all those vertebrae working together, perfectly slotting into place. Sometimes I think about that working in this way.
And then we'll use a bit of momentum to roll us up, cross the shins in front and step back to our downward dog or hop back if you're feeling perky and just pedal out your feet here, pressing your hips away from your hands, opening your collarbones and hugging the muscles of the arms to the bone. And then inhale your right leg up and back and stretch out through the right side of your lower back there and exhale knee in towards your nose around your upper back and shoulders over your wrist to take your foot forwards into a lunge and you can pop your left foot back a little bit. Come up onto your fingertips and circle your hips around here so you can go clockwise to start here, just getting into the corners of the hips, lifting the torso a little bit off of the hips so come up onto your fingertips to give that space and then we'll find that stationary point in the center, press out through the back heel and we'll either climb up out of the lunge by putting your hand down or come right up into a high crescent lunge, back heel is elevated. You can bend your back knee here to set your pelvis into neutral and bring your front ribs down and your back ribs up, reaching up through your thumbs. As you exhale here, bring your left hip more forwards and start to twist from your pelvis and open up into a twist, your left hand forwards and your right arm back and then inhale, sweep it back up into your high crescent and you could even do a little upper back bend here then neutralize and on your next exhale, left hip point comes forwards, open yourself up into a twist, inhale, come back up, nice neutral pelvis and then maybe a little spinal extension.
Back up to center, one more time, left hip point forwards, right hip backwards and then inhale, come up, maybe a little opening here and then we'll exhale, hands hit the floor, fingertips press, bring your left foot forwards to meet your right and your left hand will go right under your nose on your fingertips, bend your left knee and inhale, open your right arm up into a twist. It's okay if your left hip is dropped and your sitting bones are nice and wide and that'll help you twist a little bit more. If your shoulders are creeping up around your ears, that's what you don't want to happen, just give a little lower shoulder blade tips, feeling of those coming together on the back, give a little bit of that. Exhale come down, right hand hits the mat, right knee bends, inhale your left arm up, widen your collar bones, spin your bottom elbow forwards towards the left so it's not winging out to the right and then come down there, both legs straighten, exhale into your forward fold, so it's okay if your knees are quite bent, nice long spine, slowly start to let the head go, maybe press the heels and feet into the earth to feel a rebound force coming up your legs into your hips and that will help to lengthen out the legs. Let's hit the mat here, exhale into your downward dog, inhale ripple into a plank pose and exhale find the mat, come all the way down.
Press your toes out tops of the feet on the floor, walk your hands forwards into a cobra pose and you can pick up your spine and drag it forwards. Press the toenails gently down and then drag your spine forwards by thinking that you're actually pressing down into the mat and pulling the mat towards you with your forearms. So that helps to bring your upper spine into the skin and through so you can stay here. Some people feel like having their head down is more comfortable and some people like me really like to start to look up. Collar bones are nice and wide, the tailbone slides away from the back of the skull, away from the chest, good and if you want press into your hands and give a little bit more back bend so you can make it a little bit more intense if you like and then exhale and come down.
Just slide the hands out full, um, prostration shape here but keep your head a little bit lifted and lift your right leg up in space and then roll over onto your left hip and reach your right leg back behind you. You can even rest your left temple on your left bicep, reach through your legs, see how much activation you can get through your toes and then we'll come back to center and switch. So left leg comes up and up and over, you can rest your temple there, reach through your legs, nice final twist here and then come back through center and then we're going to reach our right arm up and as you lift and twist over to your left side, bend your right knee in towards your belly and roll it right open. All the way back to center, lift your left arm up and as you roll over onto your right side, bend your left knee in towards your chest and roll it open. You might even be able to get that hand all the way down to the ground or it might be hovering there in space, reach through your limbs and then come back to center.
Good, hands underneath the shoulders, tuck the toes, you can come up to your knees or if you like press right up to a plank pose and exhale your way into downward dog. Left leg up and exhale knee in towards the chest, bring it through, climb up into your high crescent, good. Breathe here, front ribs in, back ribs up, right hip point forwards, twist and then inhale, bring it back up, maybe a little back bend and exhale you come into your twist, good. Inhale bring it up, maybe the top of the inhalation you get a little back bend, neutralize and exhale and twist, beautiful. Bring it back up, maybe you find that little extension nice and even through your whole spine so you're not hanging out in the joints anywhere, then exhale hit the ground, fingertips press, right foot comes forwards, right hand right underneath your nose, right knee bends as you inhale and twist and if you want to intensify this a little bit you can try to straighten your right leg but keep the width through your collar bones and keep your lower shoulder blade tips leaning in towards each other and keep yourself from collapsing on your right arm, exhale your left hand comes down, your right arm comes up with your left knee bending and you can either stay there or start to straighten your left leg and feel the twist moving up a bit in the spine, breathing there, even pressure through both of your feet and exhale hands come down, forward fold this time you can walk your hands a little closer to your feet, bend your knees and see if there's a little more space in there and maybe there's not and you need to come up and create more space, like do you go in a bit more or do you back off a bit, letting go or going for it, let your head go, one more breath, walk your hands forwards, exhale your way back into downward dog, inhale to your plank pose and exhale all the way down, cobra pose here again top so the feet on the floor drag your upper spine through, maybe it feels supportive to come a little bit higher up as Eric Shiffman says make it pleasurably intense, maybe look up and exhale come down, full prostration beautiful, right leg up and twist, reach through your legs, actively reach, come back to center, left leg up and twist, actively reach beautiful, back to center, right arm up, right knee in and twist here, all the way back to center, beautiful, left arm up, left knee in and twist, back to center, hands underneath the shoulders, beautiful tuck toes, you can come up to your knees or come right up from the abdominal wall into your plank pose, lift the sit bones and exhale into downward dog and then however you do come through to a seat and so we'll keep the right leg forwards here and take the left leg into a Janu Shachasana position or a sole of the foot to the inner thigh, most of us are going to want to have a blanket underneath the hips to elevate the hips here so that you're moving forwards to the front edges of your sit bones, so that'll help you have a little natural curve in your lower back, so first let's turn the belly button towards your right knee and you can also bend your right knee to make this easier for yourself and more accessible to come forwards and bring your belly button towards your knee and you can support with your hands here.
If you like you can start to slide the leg forwards and it's okay to have a little strength in the back of the leg because that will actually support a nice protected stretch there in the back of the leg with a little bit of strengthening involved. Go slowly here and breathe into the kidneys at the back and at the bottom of your fold you can let your head go, so it's okay to round through your upper back if your shoulders are not crunching and hunching and if your lower back is not rounding so much that there's a lot of strain there, so you want to lengthen your belly button towards your knee and then you can allow some softness to come into the upper part of your spine and neck. Big breath in and out, okay let's come up, your head is the last thing to come up here so roll up, head is the last thing to kind of pop up on top of your spine and then take your right hand to the outside of your left knee and we're going to hang off that just like we did in the beginning and let your left arm come up and then side bend so that your right shoulder is moving towards your right knee. You can also bring your knee to your right shoulder and bend it and then side bend here and then if you like you can slowly ease that right heel forwards and drop into this. If you have neck stuff going on it's straining for you to do this to take your arm over your head for many people it is, you can keep it elevated straight up so it feels a little bit more weightless in that position or you can come up out and over and maybe for some you can find your toes.
Deep breath in there wherever you land into the side and in these side bends see if it's possible to go straight sideways in your spine instead of arching or flexing so create length and then we'll come all the way up here do a little twist to the back, come forwards so nice and let your left leg go forwards and your right leg come in. I'm going to scooch myself back onto the prop so that it feels like I'm rolling off the prop so I'm on the front edge of the sit bones, I can bend a little bit here, turn a tiny bit and navel towards the knee, walk forwards and get interested in how you can add a little bit of an extension into the forward fold so it's not completely rounding back so it's like you're yearning to reach long in this, yearning to create space in between the bones of your spine so all those little discs can be nice and fluffy and your central nervous system is happy. Big breaths here and then at the bottom of your fold you can round, it's okay to have a little bit of strength at the back of the leg and then we'll roll up hips heavy and head is the last thing to come on up and left hand comes across to clasp the outer right knee, right arm comes up, it's also okay if this comes up quite a bit so allow that to happen and then you can just drop it down and side bend so in these side bending you might be able to see in my back here instead of arching your spine or rounding your spine try to go straight laterally so there's a lot of length through your crowns like you're spiraling through the spine and lengthening so your arm can go straight up or over, you can bring your knee up to you, maybe start to lengthen it out, come up out and over, come on up and release that leg, okay we're going to turn onto our back and roll down so you can take this opportunity to do another slow abdominal so starting with the tailbone kind of curling under the abdomen, hollowing into the back and see if you can keep the heels grounded one vertebrae at a time, top rim of the sacrum, five lumbar there and you hit the lower ribs all the way through those upper back spine pieces, those 12 upper spine pieces and plant your feet, press into the feet and lift your hips and move your hips over to the left just a little bit, just the hips not the shoulders, bring the knees in and let the knees fall to the right and if you have a compromised spine in any way I would suggest maybe being a little bit active in the legs here instead of flopping them down, you can be a little bit active and through the length from your hips to your head and a little bit active through your legs and your feet, if it's too much abdominal work you could also put blanket underneath your knees but we'll bring it back up, place the feet and shift the hips through the center and over to the right and bring your knees in and I like the feeling of keeping my legs and feet a little active and almost hovering there and then shooting your feet away from your skull, good, your both shoulders are heavy here, you're doing wonderful, you could let it go especially if it feels wonderful just go with that and then we'll bring the legs back up, place the feet, bring the hips into the center, deep breath in, exhale it all out, now we're going to grab our ball and we'll lean over to the left side and we're going to place the ball not on the spine and not on the pelvic bone, back of the pelvic crest there but just above in the muscles of the lower back, for me it's really nice just above that pelvic bone and then draw the right knee in towards the chest and you could hang on underneath the hamstring or on top of the shin and draw the knee in towards the chest or the armpit and you can move around a little bit to see if you can find a spot, a nice sweet spot that doesn't feel too painful it just feels like you're getting a nice pressure massage in there and you can lean left to right or even circle this thigh bone in the socket, this is so good, you could lengthen this leg out but I feel like that lessens the pressure, I actually like to keep the left foot planted and then I have the opportunity there to even lift my hips off and draw my knee more in and that's a lot more pressure, don't go too high with the ball because then you're kind of entering the kidney area, I mean it's probably okay but we're going to try to keep the ball in the low back muscles, not around the lower ribs as much and you can move it to a slightly different spot if you like and of course you could stay here for a lot longer, feel free to pause my rambling here and stay. So we'll go into the other side, I mean you could get in there especially if you're somebody who has low back pain and discomfort, this might feel nice for hydrating your tissue down there in the low back, such a nice self-care practice to do a little bit of this work, it's so intense at times but yet for me so relaxing, let me know how it is for you. Take that ball out, draw the knees in towards the chest and just roll around your knees in circles, we're coming towards our final resting shape here, day 5, yay, let your feet come down, if you like you can keep your feet planted for Shavasana, that allows your lower back to relax down to the earth a little bit more but it might also feel really good to let your legs come out and have that little natural curve there in your low back, so nice deep breath in here, exhale it all out and let's breathe half of a breath in like fill your lungs halfway and pause and then fill them all the way to the top and pause and exhale all your air out, as you exhale relax your body, inhale a half a breath in and pause, exhale all your breath in and pause and exhale all your breath out, let your breath be free and easy, let yourself feel like you have time, space, feel your body fresh with relaxed energy, sweep your arms up over your head, reach, roll over to one side, press to come up, day 5, wonderful job, see you for day 6, namaste.
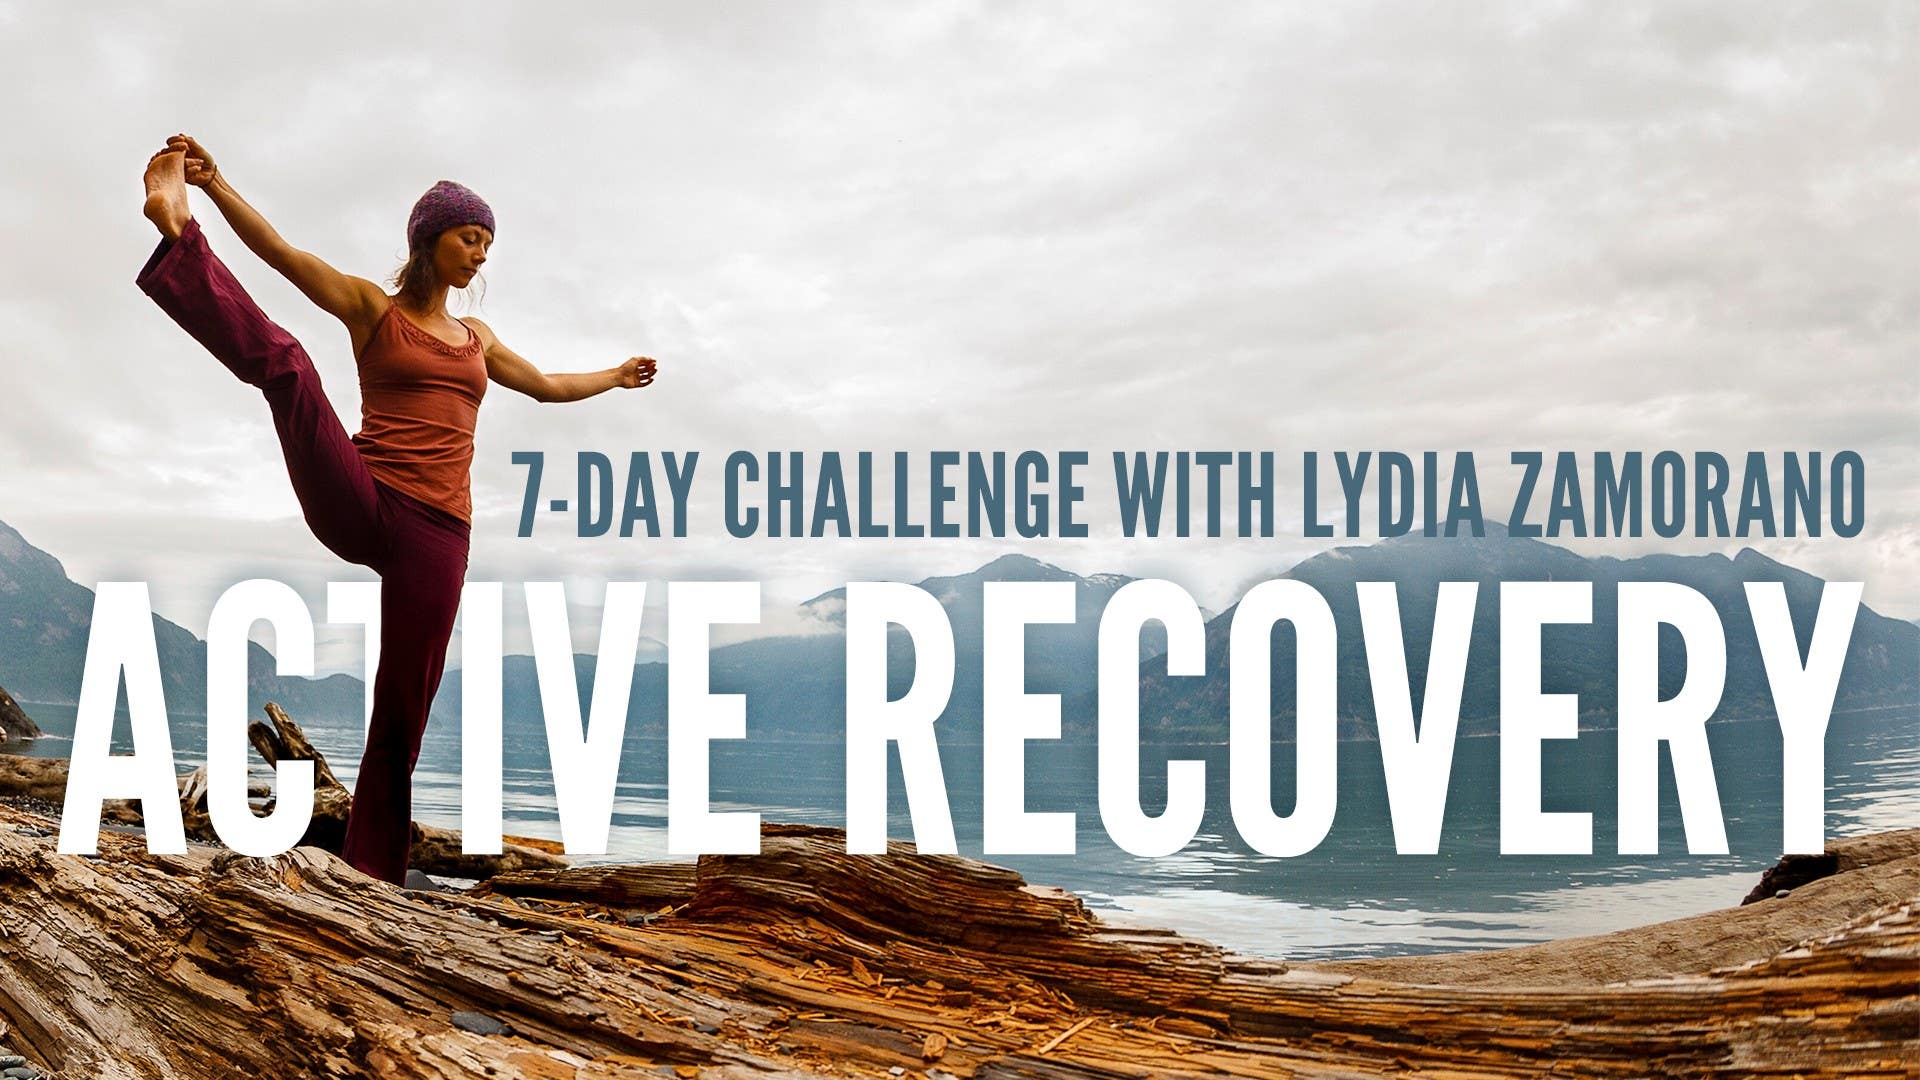
Active Recovery Yoga Challenge: with Lydia Zamorano


Comments


You need to be a subscriber to post a comment.
Please Log In or Create an Account to start your free trial.
