Description
About This Video
Transcript
Read Full Transcript
Welcome back to day three of our 30-day yoga challenge. We are in the theme of strength and today we're going to focus a lot more on some core strength and take it even deeper into some of the standing poses we've been working on. Today we're going to start in a new position lying down on our back. So we'll take a comfortable position, knees bent to start. We're going to bring our attention and focus inside for a few breaths. Just a little quick check-in, see how you're feeling. Notice anything that gets your attention in your body. And then we begin our practice today with a little awareness in the lower abdomen. If you rest your hands in the space between your pelvis and your belly button, this is the area that I'm meaning as lower abdomen. We're going to start with some pelvic tilts. Take a breath in and on the exhale, roll the pelvis towards the chest. Release on an inhale, exhale, roll that pelvis again towards the chest. There are a lot of different ways to create this motion. You could press your feet into the floor or you could squeeze the buttocks to make the motion, but I want you to primarily work on pulling from that lower abdomen so you pull that pubic bone towards the direction of the navel. Pulling and releasing. Legs should feel pretty inactive in this pose. Keep it going. We'll do about five more. Pelvic tilt or tuck is another way to say it. Four, three, lower abdomen working for the last one. Then we add a little bit of a twist to this. By twist I mean single leg work. We're going to do the same exact motion with one leg hovering in tabletop. And that leg should not really move at all as you do your pelvic tilts. Once again, abdominal focus, pelvic tilt. Exhaling to pull, inhaling to release.
About six more. I'm already starting to feel the heat be generated in that lower abdomen area. Again, it's very tempting to pull that leg with you as you pelvic tilt. We're going to try to keep it as still as possible. Let's do the last two and one. Lower down, second leg. Exhale to curl, inhale to release. And what you may find by doing single leg work here, one side is way more capable than the other. Or they may feel completely different. And you may also feel that trying the single leg version is quite a bit different than having both feet on the ground. Let's get four more low abdominal pulls. Definitely feeling the heat now. Three, two, and last one. Let your legs down. Let's put the bottoms of the feet together for just a moment. Relax the abdomen, get a little stretch there. And once again, knees bent. Now we go for our big challenge. We'll bring both legs up the tabletop. And we work that low abdominal pull to create the pelvic tilt. Essentially, we're taking the curve of the lower back down into the floor. Here again, the temptation is to pull the knees and legs. We want to keep them mostly still. And this should definitely get the abdomen fired up. Five to go. Four, three. That's preparing us for our chaturanga work that we'll be working into. And one more. And release. Set the feet down. Just do an easy little bit of windshield wiper work. Release that abdomen a little bit. Next up, we're gonna come up onto the forearms. You've probably heard of the pose boat pose. We're gonna work into a half version of this pose. We'll start with the forearms on the ground. Hands on the ground. First action. Push down into the floor with the forearms. And towards your feet as though your hands were sliding. But you're gonna keep everything locked down. So what you see this action is just like pelvic tilt. I'm rolling the pelvis this way. Abdomen is going down. Then we'll take both legs into tabletop, holding that abdomen in position. This is where it gets challenging. We'll take one leg up. Strong and straight. Hold the abdomen in place. And lower down any amount that doesn't change that pelvic position. Exhale. Hold strongly in the abdomen. Half boat pose. Ardha Navasana. As you reach down, it's tempting for the mid-back to come up. We're gonna hold that pelvis in place. Let's get a few more. Feeling the work in the leg. The hip flexors are alive. And last two. And one. Hold strong there.
Release the legs down. Definitely feeling that heat in the abdomen here with this pose. Second time. Push the palms and forearms down. And as though to slide them towards your feet and that creates that pelvic tuck we're working on. Use the abdominal wall to keep it in place as you bring one and then two legs up. Here we go. Second leg long, up and straight. Reach down any amount you can without losing that pelvic tuck. Come on, Adam. Frontal ribs drawing down into the body toward the floor. If you're feeling a lot of neck strain, usually it's because the chest is popped up. Keep that chest down and in. Pelvic tuck. Four. Three. Two. And one. Let it go. Good. Once again, let those legs go back and forth a little bit. And we'll turn it over here into cat and cow. Let's get a little motion first by dropping the spine down. A very nice invited opening to the abdomen and then back up again. Inhale to open. Get a little stretch in the abdomen. Exhale lifting up. Use that abdominal wall to draw up and open those spinal joints. Three. Two. And last one. From here, walk the hands forward. We're gonna take a downward dog, curl under the toes and lift the knees. And this time, a little different from our earlier dog poses, we are gonna straighten the legs and this time lift those heels as high as you possibly can. Super high heels. This gives this an opportunity to really feel the tightening of the leg muscles. Now if you find that your hamstrings are tight in such a way that it's really pushing your back up away from the mat, go back to your bent knees perfectly fine. If you can work with us in the straight leg high heels, please do. You want to feel those thigh muscles hug in the leg bones nice and strongly. Releasing the head, releasing the neck. Keep the leg muscles alive. Long spine. And then stretching the heels down. And in our dog pose, bring the feet together as we work even deeper into our core strength. We'll start with a right leg. We're gonna bring the leg up as high as we can, keeping the hips squared to the floor. Take a nice big breath in. Exhale. Come forward with the shoulders. Lift the abdomen. Knee to nose. Inhale. Stretch back again. Exhale. Knee to nose. Inhale. One more time. Big challenge. Can you get that knee all the way up to the nose? Lift the abdomen. Big back curl. And place that right foot down. Wiggle it forward in between the hands.
We're going to aim at our crescent lunge. But first, nice strong straight back leg. Here we go. Lift up the trunk. And now arms. Keeping that back leg strong and straight. Be careful of too much pulling sensation here. You don't want to feel too much in the front of that hip. If you feel too much, might lift up a little. Otherwise, holding down here. Three. And hands come down. Stepping back to downward dog. Once again, feet together. And we do the second side. Left leg lifting. Here we go. Big lift of that left leg. Inhale. Exhale. Shoulders come forward. Knee to nose. Inhale. Lift. Exhale. Abdominal pulls up. One more time. Can you get it all the way there? Knee to nose. And setting that left foot down, wiggle a little forward. Charge up that back right leg. Nice strong muscles as you come up. And we're going for crescent warrior. Arms up. If you can go a little deeper, go a little deeper. If that pulls too much on your front right hip, then come up a little. Holding here. Three. And one. Hands down. Dog pose. High heels. Gives us a little extra freedom to lift. Helps to sharpen and deepen the thigh pelvis crease there. And then walk forward. This time feet together. We're going into chair pose. Even a little deeper. Starting with the fingertips on the ground. We've worked toward this step. Arms up alongside the ears. Full chair pose. Ten count hold. Front ribs a little in. Tailbone a little down. So the back isn't overextended. Five more. Two and one. Come all the way out. Release your hands down. We'll come to front. Tadasana. Things we've been working on in this pose. The grounding of the legs to feel the inner lift of the body. That inner space that we're working on in our yoga. Then take a wide leg stance. Opposed we've been working on as well. Warrior two. Left toes in. Right leg out. Arms stretched. Here we go. Big breath in. Exhale. Bend into the right knee. Holding here. We're looking to get that nice deep fold through the right hip. Supporting with the left leg. Strong and straight. Looking over the right hand. Definitely feeling the heat already in this routine. Let's take this pose a little bit further. Staying deep in the right leg. Place the left hand on the left thigh.
Lifting the right arm up and over. We call it reverse warrior. We'll take a look up. Lengthen. Lengthen that right side trunk. And inhale. Exhale. Return to warrior. We take our side angle a little deeper. Inhale. Exhale. This time hand to the outside of the leg. Now we push the leg into the arm to get our alignment. To get the engagement of the right hip. Turn the left palm to face over your ear. And we'll complete the pose. Parsvokonasana. Side angle. Strong left leg. Holding. And take one more nice deep breath here. And we'll inhale our way up to standing. We'll be taking triangle pose from here now. Take a deep breath in. Both legs straight. Exhale. Over the right leg. We'll take the hand down to the floor to the outside of the leg. Just like side angle. Both legs reaching into the floor. Here again I'm using the connection of the right arm and right leg. You can see that turning happening. And then if you can turning and looking up. Triangle pose. Great for the hips. Very powerful pose. Turns and opens the spine. And then inhale and come up. Turn the feet in. Let's take a little rest in Tadasana. Feet together. Noticing the right side body. Noticing the left. Root down. Look for that inner opening lift. And then once again wide legs. We'll take the right toes in. Left leg out and aligned. Stretch the arms. Ready for warrior two. Big breath in. Exhale. Bend in. Little adjustment there. There we go. That feels better. Things we're working on here is a nice deep crease at the left hip. Strong lifted. Right leg. Open chest. Spread the arms. Looking over the left hand. Some breath. To reverse warrior. Right hand down on that right thigh. Turn the left palm up. This is a side bend of the spine. Looking up. We stay deep in that left hip. Front leg. Lifting and opening that side chest. This gets us ready for side angle. And then inhale back to your warrior. Exhale. Here we go. Side angle. Hand to the outside of the leg. We'll turn the right hand to face over the top of the head. And then we reach. Here I use my arm for my leg to press against. This opens the hip and helps me to turn the chest open. Side angle pose. Some nice deep breaths. Feeling that heat. It's okay. And then inhale. Coming all the way up. Ready for triangle pose. Big breath in. Exhale. Two legs stay straight. Extend the trunk. And hand coming down. Again to the outside of the leg. Remember you could use a block or your shin if you need to. Make the pose work for you. Rooting down through the legs gives me that twist. You can see me do it. I'll undo it. Pressing through the legs rolls the body open. Then I take advantage of that space and turn and look up. Triangle pose. And then inhale.
Strong legs come up. Turn the feet in. Heel toe. Drop the arms. Feet together. And a couple breaths. Feeling it. Press down through the legs. Open up your chest. And then interlace the fingers. Press the arms forward and straight. And take the arms up. So here we're looking to create more and more space in the body to relax. To let that heart rate come down. Bring the hands down. Turn the palms to face you. We change the finger interlock. You see the pinky is the low on this hand. I change the fingers. Very tricky. And then arms out. Arms up again. Press down through your heels. Thighs back a little. Tailbone down. Front ribs a little in. Firm triceps. Relaxed face and neck. And then release. Relax. Shake out your legs. Catch your breath. Let's turn back towards the front of the mat. Feet together. And this time from Tadasana. Arms up. Big breath in. Exhale. Come down slow so that you can feel the spine stays long. Remember we don't want to dig in the back ribs. Spine stays long. And you're gonna challenge your depth here. This is a 10 second hold. Nine strong arms. Front ribs in. Lumbar is long. Five four three two and one. Bring it up. Shake out the legs. Now into our half Uttanasana. Straight legs. Slide the hands down. We've been working on making the thigh muscles firm against the legs. One note here. When we press the thighs firm it's common to hyperextend the knees backward. So much of our attention goes here. We want to share in that wealth of the energy of the legs and bring the energy closer and closer to the upper hips. Pressing back here's your challenge. We brought the hands to the forehead before. Now I challenge you arms all the way out. Hamstrings working very strongly. Hip muscles. Spinal muscles and core. Holding. Five four three two and one. Relax the arms. Bend the knees. Ragdoll. You can interlace the arms. Head hangs down. Take a well-deserved rest.
And depending again on the mobility of your hips you may want to bend your knees a lot more so your back can really release. There goes mine. Relax the spinal muscles. Neck muscles. And then hands to the floor. Step back. Dog pose. Let's take that high-heeled version. Gives us an easier opportunity to properly fold the hips and lengthen the spine. We're gonna use this pose, this dog pose like ragdoll pose, and continue to relax even though we're working. If you need a child's pose here, perfect opportunity. If you can stay in dog pose, stay with me. And then from our high-heeled dog pose come forward with the shoulders. We're going to enter our full plank. Here we bring the awareness to the lower abdomen again. Can you draw that up away from the mat? Deeper into the body. Holding here. Ten seconds. Thighs alive. Seven. Five four three two and lower your knees down. From here, walk the hands back just slightly. We're gonna work on kneeling chaturanga. Challenging pose for sure. Starting here, come forward so that from knees, hips, and shoulders you're in roughly a straight line. We'll take a nice big breath in. Lower abdomen strong. Exhale. Five count to lower. One two three four and hold it. Be strong. Lower abdomen.
Pinch the body with the arms. Press back up. Pause. Relax it out. We're gonna do three total. Two to go. Once again, bring the hips forward. Try to make a straight line from knee to shoulder. Breath in. As you exhale. Lower abdomen strong. Bend the elbows. You come down to your controllable depth. Let's pause and hold it. Squeeze the body with those arms and press back up. Oh yeah. Here we go. One more. One more. Come forward with the hips. Big breath in. Exhale. Bend the elbows. Lower abdomen strong. Navel up towards spine. Find your controllable depth. And now let's hold it. Squeeze those arms into the upper body. Three two. Push back. Release. Let go. Come off your hands for a minute. Roll your wrists. Gotta get rid of that tension. Let that blood flow. And then from here, feet together. Sorry. Knees together. Child's Pose. As you come into the Child's Pose, remember to not too sharply fold those hips in. Relax the sitting bones down. Sacrum down. And come into your Child's Pose. Here, as I've mentioned before, if your head doesn't comfortably go down to the floor, a block or folded blanket is nice to have there. So you don't feel any undue pressure in your shoulders.
Allowing the upper back, mid back, low back all to release. And you can try pressing your knees a little bit more heavily into the ground. And see if you can feel how that releases the back body. Then we'll take a little journey to the side in this pose. Lifting a little, the torso and abdomen, come over across the left leg. So we get a side body stretch here. Your head may not touch the ground. If you press the right knee just a little bit more into the ground, you gain new access to your spine. And walk it to center. And then the other side. Sacrum and sitting bones down. Lift up and over across the right leg. And then bringing it down. Again, this time pressing the left knee a little down. A little squeeze of the right side abdomen to help us open the left. And then come up. Just a little good old-fashioned cat cow here to help open up the spine. And last one. And then we'll turn down onto the back for one last little abdominal bit of work here. Arms out to your sides. Bring the knees toward the chest. And we've been working on that lower abdomen draw. Take a few moments to try that on your own to pull the knees into the chest by way of the strength of lower abdomen. Then holding that action. Knees towards chest. Big inhale. Exhale. Legs stay close together. We're going to turn toward the left arm. The idea being attempting to rest the knees in your left elbow. Big challenge. Shoulders should stay on the mat. And then come up. Let's try the other side. Abdominal curl the legs towards the chest. Big inhale. Exhale. Second side. Working those knees over toward the right elbow. Shoulders stay on the ground. And then back to center. Let's do one more time each. Big inhale. Exhale. A little curl. Keep the knees toward the chest. Knees over to the left elbow. Back to center. Exhale the knees into the chest. Lower abdomen work and rolling to that right side. Towards the right elbow. Shoulders stay down. Back to center. And drop your feet down. Separate your feet about the width of the mat. Let's just do some easy windshield wiper. Open up the abdomen. Releasing the hips. And letting the breath calm down before we take shalasana. A couple more times. My soft abdomen here. Just falling right and left with the legs. And come to center. Bring the feet in. Just a little narrow. We're about hip width apart. And we'll start by stretching the legs out one by one. Keep them strong in the beginning as you place both down. Then you can set the arms out to your comfortable position and give a little shoulder tuck towards the spine and down away from the neck. And now you can start to release the efforting of the legs. Let them fall away from one another.
Settle into stillness. And though it may feel like you've completely relaxed the legs, check in there. Is there anything left around the hips, thighs, knees, and ankles that you could let go of? Let go of the hands, the wrists, shoulders. And if you do a line straight down the middle of your body with each exhale, you let the right side fall away from the middle, left side fall away from the middle. And I've been mentioning the space that we can find in these yoga poses. Can you drop your attention away further and further from the physical sensations and the general movement of the mind into the space and rest there. If you would like to stay a little bit longer to enjoy that space, please do. And if you'd like to come out with me, start by bending the knees and turn softly over to your right side. Support your head in your hands. Take a few breaths here. And then using your hands, press yourself up to sitting and just take a comfortable sitting position. Made it through day three of strength. Our core work gets stronger from here. I'm looking forward to seeing you next time. Nice work. Have a fantastic day.
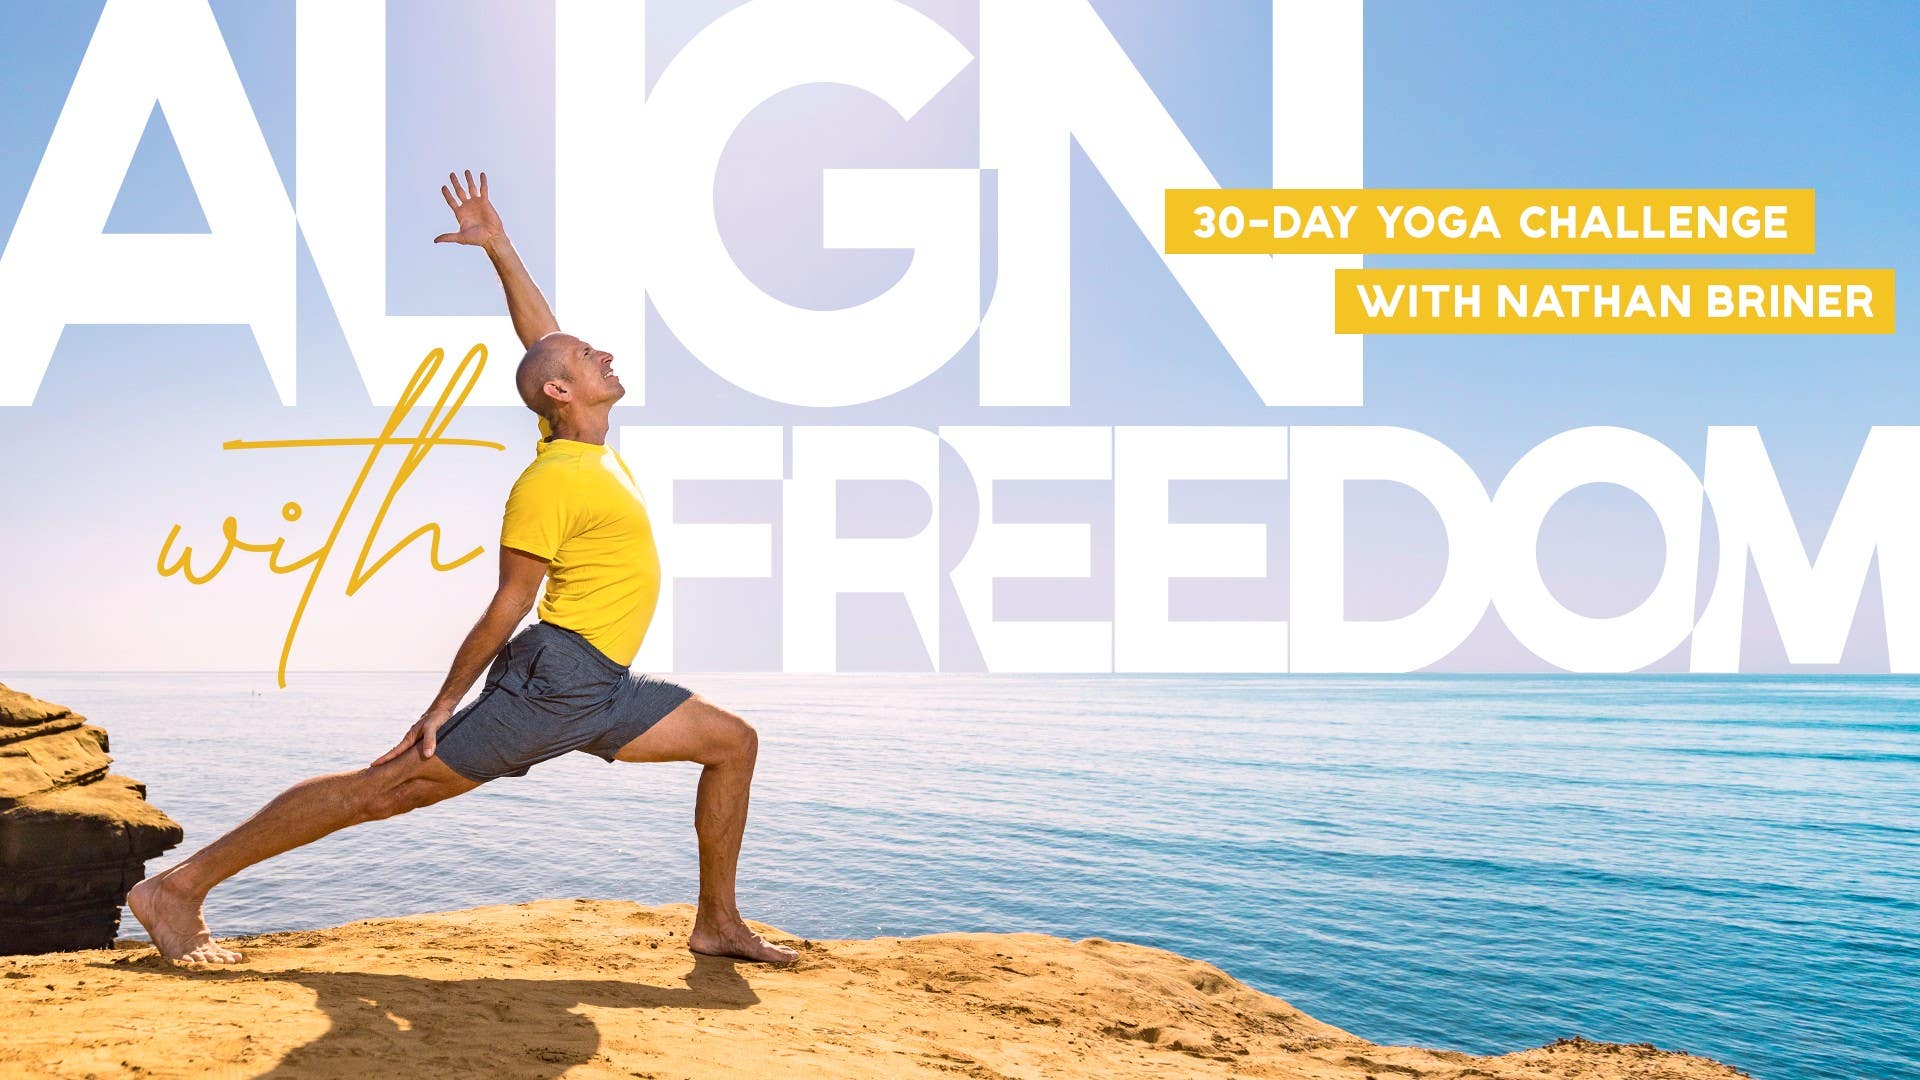
Align with Freedom: 30-Day Yoga Challenge
Mention
 |
Nathan Briner (Teacher) |
 |
Sandra Židan |
 |
David G- |
 |
Rachel B |
 |
Jasmin E |
 |
Joy E |
 |
Rosanna S |
|
|
Carmen S. |
 |
Meagan P |
|
|
Jane W |
|
|
Midge L |
 |
Matthew |
|
|
Lisa D |
|
|
Banu Y |
 |
Christel B |
 |
Briana N |
 |
Kate M |
 |
|
 |
Joan J |
Comments


You need to be a subscriber to post a comment.
Please Log In or Create an Account to start your free trial.
