Description
About This Video
Transcript
Read Full Transcript
Welcome, my name is Hattie Bluestone and this yoga sequence is designed to cultivate strength, stability and mobility in your hips. To begin, come into a position lying down on your back. Draw your knees in toward your belly, feeling your low back flatten and broaden on the ground. Let's begin with a mindful breath, relaxing your shoulders, taking a deep breath in and a deep breath out. Begin to circle your knees apart from one another and back together.
So we're moving the thigh bone, the femur bone inside the hip joint, drawing your knees apart from one another and back together and noticing how it feels to move at this place in your body at the hip joint. Relaxing your shoulders. From here, set one and then the other foot on the ground. Your knees are bent and the feet are on the earth and then take your hands and place your fingertips to the two hip points. So there's one on the right side of your pelvis and one on the left side.
Gently place your fingertips there. As you inhale, let your pelvis rock forward. You'll feel an arch come into the low back, so there's space between your low back and the earth. And then as you exhale, tuck your pelvis under and flatten your low back down into the ground. Inhale, rock forward, feel the pressure between your tailbone and the earth.
And exhale, tuck under and feel now the pressure between your low back and the earth. Inhale, rocking forward, back arches away from the ground. And exhale, rocking back, flattening your low back into the earth. One more like this, inhale, pelvis tips forward, exhale, pelvis tips back. If you're a beginner, you could definitely stay with this movement or let your pelvis tilt forward and feel the pressure of contacts between your tailbone and the ground.
Imagine that there is a clock, a circle drawn on your yoga mat and this point of contact is 12 o'clock. Now tuck your pelvis under, flattening your low back into the ground and feel now the point of greatest contact and pressure between your low back and the earth. Let's make that six o'clock. So again, rock forward, feel 12 o'clock. Rock back and feel six.
This time, rock your pelvis forward to feel 12 and then start to make the pressure between the back of your pelvis and the earth, go over to one and two and three. At three, the right side of your pelvis is pressed into the ground. Then go to four, five and six, you're in that tucked under position, the low back is glued to the earth, seven, eight, nine, the left side of your pelvis is pressing into the ground 10, 11, 12 and you start again with your back arched away from the earth. Go ahead rocking through one, two, three, four, five, six, seven, eight, nine, 10, 11, 12. So allowing yourself to breathe here as you rock in a circle, changing the point of greatest pressure and contact between your back and the earth.
Next time you tip your pelvis forward, so next time that your back is arched away from the ground, let's change the direction of those circles. So going counterclockwise. So from 12 all the way to the left side of your pelvis at nine, back to six, then over to three and back to 12. Breathe in and breathe out. So being really patient with yourself, part of what we're doing here is building a greater connection between our brain and this part of the body.
So if you're not sure if you're doing it right, that's completely okay, it will get more clear with time and there are a ton of benefits of having that better connection between your brain and your low back, your pelvis. Try one more circle. Okay, now pause at neutral. So you're not all the way rocked forward, you're not all the way tucked under, you're just at a neutral position with a little bit of space between your low back and the ground. Again, take your hands to your hip points.
The goal of this next movement is to keep your pelvis stable. So don't let it move to any of the o'clock, keep it right here as we march our legs. Okay, so stabilizing your pelvis, inhale, take your right leg up to tabletop. That means the knee is over the hip and the shin is parallel to the ground. And as you exhale, take your left leg up as well.
Now without letting your pelvis tilt at all, slowly take your right foot to the ground, breathing in, and exhale, take your left foot to the ground. Let's do that again. Keep your pelvis completely stable, monitor with your hands, inhale, take the right leg up to tabletop, exhale, take the left leg up, and then inhale, slowly put the right foot on the ground. Try not to let your pelvis move and exhale the left foot. One more time, inhale, right leg up, exhale, left, inhale, right foot down.
Feel your belly muscles working hard here, exhale, left. Now we'll do the same thing but leading with our left leg. So again, don't let your pelvis move, inhale your left knee in, exhaling your right knee in, inhale, slowly set your left foot on the ground, and now you're right. Two more times, inhale, left knee in, exhale, right knee in, inhale, left foot down, and exhale, right. Just one more, inhale, pulling your left knee in.
Don't let your pelvis move as you pull the right knee in, lightly setting your left foot down on the ground, and then you're right. Nice job. From here, grab your two yoga blocks. We're going to place the yoga blocks underneath our feet as we set up for a bridge pose. So have your blocks on their lowest height, and set the bottoms of your feet on the tops of the blocks.
So we're just giving ourselves a little bit of extra height as we start to lift and lower out of a bridge pose. Pressing your feet straight down into your blocks, lift your hips up into bridge, and then slowly bring the pelvis back down. With control, press your feet down into the earth, feel your knees head straight forward as your pelvis lifts up, inhale, exhale, slowly bring the pelvis down. Moving to the pace of your own breathing, pushing down into your blocks, breathing in as the pelvis lifts, exhale as it slowly comes down. Continue to feel that stability in your pelvis.
So inhaling, pelvis lifts, steady, exhaling down. This time we're going to hold, so push your feet down into the blocks, lift your hips into the air and hold here, building strength in your outer hips and the backs of your legs. You're welcome to stay here or take your hands and place them on your two hip points again. See if you can keep your two hip points completely level to one another as you march your legs. So inhale and take your right leg up to tabletop, keep your two hip points completely level to one another, and exhale, slowly put the right foot back on the block.
As you inhale, take your left leg up to tabletop, keep your hip points as level as possible, and exhale, slowly set your left foot down. Two more on each side, breathing in, keep your two hip points level, one is not higher than the other, exhale, setting the foot down, inhale, lifting your left leg up to tabletop, and exhale down. Good, one more on each side, this is a core stability exercise, inhale, and exhale, inhale, and exhale, setting the foot down, press both of your feet down into the earth, inhale, and then all of us exhale and slowly release. Nice job, roll to the side of your body, we're gonna set up for cat and cow. So spreading your fingers wide apart, here on hands and knees, inhale and draw your heart forward, lifting your sitting bones up, and as you exhale, tuck your pelvis under, rounding your spine and letting your head hang down.
So inhale, cow pose, heart draws forward, and exhale, cat. In this hip focus sequence, bring your awareness to your pelvis, inhale, feel your pelvis tilt forward, and as you exhale, feel your pelvis tilt back, talking under. Two more like that, breathing in, filling your lungs, exhale, stretching your back, and last one, inhale, and exhale. Now for one of my favorite exercises, come down to the right side of your body, put your right forearm on the ground so that the elbow is underneath your shoulder. We're gonna line up so that the shoulders, hips, and ankles are all in one line, but the knees are bent forward of the rest of your body, so your knees are closer to this long edge of your yoga mat.
These are called clamshells. Question one, as you breathe in, lift your left arm up and rotate your left leg away from your right, and as you exhale, slowly close back down. Inhaling opening like a clamshell opening, and exhale to close. Stay here, or as you build strength, lift your right hip off of the ground as you rotate that left knee open, breathing in, and as you exhale, slowly come back down. And inhale, rising up, opening the knees apart from one another, exhale, slowly coming down with control.
Push your forearm into the earth, inhale. This is working your outer hips, breathing in, exhale, slowly coming down. Let's do two more, inhale, rising up. These are some of the most important muscles to strengthen, exhale, slowly down. Really good for our back and our hips and our knees, inhale coming up, and exhale, slowly down.
Let's set up for clamshells on the second side. So setting your left forearm down into the mat, take a look down your body and make sure your shoulders, hips, and ankles are more or less in one line, and your knees are bent further forward, so closer to the long edge of your mat. Pressing your left forearm into the ground, level one, inhaling, opening that knee, lifting the arm, looking up, exhaling down, breathing in like a clamshell, opening, and exhale down. Stay there, or as you're ready, lift the left hip off of the ground as you open the clamshell, and as you exhale, slowly come back down. Breathing in, pressing your left knee down, your left forearm down, breathing out with control, lowering.
You have four more, inhale, and exhale. Feeling this in your outer hips, inhale. The other analogy is like an alligator mouth opening and closing, got three more. Breathing in, breathing out, two more, inhale, and exhale. Knees rotate open from one another, and then slowly back together.
Nice job. We're going to come into downward facing dock. From downward facing dock, step your feet forward to the top of your yoga mat, coming into a hanging forward fold with a bend in your knees, letting your head hang down. And then from there, roll up towards standing, taking a shoulder roll as you arrive at the top. Hey, grab your two yoga blocks again.
We're going to place them on their highest height at the top of our mat. We'll come back to those in just a moment. From there, take a look down at your feet, making sure their hips distance apart as if they're on railroad tracks. And then keeping your right foot on that right track, step it back just a little bit. So you're on the ball of your right foot and your left knee is a little bit bent.
From here, take your right arm forward, your left arm goes back, take an inhale, standing up tall. And as you exhale, tap your right toes to the earth next to the left foot and straighten your left leg. Okay, so we bend that left knee as we step back, inhale, and we exhale as if we're standing up on a stair step. So pushing yourself upwards to standing, breathing in, left knee bends, breathing out, push the left foot into the ground to step forward. It's great to stay here.
As you build strength, you might be able to slowly step that foot a little bit further back, exhaling to step forward, inhale, slowly, left knee bends, here's a lunge, exhale, standing up tall, and eventually inhale, stepping back, and as you exhale, pull the right knee in toward your belly as you stand up tall. Slowly bend your left knee, inhale, stepping back a distance that feels right for you today. And as you exhale, push your left foot into the mat and stand up tall, opening your chest, maybe even looking up. Let's do three more, nice and slow, slower is a little bit harder, inhaling, stepping back, exhaling, shifting the weight forward, and stepping up. It's two more, slowly bending the left knee.
You might start to feel this working your left glute, the muscles on the back of the left leg, exhale, as if you're lifting yourself up onto a higher stair. So inhale, slowly stepping back, and then lifting your body up as you exhale and step forward. Nice job. We'll do the second side. So putting your right foot into the earth, your left foot stays in its own railroad track as you step your left foot back, and your right knee's bent.
This time your left arm goes forward to start. Breathe in right here, and then pushing your right foot down into the earth, step forward. Breathe in just a small step back to begin with. Bend the right knee, exhale, step up and forward. One more just like that.
Pushing your right foot into the earth to propel you forward. And then as your balance improves over time, stepping that left foot a little bit further back, inhaling, exhaling, stepping forward and up, feeling the strength of your core supporting you as you step back, stable and steady, stepping forward, and right knee bends, stepping back into that lunge, exhaling, standing up, just tapping your left toes to the earth. And again, the next way to make it harder is to inhale, step back, and then when you're ready, exhale and pull that left knee in. Breathing in, slowly stepping back, exhale, lean forward, so you shift the weight forward and then step forward and up. Just two more, inhale, slowly stepping back, leaning forward, pushing the right foot down, stepping forward and up.
And last one, inhale, slow step back, exhale, lean forward, step forward and up. Three step, two feet on the ground, shake it out for a moment. Okay, now for a block. So your blocks are here on their highest height. Your left foot is going to be on the ground and your right tippy toes go back behind you.
This movement is a little bit like being a seesaw. So from here, with a little soft bend in your left knee, just a small one, start to tip forward like a seesaw, inhaling until your fingertips touch your blocks. And as you exhale, just tip back up. Just the whole thing, inhale like a seesaw, tipping forward, warrior three, exhale, push your left foot into the earth to come up tall. Inhaling, just rotating forward, exhaling, pushing your left foot into the earth to come back up.
Good. Moving to the pace of your own breath, if you're a little more flexible, you're welcome to bring your fingertips toward the ground, exhaling back up, breathing in, feeling it's a bit like plank pose, so it's a plank in motion, tilting forward and tilting back up. Two more here. This is for your left glute and left hamstring. You'll also feel stability building around that left ankle, the foot muscles.
One more, inhaling forward, good. Exhaling back up. Okay. Shake it out. Same thing, second side.
Right foot is our base. Back tip toes go back, lengthening your spine, and then just like a seesaw, take an inhale, tipping forward. This is a version of warrior three, lightly touching the blocks, and exhale, push your right foot into the ground to come back up. With control as much as possible, inhaling, tipping forward, exhaling back up. Moving to the pace of your own breath, it's okay if this feels challenging or wobbly.
We want to be outside our comfort zone because that is where our body is going to adapt and get stronger, more stable. Inhale, tilting forward, and exhaling, pushing the right foot into the ground to stand up. Let's do three more. Breathing in. We want to do enough of these that these muscles will really respond and adapt and grow stronger.
Two more. Inhale, tilting forward. And exhale. Last one, inhale, and exhale. Now turn to face the left side of your mat for our last hip strengthening move.
So take your left foot, step your left foot just a little bit to the left and bend its knee, and then step back together. That's the whole thing for right now. So inhaling, stepping out, bending the knee, and smoothly with stability stepping together. And stepping out a little further as you get accustomed to the movement, exhale together. Inhaling out, and exhale together.
Your left toes, they might turn out a little bit. Go with what your body is naturally doing. That's great. As this becomes easier for you, you're welcome to make it a little more challenging by finding a balance. You're inhale, stepping out, and you're exhaling and seeing if you can find that single leg balance.
Let's do three more of the version that feels good for you today. Inhaling, stepping out, exhaling, standing up tall. Last one, inhale, and exhale. Come to the back of your mat, and we'll try the second leg. This time it's your right leg that steps out.
So stepping your right leg toward the top of your mat, breathing in, and then exhale together. If you're newer to this practice, just start with a small step. Finding your balance. That's already challenging. Breathing in, stepping out, the right knee is bent.
Breathing out, stepping together. And then as your stability grows here, your strength and confidence grow, you can start to step out a little bit further. Inhale, and exhale. Seeing if you can transition smoothly. That's where we're really building the balance is in these transitions.
And eventually, the level three version is to add a balance. You're inhaling to step out, and you're exhaling and seeing if you can balance on one leg. Let's just do three more. Inhale, lateral lunge, exhaling, finding your balance, standing tall. Two more, inhale, exhaling, standing tall, inhale, stepping out, and exhale.
Nice work, both feet are on the ground, and come back to the top of your mat. From here, take your hands to your blocks on their highest or medium height, and step your left foot back into a runner's lunge. Breathing in, we will have our front knee bent, and breathing out, straighten your front leg, starting to stretch out our hips. Inhale, bend the front knee, and exhale, straighten. This is a version of pyramid pose.
Inhale, bend your front knee, and exhale, straighten. Inhale, and exhale. Next time you come into the lunge, hold there, so you'll pause with that front knee bent. Your left hand stays on the block, but the right arm reaches up toward the sky. Breathing here, feeling the way the breath fills your lungs and stretches your chest from the inside.
As you exhale, take the right hand down to its block, and then take the blocks with you, so both blocks go to the inside of your right foot, pivot facing again that left side of your mat, and pause here for a forward fold for a moment, feeling a stretch in the backs of your legs. From there, take your hands to your blocks, and walk them now to the back of your mat for the same sequence on the second side. So we're inhaling with the left knee bent, and as you exhale, straighten out that left leg, and feel a hamstring stretch, the back of the leg lengthening. Inhale, bend the front knee, and exhale, straighten. Two more, inhale, bend, feeling a stretch here in your right hip flexors, exhale, straighten.
Stretch comes into the left hamstrings. One more, inhale, bend, exhale. Placing stretch. For our twist, bend your front knee, leave your right hand on the block as you reach your left arm up toward the sky. Take a few breaths here, feeling the way the breath stretches your chest from the inside.
Taking your left hand all the way down to its block, take the blocks with you once again, so bring them to the inside of that left foot, and come back into a wide leg forward fold. So your toes are a little bit in, heels out, softening down into a forward fold, perhaps allowing your eyes to close, and taking a resting breath, beginning to slow down. From there, we'll come back into downward facing dock. Standing in down dog, and taking a resting breath. From downward facing dog, bring your knees down to your mat, and then come into a seated position.
So in the seated position, take your hands back behind you, you can kind of lean on them, your knees are bent and your feet on the ground. And then the key to this hip stretch is that rather than having your feet close together, you set them wide apart, and like windshield wipers, just start by taking your knees from side to side. As your knees go one way, feel your other shoulder gently stretching, the chest lifting, creating a nice rotation, not just in your hips, but also in your spine. Inhale through the center, exhale as you twist. We're going to add on to that, to this.
So next time that your legs go to the left, take your right arm up through the air, and then place your right hand on your left hand. Breathe in, lift the right arm back up, switch sides with your legs. And as you exhale, take your left hand to your right hand. Breathe in, opening up through the center, stretching your chest. Breathe out hand to hand, stretching your upper back, inhale, and exhale.
So we're rotating the hips internal and external rotation. Breathe in, opening up through the center, breathing out. Right hand touches the left, rounding your spine, bowing in a little bit. Inhale, and we'll hold on the side. So exhaling, take your left hand to your right hand.
Your knees are pointing toward your right. You might close your eyes if you'd like, and perhaps if the floor isn't too far away, coming down onto your forearms. Standing here for a few breaths, tuning in to the way the breath stretches your body from the inside. Relaxing your shoulders, the small muscles around your eyes and eyebrows, your jaw. And we'll hold on the second side.
So if you're on your forearms, press back to your hands. Like windshield wipers, take your knees over to your second side. Right hand comes around to touch the left, choosing to either stay here or lower down onto your forearms. And once again, softening, so perhaps allowing your eyes to close, the jaw to unhinge, and you need to feel the way the breath gently stretches your body from the inside. Nourishing the body as the breath flows in.
Relaxing the body as the breath flows out. From here, if you're on your forearms, come back to your hands, and we'll all come to lying down on our backs. We're going to set up for final relaxation here. So allowing your legs to be long, your arms to be long, your head to feel comfortable and supported. Bring your awareness to your pelvis and allow your hips and pelvis to feel heavy and supported by the earth.
Bring your awareness into all parts of the body that are touching the earth as the earth rises up to meet the body, feeling that stability and support. Relaxing the body as the earth rises up to meet the body, come back to your hands, and if you have longer for your relaxation today, you are welcome to stay just where you are. If you'd like to take a formal close of today's class with me in a seated position, just rolling to your body, to the side of your body, and starting to come up to a comfortable seat. Setting up in a comfortable seated position, you might allow your eyes to close for a moment longer. Allowing your awareness to stay inside.
Taking one more mindful breath, breathing in and breathing out. Thank you so much for your practice today. Namaste.
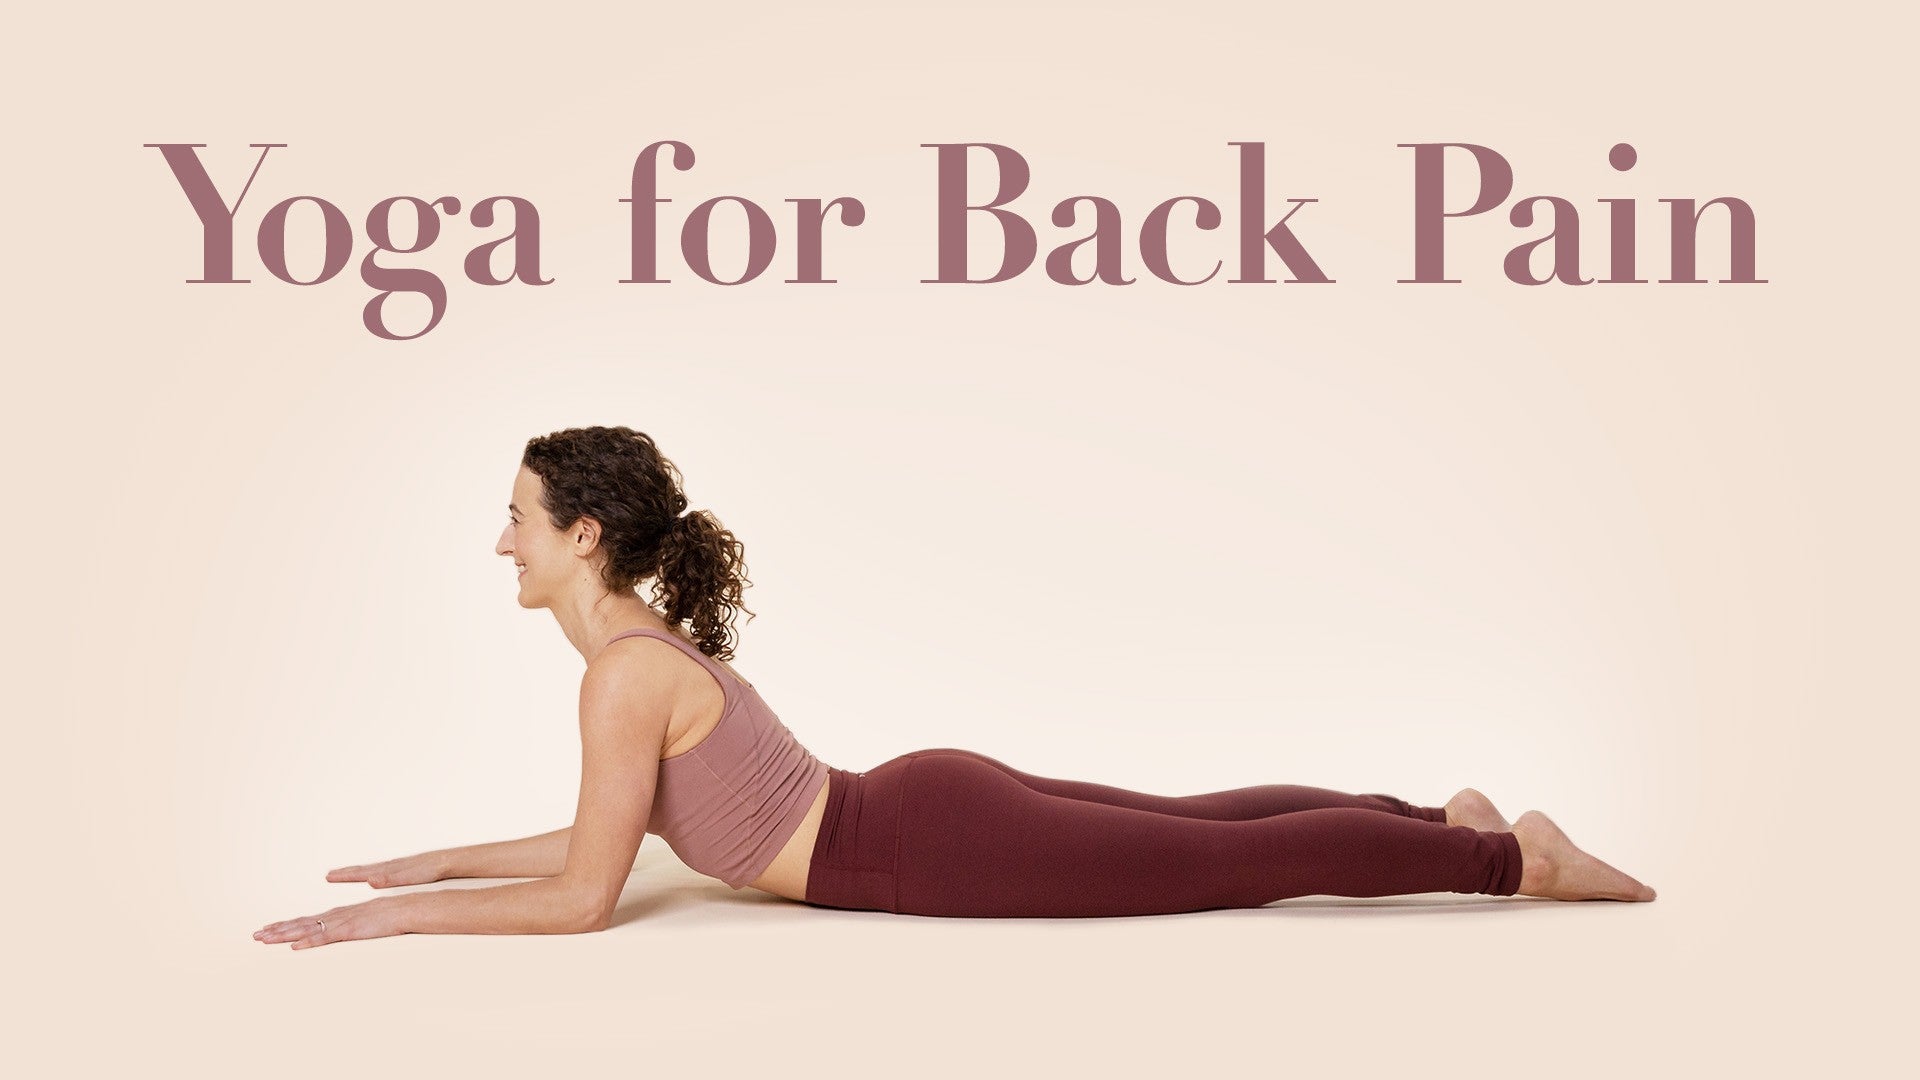
Yoga for Back Pain: Healthy Back


Comments


You need to be a subscriber to post a comment.
Please Log In or Create an Account to start your free trial.
