Description
About This Video
Transcript
Read Full Transcript
Hey there, welcome to Yoga Anytime. My name is Robert. I want to welcome you to this yoga for beginners. Now with that said, this can be practiced by anybody. But I really am hoping to gear this towards someone who's brand new, still trying to kind of like find their way into the practice. So there'll be a lot of cues, a little chit chat during the postures, and just constant encouragement for you, the practitioner, to like feel and take in the experience and make the adjustments in the postures that feel really good for you and helpful for you. So let's like, let's do it together. Right? So between my cues and your listening and your adjustments on your own mat in your home, I think we can we can do well with this. All right. So yoga for beginners, let's begin. But before we begin, if you have two blocks, that would be helpful. You'll still be able to do it without and see I'm sitting on a blanket here. Any kind of blanket or pillow or something that sort of you can sit on the edge of that is lifted. This will help to kind of elevate the hips, which might make it a little easier for you to sit with your legs crossed. Yeah, so that's that's that's why the blanket is there. So that might come in handy toward the end when we're doing some seated postures. Also, if your knees get a little bit cranky, by bringing your knees onto the mat, you can put the blanket underneath your knees. Like some of these poses are already challenging enough, and you don't need the discomfort of your knees hurting or so make yourself as comfortable as you can. And let's, let's do our best together. I got you, though. I'm right here. All right. So we're gonna move the blanket out of the way. Keep it nearby. And we're going to start lying on our back. And if there's ever a point in the practice where you feel a little fatigued, or you just want to kind of like, stop it, wind, start over and work on some things do that you don't have to follow it to its completion, you know, just make it your own legs, bent feet grounded might feel nice on your back sort of help feel a little more flush or grounded in your back body. You can straighten your legs and you can assess between the two which feels more appropriate. I'm going to start with my legs bent, feet grounded. Place your hands around your stomach, maybe where your stomach and rib cage meet. Underneath that region, there's your diaphragm, sort of call it your breathing muscle. For a few moments, I want you to sort of settle in. Make sure your body's comfortable. Hands on your body and begin to locate your breath. Okay, where is it? How is it? Can you begin to breathe in through your nose? So the inhalation draws comfortably through the nose. As you breathe out, you choose through the nose or through the mouth, but make it nice and even. So we try to find like a really nice evenly balanced inhalation and exhalation. You don't have to force the inhale and really like sniff in, right? That's not really what you're looking for. Relaxed, even inhalation, followed by an exhalation. And this is the breath. For the most part, it might elevate a little bit. This is the breath pattern we're going to look to work with throughout. Even, balanced, there's no rush. You've carved out the time. See if you can really land here and be as present as possible. I'll remind you throughout the practice to breathe because you will forget and that's totally fine. Once you bring your knees in towards your body, grab hold of your shins or maybe your hamstrings and begin to feel what that feels like, right? Pulling your knees in the direction of your body. You might feel a stretch in your low back. Your low back may lift. If your stomach is in the way, maybe take your knees a little wider. Create some space. Maybe rock a little side to side. Try one leg. Extend the left leg out. Draw the right leg in. And again, if extending the left leg all the way out puts too much of an arch in your back, if you're coming to this practice with a funky back, low back, painful, you know, putting the left foot down may alleviate that. So keep making those choices throughout the practice. I'll do my best to remind you. So what you're doing here is pulling the right knee in feeling those sensations, moving it around a little bit. I think curiosity, that's, that's something that has really benefited me throughout the years in this practice is being curious and interested in like the sensations and feelings in the body and moving my body around in ways that would feel good or yeah, straighten the right leg. Maybe bend it and straighten it a few times, especially if those hamstrings are immediately like saying no. Maybe when you exhale, you're straightening and driving your right heel up toward the ceiling or sky, getting that hamstring stretch. So that's a nice way also just to kind of like stay committed or connected to the breath. So the right leg is bending and straightening. You may even get little cramps throughout, right where a muscles just starting to seize up. If that ever happens, just back away, kind of shake it loose a little bit revisit. All right, let's try the other side. Pull the left leg in, extend the right leg out or keep it bent. Move it around a little bit. Notice, you know, one side feels a little more tight, one side a little more open. Okay. Try straightening the left leg. I'll keep mine bent. That feels kind of good. And what you can do is I didn't offer it on the other side is roll your left ankle around. So let's assume your left leg is straight as mine is. Hold on to the hamstrings behind that left leg and then roll the ankle and push through various bones and toes of your left foot. Notice how that changes the dynamics of the stretch. It adds like muscular engagement. So when we get into more like standing postures and I ask you to engage with your feet, it's for a very specific reason to root, to engage, to strengthen, to enhance a stretch. Bend and straighten if you haven't. Every once in a while, like stop and pause and take a nice full breath. Okay. Draw both legs in to the body. And now we'll kind of like take your legs from side to side a bit.
Sort of twisting. Let the legs, both knees bent, go as far over to the left as you can and reach the right arm out. And then using your core muscles, they're in there. I know they are. Bring them over to the right. And when you do that, you're assisting with that right hand and expanding or extending the left arm out. Super good. Okay. Now draw those legs back up to center. Take your hands underneath your bum, your buttocks. Kind of like where your low back and butt meet. Closer to the butt though. Straighten your legs. If that doesn't feel good, bend them. We're going to do a little core work here. So let's assume you're going to bend your legs. On your inhale, drop the legs down toward the ground, maybe even tap your heels. And on the exhale, lift the legs back up. So what you'll do is you'll continue this. We'll do 10. You're inhale down, engage your core to lift those legs back up. Okay. You're going to feel this in your hip flexors. Think right around where your waistline is, those muscles, and you'll feel it in your midsection, maybe even your thigh muscles. So if you feel like, this is easy, come on, dude, what's up? Straighten your legs. That'll add just a little more weight, but make sure you're also keeping those feet really engaged. Like pull your toes back toward your shins, maybe even cross an ankle, but make sure your legs are actually part of the experience. You can also lift your head, lift your shoulders that will immediately bring your midsection into engagement. We'll call it firing under tension. Good. How about I lose count all the time. So if you're new with me, just bear with me. I'm doing my best here. Okay. Let's stop there. Rest, but not rest fully. Like just bend the legs. We're going to work on this posture, this movement called dead bug now. So the legs and knees are over your hips. Back is grounded, arms reaching straight up to the ceiling. So you can kind of imagine like a dead bug, poor little thing, but this is a really great exercise. Imagine underneath your rib cage, the middle of your back, like a thin towel or something. And I'm there trying to pull that towel out, but you're not letting me because you're pushing the mid ribs down into the ground that will immediately you'll feel this sense of bracing in the midsection. Okay. We're going to add to that limbs extending. So you're going to take your left leg, extend the left leg. Let's point the left toes like a dancer would, right? Extend the left leg and extend the right arm, keeping the right leg and left arm in place. This is a brain exercise also. Now what's happened is, is your back is arched, pushed down onto that imaginary towel and keep those limbs extending, extending on your exhale. Come back to neutral. That's neutral right here. Now the opposite right leg and left arm extend. The other limbs stay in place. Now try this. I could really extend like you're reaching through the left fingertips, through the right toes, but you're staying home in the core bracing. So another way to think about this, let's say a really good friend, it's going to come and gently step on your stomach. You would naturally go and tighten. You kind of want to do that, but you still want to be able to breathe. Now back to neutral. Let's do one more on each side. Inhale, extend, exhale neutral. Inhale, extend right leg left arm. Come on, come on. Now here, like as you're getting more and more proficient in this, you can lift your shoulders up off of the mat and do the exercise like that, right? Boom. That way your core is for sure fully engaged and relax, but don't relax a lot. Pull the right knee in, extend the left leg out. Last one. All right, so you can keep your head and shoulders down, back grounded, and all you're going to do is extend the right leg out and hug the left leg in, and you're going to switch from side to side. So you get that nice stretch, but we're also getting a little bit of core work here. You can lift the head and shoulders. There's always a way to elevate it to make it more challenging, right? But that's not always the answer. Sometimes keeping it simple, keeping it real. That's the name of the series, guys. It's keeping it real or guy or gal, whoever's on the other side. Right? So I'm going to keep it real. Figure out what works for you. Challenge yourself when you can keep good form. Good. You can even take your hands behind your head. Like you're just kind of cruising through the park. Boom. Maybe draw an elbow to the knee opposite. And two, two, one, one, and relax. Relax your feet below your knees. Arms are in this like robot position. Okay. Hugged into your side body. Fingertips reaching up high toward the ceiling or sky. Now press into your heels primarily. Also your big toe mound and pinky toe mound. So we'll keep it even. Three points. Press your hips up. Now, once you've pressed your hips up, push into the upper arms that are feeling into the ground to lift your chest and walk your shoulder blades toward one another, almost like you're trying to walk your arms underneath you. What you'll start to feel is this opening through the chest, through the belly, through the hips that you've just sort of expanded or contracted. So now it's time to really open them up. You may see people clasp their hands underneath their body. This I don't always recommend because it sort of can add some funkiness to the neck. So that's why I kind of keep it here. But you can assess that. To exit, sort of undo the shoulder blade. Keep your hips up. Walk the shoulder blades out. Maybe even bring your arms up. So you feel like a connection to the center of your back along your spine. Then lift your heels. So I want you to try to lower down through the upper back, glide through the mid back, ultimately landing on the low back. And you kind of have to engage the midsection for that. It's like rolling down one vertebra at a time. And this, especially if you're beginning, you know, it's just helpful to start to bring that like awareness to the spine. Respect to the spine. Then there's that sweet landing at the end right on that low back sacrum area. All right. Now we're going to use those core muscles and a little bit of the work we've done to rock and roll forward and back. So see if you can rock up to sit and rock back a little bit. And you can see to kind of get through that little threshold right around right there, you got to engage the core. And it's amazing how much the core once you become aware of it is integrated into your absolute, like almost every moment of your daily life. One more time. Good. Now cross your legs or spin around onto your hands and knees. And let's start to shift things up a little bit. Take your knees wide, big toes. Let's just touch them for now. Breathe in. As you breathe out, start to work your seat back in the direction of your heels.
Now you may meet some resistance. So when you meet that resistance, pause, move out of it, inhale, exhale, move back toward the resistance. So you're not forcing, you're using the exhale, which generally will provide like a softener, a softening agent, let's say, a relaxant. And you may find more and more opening as you gently work toward that space. So I'm going to find my spot. You find yours. Stretch the arms out or take your arms, stack them and rest your forehead on your top hand. Or you can grab your block if you have a block or your blanket, something that's elevated. So you don't feel like you have to struggle by trying to push your head down or working the whole time and like, when is this going to be over, right? Find the comfort. Embrace the pausing, the stillness, the curiosity after all, this is your body, right? You want it to operate well and be well. And I promise you, having done this for as long as I have, it works. It's not the only thing, but it's one of several things that really does make a difference. Just got to show up, move a little bit, breathe a little bit. You can revisit this posture if it feels good at any moment. Any moment you need a little chill time. We're moving to tabletop, also known as quadruped, if you're a fitness person. Cat cow. So cow pose, drop your belly, lift your butt, chest forward, gaze forward gently. Breathe in, as you're doing this, breathe out, do the opposite, round out your back as much as you can push the earth away. Take your tailbone and draw it down like you're tucking the tailbone. This is flexion of your spine, you can curl your toes or have the tops of your feet planted. Inhale back to cow pose. Exhale, round out your spine. The benefit of the toes curled is most likely if you're a beginner, the toes are a little tight, right? You don't address the toes that often, maybe. So now we kind of push our hips back like you're revisiting child's pose but with your toes curled. And by the way, that's no judgment to you or your toes. It's just I feel like the feet get neglected often. We wear shoes, our feet become a little lazy and dormant. So it's one of the big benefits of yoga is the feet get exposed in a really good way. Stretched and strong. Okay, back into your tabletop. Take your right leg, extend it back like you're coming into a plank. So your left knee is below your left hip as you were in table. You push the right heel back, feel that kind of strength and stretch you're feeling through that right leg. Now extend the left arm, thumb up. Thumb open to the left a little bit. Core engaged, neutral spine. Lift your right leg up a bit. Push through the right heel and feel maybe your right buttocks, glute activated. Fully extend, maybe lift the chest just a little bit. Keep the low belly muscles tucked in and exit back to table. Same thing, left side. Start with the left leg first. Push the heel back. Get the stretch. Start to feel the strength and stability of the left leg as well. Then begin to reach the right arm. Extended. So it's like dead bug, right? We did it on our back. Your right thumb up, thumb open, lift your left leg. Now brace the abs, hold. Keep extending but staying home in the midsection. Maybe even look forward. Why not? And bring it on down. Now let's try something else. Take the right leg back. Now slide your left toes over three to six inches or so. Sort of like you're setting up a kickstand. Keep the toes curled. Take the right foot. Bring it toward the back of the mat but slide it back behind you just a little bit more and that's going to open up the hip. Take your right arm high. This is a side plank but I like to call it like a stretchy side plank because you feel the stretch through the right leg and hip and then you can reach the right arm overhead. And the more you bring that right foot back behind you, the more you might be able to kind of expose the right side of the body. Now what you have to be mindful of is that left arm and shoulder, right? So make sure your shoulder feels okay. You could do big circles with that right arm. Just kind of, oh man, open the chest. Like I said earlier, be curious because there's so many feels to be found in each and every pose. Like if I bring my right foot back toward the corner of the mat, reach the right arm forward, maybe then slide it back and push the hips back. What? What? Give that a shot. Oh yes. And now we try the other side. Okay. So you do it from table, right? Left leg back, right foot over. Slide the right foot back behind you a bit. Ground it. So you have these grounding points in the side plank. Right hand. So wrist, elbow, shoulder, relatively stacked. Right knee under the hip. And then the left foot grounds but like where is it grounding? You want to slide it back a little bit, maybe just be on the toes. Take that left arm and extend it overhead and maybe circle it around, adding like a little shoulder movement, a chest opener. You can do what I did before and maybe like reach the left arm forward, push the right hip back, slide those left toes back a little bit more. Looking for space, right? Parts of the body that get a little bound up, gummed up tight, neglected. So these postures can help to really create space, feel better. Curl the toes. Now you got to be mindful. Let's be mindful of the wrists for a moment. Turn the fingertips back towards you. Now if this is too much for both at the same time, do one and find the angle that, you know, is appropriate for you. You know, sometimes as a teacher, you can just be like, okay, do this and do this and not think like, wow, this could be the first time someone's doing this. So I understand that this could be new. So figure out the angle, the position.
You can even take your fingers out to the sides and rock a little side to side. Some circles for the hips. The other thing that you want to, I think, add to this, the beginning stages of your practice is patience. Whew, man, patience. I know it's hard, but take your right hand, turn it onto the top of the hand. Try to spread your fingers out as much as you can. Again, you can do both at the same time, but that could take a little practice. So do one and find your position. But the patience thing, you know, we come into it wanting results. This isn't something that's going to happen really fast. This is something that you show up for daily or as often as you can. You start to see and feel results and your body starts to feel different. Anyway, I can go on and on about that. I just think just patience. Be patient with yourself. Okay, now we've addressed the wrists. Downward dog. So you're going to ground all of your fingers, all of your finger pads as evenly as you can. You can even turn your fingers out a little bit. Toes curled. Lift the knees and begin to find that inverted V position. It's an upside down V. But let's do this. This is one of my little personal cues that works for me. Come into plank. Don't worry, we're not going to hang here too long. Wrists, elbows, shoulders relatively stacked. For the first one, take your feet out toward the very edges of the mat. And then as you start to push into the heels of your palms to push your butt up, keep your knees bent. So the idea would be to push your butt high, push your chest through back toward the direction of your toes. Loosen up the neck and head. Make sure you have good grounding in the hands. So by bending the knees, it frees up your pelvis, your low back and enables you to kind of like find a neutral spine. Then from there, if you feel good, you can start to straighten one leg out while keeping the other one bent a bit. You can pedal it out from side to side.
Stay here a few breaths. You're using some strength in the arms and shoulders. Staying committed to your breath. If you've already taken a break, awesome. That means you're looking out for yourself. Walk the feet back toward like hip width. Bring your knees down to the mat. Let's get off the wrist for a second by bringing, we'll take the blocks and put them in sort of middle of the mat. Bring your hands up onto the blocks and step the right foot to the, let's say the outside of the block on the right. Then put the blocks up on the highest level. Low lunge. So this is like a, let's think like 90 degree front leg, 90 degree back leg. This gives us the ability to kind of like work with our pelvis a little bit. So you want to like maybe take your right hand to your low back, your left hand to your pubic bone, right below your belly. Pull up in the belly region and push down in the tailbone. So we're looking at this to kind of take that pelvis and the bowl and bring it into like a neutral position. Okay. You can also use your glutes to do that. It's like you squeeze the butt a little bit. It might naturally adjust that. And you may feel this stretch in the left hip flexor region. Take the right hand to the right thigh, expand or extend the left arm high. Now lean a little bit or a lot over to the right. Now you've just added some more sensation to that left side. Back toes, keep them curled if you can. If not, definitely go the other way. It's no problem at all, but I'm just encouraging that toe stretch. Back to center, both arms overhead. Draw the pinkies toward one another, kind of like you're almost turning the palms back, but this will just help to open up the shoulders. Lean forward into it a bit. Keep the chest lifting. Super, super good pose. Okay. Let's switch sides. You can probably just keep the blocks. I was going to keep the blocks here in case you wanted to untuck the back toes and lean into it a little bit. Okay. If the blocks are too high like this, you can put them down a little bit. This is different. The other way we were doing the lunge is more stability work. It's more stable.
This is a little bit more like, ooh, let's stretch it out through the hips. Little less muscular activity. Okay. Let's try the other side. Step the left foot up to the block on the left. Curl the back toes. Right leg 90, left leg 90. Left foot firmly grounded. Get that toe stretch again. Why not? Glutes or manipulate the pelvis. So what you don't want is this. Pelvis forward. Arms up. That's hard. Bad on your back. So you want to try to like release this. You can see if he just so many benefits right there. Your glutes engaged. Your hip flexors are long and extended quads engage. Then you add the left hand on the left thigh, reach it up and extend over to the left or like flex or bend to the left. It's kind of funny. Like I'll say it when I teach really slow like this, you're either on the other side loving this or you're hating me and you've already turned it off. But it's, I find it beneficial to spend some time in the pose. It gives you time. There are plenty of practices you can rush through and race through. Okay. Hands to the blocks, untuck the back toes, lean into it a little bit. So those are two completely different lunges, both very valuable. All right. Let's now, we're in a perfect position. We can keep the blocks here. Curl the back toes, lift the right knee and step to the front of the mat. But let's move the blocks off of the mat. That was just a nice assist. Bring, stay bent over if you can, if that doesn't bother your back, bring your feet about hip width, fold down. Now slide the hands up toward the knees, straighten your arms. And while you do that, your chest may lift and your spine may extend and you may be in this sort of like L shape, this half position. Bend your knees as much as you need to or would like to. You don't have to look up. All right. Keep the neutral spine fold, exhale, wherever that is. Let's do it again. Inhale, slide up halfway. Keep those tummy muscles engaged. Exhale. Use your exhale to go into the stretch. Always. Now we're going to come all the way up, but take your time here, right? We're going to come up halfway. Hold, screw the feet in strong legs, strong core from the hips. Rise. Reach the arms overhead. Take hold of your left wrist with your index finger and thumb. Pull the left arm up as high as it will go. Push your hips to the left and bend your body to the right side. Bend up to center, switch the grip, reach and extend that right arm high. Almost like you're pulling your rib cage out of your body. Push the hips to the right and bend your body to the left. Back up to center. Arms come down alongside your body. Inhale your arms overhead. Take a nice big stretch. With your hands together, track down the center of your body into a forward fold. Exhale. Don't worry about how far down you go. It's not a contest. Inhale, half lift. Remember that position we were just in. Now exhale, fold again. This time rise all the way up. Put a soft bend in the knees, engage your core, reach your arms all the way out and up, trying to press the palms together overhead. Breathing in, breathing in, breathing in. Exhale, hands to your heart. And you can take the hands, do one more like that. Straight up. Inhale. Take a little gentle opening, a little back bend if you will. Exhale, track the hands down. Forward fold. Exhale, exhale, exhale. Inhale, half lift. And fold, exhale.
Inhale rise up. This is like a half sun salute. Reach out, stretch, get tall. And exhale, hands to that beautiful heart of yours. Okay, we'll build on that. Inhale, reach up. Stretch up. Exhale, forward fold. Inhale, half lift. Let's grab the blocks. I should have done this before, friend. But let's put them on the outsides of the feet, okay? On the medium height or whatever apparatus you have. Fold. Now place your hands on the blocks. Step your left foot back as far as it, not as far, but pretty far. Alright, so this is like a runner's lunge position now, okay? So the right knee stays over the ankle. You can actually bend that knee farther forward just to work on your ankle mobility. Really good work. You could even straighten your right leg a little bit or a lot. So you're kind of working with a lunge, ankle mobility, straight leg pose. Giving this, and the hips, geez, it's kind of doing it all. Right, you can even drop down and come into the lunge. Big stretch into the pyramid, okay? So now that we've kind of been here, make sure your right foot is firmly rooted. You've got those three points, your heel, big toe mound, and pinky toe mound. Put a soft bend in your back knee and let's rise up. Make sure you're not on a balancing beam. You're on like railroad tracks, right foot, right rail, left foot, left rail, give or take, okay? Once you land here and you start to feel, you've got some balance. Same thing with the pelvis, right? Draw the tailbone down, get that neutral, okay? Better for your back, core, everything. Now take the arms and reach them overhead. Find a steady gaze, right? In yoga you'll hear like a drishti is a word, and that's just simply a steady gaze, one pointed focus that helps you stay sort of centered, balanced, connected to the experience you're having. Breathe. Now on your exhale, let's twist. So it's an open arm twist to the right. So I'll be facing you. So all you do is sort of like helicopter the arms open, chest turns, and you get this potentially lovely deep twist while maybe like struggling with your balance a little bit. If you've fallen out of it, smile, get back up. It's all good. I'm right here. I'm not going anywhere. Back to center. Reach the arms overhead. Big breath in, breath out, hands to the blocks. Step the left foot forward to meet the right. Exhale, right leg. You probably feel all those sensations of it. It's been working. Half lift, inhale, right? Getting that down a little bit. Exhale, hands to the blocks. Step the right foot back. So get some nice distance here. Remember you're on that, those rail tracks. Okay, you can see here, what I'm working with is if I'm coming up, I want the knee over the ankle essentially, right? But while we're working here to get the ankle, right, and foot involved, bend the knee forward a bit. Be mindful of your knee, of course, but it's important to keep a nice, strong, healthy, mobile ankle. I'll put the block back here and we can start to move together, straightening the left leg a little bit or a lot and bending. Straighten and bend. You can bring the knee down and I'm coming to a low, low lunge. Okay, now set up for the balancing act, right? Knee over ankle, core engaged, maybe slightly minimize the stance. Put a little bend in the back knee. So when you come up, you can adjust the pelvis, neutral, set it, arms rise, find your drishti, steady gaze, bend and straighten that right leg. Now notice the difference between say like arms turning palms forward, your shoulders hug the ears, turn the pinkies toward one another, arms, shoulders kind of open away from the body more. Now turn and twist to the left with big, open, expansive arms, holding and driving the twist with your abdominal muscles, breathing, possibly shaking a little bit back to center, reach the arms overhead, inhale, exhale the hands down to the ground. Step the right foot up to meet the left, forward fold. Half lift, breathe in, breathe out, fold. Stay here, move the blocks out of the way. We don't need those right now unless you do. Rise up, big, healthy, gorgeous breath. Exhale, hands to your heart. Okay, we'll work on a little balance. So I'm gonna face you, center of the mat. Find a place in your space that you can find a target for your gaze. We're gonna do tree pose. So we're gonna balance on our right foot, right leg first. I like to teach it where you bend the left leg, turn the left knee out to the side and place your left heel just above your right ankle. But that doesn't mean that you kind of throw the hip out and you're like, okay, cool, there's my tree. Now that is tree if that's what you got, but we're gonna try to bring that right hip in toward midline and then hands maybe right here just as a centering place. Now you can flirt with lifting your toes up off the ground and go, oh wow, that's pretty cool. I can hold for a little while. And if you want to kind of lose that security blanket, and I use that word in like a super positive way, maybe take the foot, left foot into the calf right below the knee, not on the knee. Now push the left foot into the calf and the leg into the foot, right? So like, you're creating this like sense of tension and midline control or strength. Okay, now you're like, oh man, this is nice. I like this. Maybe take your arms and reach them overhead. Tree pose, you know, trees move with the wind. So if you find yourself moving and swaying, that's cool. And again, like, you know, if you've fallen out of it, you're like, like, try not to let that take over the practice. Pause, reset, start maybe at ground level again. Regain your focus your breath, and rebuild. It's just a tree pose.
That's it. Let's try the other side. Maybe shake the leg out. Take a breath, clear it away. Bend right knee, turn it open, heel up above the ankle. Find your gaze. I'm going to gaze into the camera. I see you. Maybe slide that foot up toward the calf. Again, doesn't mean it's a better pose or you're more this or more or less of that. It's finding what works for you. And you know, right now you might be feeling that left ankle and foot just screaming. That's a positive. That means it's like it's alive and working and developing, right? It's not in shoes asleep, which is fine too. Everything's fine. It's all good. Take your arms overhead. Make sure that left hip is pulled in toward the center. Get tall, get tall, get tall and patience. All right, so now turn this way. We're going to start to descend now. Front of the mat. Bring the arms overhead. You know the drill. Big breath in. Always inhale on the lifting. Exhale fold. Inhale, half lift and then exhale. Bring the hands down. Step back into downward dog. We didn't have our blocks there, so that may have been difficult. I get that. But here you are now. Downward dog. Into your tabletop position. Push the hips back. Revisit that child's pose that we worked on earlier on. And maybe, I don't know. I'm not saying it will, but maybe your body feels a little different now. Maybe there's been some opening. Take a moment. From here, let's revisit the blanket. The blanket. So we're going to grab that blanket or whatever you're using. Something again that can lift your hips a little bit higher than your knees to create this sort of criss-cross applesauce or pretzel legs. I think that's what they called it in daycare for my son. Find that position. Something comfortable where you can actually do a few stretches and if you're going to meditate, right, you want to feel comfortable in your seat. So we're going to do a couple closing stretches. First would be a side bend. Right hand can come to the mat. Left arm reaches up. And then you begin, once you find that full length and extension up through the left side, bend a little bit over to the right. So you're kind of C-curving your spine, which is a necessary movement for your spine. Let's try the other side. Left hand to the ground. Right arm extends up. Traction the spine to bend to the left.
Good. Back to center. Twist. Left hand, right knee, right hand back behind you. Use your hands to sort of drive yourself safely into the twist. Gaze over the right shoulder. Maybe move your head around a little bit. Free up the neck. Try the other side. Left hand behind you. Right hand on the left knee and twist. Back to center. Take the arms back behind you fingertips to the ground or the whole palms, whole palms to the ground and push the chest upward, shoulders back. This is a good one if you sit at a desk for any long period of time. Okay. Back to center. You can even round the back and do a couple cat cows. So many things you can do, but like all good things in life, we have to come to a close. Let's move into like a 30 second or 20 second closing meditation. And all that's going to be is you resting your hands on your legs, closing your eyes and maybe observing the breath or taking a few moments to really like, like in the most genuine way, like congratulate or give yourself credit for taking the time out to move into this practice. Make it a priority. Make yourself a priority. I think this comes from the most genuine place in myself is that you are kind of like just in the beginning stages of something very, very, very like profound and special in your life that I applaud you 100 million percent. So be patient, enjoy the ride, enjoy the process. Open your eyes, close together with your hands at the heart. Namaste. That just means sort of like I see you. It's a greeting and acknowledgement that I'm, I don't know. Let's just say that I'm with you. You're with me. We're all one. It's all good. Namaste.
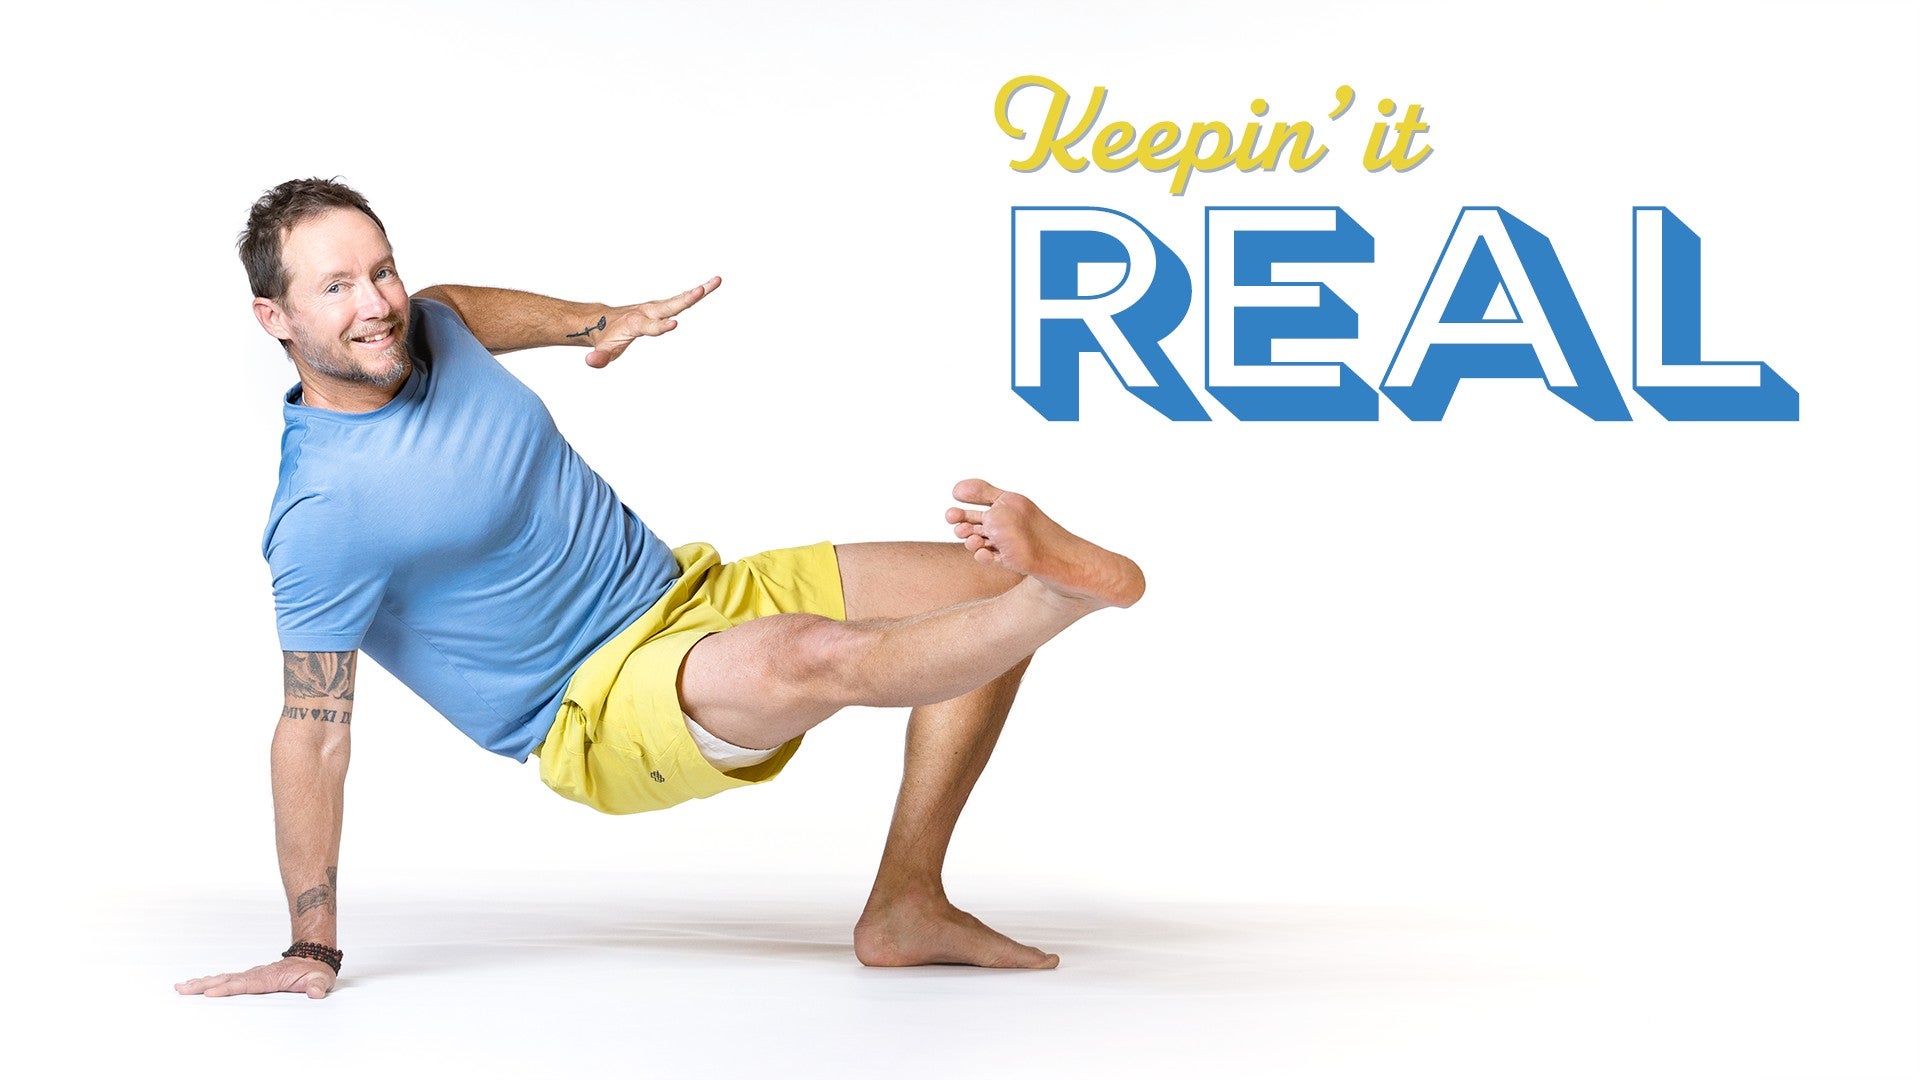
Keepin' it Real: Robert Sidoti


Comments


You need to be a subscriber to post a comment.
Please Log In or Create an Account to start your free trial.
