Description
About This Video
Transcript
Read Full Transcript
So, shirasasana, it means headstand, and it's a very challenging and also wonderful posture, and should be approached really carefully. So when I first started doing headstand, I was very athletic, very fit, and I could get into it like easy, so easy, but I didn't really have the upper body strength to hold myself in such a way that I didn't put weight on my neck. So I've had neck problems off and on for many years, and I didn't do any form of headstand for three or four years while I was getting over having numb hands and things like that. So ultimately, I put together some things that I learned through BKS Iyengar and some exploration on my own, and this is how I'm approaching it these days, and I never do headstand without my blocks, which you'll learn about in just a moment. So the first thing that we're going to do is something called thread the needle, and I think lots of people do this.
Here's how I start. I bring my right hand just a little bit forward and turn the left palm up, and I actually come down to my forehead like this so that I can stretch my upper back. Forehead down, hand forward, and if possible, rolling the palm out. When the arm is up, the shoulder blade here moves towards the spine. When the hand is thumb up, the shoulder blades broaden.
And then I come onto the side of my head, reach that arm under, and then you can reach back and reach that heel into the wall if you like, but basically, you're using your pelvis to prevent you from rolling backward into a sideways backward somersault, which actually doesn't feel bad, so don't worry about it, but you're turning your shoulders backward, your upper body backward, so rather than rolling the pelvis backward as well, you were just going to resist in the opposite direction with the pelvis. It's very effective. It's that wash rag effect, tucking the chin and looking up. To come out, slowly bring the knee down and slowly unwind. So that's pretty delicious.
So step one, here we are, back on hands and knees, left hand comes just a little bit forward, and that makes room for tucking under with the arm, bringing your head down, and you can see now that you can see my back, how it's spreading my right shoulder from the center of the back around towards the scapula and the upper arm bone. This hand comes out, palm turns up, tucking the chin so the back of the neck is long, not like this, so just breathing into your back. You're not hanging into it, you're lifting your back into it, spreading, expanding, breathing. Then placing the left arm, hand on the floor, you can start to revolve more and walk your left foot back. You can use the wall for your heel if you like, but also just reversing, resisting the backward turn from the pelvis.
Some people like to take this arm all the way out, I like it right here. So you can experiment. Slowly down, slowly down, knee comes down, and then you unwind, bring your arms down, and maybe just a short stretch, symmetrical, before moving on to the next thing. Here the hips are acting as a traction device, the hips are moving towards the wall, it gives you more stretch in your back and your shoulders, and then lifting your head up so that you can bring your hands down. So now we're going to play around with a horizontal shape headstand, so to speak, set up that allows you to feel what you're going to be doing with your arms and with your head and your legs, and just as neat as it can be.
So your pelvis is sacrum, you're going to be right here, and your shoulder blades on this block. Before you lie back, just test. Again, you don't have to be at the wall for this particular part, but it's very helpful. I'm going to use the baseboard. I'm going to be bringing my foot up so that I'll be like, it'll be like magic.
You can pretend there's no blocks under you, and you'll see that I've learned how to levitate. Okay, so good, I can get my feet to the wall. It's also nice to just have the feet on the floor, because then you get some of this extension right across the tops of the thighs. So under the hips, here's my pelvis, the top rim of my pelvis, and the block is just slightly down towards the heels from there. Here's the top of my shoulders, and the block actually could be a little closer to my waist, and you get the feel for this.
So I'm going to raise my feet up. So mini headstands actually look like this, you know, sort of like this. We call it banana. This is a banana-shaped headstand. So we want to learn not to do a banana headstand.
We want to know how to use the body to prevent that, and to line everything vertically up with the gravity line. So one way that we can do that is we take one arm up, and roll the arm out, and turn the fingers towards the floor. So right now, my fingers and palm are facing back behind me, and I dive the hand, the fingers under, and I bring them right alongside the block. Okay, I'm going to just turn this one. So I've got lots of width across my upper back, and in this position, I can draw the elbows very close together, and what that strengthens is the side of the rib cage in a scapular area, which is very important in your headstand.
Now there is a tendency when we take our arms back like this for the ribs to pop up. So what you can do is you can put your hand down on your ribs, and think about the ribs going towards the pelvis and towards the floor using the belly. Turn the hand, bring it back, soften down. At some point, it's just a matter of awareness, I'm releasing my ribs back, lengthening the back spine. Okay, all right, so maybe that's not so easy for you.
Maybe you could work a little bit with a forearm plank. So forearm plank to help develop the strength to keep the banana headstand looks like this. You don't really need the wall, but again, anytime you can push your heels into the wall could be helpful, so we're there. And you start off in an easy sphinx pose, if you like to think of this as sphinx pose or whatever, this is just the setup. Your elbows are right under your shoulders, you're going to interlace your fingers together, and you're going to start peeling up, you're going to peel up from where your ribs and belly are touching the floor.
So here we go, ribs and belly lifting back away from the floor. And then what's next is the weight of the bones of the pelvis coming up, the weight of the thighs and knees, and I'm not going to use the wall, it's just much better to use the core. So if you're having trouble keeping your waist up, then this is a really good one just to practice even if you can only do it 10 seconds. The next day, or maybe 3 or 4 days after that, you'll be able to do it maybe 12 seconds, and then the time builds up, the strength comes quickly. Sometimes moving this way is helpful, and there's the wall.
Okay, putting the knees down first, then the thighs and pelvis, and then come down and rest a little. Little wiggling motion just softens any muscles that might have gotten tight there. It's okay to do this, I give you permission. So what's nice to do after that is to come into a child's pose and see if you can use some of your newfound awareness of your belly and lift from your belly as well as your hips. And then I've discovered that going into a cat-like shape, really pressing the abdominal wall back helps, it softens the hip flexors and it makes it easier to come down into a deeper child's pose.
So after all that exertion, because we're going to be exerting ourselves again, we give ourselves a little break. You can turn your head to one side, keep it in the center, whatever's comfy. Now, some of you can see that I had my hands under my ankles. This is a little trick I've learned. Sometimes the top of my foot isn't ready to quite flatten out, so I just put my hands under there.
Use your hands if you like to come up from child's pose. By the way, if you've never done a child's pose for several minutes at a time, it's quite calming. So next we're going to do a forearm plank with the head touching this diagonal on the block. And those of you whose hamstrings might not like you do this with straight legs, it doesn't matter. So you've got one block at the wall so it doesn't slip and we're going to put this other one just at a diagonal here.
I'm never quite sure where the hands go, but the idea is that you come up and if you discover that your hands are too far from the wall and your head is hanging down towards the floor, you simply inch forward until you're in the right place. And you have to play around with getting it so into a position where you're not scrunching the neck either. So here you want to have the natural curve of the neck and just being able to lengthen the spine away. You could do this with bent knees. So broadening my back, broadening the front, lengthening the tailbone away from the crown, I'm reaching my sternum towards my crown and taking two to five pounds of weight on my head, but just getting used to keeping my neck long is quite telling with respect to how much arm and shoulder strength it takes in the back.
So what is a shoulder? Is it this? No, it's all of this, all of this connection around everything here. It's the rib cage. So all of that is holding you from taking a lot of weight in your head.
So you don't have to do that very long, but just getting used to how much strength that takes. Then we're going to briefly do what is called a headless headstand. I'm not going to come all the way up, it's a headless prep. So elbows, again, are underneath the shoulders, hands in the loose interclasp, and lift your heels and hips off the ground and tiptoe forward. Pretty soon as you continue tiptoeing forward, even with very bent knees, you're going to find your head is coming over your hands.
And so you just find out where the floor is, touch down, lift up, and come back down again. You can do that two or three times. And as you do that, you start to get a sense of how vertical your spine becomes and whether or not you have the strength to get up. This is harder than a headstand, but it does give you the strength will be ready for you. So now I'm going to flip around and show you this from the other side so you'll be able to see more of what's going on in my back.
Set up begins, elbows right underneath the shoulders. Some people let their elbows slip way out. I think it's better if you can just keep them in. If your shoulders are too tight to let them come in, just maybe half an inch out on each side. So inhale, exhale, lift your knees up, and you can see that my head does not touch the floor in the beginning part because I'm using my arms and you're now expanded idea of what a shoulder is.
And tiptoeing forward, again, this can be done with bent knees. I'm not tightening my head so you want to keep the neck long. That is still not touching, but then you're going to explore what's it like to touch. And don't take much weight, just be there. And then lift off, be there for a moment, and then walk back and your friend, a child's pause is waiting for you.
Use your hands. Come up. Many of my students don't do headstand except with the blocks, and I think I mentioned that that is true of me as well. We're going to put the block there, there, and there. Now I just want to show you one more thing.
Block setup is there, and I'll talk about that in a minute. In headstand, one of the things that happens is the pelvis will tend to come forward, and it may tilt a little bit as well. So you not only get a banana, but you don't necessarily get the extension here. So when we were working in the forearm plank, you were very straight across here. And you were using this.
You were not using your buttock to make that happen because you can see what that does to the length of my spine. So you just want to remember when you're upside down that there is the possibility of turning the wheels of your pelvis in such a way as to open this space. Feel as though you're moving away from the pelvis, from the back and the outsides of the legs. In Chinese medicine, these are the yang channels. And you want to feel as though you're moving towards your pelvis and core from the inside of your legs.
So here's the three blocks set up. This block is anywhere from one to three inches from the wall. And counting the baseboard here, we've got about two inches. Depends on the size of your block, too. That can make a big difference.
Stacking two blocks on top. Sometimes when I have an abundance of blocks, I'll put a third block on top because it means more of the back can feel into pushing backward into the blocks. So this is not exactly stable, but as soon as your body touches it and it's on the wall, it's perfectly stable. The hand, I'm going to show you how you're going to hold your hand around the block. You're just holding the block.
You're not trying to get the full interlace because then the block will be pushing your head forward. So you're just holding the block like this. You're holding it because the back of your head will press on the block and it may shove the block forward. You don't want that. So you're starting on your knees and here we go, wrapping the hands around.
There's still some space between my fingers and the wall. Elbows are shoulder width apart. And press down on the wrist end of the forearm as you start to take your weight into the block. Actually, you don't do anything here except lift into forearm dog and move away. You're thinking now, I thought we were moving towards the blocks, but what you want to do is you want to get the height that you can get across the shoulder girdle in the length of the spine and then you raise your heels and tiptoe forward maintaining that height until at last you feel your head touch the standing block and your upper back touch the other blocks.
And some people just do this. Head off the ground, tiptoeing forward, upper back, pressing into the block. It's not just resting on the block, it's pressing back. And then if you're new to this, you can just experiment with taking one leg up and just lengthening up and feeling how that takes some of the weight off of the arms, which is nice. So this pose, although my head never touches the ground, I still need strength in the arms to do it.
And then finally, after you've done this for a few days or maybe right away, you can kick up into the wall. Sometimes it's helpful to bend the knees or just to take the legs up, flex the feet and then touch your big toes, keep your heels apart and see if you can feel that up the outsides in the back of the legs and the down the inside towards the spine. To come out, feet to the wall, slide the feet down, tuck and drop. And then right into child's pose. So here, just letting everything settle after that effort.
Your body starts to circulate some of the extra blood that was in the neck and shoulders and head back down to the feet. And then hands near the knees, curl up and after that, you're going to give yourself a little resting jatara parivartanasana, which is basically a twist. And in this twist, you're on the floor, moving your hips to the right, tuck up. And then over to the side, this block is here because I've noticed that some of my students feel happier with somewhat less of a twist after the exertion of headstand. So you've just been working your back and your arms really strongly and the upper back may not be ready to let go fully.
So this is a lesser twist than coming all the way down and bringing the legs, which might feel just utterly delicious. But if that isn't true for you, then a way to work with that is to put the block, it's sort of under the knee and under the shin bone. And then you can have your head center or you can turn your gaze away from the center. Several breaths here. Lift the top leg first and the bottom.
You're a little bit off to the side so that what you'll do is first come to the center and then move your hips to the opposite side, tuck your knees up and come across. And you can put your legs on the block or not. I think it's all right if there's a little lift in the shoulder here, but if you're like this, I think you're going to be overstretching something in the joint or something in the muscles. Find the place where you can be settled. And rolling back up and reflecting on why it is we do yoga again.
So it's not about acrobatics. It's about finding the truth of what we all are. So as you come into Shavasana now, the wall is kind of nice, can be nice here, but I also like doing it this way. So Shava and Shiva, Shavasana is corpse pose. Shiva is the patron saint, the metaphor for the unmanifest, for the vastness of everything.
Some people think of Shiva as the creator, some as the destroyer. Actually maybe it's all those things. So when you go from into Shavasana, you're meeting Shiva, you're meeting the unmanifest. It's very big. So this is a little trick I figured out one time about softening the pelvic floor and the belly.
Just wedging, I have my feet apart, I lift my knees and roll the toes towards each other and wedge the blocks under the thighs at a little V shape and everything just quiets down here. And it's a very nice way to do Shavasana. And because Shavasana is best for five to ten minutes at a time or longer, I'm not going to hold this, but I just wanted to show you that position and perhaps there's more you want to do in your practice today anyway. So thank you very, very much for your effort and your sincerity and your beautiful heart. Namaste.
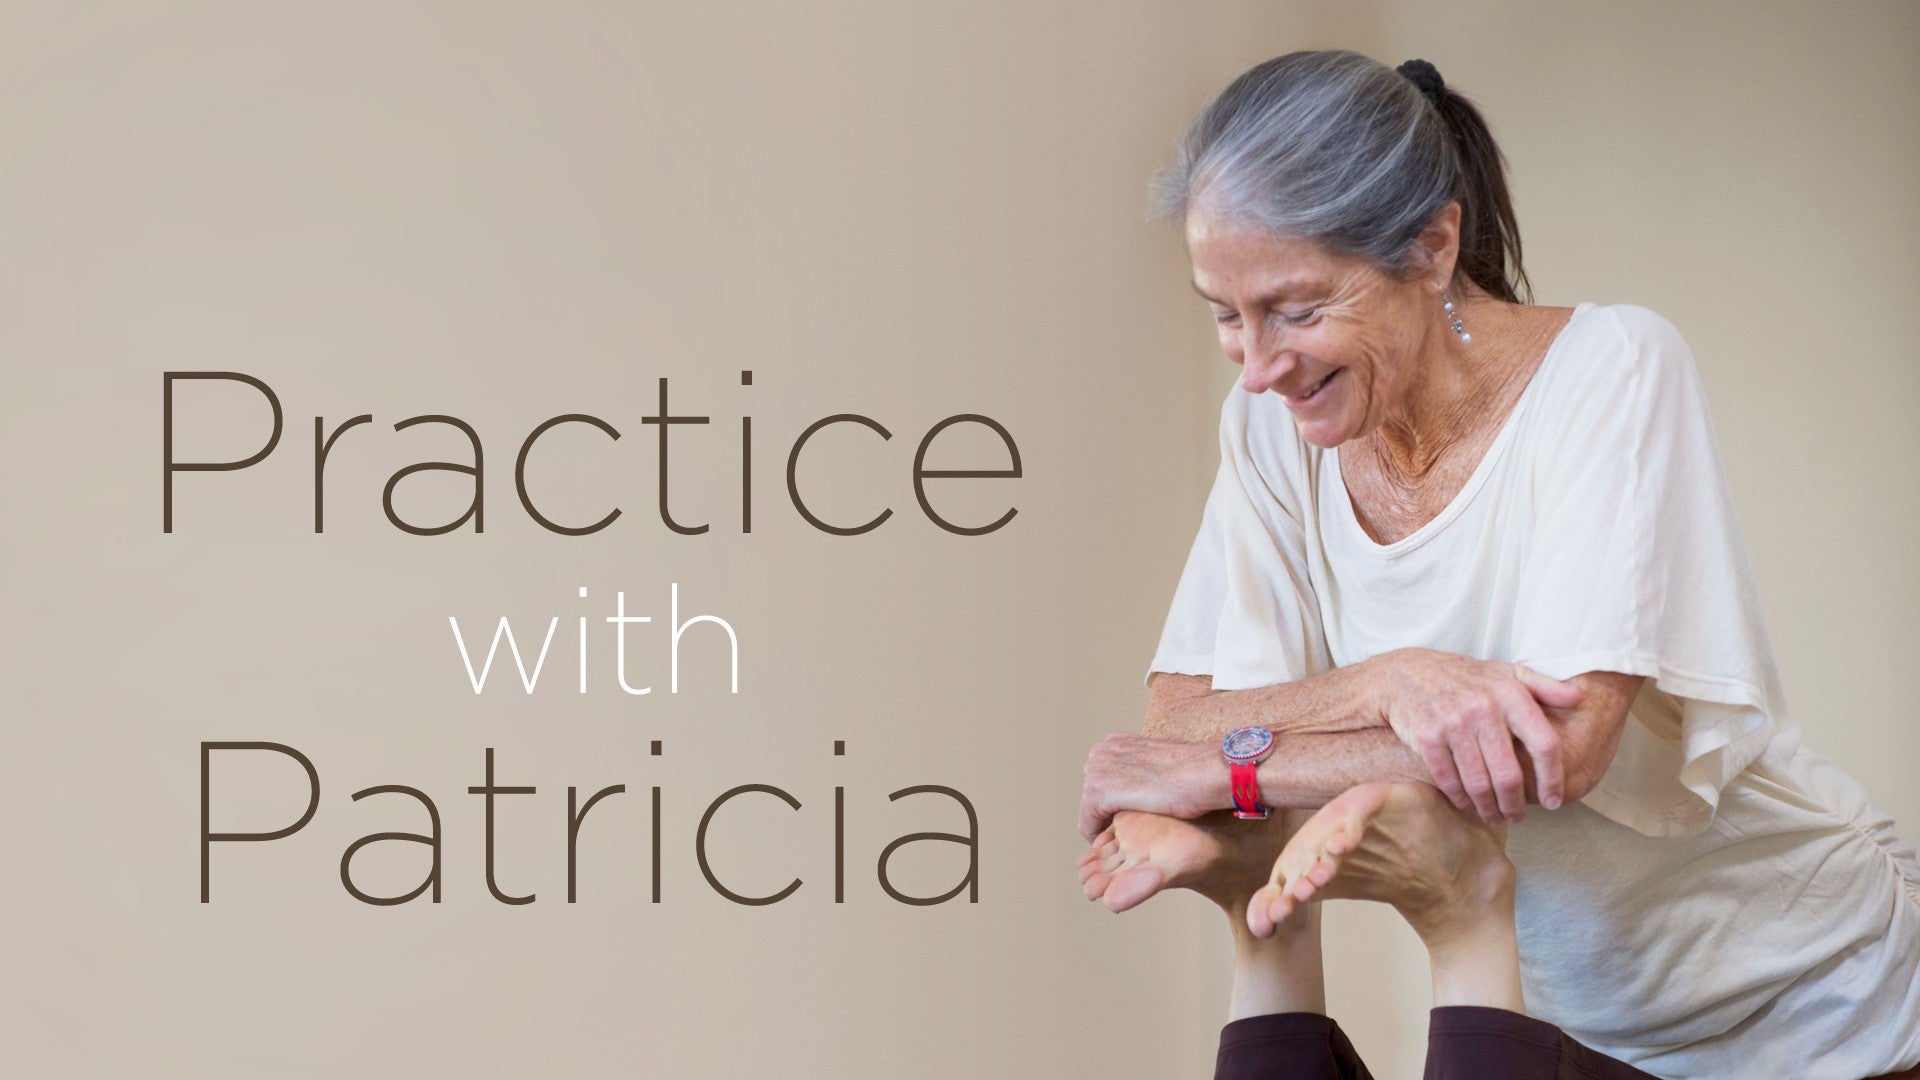
Practice with Patricia: Patricia Sullivan


Comments


I'm happy to learn this video lesson is bringing you to headstand again. This is why I teach - to help others! Blessings, Patricia


You need to be a subscriber to post a comment.
Please Log In or Create an Account to start your free trial.
