Description
About This Video
Transcript
Read Full Transcript
Hey, what's going on? Welcome. My name is Robert and this is Crow. So I'm going to show you a few different movements and core strengthening things to help you get a better sense of how to get in and hold Crow. Come on down to your back.
So there's a couple things you want to think about, it's not just the strength, but actually like the mobility to get those knees where you need them. So let's start with the knee to chest, okay? You can keep your left leg bent. So I think it's helpful if you spend a little time opening up the hip a little bit on the right side. You can do some circles, you can do the other side, bring your right foot down to the mat with that right leg bent, good.
Bring both in, bring them wide, bring them into the body wide, good. Take a happy baby, slide the hands up to the outer edges of the feet or a little lower if that's better for you and a little rock side to side. Just warm up through the hips, a little space in the hips, all right, okay. Next phase would be to bring the feet down for one moment, take a breath, okay, exhale. Now bend your knees, 90 degrees, legs are 90 degrees, feet lifted above the mat, okay.
Arms up, so press your palms up toward the ceiling like you are supporting the ceiling from coming down on you or you're pressing into the ground firmly, okay. Keep your neck long, head down, shoulders down. See what it feels like for you to draw your knees as close to your elbows as you can. What will happen is potentially your low back will lift and kind of curl up. So while pressing your palms up and your arms stay straight, okay, draw your knees as close to your elbows or your triceps as you can.
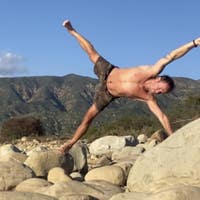
So you'll curl up through the low back, curl, curl, curl, keep your head and shoulders down. It's like you're tucking your knees in, you could bring your big toes to touch, squeeze the knees in, press up, keep the back of the neck long, good, low belly, I mean, there's just no way around it, your belly is engaged, hold, good, release. Now we'll add another layer to it, same exact thing, so on your exhale, tuck the knees in, draw the knees toward the elbows or the upper arms and now lift your head and shoulders up off the mat, slide your triceps up a little bit higher, so now you're a little tighter into the pose, keep your arms straight, palms up, belly engaged, good, how's your breathing? Take another breath, so really squeeze through the low, low pit of the belly and reach up, hold, crow pose, nice and release, okay, so that to me, roll up to sit, that to me is a super successful crow pose, right? If you've got a lot of fear of falling forward, that's legit, you're getting all the benefits in my mind, but let's see now, right, what it feels like to do that on your hands.
So I'm going to bring a block into play, so we'll put the block up on the highest level, what this will ultimately help, you know, you can place your head down, this will kind of help prevent you falling forward and also give you a little assistance to hold it and maintain it depending on, you know, how available strength is to you right now, okay? So let's try that and it could be a little lower if that's, I'll go high first and see how that feels. So but before we hit that, another warm up for mobility would be a squat, okay? So if you take your feet to the edge of the mat for like melasana and you take your elbow, left elbow, kind of guide your left knee open, so you might feel a big stretch up through your inner left thigh, try it through the right, little groin opener, okay? So now we'll put the position ourselves, so the way I like to do this is I bring my feet about hip width, okay, lift the heels, plant the palms down, ultimately this is what you're balancing on, so it's really important that you have a good connection, right?
Now place the knees for starters on the elbows, on the outside of the elbows, okay? Remember when you were lying down, your low pit of the belly was engaged, okay? Push the elbows into the knees and the knees into the elbows and feel like an immediate like strengthening right down to the middle, like core, okay? When forward, place your head on the block, your forehead on the block and then work toward maybe lifting your toes, so you have to put it a little bit lower, so you find your height, I'm gonna put the head down, I'm gonna flirt with lifting one toe, lifting another, maybe both, come down, take a breath, if you want something other than a block, if this isn't really working for you, put a big cushion out in front of you if you're at home, like a big couch cushion or a few pillows, so if you do fall, no big deal, okay? Crash landing is okay, it could be kind of fun.
I'm gonna move the block away, so now I'm gonna slide the knees, my knees up a little bit higher, above my elbows, my hands are about six inches, my thumbs are about six inches apart, fingers spread wide. So I'm in that position on my back, arms are straight, they're probably gonna bend a little bit and that's fine, low pit of the belly begins to engage as I lean forward, looking forward about a foot out in front of my fingertips, maybe lean into it once or twice, feeling more and more confident, lift one toe or lift the other, all right, one at a time or begin to lift your toes and release down. Take a squat, couple breaths, let's do it again, okay, so foundation hands, find your positioning with the knees, right, maybe toward the elbows, maybe up higher, lean forward, low low belly engaging, lifting your toes and land, okay. So feel it here for sure, feels good, there are a number of other things we could probably talk about but work with those for now, all right, see how it feels, definitely put some stuff out in front of you, have fun, it's not that big of a deal, it's just a posture. If you fall, get back up, fall, get back up, give it a shot, have a great day, thank you.
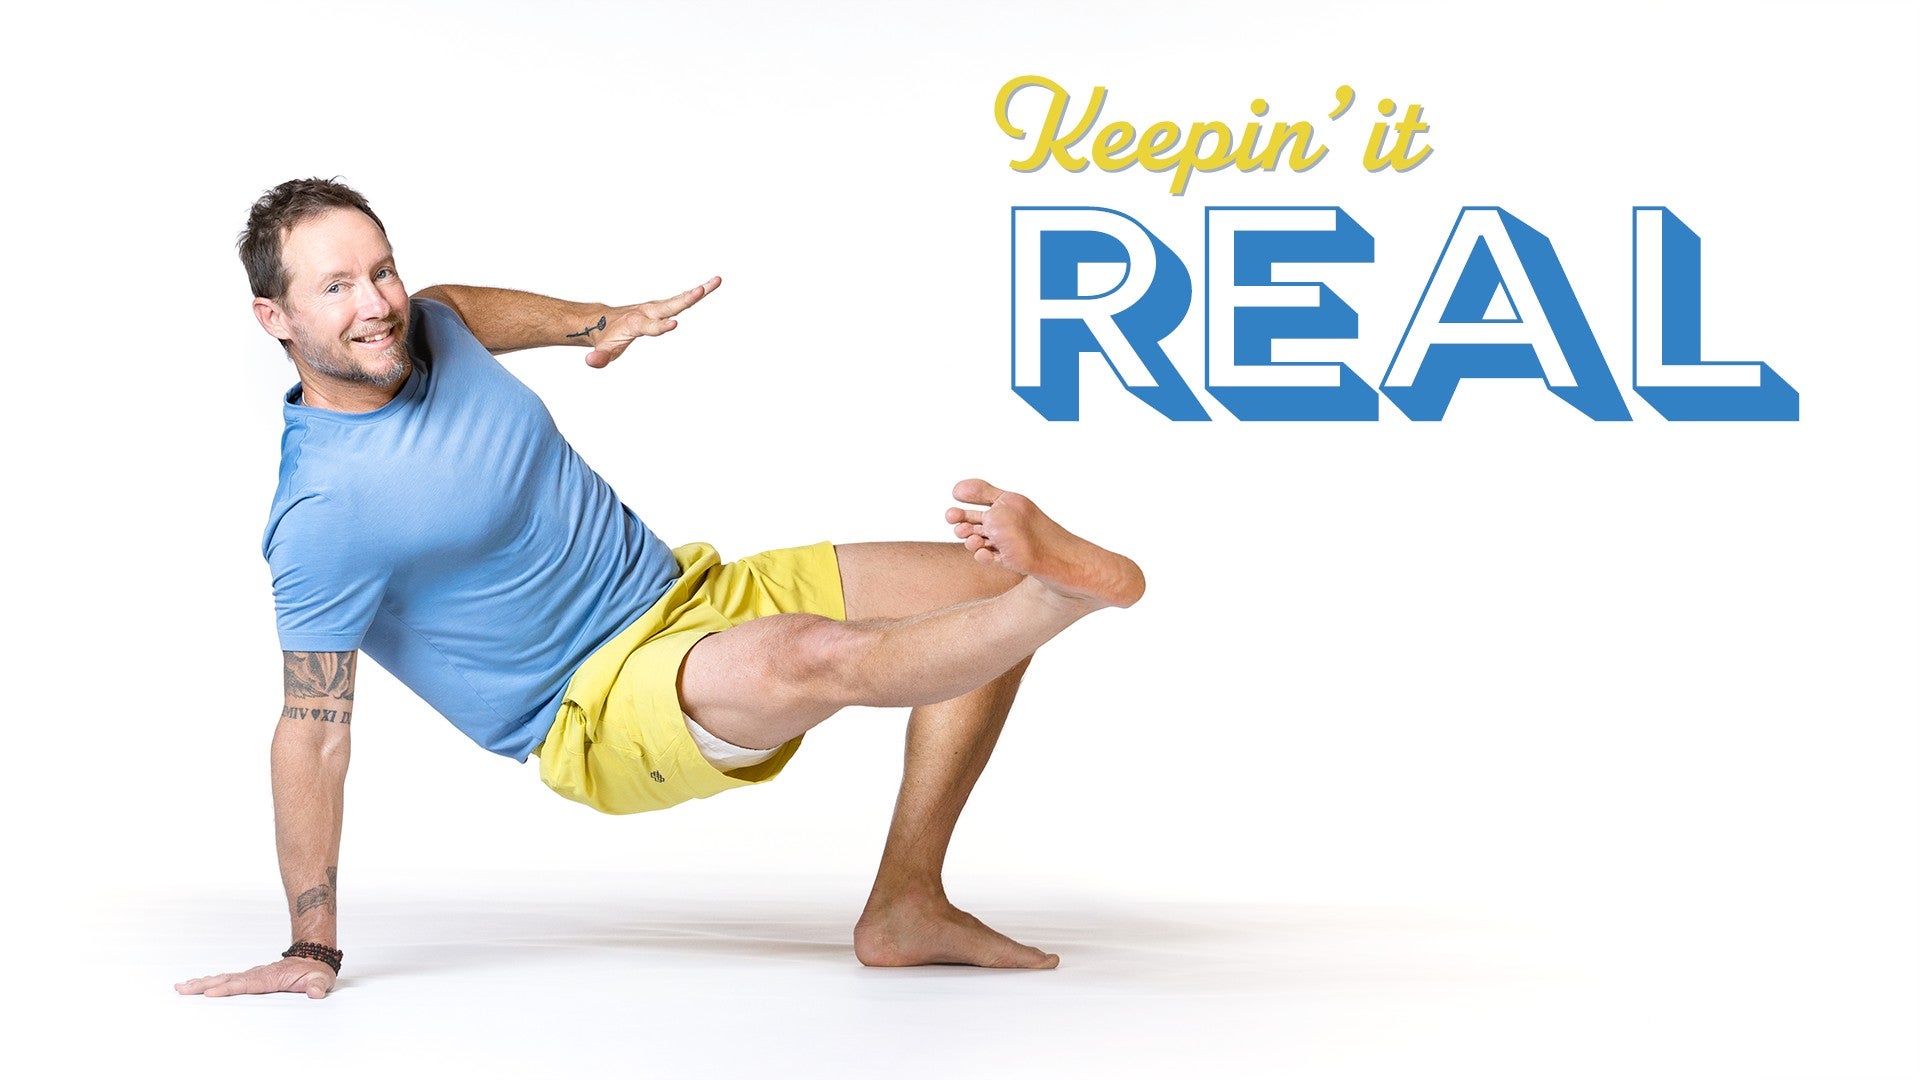
Keepin' it Real: Robert Sidoti


Comments

I would say that if you continue to practice the Yoga sequences, your hips will gradually open up enough to gain more range of motion for crow:) Unless there's some anatomical bone structure preventing the 'curl' as you mention, you should be fine, it just may take a bit. The knees don't have to go up too high, just high enough to reach the elbows or outer edge of elbows, then press elbows/arms into legs and legs into arms to create stability and you may find some success. Give it a try, keep practicing and definitely keep me posted!! Robert
I guess the hard work and practice has paid off for you! So glad the crow tutorial was helpful my friend 👍

I hear you on the wrist issue, it’s super common and a real bummer when trying to get into these postures. Try rolling a mat or blanket and placing the heels of your palms on the lifted edge, the idea being to minimize the angle of the flex of the wrist joint. So basically your fingers and upper palm (finger pads) touching ground, heel of palm on lifted surface:) Try that and the other tips in tutorial and lmk how it goes!!


You need to be a subscriber to post a comment.
Please Log In or Create an Account to start your free trial.
