Description
Transcript
Read Full Transcript
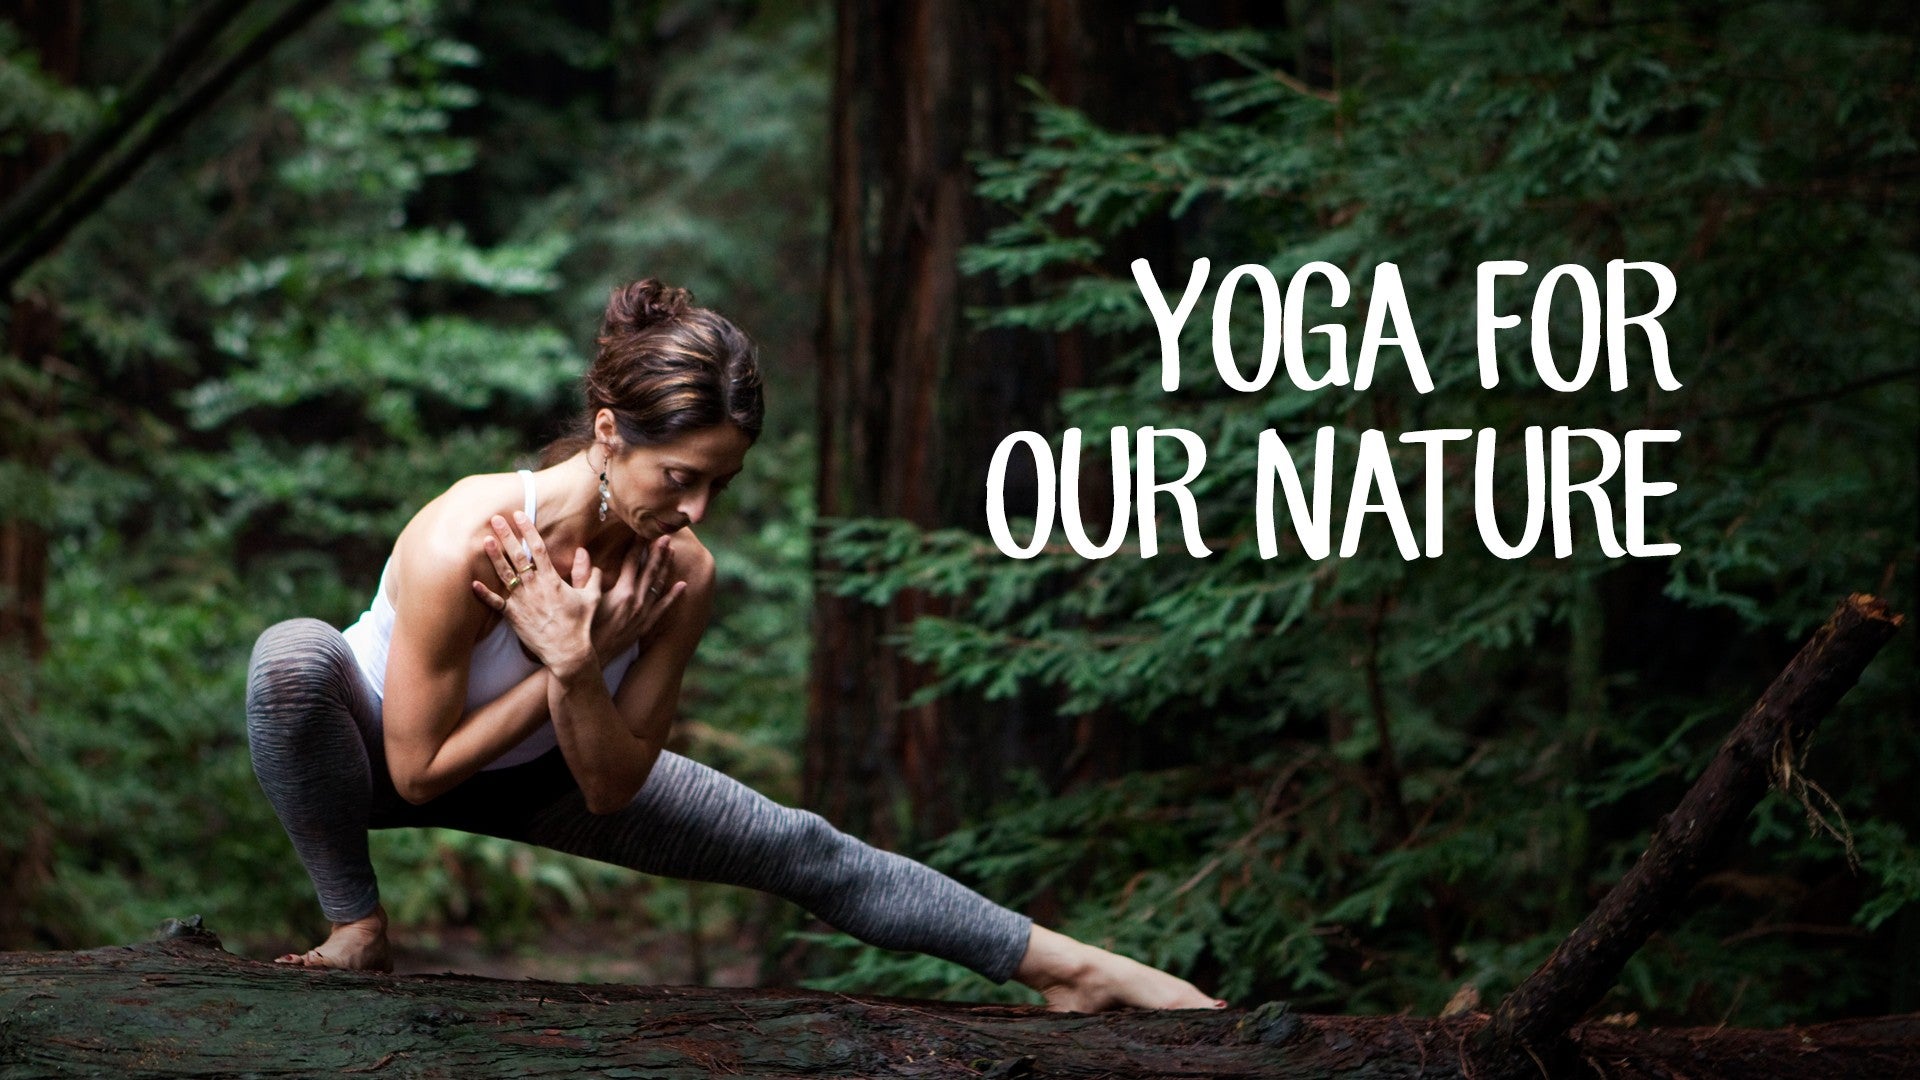
(water lapping) Welcome. This is a class that I'm gonna offer that has a lot of different movements that I've gathered from working with physical therapists over the years or working with injuries, so it's a simple practice that's trying to build more stability and strength in the core and not so much emphasize flexibility. So we'll do a portion on the back. We'll do a little bit on our belly, and then we'll end up standing at the end of the practice. So when you're ready, we're gonna start on our back with both of the feet on the floor.
And as you come to the ground, I'd like you to just bring your hands to the front of your hip points. And we're gonna try to do a little bit of movement with the pelvis. So the idea is just a very simple rocking forward with the bones of the pelvis. You'll notice your lower back comes away from the ground, and then if we roll the pelvis the opposite way, like the tailbone is pointing more up between your knees, we press the lower back to the floor. So see if you can orient that movement more from the actual bones of the pelvis, just to go back and forth a couple of times, so you're aware that there's a difference.
And sometimes it's not as easy as we think to just simply actually orient from the pelvis. We'll try to push with the back or the ribs, rather than the actual pelvis. Okay, so now if we can find what would be neutral, where you're not pressing down in your back and you're not lifting up in your back, you're neutral. We'll begin to slide your right heal straight out in front of you, and try to keep stable through the hips so that you don't have that popping sound in your hip, if that's something you typically do. And then you slide your heal back along the floor toward the sit bone.
We stretch the leg out. We go slow, you're actually working a ton of muscles through your inner legs, through the pelvis up to your lower abdomen. If you're going slowly without tipping the pelvis forward, or without dropping the lower back. 'Kay let's try your other leg. So slide your left heel out with a neutral lower back, and the heel comes back in.
And we're creating all that support and strength in the hip joint, a lot of times you won't hear that popping sound that we hear, I hear it most in triangle pose when people do that in Yoga class. But you'll hear it a lot in this action, too. Sliding the leg out. Okay, so that's one piece. So then if we roll over onto your right sides and use your arm like a pillow, if you go to a physical therapist, most often they're gonna teach you the clam shells.
I love these, and this is part of my daily practice, for sure. So if you take your left hand, just to have some immediate gratification of knowing what muscles you're working, open your palm on this outer left hip. The goal is to keep your hip stacked. In the first set, we'll just simply lift your top knee away from your lower knee. And as we do this, I would typically do them about 15 times on each side.
And as the knee is coming up and down, you wanna notice that your hips are not falling backwards at all. It's like you've gotta skewer through the hip, and all you can do is lift the knee as high as you can, making sure that you don't rock backwards at all. Okay, so, keep lifting the knee with your hand wrapped around the outer buttock area. 'Kay, so in a sense, stretching some of these deep hip rotators. So 15 would be what I encourage you to work towards.
We'll pause now and we'll add the second piece, where we stretch your top legs straight, and then slide your heel back an inch or two to engage your glutes, so it's a little bit of a back bend. The knee comes back in and it floats above the lower knee. As you exhale, reach back through your heel for your glutes on the left side have turned on. Go back and forth a few times. And this one, working again, toward 15.
And what's interesting here, sometimes we have to lean a little bit forward with your ribs so that you're balanced. If you don't feel much is happening, often times your leg is just going straight out and we're missing that part of reaching back. So just be aware of reaching the leg back until your glutes on this left side are turning on. The third one in that set, now the top leg just simply lifts straight up and down. And 15 rounds here.
And often times what we'll start to feel, probably by now, is that we're really working these outer rotators, and they're not muscles that you typically use in ordinary Yoga poses, or just in your ordinary daily life. Sometimes, what you could imagine to make it more interesting is that you had an elastic band between your knees, and you've got some resistance you're working with to work, more specifically, some of these rotators. Alright, so after about 15, typically we'll feel some heat through these rotators, and if you don't feel it now, you will maybe feel it a little bit tomorrow. So we're gonna roll over and do the other side. So as we roll over to the other side, I'll show you this way.
'Kay, so, we're here, so I can keep an eye on you. Take your hand to your outer hip, the knees bent. Okay, so the first one, very traditional, what's called clam shells. So lift the knee, lower the knee, lift the knee, lower the knee. And all the while, we're still keeping track that the lower abdominal muscles are engaged.
That will help keep your top hip from falling back at all. Feel with your right hands what's happening under the glute area, and you'll get a sense, quickly again, what muscles that you're actually firing. I still find it helpful to get some feedback from my hand that I'm actually working some muscles deep in my hip. The second one is where the leg goes straight, and we reach, not only out, but we reach slightly back. And then you'll feel your right glute turn on when we hit that back bend feeling.
The knee comes in and it stays above the lower leg. So we reach back, reach through the heel. If you need to on this one, you could also put your hand in front of you to just acknowledge that often times we need to reach a little bit forward with the ribs in order to get the full reach and extension of your back leg. 'Kay, so just go ahead a couple more times, whichever hand position you prefer. And then the third one, where the top leg lifts up, you come down, we're going up, and down.
And imagining you have an elastic band, so we've got some resistance that we're working on if you had an elastic band. If you were doing this practice regularly, you might like adding that extra challenge at some point. 'Kay, this is a fair amount of work, though, typically doing about 15 of each every day. And so, if we have a lot of instability in the SI joint area, or we have that stiffness in the lower back, where you're trying to build better posture awareness. Those are just a few of the great reasons why we should do this.
Okay, I could do that all day, it feels so good. So let's go out of that onto your back. So this last one on the back, if you take your hands, this is a real touchy-feely class, feet on the ground, reach down to feel the glute area. And what I'd like you to do is to press your feet down into the floor and engage both glutes. 'Kay, so you firm the glutes in the back of the leg.
And then lift your hips a few inches away from the ground, while feeling that your glutes are still working, and then keep them working as you lower all the way to the floor. And then right at the end, relax your glutes. Press down into your feet, squeeze the glutes, so you're firming even your hamstrings to your sit bones. Lift up with the glutes engaged. Keep them working, your length and your thighs forward, keep them working until you touch the ground, and then let go.
Try again, engage, root your feet, and lift, hands are feeling the glutes are working. And then we slowly come down, the glutes are still working. And then relax everything. Okay, grab your knees, pull the knees towards your chest, and just for a moment, stretching the back of the glutes. If you wish, rock a little side to side.
And then we're gonna come all the way up. As you come up, let's come to all fours. If you need to, add a blanket underneath your knees. So this next one, if we stay balanced on the left knee and take your right leg back so your toes touch the floor. And when the toes touch the floor, you wanna reach along through your heel.
And I'll typically keep my right hand down, and just take my left hand, run it across my sacrum area to make sure I'm even. And if I can hold the balance here, you could also put both hands down. We're gonna try to slowly raise your right heel up until you feel your glutes engaged in this way. We bring the leg down toward the floor, the pelvis is as level as you can feel as your leg moves up and down. Okay, so you have this glute engaging, you have some core work happening.
Some work all the way up into your arms and shoulders. And just try a few times to get your glute working. Now more in this asymmetrical way. Let's go ahead and release that one down, and then the opposites sides. And run your hands along that sacrum area to sense that you're even, and not falling to one side.
So we're already working a little bit more through the lower abdomen. Lift your heel, the toes point down to the floor, and then we're simply going a little bit up and down. Up and down, and your fingertips could even feel, again, the glute engaging right at the end range of your movement. That's all we need to do. Get the heel high enough that the back of the glutes work.
It's amazing how many Yoga poses don't really get the glutes working, or our awareness isn't there to work the glutes. So, wonderful area to work at creating a little bit more strength, 'kay, to improve our posture and more stability around the SI joints. Come back up to neutral, and then we'll have both knees on the floor. Alright, so the next one is more overall strength. So if we lower your elbows to the ground under your shoulders and then make a fist.
Lace your fingers together, press down with your wrist and forearms, and then step back one leg at a time. So, ideally, we're gonna try to work toward being here for a minute. And as we start to get the belly to lift, press down (hisses) and through the elbows, forearms, try to keep steady, downward pressure in your forearms. Often times, we fade in and out of the arms, which then makes us sink a little bit more into the back. So press down with your arms.
Imagine you've got a block in between your legs that you're hugging into. And you're floating just a little bit toward the sky. So if you find along the way that one minute is too long, at any point, feel free to drop your knees, take a break, but then try to come back up if you have a little bit more wind in you to finish the one minute session. Take a few more moments, let go of tension, gripping in the neck, and can you align yourself through the bones to feel like they're doing more work than your muscles. 'Kay, so it's a little meditation in some way on your anatomical alignment.
Couple more moments here, rooting down through the elbows, forearms, active through the legs, squeeze the invisible block in between the thighs. And then we'll slowly lower down knees, belly, chest to the floor. So when you come down to the floor, let your hands reach all the way back by your thighs, and you can bring your forehead to the floor. And when the forehead comes down to the floor, big breath so that your belly relaxes into the floor. Big exhale, belly towards your spine.
And then, when you inhale, I'll have you raise your right leg off the floor and lift your chest as you breathe in so you look down at the tip of your nose. Exhale, bring your forehead and the right leg down. As you inhale, lift your head and your left leg up on inhalation, exhale, lower the left leg and the forehead down. And we'll do that two more times. Lift your right leg and lift your chest on the in-breath.
Basic back strength, exhale, come down. Inhale, left leg, making sure when you lift that you don't have any compression in your back. Exhale down. Last time, lift the right leg and chest. Exhale down.
Inhale, left leg comes up. And then relax down. Okay, take your hands in front of you, and if you turn your head to one side and just let your hips rock a little bit side to side, as if someone's hand was there giving you a little bit of massage to release any gripping along the spine. Alright, and then from here, we'll take the hands beside the chest, and then come into our little counter pose with the knees either together or a little bit wide and sit back with your hips towards your heels. Walk your hands out, and just take a little child's pose to stretch through the back, head down.
If that doesn't feel good, sometimes we would use a bolster in between your knees. And if you can imagine a bolster, you would just use that to lean into so that you're not leaning down so far. And forward bends are some of the things that trigger pain in the back. Otherwise, one more breath in your child's pose. When you're ready, inhale, come up to all fours.
As we transition, bring your right foot forward, use your hands to press against your right leg so we can lift the spine, and then step your back left leg forwards. And then, notice where your block is. And we wanna grab your block, and then take the block up in between the inner upper thighs. And so one practice that's nice to work into maybe like a minute long stance, is to just notice your feet are parallel, come up to stand, and if you have your hands at the top of your hip bones, you're just gonna sense where your middle finger is. And where your middle finger is, is often where this greater trochanter is.
So we're just squeeze the head of that greater trochanter in toward the block. And often times as we start to work more of the legs, we have a little bit more space in the back, we have better posture, and we're using some of these muscles that people often refer to as the core muscles. Which in my definition, it definitely includes the inner legs. So just trying to get comfortable working your inner legs and squeezing, if you need to, put your hands back here at the side of your legs to squeeze in toward the block. And just noticing, as we gather this energy, the outer energy of the legs, inward, that there's this natural lift that the Yogis might call the Mula Bandha that you don't even have to think about it and it starts to actually work at drawing slightly up away from the earth.
And create that little bit more space that a lot of us need in our lower backs to maintain good, healthy posture. If you're comfortable, your arms could just rest at your side, and we just keep tuning back in and asking the legs to work. If you're someone who tends to lock your knees, just keep telling yourself to unlock the knees, but still work through the upper femurs. And sometimes in the beginning, we work really hard. We go from A to Z really fast, and sometimes there's that tendency to over-effort.
So just make sure that in your tendency to maybe over-effort, that we know we did that, and that we soften a little bit so that you can actually breathe within your stance. The longer we stand, the more you actually start to feel it's quite a bit of work all the way up through your back muscles to help stabilize you as you stand longer. And you can grow this practice to minutes, you can do your forward bends from this type of position, which is a great way to train your legs to engage as we work through our asana practice. So we also wanna feel like there's a little bit of this energy in our standing poses. 'Kay, make sure you unlock your knees.
Alright, thanks for your participation today in practice. Namaste.
Yoga for Our Nature: Elemental Yoga


Comments


You need to be a subscriber to post a comment.
Please Log In or Create an Account to start your free trial.
