Description
About This Video
Transcript
Read Full Transcript
Welcome. Today's practice is for the follicular phase, phase two. So this comes right after you're done menstruating. And it's the time during your cycle when your body is recruiting new follicles and growing follicles. And remember, as the follicles start to grow, the estrogen levels start to increase as well. So what's really important during this phase is to create lots of blood flow to the uterus, and just to get a bit of movement so that we get general blood flow throughout the cycle, throughout the body rather. So to start, we're going to start with a reclined souped abatakonasana. Just to open up this area, you'll probably want to bolster for that. If you don't have a bolster, then a couple of blankets will work just well. So lie down on your backs and you'll place the bolster right at the base of your sacrum. And you'll bring the soles of your feet together and the knees apart. If you'd like, you can place pillows or blocks underneath your knees. And we'll lie down on our backs. You may even wish to put a pillow underneath your head. We'll be here for a little bit and we're going to do some stretches for our arms and our shoulders. And the main reason is because that opens up the heart and the pericardium channels. Just starting here, relaxing, setting your intention. Maybe bring your hands to your belly, your lower abdomen. And just feel the warmth of your hands coming into your uterus. And if they're on either side in front of your hips, then they're pretty much over where your ovaries are. So feel the warmth of your hands starting to go into your ovaries. Send some white light, positive energy into your ovaries. And become aware of your breath, start to focus on nice, smooth, even breathing in and out through the nose. And then we'll take hold of our elbows. You can just cross the forearms and grab a hold of your elbows. And then reach the elbows first to the ceiling and then we're going to take them up overhead.
You should get a bit of a stretch through your shoulders here. And as you reach the arms up overhead, your front ribs will start to pop up. That's okay. If you feel a little too much pressure in your mid or low back, then just pull them down a bit. Kind of engage them down. Otherwise don't worry about it. Just let the breath be nice and deep. And see if you can really guide the breath both to your chest and then to your belly. So let that whole area just expand. Couple more breaths here and then we're going to switch the cross in our forearms. Relax through the neck and the throat. And then take your forearms back up to the ceiling and just switch the cross. And then we'll go to the other side. Just a subtle difference. We'll take a few breaths over here on this side. Relax any tension in your jaw and in your throat. As the arms go up overhead, a lot of times we'll tighten in our throat. And then take the forearms back up to the ceiling, then stretch the fingertips up to the ceiling, wrap the outer arms in towards midline, and then start to reach the arms up overhead. Reach through the fingertips. Lots of length through the side bodies. The thumbs may come to the floor or they may not. And then let's interlock the thumbs. Pull the hands apart, the outer arms in. And switch the thumbs so you're interlocking the other way. Pull the hands apart, outer arms in. And then release the arms, bring the hands back to the belly again, the lower belly. Again, setting that intention to grow the endometrial lining and to stimulate nice follicles. And take the hands to the outside of the knees. Gently guide the knees together. Roll over to your right side. And we'll just move the bolster out of the way. And come to a little child's pose. Take a couple breaths here. And from here, we'll lift our head, curl our toes under, lift the hips up and back. Just take a moment to pedal the feet starting to stretch out the backs of the legs. You can do this with the breath. Inhaling and exhaling. And then we'll settle back and center, reaching both heels to the floor, pressing the hands, pushing the hips up and back. And we'll look forward and we'll walk our feet to our hands. With inhalation, we'll lengthen. Exhale and fold. And inhale, come all the way up, reach the arms up overhead. And exhale, arms down. We'll do some sun salutations. Inhale, reach the arms, deep breath in. Exhale, hinge at the hips and fold forward. Head and neck, relax. Inhale, lengthen. Exhale, set the hands. Step back to the top of a pushup. If you're feeling a little fatigued after a period, just modify. Bring the knees down to the floor, point the toes and lower down from there, keeping the elbows close to the side bodies. Roll the shoulders back. Inhale, we'll lift up into a cobra or an up dog, your choice. And exhale, downward facing dog. So this is still the yin part of our cycle. Body temperature tends to be a little cooler because of the higher estrogen levels. And we're really trying to build substance, build the lining. So a little bit of heat is good because it warms things up and it creates blood flow. But too much can actually burn up the substance. So find a nice balance and that's different for all of us. You know your body best. And if your next exhale, we'll look forward and walk our feet to the hands. Inhale, lengthen. Exhale and fold. Inhale, reach the arms up overhead and exhale, arms down alongside the body. Again, inhale, arms reach. Exhale and fold.
Inhale and lengthen. Exhale, bend the knees, set the hands, step back, shift forward and lower down, your choice whether you want to modify or take full chaturanga. Inhale, cobra or up dog. And exhale, downward facing dog. Nice deep breaths in and out through the nose and guide the breath throughout the whole body, the entire rib cage. But even imagine that breath going into your uterus and into your ovaries. And if your next exhale, we'll look forward and walk the feet to the hands. Inhale to lengthen. Exhale to fold. And inhale, come all the way up to the top. Exhale, arms down alongside the body. We'll bend the knees, sit the hips back for utkatasana or chair, reach the arms up overhead. And then exhale, we'll fold, straightening the legs as we fold. Inhale to lengthen. Exhale, set the hands, step back and lower down. Inhale into cobra or up dog. And exhale back to downward facing dog. From downward dog, we're going to step the right foot forward inside the right hand and let's go right into warrior one, pivot your left heel down to the floor. And you can bring your hands to your right knee if you need help coming up. And with inhalation, we'll raise the arms up overhead. Just take a few breaths here, pull the right hip back, left hip forward, press your left leg straight. And with your exhale, bend a little deeper. Take one more deep breath in, maybe look up and touch the palms together. And then exhale, release it, set the hands, step back, shift forward and lower. Inhale to cobra or up dog. And exhale to downward facing dog. And we'll step the left foot forward, pivot the right heel down. And you can use your hands on your knee to help you up if you need that support. And with inhale, we'll reach the arms up, press the outer edge of the right foot, start to square the hips, lift the front hip bones, then sink the whole weight of the pelvis as you bend your left knee over the ankle. Take one more deep breath, maybe bring the palms together. And with exhalation, we'll release, set the hands, step back, shift forward and lower. Inhale to cobra or up dog. And exhale back to downward facing dog. And just take a few breaths here, inhaling and exhaling through the nose, long deep cooling breaths. And notice how those long deep cooling breaths have a nice calming effect on the mind. From there we're going to take Navasana. So we're going to come to seated, just cross your ankles and sit down. We'll bring the knees together. We're really doing this just to bring some blood flow to the abdomen. So lift the shins up, take the arms out. You can always stay supported under your knees and you can possibly even start to straighten the legs. We'll do a few rounds of this. So deep breathing in and out through the nose.
And with our next exhalation, we're going to lower down to Ardha Navasana. Tuck the tailbone under, lower down and continue to breathe. Shoulders stay up off the floor, toes pointed. If this is too much, keep the knees bent and hold behind the thighs. With your next inhalation, we'll come back up to Navasana and you'll cross your ankles and either rest here just taking a moment or you'll bring your hands down to the floor. Inhale, do a little lift up and exhale, release. And we'll do another round of that. So your option to either hold behind the knees, lift the chest or straighten the arms or both arms and legs. Breathing deeply in any variations, relax any tension that you don't need to hold the shape. And then exhale, tuck the tailbone under, Ardha Navasana for a couple of breaths. Continue to breathe. Inhale, come back up to Navasana and exhale, release. Cross your ankles the other way. Either take a resting breath here or set your hands down to the floor. Inhale, lift up and exhale, release. One more time. And remember, you can always modify especially if you're feeling really fatigued. Navasana, your variation, breathing. We'll lower down to Ardha Navasana here. Inhale, back up to Navasana and cross the ankles. Take a rest. Maybe set the hands and lift up and then exhale, release. We'll take that into a back bend. So we've engaged that area. Now we want to open up. So we'll take Ustrasana or Camel Pose. And this can be done either with the toes pointed or the toes curled under. You can also set blocks next to the feet so you can place your hands onto the blocks.
Most importantly, we want to make sure that it feels good on our back. And we're just getting a nice little opening here in the front of the hips and then across the chest. So we're really encouraging the flow of blood and oxygen. Tail hands to the hips with inhalation. We'll lift the chest, pull the shoulders back. Let the head and neck kind of follow the curve of the rest of the spine. Then you can take your hands either to the backs of your legs or down onto your blocks or reach for your feet or heels, ankles. I'll take a few breaths here. In and out through the nose. And with inhale, we'll come up and exhale. Let's just sit down onto our heels. Bring your hands to your thighs. Close your eyes and breathe. And from here, we'll just straighten the legs out in front. For Dandasana, your staff pose. Your toes are pointing to the ceiling. Tops of the thighs are pressing down, sitting bones pressing the floor. Now press into your hands, pull your upper arms back, lift your chest up and just breathe. Then we'll reach the arms up overhead. With exhalation, we'll reach forward. You may be able to hook your big toes with middle and index finger or you may bring the hands outside your shins or to your shins. With an inhalation, we'll lift the chest and with exhalation, we'll fold out over our legs and breathe again. As you breathe, guide that into your entire torso, including the lower belly. A lot of times the breath just gets trapped in the lungs and we don't even let the belly expand with the breath. Sometimes we intentionally do that for our yoga practices, but it's also really helpful to just let the breath expand and the belly soften. With an inhalation, we'll straighten the arms. Exhale and release. Take Janu Shershasana. We'll bend the left leg back and bring the left foot to the right thigh. This is one option of Janu Shershasana. When you do this, the knee will be in front of the hip. The hips won't be 100% square, but you can work the effort of pulling the right thigh bone into the hip socket and the left hip forward so that you're starting to square the hips. Another option is to take the knee a little wider and point the toe and then again find those efforts. The right thigh bone into the hip socket and the left hip forward. That'll give you an opportunity to open up a little more through the hip flexor as well or deep inside of that left hip. Your hands can go on either side of that right shin bone. Inhalation will lift the chest and with exhalation will fold out over that right leg. Relax your shoulders and neck and jaw and just breathe.
Inhale, look up, exhale and walk the hands back. Let's take this right into Janu Shershasana B. A couple of ways we can do this. We can either point the toes forward and let the sole of the foot start to be open to the ceiling. Then we'll lift the hips up and we'll bring the heel right underneath the perineum. In this variation you'll actually have to start to engage right through the perineum. Do a bit of like a Kegel or a Mulabonda. You can slowly let the weight of the hips go down. This isn't going to be possible for everyone. The other option is to try this with the toe pointed, the left foot pointed and then you lift up and let the left knee come in a bit. You may be able to find it here. A third option is just to repeat Janu Shershasana A. Coming into your variation, take a deep breath in and then exhale lower. Including this bit of Bandha Kegel helps to create some tone through the pelvic floor and also just to seal essence in. Let's just have that intention here. We're sealing our essence in, into our uterus, into our ovaries. As I said, the most important thing is that the chi follows our intention. Then we'll inhale, straighten the arms, exhale and release. We'll straighten the left leg and let's take that sequence on the right. We'll fold the right leg back for Janu Shershasana. Maybe you'll do the same variation as the first side unless there's a big difference side to side. We'll take the hands to the left shin, foot or floor. Inhale and lengthen and exhale fold. And then inhaling, straightening the arms, exhale, release and then setting up for B. Lifting the hips up and coming onto the heel, letting the knee come forward a bit or doing this with a pointed toe and take the hands on either side of the shin. Inhale, lift the chest and exhale fold. And you can use your hands for support, especially if it feels a lot like a lot of pressure in that point. And inhale, straighten the arms, exhale and release. Lift your hips up, coming off of that heel and just straighten the legs and shake out your knees. And we'll come into Gomukhasana. So Gomukhasana will bend the left knee first and you can point the left toes so that your heel is just outside of your right sitting bone. And then you'll take the right foot over to the outside of your left hip. Eventually the knees may come stacked. Now if this is too much on your knees or too deep of a stretch in the hips, you can elevate your hips. It can also be done with the left leg straight, especially if it puts a lot of pressure in that left knee and you can hold the right knee into your chest. Still get all of the benefits of that posture there. And finding your shape, bringing the hands out in front of you for support. And as you use the hands, we'll use them to press a little bit of weight into the hips and then you can start to walk the hands forward and maybe start to fold forward. And just kind of drop in to your lower abdomen. Maybe you feel a bit of sensation there. Maybe you just visualize light there. Visualize lots of follicles growing. Nice thick uterine lining developing. And then we'll walk the hands in and we're going to change sides. So we'll cross the right leg first and then the left over the right, bringing the feet outside the hips. Remember if you're modifying, then the right leg will be straight. The left knee bent and you'll hold on to that left knee with your arms and then just kind of monitor how low you go into the pose. And then placing your hands to push a little weight into your hips and then starting to lower down from there. Relaxing neck and shoulders and jaw.
And then we'll slowly walk the hands in and we can prepare for Shavasana. So if you have a bolster, I'm going to take my Shavasana with a bolster underneath my knees just for a little extra support. You may want to put on some layers so that you stay a little warmer. Your body temperature is already a little cooler, but you're going to cool down even more as we go into our relaxation. Just lie down on your backs. Let your palms be open to the ceiling, your shoulders underneath you. Get really comfortable and let your jaw and cheeks relax, your breath relax. Maybe you keep the arms alongside the body or possibly you'd rather keep your hands on your ovaries and your lower belly or uterus. Fully enjoying this shape, this posture. Letting everything just settle. Put forward a little bit of effort and now you just surrender and see what seeds sprout. All right. Thank you. You can stay here as long as you'd like.
If you're ready to come back out of your shavasana, you'll start to reach your fingers and toes. And when you're ready, you'll reach your arms up overhead. Take a deep breath in, and then bend the knees, roll over to your right side. Cross there for just a moment, and then press your left hand and come up to seated. Cross the ankles, bring the hands to prayer position at the heart.
Thank you so much for joining me today. Namaste.
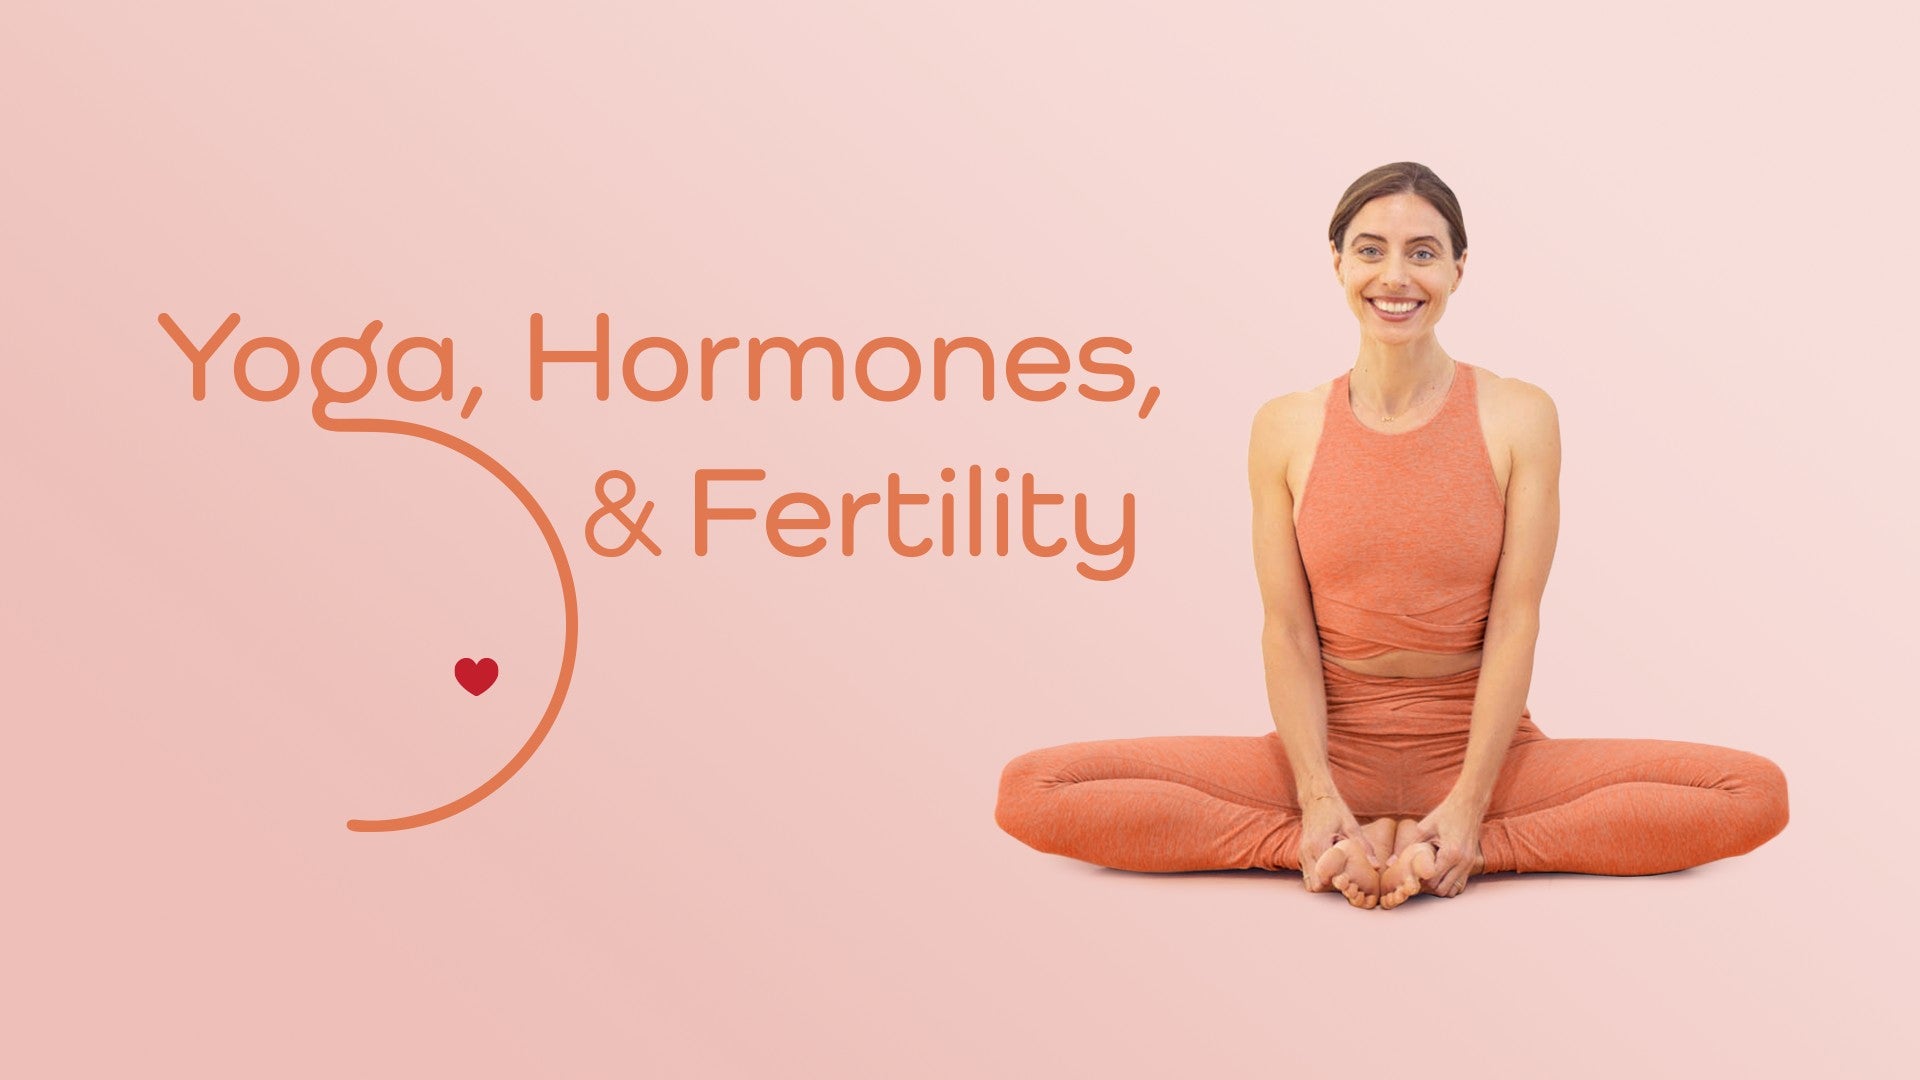
Yoga, Hormones, and Fertility: Fertility and Conception


Comments


You need to be a subscriber to post a comment.
Please Log In or Create an Account to start your free trial.
