Description
About This Video
Transcript
Read Full Transcript
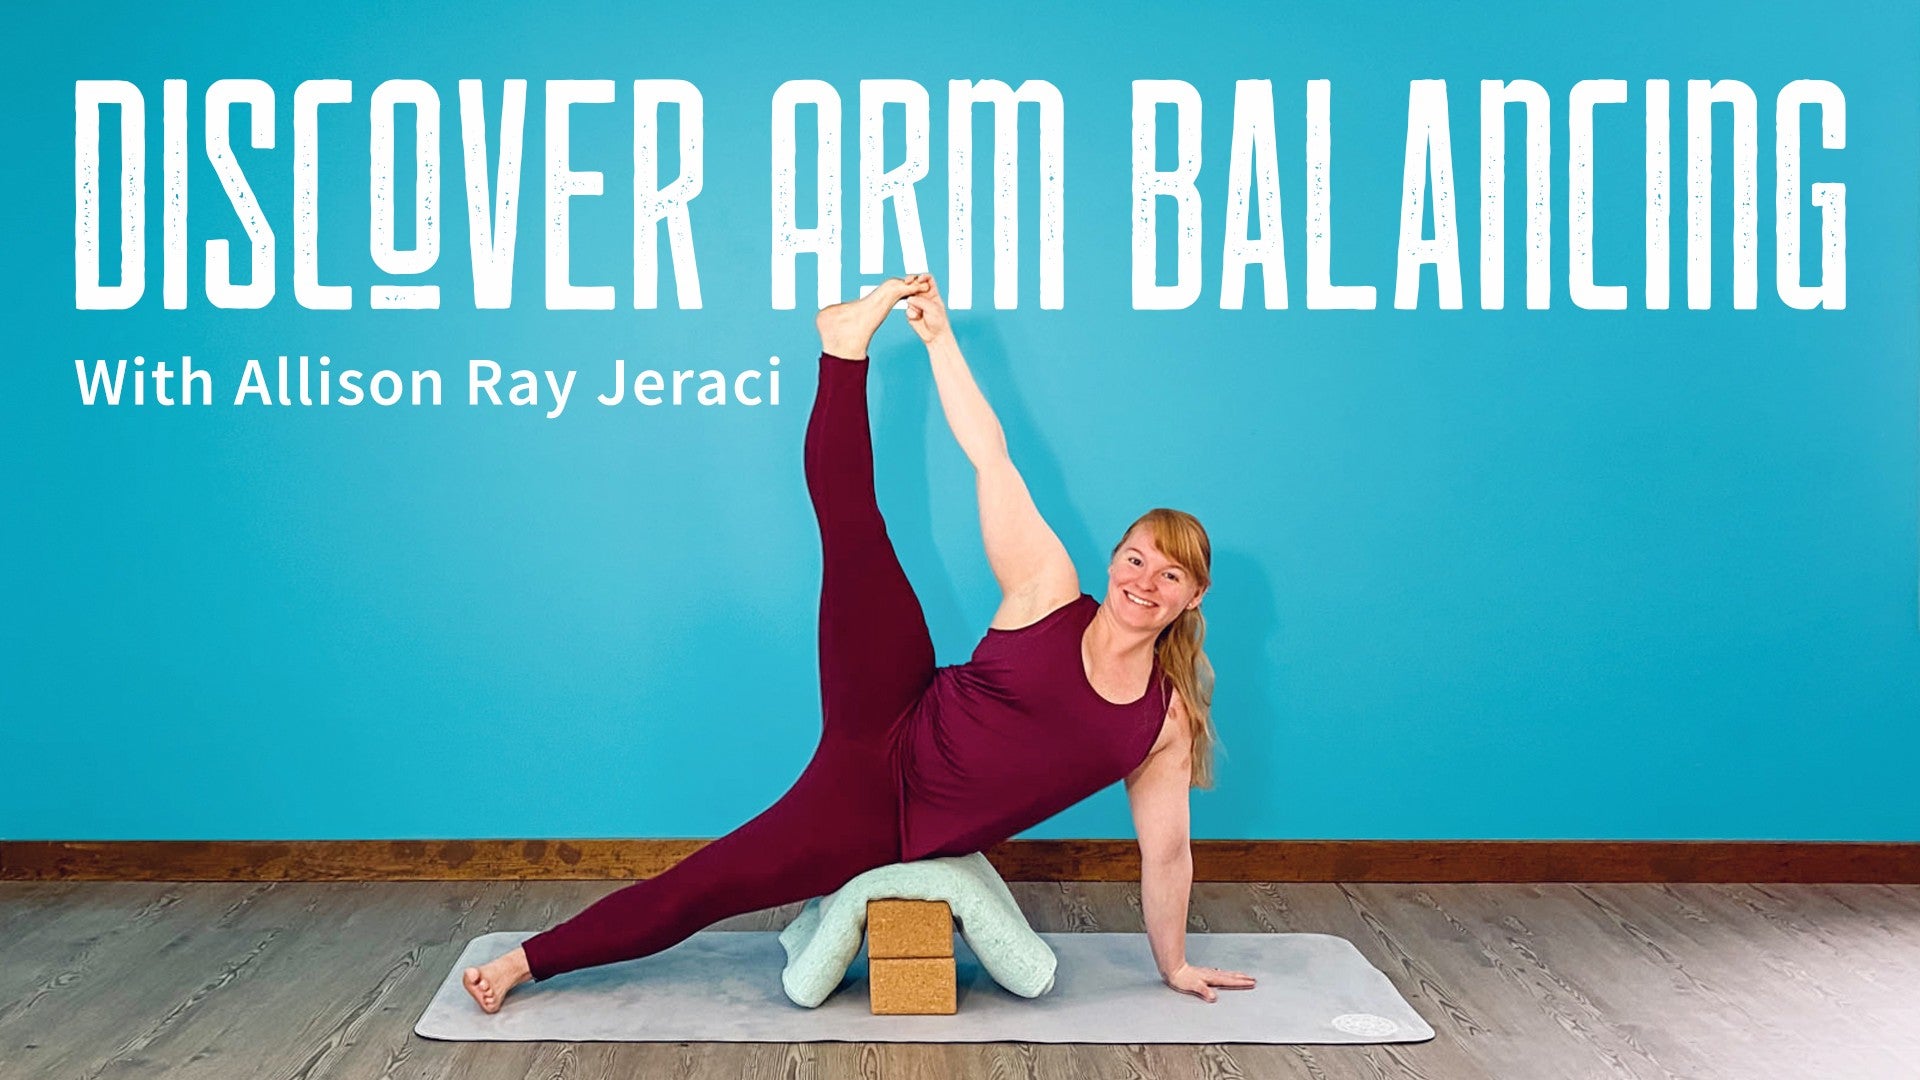
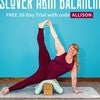
Hi, everyone. Welcome back. Today we'll be exploring weight shifting and ekapada bakasana. So for today's practice, you'll need two blocks and a bolster. And the purpose of this class is so that we can feel these subtle movements, right, when you go from bakasana, from crane pose, into ekapada bakasana, into a one-legged bakasana. And this can be really tricky, right, because you're on your hands, you have your weight pretty much evenly distributed over both of your arms, and then you start to shift the weight to extend the back leg back. So if you're working on this transition, this is going to be a great class. If you're still working on your ekapada bakasana or your bakasana singularly, then all the prop variations are going to support those practices, as well as giving you a little bit of a glimpse into this transition. So come into any comfortable seated position. I'm going to sit on the block, so you're welcome to do the same or sit propped in any way that feels comfortable for you. Okay. And bring your hands out in front of you. Turn your palms to face up. Take your right hands to hold onto the base of your left palm. Okay. And so I'm going to press my thumb into what I'm going to say is the outer edge of the base of the palm. Okay. And with my thumb, I press down, I'm going to slide my thumb all the way to the base of my pinky knuckle, and kind of squeeze my pinky, give it a little bit of traction. And then I pause and press into the tip of my pinky finger. And you'll repeat that process down each finger. So I'll take the thumb, the index finger is holding onto the back of the hand. Feel the base of the knuckle where the finger meets the palm, right? Slide over your rings if you're wearing any. Pause once you get to the tip of your finger. Give it a little squeeze. And then feel, right? There's even that shift from that feeling of the pressure on the fingertip to when you release. And this starts to give us more awareness in our hands. Our hands do so much for us, right? We type, we text, we eat, brush our teeth, all those good things. Okay. Now you're going to come to the thumb base and slide your fingers down to the index finger knuckle and all the way to the tip of the index finger. And so in Ekapada Bhakasana, right, we want to be able to be as in touch with our hands and feeling as we can so that we can feel when our shift in weight goes to one side or the other, when the pressure becomes lighter or heavier. Hold onto the base of your thumb.
Slide all the way down to your thumb. Give it a little squeeze. And then release. Okay. Take your left hand, bring the fingertips down towards the floor. Take the right hand on top of the back of your hand and press your left hand towards your chest. Okay. And then without the left wrist unfolding, make the pressure a little bit lighter. So feel your right hand slide away from the top of the left hand. And maybe you'll feel the underbelly of the forearm, those muscles engage to keep the hand in place. Create a sense of warmth and the arms, the forearms. Okay. Do the opposite. Pull the fingertips up towards the ceiling. Take your right hand to the left palm. Pull the hand back. So you're in wrist extension, something we've explored all throughout this season. Okay. And then start to slide the fingers away, feeling the shift in the weight. Okay. Feeling across the base of each knuckle until there's no more contact between the hands. And now feeling the muscles of the front of the forearm activating to maintain wrist extension. Okay. And then release and give your hand a little shake. Okay. Now you're going to hold hands. Okay. With yourself. And then from here, let your left elbow come in towards the side of the body and kind of try and keep it in place there. And as you do that, you're going to pull with your right hand without losing the interlocking of the hands. So I just give a little traction to my wrist and then little baby, baby, almost imperceivable from the exterior, from watching your hand circles. So you're tractioning and circling the wrist, keeping your elbow in as much as you can so that the arm isn't sort of moving as you're doing this traction and then circle in the opposite direction. Okay. And you may feel that your fingers are sliding away from each other. That's okay. Okay. As you start to really lose grip, come back to stillness with the wrist. Keep sliding until that interlock releases. Okay. And place both hands down onto your lap. Close your eyes for a moment. I notice your left hand compared to your right hand. What differences can you feel? And perhaps which wrist feels better in this moment. So this work is slow, maybe not very attractive, but yet inside, right? We can feel that there's a vast difference between the two. So taking a little more time to create this sense of awareness in the hands, warmup will help tremendously, not only in this arm balance practice, but in any. Okay. So let's switch sides now. Okay. Start at the base of the palm on the outer base. So towards the pinky side of the hand, squeeze the thumb into the palm and slide the hand down. This is also going to make it easier.
So if I say to shift your weight into your fingertips, right, that awareness of what it feels like to push into your fingertips is already there because you're squeezing your fingertips, right? We've created this awareness or shifting your weight to the outer edge of the hand. You already know where that is. Okay. I'm going to the fourth finger, right on down. Okay. Little traction as you squeeze in full. Okay. Center. And without any time constraints, right, you really could spend a lot more time doing this or do a few passes on each hand before switching sides. Okay. Base of the thumb. Good. And then release. Okay. Take your hand, palm faces down, pull the fingertips down towards the floor. Left hand comes to the back of the hand, draw the fingertips down slightly in towards your body. So your passive range of motion in wrist flexion. And then feel where your fingertips are making contact with the back of the hand. And what happens when you slide the left hand away? So you're concentrating on keeping this amount of wrist flexion, but also perceiving the shift in weight across the back of your right hand. Okay. And then hold that for a moment. Then do the opposite. Come into wrist extension, pull the hand back, push forward through the heel of your hand and slide across, right? So in Ekapada Bakasana, you're shifting from side to side rather than front to back. To get into Bakasana, we might be sliding front to back, but Ekapada Bakasana is shifting from side to side. Okay. And then release the fingertips, hold the wrist extension. Good. And then release. Okay. Check it out a little bit. Interlace your fingers, hold the right elbow in towards the side of your body. Okay. Pull with the left arm. So your left arm, it's kind of hard and a little trippy.
Okay. So you're pulling with your left hand and then your left arm is leading the motion of this circle. But can you let the right hand relax as much as possible? I think sometimes we start to dance with the wrists. So try to keep the right arm relaxed, but also steady as the left arm guides the motion. Okay. And then circle in the opposite direction. If you had a table, right, you could do the same thing. Support the elbow on the table as you let the wrist go. Okay. And then slide the fingertips away from each other. Keep pulling on the right fingertips with your left hand. It's like a magic trick. Okay. And then release. Take out both of your hands. Transition onto all fours. Move your block aside. Okay. Take your hands onto the mat about shoulder width apart. Okay. Notice the sensation of the hands and the wrists, how they're feeling here. Okay. Do they feel a little more spacious than before? From here, press your finger pads into the mat and lift the heels of your hands away from the mat. Keep the fingertips on the mat. Keep the base of each knuckle on the mat. Lift the thumbs. Okay. You can shift back. That's going to make it a little less intense. Shift forward. That'll make it a little more intense and slowly release the heels of your hands back down to the mat. So it's incredibly strengthening for the muscles of the hands and the forearms or the wrists as you do this. Okay. One more. Good. Then from here, we're going to take a note from my cats, which is kneading. Okay. So you're going to shift from side to side, just like a cat would need. You're going to lift your palms as you do this. Okay. And then you can kind of grip with the fingertips as your hands come away from the floor. Feel as the left thumb comes down, weight comes down into the index finger mount, into the inner palm, to the outer palm. Maybe even a little more weight goes into the outer palm as you lift the right hand up. Okay. And then the right thumb comes down, index finger, inner palm across the base of each knuckle to the finger pads and back to the center. Try not to overthink it, right, with each placement of the hand. But how does it feel as you shift from side to side? Good. Okay. And then come back through center. Inhale, lift the head forward and up into cow. Exhale, push down, round your spine into cow. Inhale, forward and up into cow. Exhale, push down and round. And then here you can even play with that kneading. So inhale into cow. As you exhale, push down, shift your weight into the left hand, lift your right hand up. Place the right hand down, inhale up into cow. Exhale, round the spine, weight shift over to the right, pull the left palm away. Okay. As you're shifting side to side, push into the left hand, feel that left shoulder blade reach down towards your pinky finger, your left pinky finger. Inhale into cow. Exhale, round, push the right shoulder blade towards the right pinky finger. Now as you do this with the hands, notice what's happening in the legs. Can you feel the weight distribution change from even to a little more weight into the right leg when you're balancing on your right hand, back through center, and then the weight shift. So the right leg gets lighter, left shin gets heavier as you shift onto that left hand. One more round balancing on your left hand and then release. Okay. Tuck your toes under, lift up and back into Adho Mukha Svanasana downward facing dog. Pedal out the feet a little bit here. Now take your awareness back into your hands. You can keep pedaling or come into stillness, but feel what parts of your hands may contact with the mat. Do you feel space between your hands and the mat? Do you feel yourself pressing into the inner hand of one hand or the outer hand? And what's the situation like for your other hand? So a lot of the work that you might do in Tadasana for a balancing practice is very applicable for your hands. Good. Okay, then from here, we can start to push away. So I'm going to press into my left hand like we were doing in tabletop, make the right hand lighter, step the right hand back, and then push away with the right hand, that right shoulder blade is moving towards the hand as you lift the left hand away from the mat, place it slightly behind the right hand and below your left shoulder, push through the left hand, right hand. So again, sort of that cat kneading action as you walk your hands back into Uttanasana. And then you can place your hands on your legs, bring your blocks back over, or rest the hands on the mat. And so now you're gonna do the same thing as you walk forward, reach the left hand forward and notice how more weight comes into that left foot. So the same thing that's happening in the weight shifting in the hands is happening in the lower legs too. Okay, and as more weight comes into the left hand, I reach through my right shoulder blade to place my right palm down. Not only is the weight shifting into that right hand, but also into that right foot. And reach forward through the left shoulder blade, place the left hand down, feel the weight roll onto the left hand and the left foot, reach with the right hand. Okay, so this might be coming into an extra long downward facing dog. Left hand forward, let the heels lift, they do not have to stay on the floor, the knees can bend, all that is good. Get really long. Good. And then from there, lower your knees down to the floor. Okay, walk your hands back. And from here, let's come into a lunge. So grab your blocks, bring your blocks to the top of the mat. Okay, and take the blocks just a little bit over to the right side of the mat, you'll step to the outside of the left side of the mat. Come up into a kneeling stance, shift your weight over onto the right shin, start to bring the hands out to the sides or down by your hips, lift that left leg out in front of you and see if you can balance there a little bit on your right shin. Okay, then place the left foot to the outside of the blocks, take the hands to your blocks, tuck your right toes under, lift the right knee and push back through your right heel. Then from here, come into a little bit of cow and cat, reach the chest forward and up, push down around the spine. If you need to adjust the blocks more here, go ahead and do that. Don't worry if the block has to come to the outside of the mat, go for it. Don't live within the confines of your mat. Okay, lengthen out through the spine, grab the block closest to you, take this block and bring it to the middle of your shin. You can choose the height, right? If I choose that height, it's going to be a little bit too long for me. So I'm going to take the lowest height of the block and bring my hand out in front, we'll step my right foot in just a little bit and create little bakasana arms. So I'm driving my left elbow into the block which goes into my shin, I'm driving my left shin forward as I push into my hands. Okay, then from there, you can release the block, lower your right knee down to the mat, come back into that kneeling position, untuck the toes if you can, shift your way back into the right shin, lift your left foot up, balance there, pushing down through the right shin. So think of ekapada bakasana, you're pushing down into the shin, into the back of your arm, right? Okay, and then the left foot steps back, shift your blocks over to the left side, shift your weight into that left shin, okay, lift the right foot up, see what that's like and start to bring the knee up, place the right foot down, hands to your blocks to the inside of your right foot, tuck your left toes under as you push your left heel back, hold the chest forward and try to lift the left thigh as if you had a little string the back of your left thigh, you're pulling the thigh up. Okay, come into a little cow and cat. As you come into your cow and cat, try to keep your hips relatively steady so the hips aren't lifting up and down as you're articulating your spine. Push down through the hands as you round. Okay, then come back through center, pick a height that works for you with the right block. Okay, take the right elbow, okay, right in front of the block. If that's uncomfortable or short, you can bring the right back of your arm right to the front of your knee. And then take the other hand out or support the left hand on the floor block, push through your hands, okay, maybe even round the spine a little bit as you reach back through your left heel. Okay, and then from there release the blocks.
Lower your left knee to the mat, shift your weight back into your left leg, point the left toes, elevate your right foot. See what that shift of weight is like into the back leg. Keep pushing down through the left shin as you start to take the right leg back. And then when you're ready, place the right leg or shin slowly down to the floor. Okay, come onto your back now, grab your bolster. If you don't have a bolster, you can use your two blocks as well. And we'll come into this so it's that transition from bhakasana into ekapada bhakasana. So you'll take the bolster in your hands, have the hands about shoulder width apart, pull the knees in towards the chest, and then bring the knees to the backs of the arms. Then from here, feel the shift of the weight as you push your left knee into the back of your left arm and slowly extend the right leg forward. Push up into your bolster, pull the left knee into the back of the arm, reach forward through the ball or the toes of your right foot. And now take the right knee, pull the right knee back in, feel the weight shift back onto the entirety of your back, then shift your weight over to the right, feel the right knee push into the back of the arm or into the elbow wherever you are. Feel how you shift to the right side of the body. So the left side of your back feels lighter as the touch against the knee gets lighter. And you slowly extend your left leg forward, pull the right knee up. Now as you shift back, feel the weight that's on the right side of your back, shift over to the left. Okay, lower your feet down, bring your bolster down, rest there for a moment. So it gives you an idea of what's going to happen. You won't be able to feel anything against your back in a freestanding version. But we're able to feel it when we're supine. So there are things that are shifting and moving that we may not feel when we are balancing on our arms. So roll on up however you'd like. Now we'll feel it on our arms. So grab your blocks, make your block bench, have your blocks just a little bit away from each other. You can fit maybe a little bit wider than your fist between the blocks. And take the bolster right on top. Okay, and be aware of where your blocks are because you'll have the most support in those areas when you are on your bolster. Okay, so I want to kind of align my shins right over the blocks. Okay. So from here, we're gonna lift up, take the shins to the bolster. If you need to be higher, you can do this on a chair, you can elevate with more blankets. Okay, take your hands in front of the bolster about shoulder width apart, pull your forearms back into the bolster, and then see if you can crawl your knees up to the backs of your arms or to your elbows, make contact in some way. It's okay if the contact isn't there. Okay, because you're still going to feel the shift of weight. So I'm gonna feel more weight come into my left hand, maybe even to the outer edge of my left, the pinky side of my left hand. Then from there, as my left shin pushes down into the bolster, my right shin gets lighter. I push through both hands. So the right hand is very active, almost start to straighten the right elbow as you slide the right leg back. Okay, and then very slowly, give more weight into the right side of your body, as you bring the right knee back and place the right shin onto the bolster. Tap your toes together, then feel the weight transfer over to the right hand. Feel the weight in the outer edge of the right hand, you can counter it by pushing the right thumb down, get lighter in the left side of the body, feel your back shift to the right, slide the left knee back. Good. Okay, and then as you're ready, feel the weight transfer from the right side of your body, back to the left, back into your bhakasana. Okay, and from there, shift your weight back, toes land on the ground. And there you are.
Alright, so let's come into a child's pose, and turn your bolster and remove the block that's closest to you. You can either bring that block aside, or you can make a higher bolster setup for you. Okay, pull the bolster in towards your inner thighs, and make your way down. Turn your head to one side, and release your arms, turn your palms to face up, and take a few breaths here. And slowly, take the hands underneath your shoulders, press down through the fingertips, lift the head and chest away from your bolster. If you're a stack on both of those blocks, take one block out from underneath, turn around, and make your way into an elevated shavasana. Okay, bring the bolster towards the lower back, so the bolster supports the space of the lower back. Bring your legs out in front of you, and take the arms out to the sides, rolling your biceps up towards the ceiling, helping to broaden the chest, and come out of a little bit of an arm-balancing nature of having the arms in front of the body. And let your eyes soften, feeling the work and the effort of this transition. And hopefully as you explore today, you are able to feel supported, and hone your awareness on what it's like to play with these shifts in balance. There's a lot to think of in arm-balancing in general, so to have that support so that you can really focus on these specific areas can be quite fascinating, but also helps us to attune ourselves to all the subtle shifts that occur in our body, in our mind, and our spirit. And then twinkle your fingertips and your toes. Turn your palms to face down, bend your knees, roll to one side, supporting the left side of your body on your bolster, and you can tuck your arm underneath your head. And as you're ready, press into the bolster, feel the shift of the weight as you come to face it. You want to prop yourself as you'd like. Take your hands to your heart, touch your thumbs to your heart to uplift it. And thank you so much for joining me today. Namaste.
Discover Arm Balancing: Bakasana & Family
Comments
You need to be a subscriber to post a comment.
Please Log In or Create an Account to start your free trial.
