Description
About This Video
Transcript
Read Full Transcript
Welcome to your daily mobility routine. We're going to do this one entirely standing and we're going to start at your hips. So I'm going to give you two terms here, extended and tucked. Feel what that feels in your body. Can you extend all the way? Can you tuck all the way at the deepest range of motion? No bending your knees. Keep them soft, but extend and tuck. Find your neutral somewhere in the middle where your core is starting to engage. Now go to your rib cage. This is the second half of your core. You're going to find your rib cage by extending and then bringing it down. Kind of like tucking. Same here. What you're trying to do is lock the rib cage and your pelvis. So extend, take a deep breath and then when you bring it down you should lose your rib cage. Now you've got a core and it's engaged. You shouldn't have to do crunches for them to be engaged. You can do it standing. Pretty cool. Find your neutral spine, tuck your pelvis, bring your rib cage down. You're not rounding forward, just tucking, rib cage engaged. Now let's take some deep breaths, grounding your feet. Inhale. Find that core. Inhale. Exhale. Find that core. Good. Let's move on to our shoulders.
Now we have our hands out. I want you to find that neutral spine and engaged core. Pull your shoulders down until you feel your armpits. Make your hands into a fist and almost like corkscrew your shoulders in. Inhale. Exhale. Every time you do that I want you to get a little bit deeper in your core. Inhale. Exhale. You should feel your core engaging. You should feel your armpits engaging. Stay here. We're going to go to our neck. Tuck your chin. As you stay engaged in the rest of your body, you're going to drop your ear to one side. You're going to rotate just your neck, just your head. Look up to the ceiling and drop your ear to the other side and then drop your eyes to the floor. Neck follows. Release. Relax. Let's try that again. Shoulders down. Core engaged. Let's try tucking the chin. Go to the other direction this time. Ear comes to the other shoulder. Lift your eyes. Look straight at the ceiling. Drop to the other shoulder. Look down. We're back where we started. If you got a little dizzy, it's okay. Just go a little slower next time. Let's take one deep breath here to find that core again and then we'll move on to our shoulders. So inhale. Palms up. Exhale.
Find that core. Good. Pay attention to one arm. The other arm is engaged. So find that same corkscrew feeling. Make the fist. Find the armpit on the other side, but we're going to focus on this side. Inhale as your thumb reaches all the way up to your first roadblock, which is probably bicep to ear. At that position, you're going to rotate that palm and try to face it towards the back of the room wherever you're standing. Reach, reach, reach. The rest of your body stays facing forward. Nothing is moving except that arm all the way down to your pocket. Now your palm, your thumb is reaching towards the back of the wall. One more time. Keep going until you reach that roadblock. Start to rotate that hand. Palms should be facing up as you come back around slowly and drop it forward. The other side should be pretty engaged as well. Release. Shake it out. Let's go to the other side. Start with the arm that you're not going to be rotating. Rotate the scapula underneath your shoulder. Find that corkscrew just like we did. Now start with the thumb. Reach as high as you can. Get to that roadblock. Start to rotate your palm facing the back of the room. Nothing else is moving. If you're finding your body moving, come back. Reduce the range. Reach, reach, reach all the way to your pocket. Go back just the way you came. Thumb is leading. Start to rotate when you get that first roadblock. All the way up, bicep to ear and drop it down low. We're going to do one more on the first side. Total body engagement starting with your legs. Legs are engaged. Core is engaged. Corkscrew that shoulder in the place. Setting everything up for this arm to work really well. Reach your shoulder or reach your thumb all the way up. Bicep to ear. Rotate palm. Reach to the back of the room. Reach, reach, reach all the way down. And again, leading with the thumb, palm starts to rotate as you hit that first roadblock. Come bicep to ear and then drop it down. Last one. Switch. Wiggle it out. Get your wiggles out so that you can solidify once you begin that rotation. Squeeze that shoulder. Inhale. As you reach up towards the ceiling. Exhale as you start to rotate and reach back towards the back of the room. All the way and get to your pocket. Start at your pocket. Reach back behind you. Rotate that palm towards the ceiling. Come all the way up. Bicep to ear. And release down. Take deep breath. Exhale. Release. Let it go. Let's move to our wrist. We're gonna bring this elbow and connect it to our body and hold on to this arm. The only thing that's gonna be moving is our actual wrist not this arm bone. Okay? So drive it in. Pull the shoulder away from your ear and drive it into your side. Start with your palm up as far as it goes. Then you're gonna knock it to one side as you start to drop your fingers down towards the floor. Then to the side of the room and then up to the ceiling. Then go the other direction. Back where you came from. Side of the room. I really want to rotate my arm but I'm just focusing on the wrist. All the way back up. That last part where I wanted to wiggle out is where I want you to focus on and go slower and slower. Let's go to our other side.
Start with arm connected to your body. Fingertips pointing towards the ceiling. Let's rotate to one direction. Try your hardest not to bring the arm to move to rotate. And you know what? The circles are pretty small and that's okay and they could be different on both sides. You can go as many times as you want but the slower you go the better it is. Let's get back to our hips. Okay. Ground your feet into the floor. Dig your fingertips, your toe tips into the ground. Really find your balance here. This is difficult when it comes to stability so if you need to hold on to something that's perfectly fine. Root to the floor. Shift your weight to one side. When you're here you're gonna cement your neutral spine in and find your core. So pelvis is tucked. Spine is neutral by pulling down your ribcage. This doesn't change no matter what you do. If it starts to change bring your range of motion a little bit less. Lower it. Finding your position. Lift your knee. Open it up. Drop this knee. Lift the ankle. Kick back behind you and come forward. Keep going. Kick back. Kick back. Lift the knee over the hurdle and put it down next to you. If you saw that you were leaning forward in that first one back off range of motion might need to change. Find your neutral position. Let's go for round two. Inhale. Lift that knee. Open it up. Drop. Pick up the ankle as much as you can. Kick back behind you. Close the gap. Again kick back. Lift the knee up and over. Don't let the hips rotate. Come back and meet your foot. Good. Let's try the other side. Hips vary. They differ. It's okay if they are different. Neutral spine. This all stays the same. The only thing that's moving in this is this hip. Inhale reach. Exhale as you rotate back. Drop. Lift the heel. Bring it together. I want to lean forward. I'm not going to push that glute in as you lift that knee joint up and over the hurdle and drop it back down. Last one.
Tuck the pelvis. Core every time. Cement it in. Inhale reach. Open. Pick it up. Push it behind you. Bring it together. Again kick back. Lift up that knee. Bring it in. Drop it. Relax. Okay. Our last movement is finding space in the spine through what we call a Jefferson curl. We're going to start with our hands on the back of our head. You're going to tuck your chin and find space one vertebrae at a time. Super important. Wherever you find pain, I want you to slow down, stop, feel it out. Don't try to wiggle your way out of it and go all the way to the bottom. Imagine I am walking my hands on one vertebrae at a time. Once you get to the bottom, I want you to release and really get into your hamstrings and then slowly roll yourself back up. This feels great, especially if you've been sitting all day, okay? All the way up, shoulders come back and down. We're going to do one more for good measures.
Inhale as you reach your arms up. Remember, whatever you're moving, you're moving one at a time. So one vertebrae at a time, the rest of your body is pretty engaged still. You're not really flopping around. You're going at your own pace. You're tucking your chin, rounding your back, reminding yourself that if hell you were in my house touching my vertebrae, one vertebrae at a time, this is what it would feel like. And it would go all the way to the floor as you release, relax at the bottom, and you come back just as slowly, working through the painful areas. Once you get to the top, I'm going to roll your shoulders back and down. Take one deep final breath. And thanks for being here. I'll see you tomorrow.
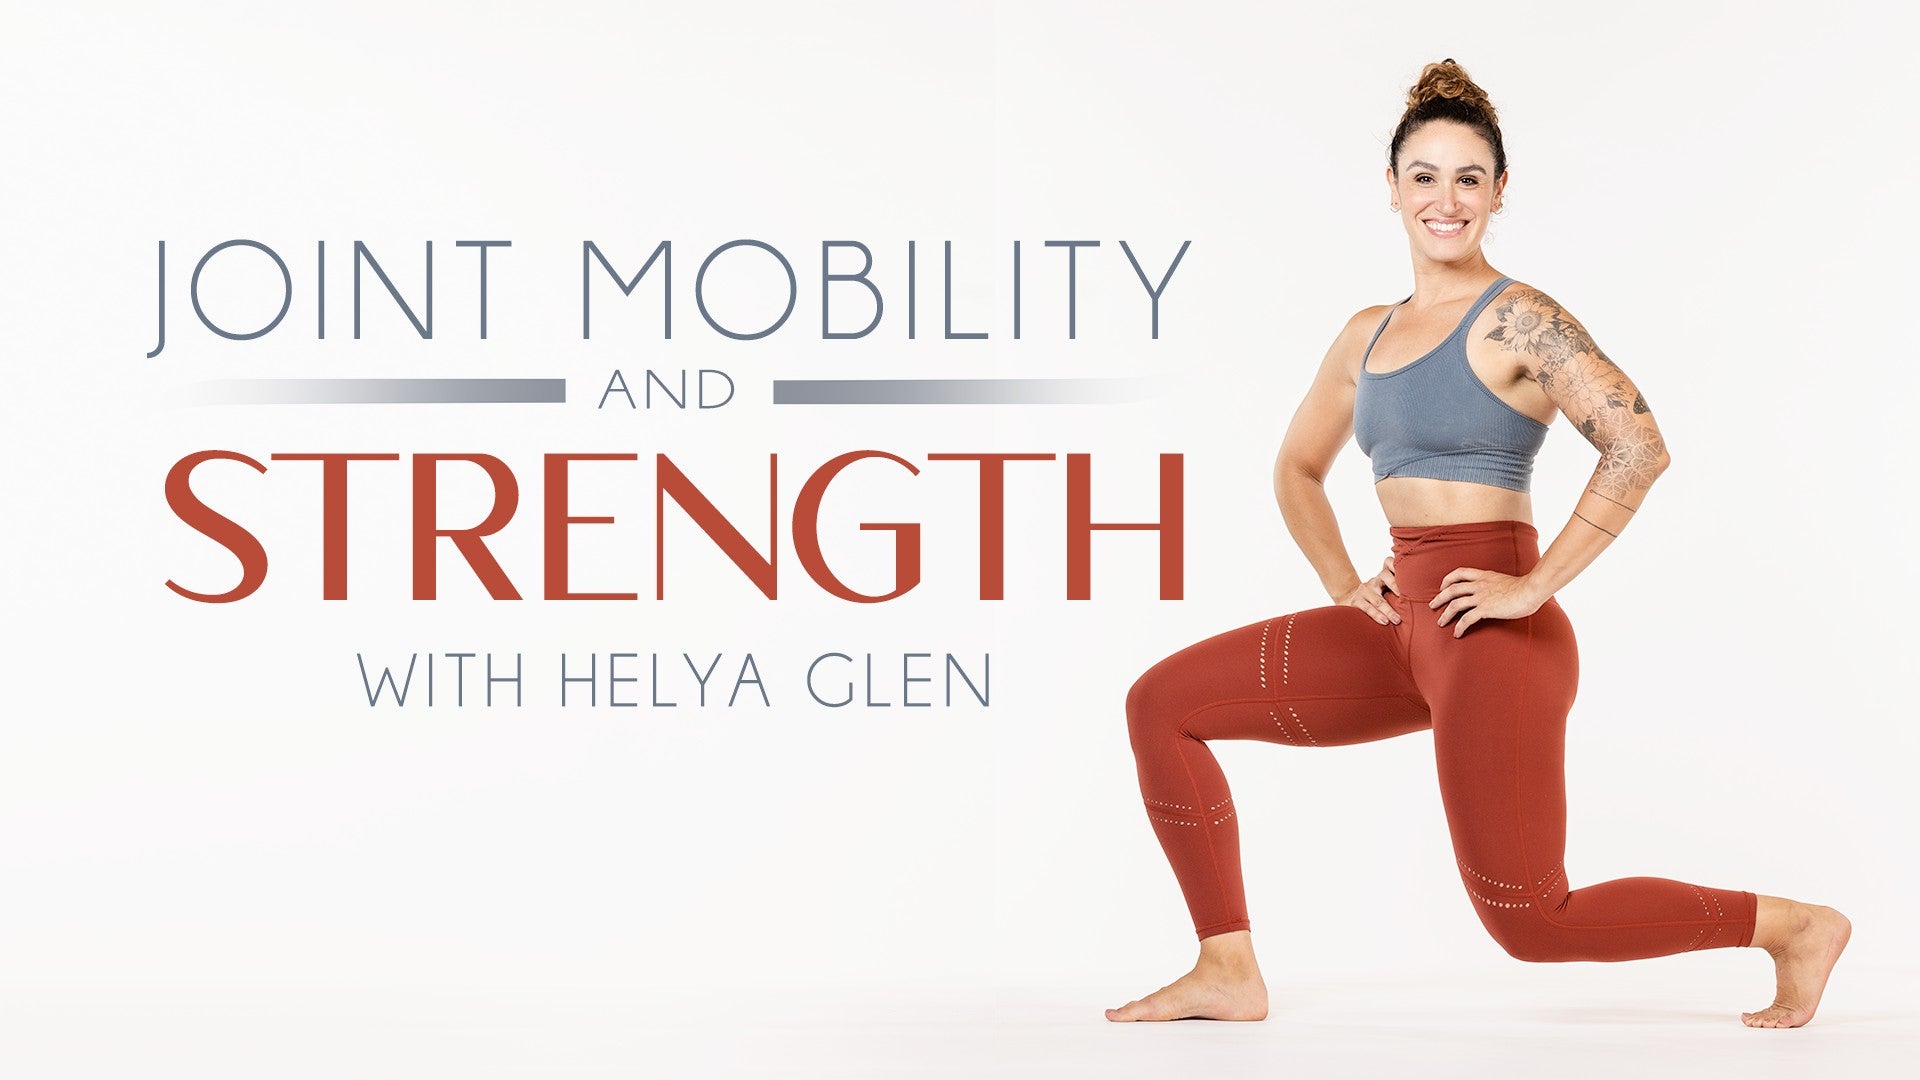
Joint Mobility and Strength: with Helya Glen


Comments


You need to be a subscriber to post a comment.
Please Log In or Create an Account to start your free trial.
