Description
About This Video
Transcript
Read Full Transcript
Hello, everybody. My name is Jason. And again, thank you for joining me today for a class that is going to be all about core. Core stability and core strength. Let's not get confused on thinking core is just about pretty muscles aesthetics core is about stability. Think about getting up out of bed in the morning.
Maybe getting up out of a chair. Or picking up your kids or your grandkids and holding them in your arms or going to the store and picking up a bag of dog food off the shelf. It all starts with being able to have a strong structure. Think of this as the support for everything else that goes on above and below in your body. So if you're ready, I'm ready. Let's get started.
I do highly recommend that you do have a pad, either a blanket folded up or a bolster that you can put underneath your bum, because we'll also use it for our knees. So I'm gonna turn just slightly, and I've got that folded up. And we're gonna start by finding some activation in our hips. Bring that down a little bit, and let's lay back Making sure that bolster or that blanket is just underneath your hips. Feet flat on the mat. And we're just gonna draw our attention to our hips.
Start with a breath in. Exhale it out. And on the next inhale, feel the front part of your hips lift just slightly. And the tailbone reach down. And as you exhale lift.
Inhale lengthen. So we bring those front hip bones up just slightly and drop the tailbone towards our heels. There we go. And exhale. And just a slight little arch in the back, think of lifting the belly button up and inhale. And exhale.
I like to put my hands on my hips sometimes so I can actually feel the movement. You know what's doing that? It's the hip flexors. It's the deep transverse abdominals, the rectus abdominals that are doing this pelvic tilt. And in the other classes, if you've taken the other classes in the series, you hear me talk a lot about lifting those front hip bones. Good.
Let's do one more time. If we're gonna bring the hands, the knees up into the hands, keep yourself a little exhale in a stretch. It's also a good time. To roll those angles. Inhale soften and exhale.
Pull the knees into the armpits. And then bring those knees directly over the hips. What muscles are we trying to activate when when we talk about that stability? Will take your hands and place them against your knees and actually press those knees away, but your knees don't wanna go away. So they're gonna fight into the palms of your hand so you feel the pressure of the knees pushing forward and the hands pushing weights.
Inhale soften and exhale really push away. Do you feel that activation right there in your midsection? Inhale. Really focus on how this feels, exhale. Press it away, but push the knees into the hands.
And relax. That same sort of feeling when we go into doing all of our core exercises today, we're gonna really activate all of those muscles. You feel them in your glutes. You feel them in your back, your lower back. You feel them wrapping all the way around your mid section. Bring the right knee into your chest and extend the left leg out on the ground.
If you can flex the toes on that left foot, take a breath in and exhale. Just reach that right knee across just to start to give you a little stretch through the hips. Good. Bring it back to center and switch. Right foot goes to the ground. Left knee comes up and exhale.
Bring it across. I'm very sneaky when we get into our core exercises because you don't realize we're already leading up to what we're gonna be doing next. Switch. And exhale take it across just enough to start to feel a little stretch through the hip. You've come back to center. And switch an exhale.
Love to come back to center. And keeping that right knee in. So switch and bring that right knee in. Left foot can stay on the ground. I'll give you quite a few options here.
Take a deep breath in and as you exhale, lift the head, lift the shoulders, it is perfectly fine to take one hand, place it beyond your head, if a, you know, heavy head gotta hold that up, but feel the muscles all the way from the bottom of your breastbone all the way through the hips engaging. Take that left arm and reach that left arm across. A little extra work, lift that left leg off the ground. Beautiful. Take a big breath in. And switch.
If this puts any pressure on your lower back, just raise that extended leg or even keep it slightly bent. Right elbow goes across to that left knee. Really pull that left knee in and reach the elbow across. Big breath in an exhale switch. We're holding it nice and slow and lifting as much of the shoulder blades off the ground as we can. And switch and switch and switch, and let's bring the feet down to the ground. That wasn't the work.
Just waking all of those muscles and all of that mobility up. Press the feet into the ground just to raise the hips just slightly. A little stretch, and we're gonna stretch this out. Take that mat, move it off for a moment, and roll yourself up. Good. I'm gonna turn towards you.
Now keep that folded blanket close because we are gonna use that in a moment, but we're gonna be on our hands and on our elbows. So let's do a little warming up and stretching of the wrists and the forearms just to make sure they're ready for the work that's gonna be coming. Interlace the fingers, couple of nice big circles there. And, again, if sitting on the ground, it feels comfortable to have that bolster blanket underneath your butt to raise the ground. Do it. Go with what feels most comfortable.
Keeping the fingers interlace. Take a big breath in. And exhale reach the palms away from you. Nice big stretch through the forearms. Inhale, give a little roll and exhale, press it away.
Rounding of the spine, perfectly fine. It's like working in a little bit of code, but we'll get to that in a moment. Inhail rule and Excel. Good. Little reach down to the fingers, palms, fingers, warm up those forms, palms, and let's take it over onto our knees. So roll over onto your knees, I'm gonna bring the mat back.
Our little blanket, our little cush For our knees, remember, you can always fold up your mat and double your mat. That one will work as well. This lovely blanket, so we're gonna use that right now. And we're gonna start by coming down onto our forearms, keep the forearms as much as possible directly underneath the shoulders hands flat on the ground. Try to think of goalposts in nice and close.
Somebody once said this to me, and it just stuck with me. So often, we're used to doing cat cow, but what does that look like when it's a baby? Well, it's a kitten and a calf. Right? So I love that. So keeping those elbows on the ground, take a deep breath, and allow the belly to drop, lift the heart, and exhale round the spine and inhale, lift the heart, reach through the tailbone, allow the belly to drop and exhale Look all the way back between your knees. Can you see your toes? Inhale one more time.
And Excel. And come back to neutral And let's walk the toes back and bring the hips down to the ground. Release the toes for sphinx pose. In Sph's pose, keeping the forearms in the hands on the ground, the elbows tucked in right underneath the shoulders, relax the shoulder blades down your back, and lift the heart eyes straight up. We're gonna take a 4 pronged approach to core today.
Bracing rotation, anti rotation, and then flexion. And we'll explain each one as we go. But most important thing to note is we're gonna do 3 different versions, 3 different exercises to make sure that we're hitting all around the core muscles to stabilize ourselves. So starting out, we're already there. We're gonna go into a prone plank.
So now tuck the toes, keeping the elbows on the ground, take a deep breath in, and exhale lift the hips up off the ground. Find a numb nice comfortable place for your toes and reach back through the heels. Tuck the tailbone, tuck the hip bones up towards the the belly button, and think of the tailbone dropping towards the heels. Always option is to bring the knees down to the ground, maybe onto that pad, and then just try bring it up. Just holding this is what we're going for. That bracing.
And as we're bracing, We're always asking ourselves, can I reach back a bit more through my heels? Can I activate the muscles in my legs drop my tailbone and lift the front hip on just like we did when we were on our back? Now take a big breath and exhale it out. And feel the muscles around the rib cage all reaching towards the center line and bring your knees down and walk the hips back for a moment. You'll notice I wasn't counting a certain amount of time. I wasn't counting reps But we always want to just try to hold it for one moment longer than we think we can. As long as we have good form and technique, let's come back to that, bring the elbows down, walk the toes back, And here we are in our plank again.
If you feel that your tush is reaching up, remember, lift the front hip bones drop the tailbone to flatten yourself out. Maybe taking your eyes just a few inches in front of your fingertips. How you doing? Remember, I'm doing this with you? So I feel it. You start to feel a little shake in your body.
It means you're working. It means it's good. Could always drop one knee down. You can drop both knees down, still holding that plank. Still working all of that bracing, lifting the front hip bones, we're gonna hold it for 3 for 2.
And bring the knees down. Beautiful. At any time, lift the hearts to give yourself a little stretch, and we're gonna go into our obliques. Obleaks right there on the side. Why are these important? Because of the things that you need to be strong when you're doing any kinda twisting even if you're reaching down to pick something up.
I'm gonna recommend that we stagger our feet. So take your top foot in front of your bottom foot. Elbow directly beneath the shoulder and simply imagine you've got string on your hip and it lifts you right up. We're now going to brace in a side plank. We want to avoid being a v So imagine now you have a little string on your belly button and it's pulling your belly button forward.
Always able to bring that bottom knee down for a little bit of extra support. If you'd like to add a little challenge, reach that hand up high, And again, think I'm coming over and I'm giving you a little tug on your pocket and lifting up, and you feel that bottom oblique activate. Please remember as we do this, if it's causing you any discomfort in your shoulder, if it's causing you any discomfort in your feet, take a break, bring it down, and now you are gonna turn over onto your other side. I'm gonna reach over and I'm gonna do my right. So just make sure whether you start on your right or your left, that you switch. Good.
Front foot in front, bottom foot and back, and lift. Here we go. All different things you can do to add just a little bit of challenge. Maybe your eyes go up to your fingertips Remember, when you're doing your practice, doing a side angle, you're doing a triangle, these are the muscles that you're gonna be utilizing to stabilize so that you don't fall into your pose. And then you turn your gaze up to your fingertips and you're practicing your balance. Good. Hold it.
Be sure you're breathing. Just a little longer than you think you should and you think you can. And take it down. Try to equal out both sides. So if you do 30 seconds on one side, do 30 seconds on the other.
And I always recommend you do this the first time. You say that's enough. But then when you come back the next time, see if you can do 2 sets of 30 seconds. Just build up just slightly. So we did our prone.
We did our obliques. Let's now I'm gonna turn this direction for a moment. And let's do in a supine position. So remember your hips are on that blanket, many different options. We're gonna start with the heels down, take those hands, reach those hands up, pull the head and the shoulders off the ground and feel the activation all the way through those abdominal muscles.
Can you lift the right foot off the ground? Can you lift the left foot off the ground? Knee's bent always an option, but think hollow boat reaching out. So we are off the ground with the lower half of our body. And off the ground with the upper half of our body and just hold. And I know. I know as you get stronger, you're gonna ask, well, how can I actually create a little more challenge here?
Reach the hands up overhead, the longer the lever, the bigger the challenge. You may say, imagine if there was a floor underneath my feet, and I'm reaching up nice and tall, This is almost as if I was in a balanced pose. Can you hold for 3? For 2 and bring it down. Just give yourself that moment to breathe.
I'm gonna turn myself around. You don't have to. You can stay right where you're at, but let's go for one more rep. Starting keeping the feet on the ground, reach the hands up, take a big breath, and exhale Feel the space between your belly button and your rib cage close. Can you bring the left foot up?
The right foot. Hands can be on your heart. Hands can be on the ground. Hands can be reaching. Bring the shoulders up.
Extra challenge and hold for 4 for 3. For 2 and down. Now we're perfectly set up to move on to the next section. So we did our bracing. Now let's move into our rotation.
So laying with, again, your hips right on that blanket. We have a couple of options. We're gonna bend. We're all gonna start with the knees bent. T the arms out. This is what's gonna hold you to the ground. Your upper body does not move its silent shoulders, ribs stay connected to the ground, take a deep breath in, and drop the knees down to the right.
Now it seems like we might be stretching, but instead, we're gonna inhale center and exhale over to the opposite side. Keep your eyes looking straight up to the sky so we don't put any extra pressure on our neck, exhale, and inhale. And we know that the longer the lever, the more challenge it's gonna be. So if this feels good, if this is just the right amount, of effort that we need on our midsection on our core, then great. If you wanna add a little bit of challenge, we start to extend those legs out.
The breathing is gonna help to protect It's going to help set our pace, exhale, feeling nice and strong, really extend those legs all the way out. And we wanna make sure that what we do on the right we do on the left. So make sure you even out and exhale and come back to center and bend the knees and bring them down to the mat for a moment. Do you feel all those muscles? You feel your obliques You feel that your abdominals, you feel your glutes, everything is activating when we're doing these wipers. So let's do it again.
And it really, again, anytime you're doing yoga, anytime you go into a twist or a twisted balance or doing a twisted chair or twisted crescent, this is all gonna come into play. So, again, bring those knees up, take a deep breath in, and exhale down to the right. These don't necessarily touch the ground. It's not that important to inhale and exhale. But as you start to warm up, you might find a little more flexibility through your spine.
You know, when we talk about core, we're talking about 9, 10 different muscle groups that are all going to be activated. Inhale. And exhale those deep lumbar muscles low in your back. The ones that we all know when you bend over to tire your shoes and suddenly it pulls. And you're like, well, how did that happen?
This is what's gonna help to strengthen those muscles while also creating flexibility. Let's go one more time right side, exhale, and inhale. And exhale and come back to center. Bend the knees. Hold right there because we are gonna roll ourselves or lift ourselves up. Do you feel the I thought those muscles activated?
I was trying to do that. And let's go into our second exercise for rotation. We're gonna keep our feet connected to the ground, heels down, toes up, or toes down, whatever is most comfortable for you. Lift through the sternum, we're always feeling that length through our spine. Take those hands, put them underneath the thighs, and just start to walk yourself back a little bit.
Feel those muscles in your lower back and in your abdomen and your obliques, they're all activating and you can hold right here or to add that rotation. We're gonna take our right hand, take a deep breath in, and exhale reach back, tap the ground, come back to center, and exhale reach back and tap the ground. And Excel and inhale. And you know, I'm always gonna give you an opportunity to add a little bit of challenge to this. Inhale and exhale and up and exhale.
And just when you feel can't do anymore, let's try 1 more, exhale and inhale and exhale. Come back to center. Hands underneath the legs sit up for a moment. Give a little shake out. And let's see if we can go a little deeper into this.
We'll go for each side. How can get a little bit more? Think this is about rotation. Slowly lower yourself back. Utilize these big muscles versus these little muscles that can't really hold you to stabilize. So really squeeze. Hands reach out.
And now we're gonna exhale, and we're gonna hold this tee and exhale. And exhale and inhale and exhale. That was 2. Here's 3 and 3 and 4. And 4 and come back up.
You can do 8. You can do 10. Go with what feels good in your body. Awesome. Now we're gonna finish with a little bit of oblique work, a little bit of side work. So I'm gonna roll over onto my right arm, we're back on our sides. And this is gonna be, again, we're gonna stagger our feet, take that front foot forward, bottom foot back, and lift up into that side bridge.
But this is not bracing. This is gonna be movement. Remember, we're trying to do rotation. So what we're gonna do is gonna reach the hand up. And as we exhale, we're gonna rotate onto our feet and reach that hand down and come back up and exhale. Take it down.
And up. An exhale rotate. Notice that my left shoulder comes parallel to the ground. And up. And x o. And up.
Are you also noticing my feet roll over under the toes and up? Always can keep one knee down on the ground. Who I still feel it in all of the right muscles, inhale up and down. And come back up, and let's bring that hip down. I'm gonna switch over so I'm gonna be on my left side.
You can just roll over onto your left side. Stagger the feet. Make sure that elbow is directly beneath the shoulder. Press the hips up. Reach that hand up.
Remember, this is rotation. So we have to rotate onto the feet and tap down and up. And Excel. An email. Slow wins the game. Excel.
And up. End down. Maybe you're gonna join me as I drop that bottom knee down, but I continue. We've got 4 more and up. And 3.
If you feel any sensitivity under your knee, just make sure that pad is under your knee. My knee feels good right now and up. And down, I'm working up a sweat. I hope you are too. And up and bring the hip down.
It's not about height on that one. It's about the rotation. Alright. So we did bracing. We did rotation. If you remember what number 3 was, anti rotation.
We're gonna try to work so that we don't twist. This is probably one of the more challenging. We're gonna come into a plank on our elbows. Now you can always do on the knees or extend back through the heels lifting the knees off the ground. I'm gonna recommend that we spread the feet nice and wide.
An option is always to be up on your hands. It is gonna be a little more challenging on your hands. So we're gonna start on our elbows. And all we're gonna do is keep that left hand down and walk the right hand forward and try to avoid lifting that right head to counteract that right hand moving forward, squeeze the abdominals, lift the front headphones, stay nice and strong, and see how light you can be on those right fingertips, maybe even lifting the right hand up. Oh, you can't hold that one for long.
We don't have to turn around. We don't have to switch sides. We just have to switch arms. So we're gonna plant the hands down. Take a big breath in.
No rush. Press back up into your plank. Feet are nice and wide, really press down into that right shoulder, and come up light. On the left hand. Notice how my left hip wants to lift, and so I'm gonna work that left hip down.
So I have the equal amount of weight I'm gonna walk that left hand forward. Maybe reaching it out. If that right foot comes up, ground it down. Can we roll that left hip down just a bit? Press through the right elbow to lift the shoulder.
Woo hoo. God. Yeah. I know what you're saying to me. It's really tough. Take it in small steps.
Let's go one more time. And this time, I'm gonna join you. I'm gonna keep my knees down. We're gonna see how that feels. Knees down on the mat.
Both elbows directly beneath the shoulders equal amount of weight through both knees. Let's walk the right hand forward. And automatically you feel that right side one to lift And instead, you're gonna go, bring it down. Do we have light fingers on the right Can we press into that left elbow to lift the left shoulder, maybe reach the right hand forward? Count to 5 to 4.
3, 2. That was a very quick one. Alright. We're gonna do this left side, and then we're gonna move on. Here we go.
Back into your plank, You can have those knees off the ground or knees down. Let's walk the left hand forward. And if we don't press into that grounded elbow, we start to sink into our joints. So make sure we're nice and tall. You feel even with the hips, light on those left fingertips.
And then reach forward if that feels good. Make sure the hips are not dropping. Try to keep even amount of weight to the right and the left. And bring it out. You notice I'm not counting.
I'm just listening to my body. Let's roll over onto our left hip. This pad can be neat be beneath your hip or not. Press that hand into the ground. You notice we're doing a lot of planking here.
We're gonna take that front foot forward. Always an option to stack. A little more challenging. We're gonna press up. And this time I want you to reach, reach, reach, lift those hips up nice and high. Again, this is embracing anti rotation.
This time, during rotation, we turned over onto our toes. This time we're not. We're just gonna change where the weight is balanced on our body. So we're gonna take that right hand and reach that right hand out maybe coming all the way down towards the ground, but everything from our shoulder down to our feet is steady, doesn't move. Bring it back up.
Notice my feet are not moving, and I'm lifting my hips up high. Bring it up. One more. Slow. Slow.
Reach out, but don't twist and up and take it down. Make sure you do the other side. I'm just gonna switch around so I can still stay looking at you. Don't wanna need to see my back. Choose, stack, or stagger. For this one, I'm gonna stack. Why?
Because it helps me feel personally a little more straight and linear. Elbow directly beneath the shoulder, press it up. Oh, if you feel like doing a little bit much, smile, smile, smiling raises, endorphins, makes a little exercise, makes movement more enjoyable. Shoulder blades down, pressing to that elbow to be nice and high. Let's go for 3. Slow.
And up. An inhale? We have one more. And up. Hold it.
Press and bring it down. Slow wins the game. Roll onto your back We have our final anti rotation. Remember, anti rotation. It seems like bracing, but it's a lot of strength work.
And it's what is when you're doing your yoga, when you're going through your flow, we never wanna fall into our poses. Maybe you're doing a twist and you start to fall off balance. Anti rotation is what's going to help you find that stability. And if you continue with us and you come back and do some of the other episodes, we're gonna put this into play. So for this final anti rotation, bring the knees over the hips again.
I have my tailbone on that pad. And I'm gonna bring the hands straight up. Now this is not just anti rotation. This is also gonna challenge your coordination. We're gonna start with our left hand and reach our left hand. Notice my head and my back stays quiet on the ground. And as I reach my left hand forward, I'm gonna reach my right leg out.
I'm gonna keep it off the ground. If that causes you any discomfort, it's okay. You can bring that leg down. But a little extra work to bring that leg up. The higher up, easier it is on your back, lower down the more challenge. Good. Right hand is still up to the sky, and we're gonna take a deep breath in, bring everything back to the center, and now right hand and left leg.
Inhale up and exhale. And working contralaterally, working across our body is what's helping us to stabilize. Imagine if you were doing this the other way around, it's almost like the plank we did if I had asked you to take your foot off the ground, which is We're crazy hard, but we'll do that in another workshop someday. Inhale up and exhale and inhale up and exhale. We're gonna do 2 more each side inhale up and exhale.
Inhale up and exhale. Surprisingly challenging. You don't realize it. And then you're like, oh, I'm doing it. You're like, oh, this is work.
And inhale up and exhale. I say I have to smile while I'm working. Otherwise, I don't wanna do the work. Bring it down. Another great place to lift the hips, just a little movement, a drop of the knees, and let's go one more time. Lift the legs up.
Knees can be bent or for that extra challenge, lift up. Wanna do this with me. Let's go 3 on each side. I'm gonna start with that left hand and that right foot. Oh, and up and opposite and inhale up and exhale.
And up. And here's 2 and up. And the longer you pause, Take a big breath in exhale. And up and bring it down. Oh, notice that my legs bend a little bit.
It's quite a wreck. Alright. We have to get ourselves into a sitting up position to go into our final set. So whatever is the most comfortable way to come up into a sitting position, I'm gonna give myself a nice rock come up into a sitting position. Oh, my yogis, you know what a half boat is. And when you hear the instructor say half boat, you go, oh, because you know it's gonna be work.
So we're gonna look at a couple of different ways. We're gonna put our hands underneath our legs. We're gonna lean back with a nice long spine keeping the sternum up. We are now doing flexion We hear about crunches and all that. That's flexion. That is really gonna go into those deep abdominals, but we're gonna hold this for a moment.
So we're gonna bring our feet off the ground. If this is your challenge, then this is your challenge. Hold right there. Wanna bring those feet up off the ground, see if you can go knees, ankles parallel to the ground, take a big breath in and exhale, bring the knees, and the chest just a little bit closer. And you're saying all day every day, oh, release the right hand, release the left hand and hold.
And breathe. And when you start to feel it in your hip flexors, I'm gonna fall you start to feel it in your hip flexors, really squeeze the abdominals. Quite alright. If we wanna hold down for a little extra balance because you saw a balance is challenging and bring it down. Open up the knees, give a little stretch. Not long.
Maybe just 4 or 5 breaths, maybe 15 seconds if you have a clock standing by. Good. And each time where it's gonna build up, let's go for 15 seconds. Bring it up. Choose your challenge.
Again, bring those knees and the chest a little closer. 3, 2, and down. I'm gonna roll over onto my right arm. We have obliques. This time we get to stay up. It's like a lounging position.
You can even do this while watching TV. Do this while watching me. We'll see. Good. Keep the knees bent. Bring that left hand behind your head.
We're gonna keep the upper body mostly still as we bring the knees up inhale down and exhale. Really feel that squeeze inhale and exhale flexion, inhale, extend, and exhale flex. Inhale extend and exhale flex. Notice my knees are bent. I'm trying to lift my heels up.
And one more and down. What happens on one side happens on the other. We know that our perfect anchor is that elbow directly beneath the shoulder. Plant the forearm and the hand down. Take that right hand place beyond your head.
Soft little bend in the knees. You're you're gonna ask me, how do I make this more challenging? I'm gonna show you. Here we go 5 and excel. Inhale. Oh, you wanna make it a little more challenging. Length in the lever, excel inhale and exhale. How many more do Here we go.
And last one Beautiful. Roll over into a plank for our final exercise. Remember, I'm gonna take my pad off my mat. You can keep it on. Because we are gonna bring our knee down.
But I want you to start in a plank and simple enough. Make sure whether you're more comfortable on our hands, you could also use blocks if you wanna use blocks, but we're just gonna have our hands here. We're gonna roll those triceps back with a beautiful plank. Lift that right foot off the ground. And as we exhale, bring that knee in towards your chest. Press away from the ground and round the spine just slightly.
As we take a deep breath in, bring the knee down. And exhale spring it up into the chest and inhale and exhale. Give me 3 in hell. Notice I bring my knee down for just a moment, but I'm not putting much weight on it. Excel really round the spot and then bring that knee in as tight as you can.
2 more. Keep that heel in towards the butt. Inhale down and exhale and bring it down. Walk that back, bring the knees down for a moment, take a little break. Bringing that knee up in that tuck is what creates that flexion.
And then the engagement of all those muscles around the rib cage come back into your plank. Make sure it's a good plank rule to triceps back. Lift the left foot and exhale. Here we go for 5. Inhale.
And Excels Inhale and Excel. Beautiful. Inhale and exhale. Oh, you feel that? 2 more. Last one. Best one.
And bring both knees down to the ground. Let's bring both knees back nice and wide. Bring the soles of the feet in, take the tailbone back, and coming to a child's pose. You may decide it's not where I want them at. I want it back here that pad for a little extra comfort for me to be able to sit on and come into child's pose.
We're gonna walk the hands back towards our knees. Take that pad out if it's there. Put it back on your mat. And I'm gonna turn to face you. You face whichever direction is most comfortable to you and come up into a seated position.
Easy pose. Also good. If you wanna extend your legs out, whichever is most comfortable to you, that you can have a nice tall spine. Just a couple of easy twists. Take a deep breath in, exhale, chest up tall, reach through the spine.
And exhale. Come back to center. Hands on the knees. Think cat cow as we take a deep breath and stand eyes up and exhale round, bring the chin down and inhale tall. And excel.
Come back to neutral. There's a lot of work there. Build up to it. Please, a great way to start doing this and start to feel it in your body is to maybe use a wall to use props. Always consider taking as many breaks as you need, bring those knees down, but find what works best for you. This is all about helping us to build length in our body to be upright, to be strong, and most importantly, is to be stable.
This is the type of workout that if you could commit to once a week, and you don't have to do all of it, but do some of it. You start to build that strength. And then little by little, maybe you break it up and you do rotation and anti rotation one day and you do bracing and flexion another day. You will see just how it is going to make big changes, not just in your yoga practice, but in your day to day life. So be healthy, be strong, be tall, and come back and practice with me again.
We hope to see you again soon.
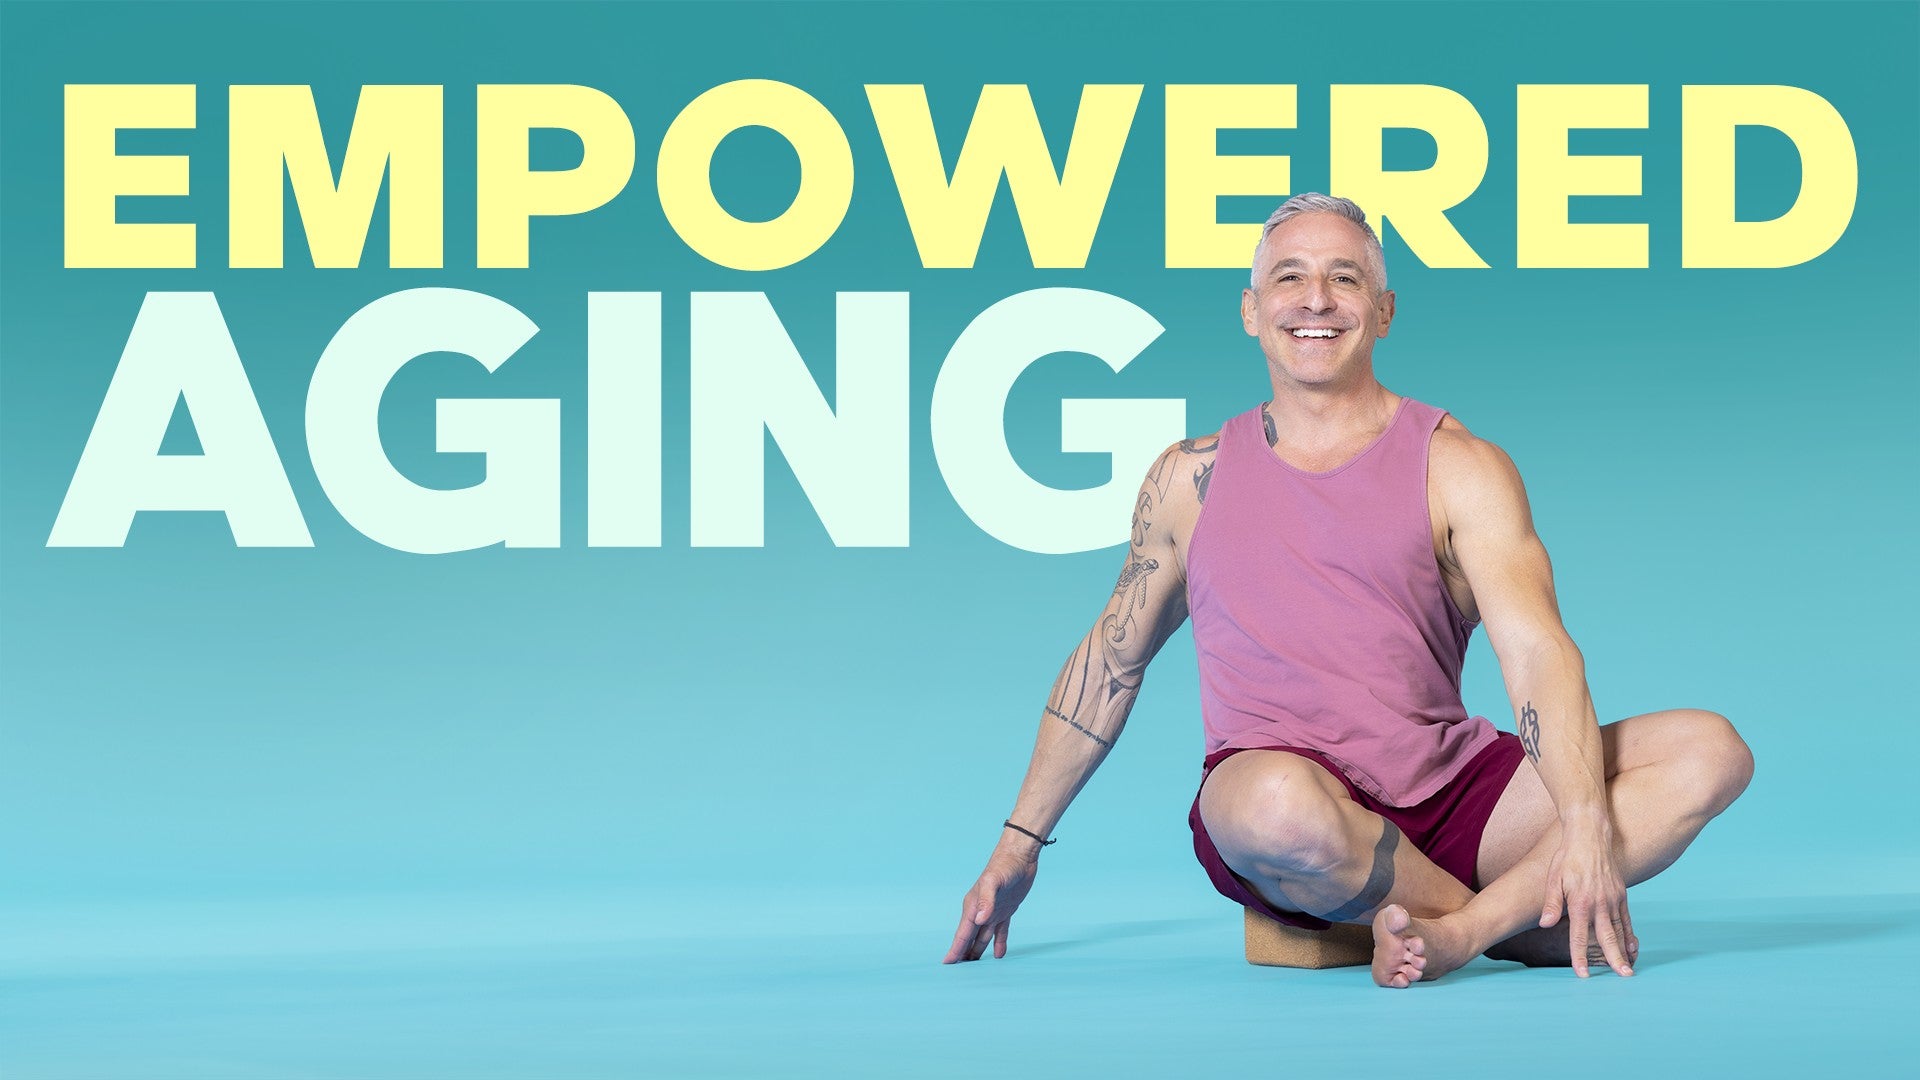
Empowered Aging: Foundational Movement


Comments


You need to be a subscriber to post a comment.
Please Log In or Create an Account to start your free trial.
