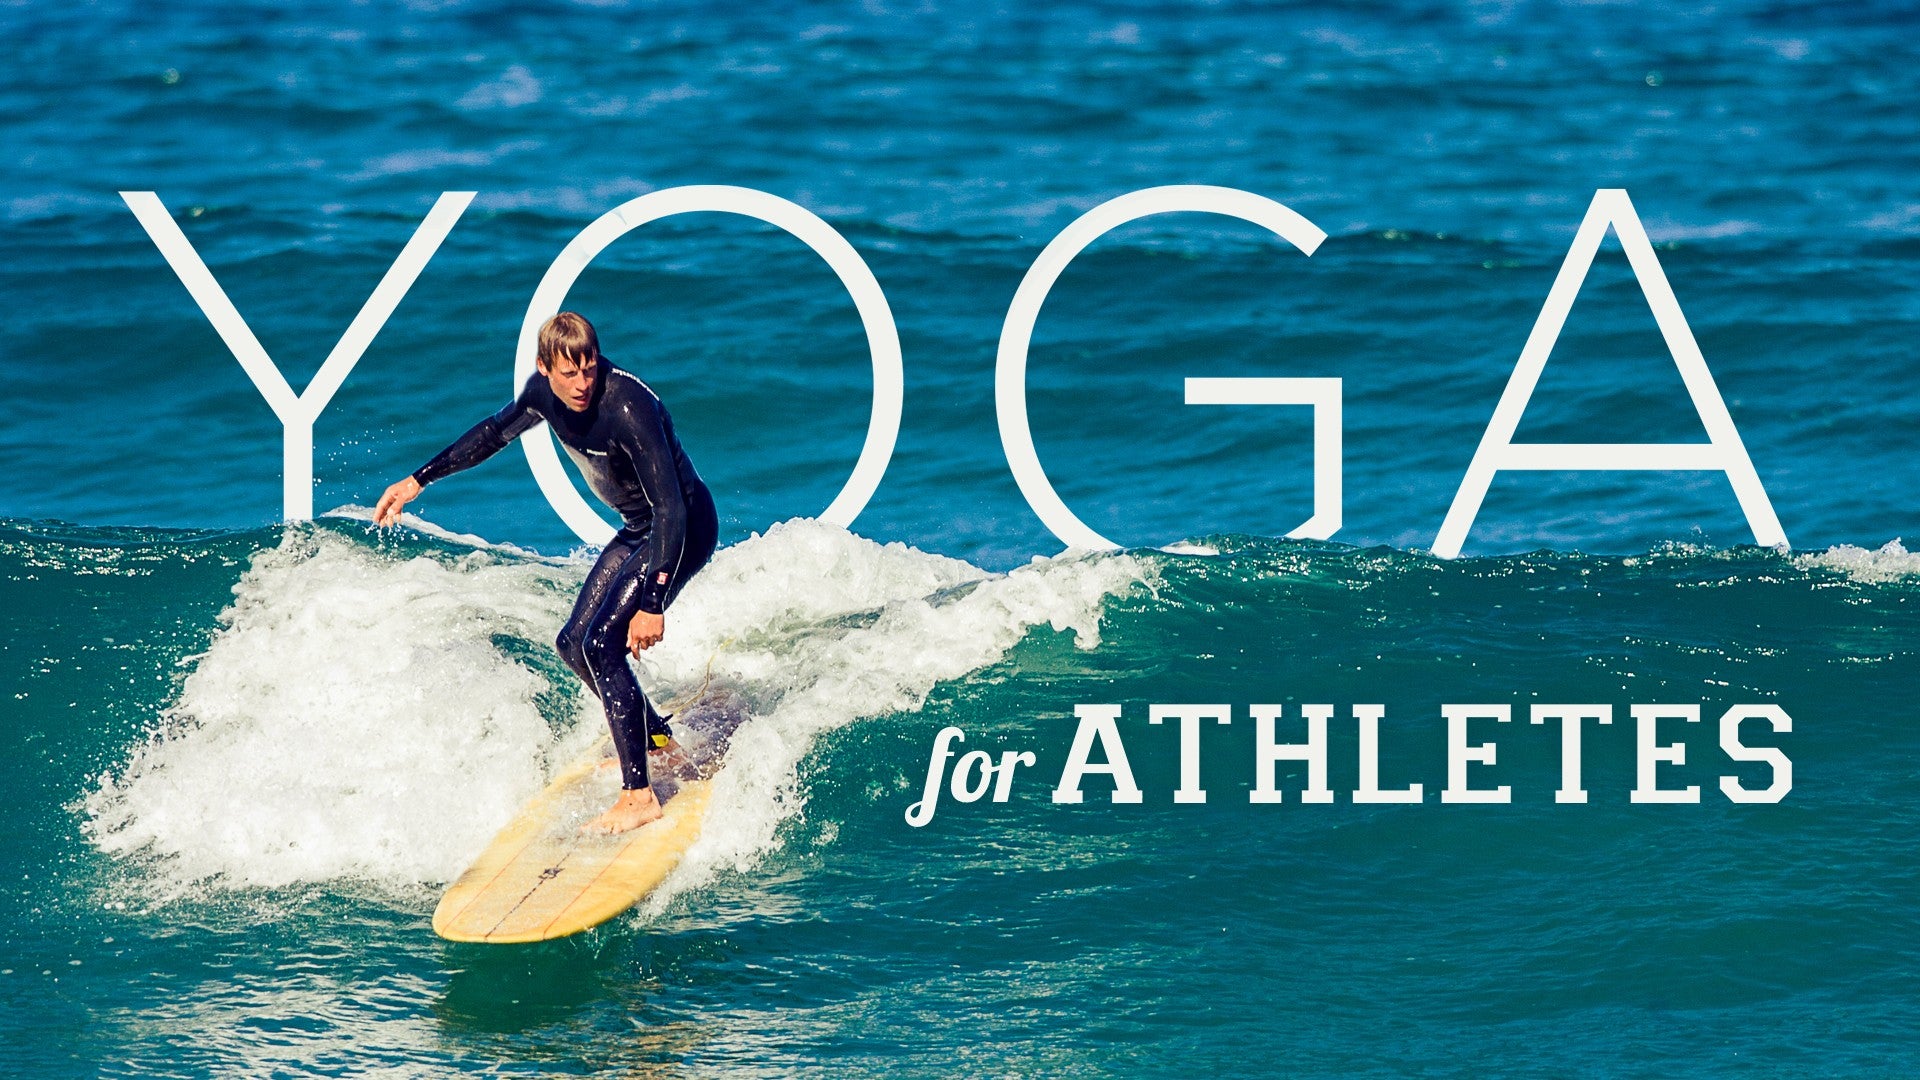
Description
About This Video
Transcript
Read Full Transcript
(ocean waves) Hello again. I'd like to share with you one of my favorite practices. It is a back repair series done all pretty much on the back except for the last movements. It works with stabilizing these deeper core muscles that I feel like are really important for athletes. My husband's a professional athlete and he has a lot of trouble with these smaller muscles like pelvic floor and transverse abdominal area and even the smaller muscles along the spine, because he will use his bigger muscle groups all the time so what I see in athletes a lot is that the superficial muscle body is really strong, and overworks, and then the smaller muscles that support the spine and the side joints sometimes aren't working as well.
It's useful to make these small movements sometimes to activate that body of muscles for support and I don't know if you've ever taken your back out or a side joint out, but this series is really supportive for slowly building, although it's not recommended for after pregnancy, for about six months. What you'll need is a bolster. You can also use one of those thin foamy blocks for a little bit of a lower height, but if you have tighter hip flexors, the bolsters really are the way to go. We're going to come onto our back. So we're going to roll on down and lean into the feet and the bolster's going to come underneath the hips and it's really important that it's not under your lower back, that it's underneath your hips.
But I don't want you to be falling off the bolster, so that you're rounding in your lower back, so place it underneath so that you have, if you touched your back, you wouldn't be collapsed and rounding, but you'd have the natural arch that's a little bit concave in your lower back. Then from there, let your legs come up and we're going to see if we can, if you can't straighten your legs, then just bend them a little bit so that you don't feel like you're excessively pulling on the muscle tissue of your legs or holding them in space. We just want them to sort of rest there and then just tip on your pelvis towards your tailbone and tip on your pelvis towards your top rim of the pants and then center again and tip to the right and tip to the left just so that you feel that rocking of the back of the pelvis and then center yourself so that the back of the pelvis feels fairly level, so you're not overarching and you're not collapsing. You're not leaning to one side or the other. From there, we're not really going to change the shape of the tube of your torso so much, so stabilize there, let your hands come together in front of your face and we're going to start by opening up, almost like when a jackknife opens up, but without changing the shape of your torso too much, so you'll feel those smaller muscles kick in.
Draw back in, at about 70% effort with this, so even if you could go all the way, almost down to the floor and you're really gripping and you start to feel your superficial muscles really gripping, wait and play with "less is more" for this one, so you're just starting to get a tremor of strength, deep within. This series, we're going to oscillate, so if you're not looking at me or your eyes are closed, then just continue to open and close here, because we're going to oscillate through these movements about 10 to 20 times each one. Opening and closing and I'm just watching that my upper back is heavy on the floor. It's not jutting up or lifting. So there's this uniform quality to the tube of my torso and it's almost like if you have a plastic waterbottle, hopefully you don't have too many of those, but if it gets dented, you pop it open by blowing into it and pop it open from the inside, so we don't really want to dent the waterbottle of the torso but use the breath to stabilize and fill up the tube of the torso from the inside.
So we'll place our feet down. Just take a little rest and really relax, especially those superficial muscles, so the six-pack that you might have or if you ever had one, those bigger muscles, really relax the ones that are close to the skin. We're going to press into the feet, lift the bolster up and just take it out for now, take it out to the side. Come back down. Bring your knees in towards your chest and if you can, have your knees touching and your big toes touching, lean in your legs so that activates the inner thighs, arms out to the side and then roll your knees in towards your right armpit, but it's a floating twist, and then draw a big smile in the air and bring them over in towards your left armpit and your arms are moving slightly in the opposite direction of your knees, like you're holding a big redwood tree and you're just sliding it side to side.
The shape of the knees is like a big smile and you're massaging across the back of the pelvis and also this oscillating work that we're doing is loosening your connective tissues, so it's a little bit different than stretching one joint fulcrum from the other. It's oscillating and the momentum in the little bit of the bounciness of it is opening up your fascia, the connective tissue that holds your musculature. So then we're going to come into the center and if that feels fairly simple, then we're going to try it with our legs outstretched a little bit more, but keep the legs together. So then it's a big smile in the air with your big toes, and we're trying not to overly arch in the upper back, so this space in between the shoulderblades stays down. Really heavy in ground.
And you can see I'm rolling my head just because it wants to roll side to side and it's a really nice release for my neck. So then I'm going to come into the center, place the feet down, take my right knee in towards my chest, take my hands behind the back of my head, so it's like I'm looking towards my navel. And then I'm going to keep the shape of my back so my lower back is quite close to the floor, my ribs are dropped down. Just slowly outstretch this leg and hover it in space. So I'm not looking for a huge abdominal feeling, but just a stability through the two sides of my torso through the back of the pelvis and then draw back in.
Place the right foot down, bring the left knee in, ribs in, lower back close to the floor and I'm going to stretch out and you can challenge yourself by lowering the leg. Ribs down and into the skin and just switch sides and just be really aware as you root down through your left leg now and bring your right leg in that there's just the steadiness through the torso, pelvis, and spine. And it's almost like as you're doing this, you're creating a pattern of muscle memory for the rest of your activities of this support. One more time on this side, reach and then plant. Then we're going to let our head come down, draw our knees in, bring the knees and big toes together, interlock your hands behind the back of your head, exhale and curl everything into a little ball without yanking on your neck too much and then inhale and open up like you're going to tap your toes on the floor.
Exhale and curl in, and inhale and open up. Instead of making this like a crunch, can you feel like it's more like a spinal mobility exercise, so the front of the spine is where the movement comes from and you're finding this nice, even arc and this nice, even curl and if that feels pretty straightforwards, you can straighten your legs a little bit more and do the movements with the legs a little bit straighter. I just want you to think about that. The spine is mobilizing and articulating and there's no stuck places. Maybe there is, but just imagine those places starting to ease up and articulate.
It's like the strength of the spine here, or the front of the spine near your organs and your lungs and heart is making this movement happen. So one more like this. And then we'll let the head go, let the neck relax, take a nice, big breath into the belly. I'm going to roll over onto my right side and support my temple in my hand and then take the left foot back behind me and it's almost like I'm trying to lie down on my back, but I'm not, so I'm just on the back of my right buttock and I have to use quite a bit of deep core support to stop me from falling over, so I'm not on my hip, I'm on the back of my hip like this and this leg is going to come out. I'm going to start by lifting the leg, the inner line of the leg, and lowering it.
There's this almost feeling of a little inner thigh squeeze, because this inner line into the pelvic floor is working as I lift and lower here. If you want to involve the top arm, you can reach it across as you lift and pull it back as you lower. It's almost like you're creating this pulling of the left rib towards the right hip and it's a nice feeling of support for your back and activation through the front of the spine. We joke about this one being the thighmaster one (laughs). Those old-school thigh exercises.
But really supportive to strengthen this deep frontline, deep inner line. And then I'm just going to roll over, fully onto my hip, and just start by opening up this top leg, holding onto the knee and drawing it in without compressing that side too much. Then I'm going to straighten out this leg, just let the arm rest in the crook of my waist, and open it up into external rotation, so lower down and then open it up with the knee rolling away and I'm just going to check in. This one's less of a deep core exercise and more of, it's almost like a flossing of your hip, of this fascia around the hip and the leg. Oscillating it, if there's any snags that you're feeling like you can make rhythmic movements that can strengthen and release in this external rotation.
Then I'm going to roll over onto my back and I'm going to roll over onto my other side, which will give you this view as well of these movements, so I'm going to roll almost onto my back, plant this foot, stabilize the pelvis through the pressure of the foot, and start to lift this inner line of the leg up, in which I can involve the arm across, and back. You can use the breath, but sometimes the movements here, just because we're creating this rhythmic bouncing movement to open up connective tissue that's a little bit harder to open than muscle tissue. It might not be one breath per movement, it might be like, inhale, exhale. And then I'm going to roll right over onto my side and just start by drawing this knee in, trying to keep this side as long as I can, the right side, and then I'm going to open up that hip, the knee is going to roll away from center, so there's a strengthening and a lengthening happening in the outer hip. If it's any of these movements, if they feel like your hip flexors are doing all the work, which is really common with people, bend your knee and that'll just create less of a weight on your hip, so you can work all of these without putting a lot of strain on your hip flexors.
Then I'm going to roll back onto my back and just see how the hips feel. This might be really new to you, of moving in this way, of oscillating. I've found that it's been really helpful for me to add it in to stretching as well as stretching, so there's so many tools now. That's what's so wonderful about these embodiment practices. So now I'm going to take the bolster back under, check in again, that I'm centered and I'm not collapsing and rounding, and then I'm going to let the legs come up.
This time, I'm going to find the stable ribs into the body, find the stability of the core, not collapsing in the back. Keep that. So keeping that shape, I'm going to lower one leg and bring the other leg in towards me and switch. So that's the oscillation. My legs aren't totally straight here as you see, because I'm working at loosening the fascia so I'm just going to let go a little bit of big muscular action.
I'm going to feel this little tug as one leg comes in towards me through the whole line of the hamstring. If I beam my heel up a little bit, I'll feel it through the calf. Just check in that you're not shifting like crazy, so there's this stable feeling through the torso. If you're really feeling hip flexor activation, again bend your knees. Something I really like about this series is that you're on your back for a long time.
It's really strengthening deeply, but then it's also really restorative. So then I'm going to bend and draw my legs in. I'm going to keep my knees together and I'm going to straighten and bend through the legs and this is just like flossing over the knee joint, all this fascia that wraps over the knee joint. Check for, if you have a lot of cracks and pops, sometimes that happens. See if you can smooth it out a little bit more so you're not pushing into a range of motion in the joint that maybe feels a little misaligned.
It's a pretty soft, subtle feeling, but it's just stretching as you straighten and bend, all of this quadricep tissue wrapping over the knee. Knees together if you can, or as close together as possible. And then I'm going to let that release. Again, press into the feet, slide that out from under my hips, roll down, and I'm going to roll up here. Then I'm going to place this bolster behind me and sit on it.
Some people don't need this much height, some people do. Taking the right leg back, so that the foot is on the outside of the hip, knee in line with the hip joint. Then I'm going to start to lean back here. For some people, this is going to be pretty flavorful, just to lean back. If possible, to lift the hips and sort of draw the sitting bones down and under, so it's a little posterior tilt of the pelvis, and maybe come down a little bit lower.
Some people can come right down onto their back in this posture, half-hero's pose. It's up to you. I'll show you, if you want to come down onto your back, you probably take your bum off of the bolster and slowly settle yourself down. It's okay if your knee is a little bit lifted, just make sure that there's not too much pinchy pressure in the knee. But maybe it'll come down a little bit.
We'll just take a few breaths into this shape. So we're opening up the front, we have done a lot of flexion work, in the body, so now we're just getting a nice big breath of fresh air into the front of the hip. Then into the quadricep area at the front of the thigh. I'm going to support myself to come all the way back up. I'm going to lean way over to let this leg go.
Floss it out like that and switch sides. I'll take that other leg back. Walk it back, lift the bum, move the sit bones down and away from the lower back and then settle back in. For some people, maybe come off the bolster, walk it down and lower the back onto the bolster. It's nice if your head is on something, and it's even nicer still if your head's a little bit more elevated than your chest, so if your chin's jutting way up in the air, you can always pause and grab something and put it under your head.
So letting that big opening come into the front of the left hip and the quad. Maybe even for some you're feeling this a lot in the top of the ankle. Let's take a few more grounding breaths. Relax your shoulders. Just check in how your body is taking in all this new information.
And then we're going to slowly come on up. Lean way over, let this leg come out, maybe pulls through the knee, let the blood flow, come back in. And I'm going to turn over and close this practice with hands forwards, knees back. So knees not right under the hips, but a little bit more back. Feet together, and let the hips pull back, but it's like you have little cat claws digging into the mat so you're not able to totally sit back down on your heels and then we're going to round forwards, round, rounded angry cat, and then let your hips start to drop.
Without dropping them too low, let your lower back start to arch. Mid-back, upper back, bend your elbows and pull your heart through. Pull your hips back and round through your lower back, mid-back, upper back. Then we're going to come forwards. It's kind of like a wave coming up on the shore so sliding that wave out until it reaches as far as it's going to go.
Bend the elbows, pull the upper back through, and then the ocean is sucking it back, so the hips pull back and rounding. This is just delicious. Allow yourself, you've just done all this nice work to stabilize, and now you can really mobilize and move with that support that you've created. One more time, inhale. Exhale, pull back.
You might separate your knees a little bit more if that's more comfortable for you, hands forwards, rest down into a child's pose. If this is not nice for your knees to flex like this, then you can rest on your belly as well. With your arms outstretched forwards. Just rest. Receive the residue of the practice.
So I would recommend doing this practice a few times if you are called to do that, because repetition really does support this kind of practice when you're working with releasing bigger muscles that you're maybe habitually gripping when you're fine-tuning. Thank you for listening and being open to learning new things. Hope to see you soon. Namaste.
Yoga for Athletes: Recovery Practices


Comments


added a pic taken by Babydaddy just minutes ago during the practice :)


Thank you Lydia for a gentle and effective practice.
You need to be a subscriber to post a comment.
Please Log In or Create an Account to start your free trial.
