Description
About This Video
Transcript
Read Full Transcript
(waves crashing) Hello and welcome to our vata balancing practice. The way that we're gonna balance our vata today in our practice is to go slowly through our movements and to use more props to give us more support to help us pay a little bit more attention to deeper alignment with our anatomy, and for sure to keep a nice rhythm with our breath. So for this class we'll need a handful of props, including two blocks, a bolster, and a blanket and a strap. So once you've secured all of your props, we're gonna start with a bolster. And if your knees like a lot of padding, you wanna have some padding under your knees, and if I come to a more neutral kneeling position, I'm gonna take the bolster, for a variation of virasana, and literally put the bolster over the top of my calves.
My knees are apart, my feet are apart, and I'm gonna sit down and potentially feel a little bit more sensation than when I'm sitting on a block, and I'm feeling a little bit more down into my ankles, my shins, and my thighs, so that there's a little bit more downward movement of energy. If you find it's too much sensation, you might add a block underneath your sit bone area or something between your feet. So adjusting to make sure it's not overwhelming, but it might bring some awareness downward. When you've decided you're in a good space, rest your hands facedown on your lap. If you're comfortable, close your eyes or look down over the tip of your nose and see if you can bring some awareness down to your feet.
And think about fanning your feet out so that you've got some width across the top of the foot. And then keep spreading the toes out as you feel the front of the ankles open toward the ground below. See if you can feel that length through the front of your shins. And imagine a little bit more hollowing of the back of your knees as we feel, potentially, the femur bones, those large leg bones, drop a little bit more down towards the hamstrings, toward the bolster. And keeping that downward, firming action of the legs as you allow the front of the belly to lift slightly up toward the chest.
And that's an inner direction of lifting navel energetically up toward the chest. So if you can bring your breath awareness around the lower rim of the ribcage, in the front, along the sides, and in towards your back ribs, imagining that you are breathing into a strap that was tied all the way around the torso, around the lower ribcage. When you breathe in, can you expand your awareness into your back body, the side ribs, the front of the belly, and experience the three-dimensional shape of the torso? And as you exhale, feel your ribs get more narrow. Maintain that downward rooting action of the legs.
And then keeping your inner lift, can you let your awareness travel up a little bit more now toward the upper chest. And when breathing in can you feel the breath help to spread and widen the chest, the arm bones. And as you exhale, noticing that feeling of the ribs becoming more narrow, a slight heaviness in the arms and elbows. Inhale again, allowing for width through the chest and the back between your shoulders. Keep that downward rooting action of the legs as we lengthen through the neck.
And be aware of any tightening of the lower jaw into the upper palate, and can we release the lower jaw, more. So there's no gripping in the tongue, no gripping in the jaw. Relaxing muscles in the face, that downward rooting action of the legs, while you keep the crown of the head lifted toward the sky. In, you see, discover your breath, and perhaps creating, in this practice, an intention to help focus your energy, to focus your mind through some other slower positions, through some of the longer holds. And it's a great way just to remember what brings you to practice today.
And then, when you're ready, let your eyes slowly opened, if they've closed, and then from here, I'm gonna have you slowly, when you're ready, sit up off your prop, and then take that bolster in front of you. You may want to use that over the next seat or two. I'm gonna have you bring your knees closer together, if you're comfortable, and then make two fists with your hands. Press your knuckles together, and if you're menstruating, you would skip doing this part and just rest your hands at your side like you're doing child's pose. So with your hands in fists, lift the chest, lift the belly up over the fists, so when you come forward you're bringing either your forehead to the bolster, which is a little bit less intense, and some of you might prefer having your head come all the way down to the ground, which would put a little bit more pressure in that belly region.
So as you come to whichever one works best for you, see if you can allow yourself to breathe around the shape of the fist, so that you're getting a little bit more space in your back body. Now we're bringing a little bit more downward pressure away from the head, into the lower abdomen, in toward the legs and hips, which are some of the areas that vata rules in the body. So how can we improve the circulation in this region? Take just a couple more breaths here, breathing down around the hands. See if you can feel a little bit more width along your back body, directly along the spine.
Over the next inhale or two bring your spine all the way up, release the hands, and you might keep the bolster where it is for this next one as we slide the knees out to the side. So if we come to a wide-knee twist, for some of you, if I take the right arm over the the left, if it's difficult to bring the head down to the floor, you'd bring your head to the bolster, and for some of you, you might find the bolster gets in your way, so the bolster would move forward. So I want to present those options. The right arm, let's slide that out to the side first. Bring your head to the floor or bolster.
Then take your left arm around your back and try to slide that around into the inner leg line. Allow for weight to come down into this outer right arm area, and when you feel like you're in the right spot, see if you can soften your gaze, tune in to your breath, and maybe internally counting to yourself, four more cycles of the breath. So breathing in, and breathing out. Breathing in, roll open the left side of the chest. Exhale.
Breathing in, and breathing out. Maybe the last breath, rolling that left chest a little more open toward the sky. Then breathe out, stay in the pose. And then with the next breath, release that left arm back up towards your face, come up toward all fours, and then we'll go to the other side. So now the left arm is gonna slide over to the right, stay with the wide knees, and then come down into our twist with the head on the ground or bolster.
Right arm goes around the back and tries to slide into the inner leg line. And allow for the weight to come into that outer left arm. We're breathing in and breathing out. Maybe breathing in, rolling open the right chest, and stay here breathing out. And breathing in.
It's helpful for vata, stable, rhythmic breath. Breathing out. One last breath, rolling open the chest, and breathing out. And if you'll release that right arm from behind your back, press the hand toward the face, and then come up towards all fours. When we come to all fours, we can slide the knees parallel and then move the bolster out of your way.
As we get that out of the way, slide your knees back so they're under the hips, curl your toes under, and as we get ready to inhale, arch to look toward the space in front of you. You can do audible exhale, or quiet exhale as you round the back toward that cat shape, and right at the end, pull the navel in towards the back, lift the knees for a moment, downward dog, with the belly pulled in toward the back, and then we'll go down, knees to the floor, looking forward, going into what's called udiyana bandha. Exhale round. (exhaling) The end of the exhale, hold the breath out, hold the navel back, lift your hips and empty out the lower belly. Imagine it getting a little more hollow. Knees come down, belly relaxes, look forward, exhale, it can be audible or quiet.
The end of exhale, hold your breath out and come into that downward facing dog. One more time, knees down, inhale looking forward, audible exhale, hold the breath out. Pull the hips up and back and stay and pull that lower belly toward the back. Stay in the pose, take a big breath in, relax belly, and exhale, and pulling belly in toward the back body. And then take a moment and step your feet in a little closer together, and then pause, re-spread your palms.
With your feet side by side, you're gonna balance with the right foot down, slowly bring that left leg up toward the sky, maybe a little bit higher than the height of the pelvis. We can always work from this position here and lengthen from left wrist to left heel. Keep the right knee facing the right elbow, and we can roll that top left hip open toward the sky. Bend that top knee and think of lengthening from your belly up into your inner left knee. Go for length, go for height.
Make sure that that right knee is still facing the right elbow. You can let your head drop and hang under the left arm. Take one more breath to open that lower left side of the belly. And then once we square the hips, come back to neutral, put the left foot down, take your right leg up, re-spread the hands, bend the top knee, if that works for you, roll open that top hip. Make sure, again, left knee, now, is facing left elbow.
Go for height through the inner knee. Dangle the head under the arm. Take one more big breath here, and as we come back to squared hips, feet on the ground, bring your knees to the floor, and just walk your hands in toward the knees so you can find where your blanket is and where a block is. We'll use the blanket rolled up so that we can put the heels on that for a moment and then take your block with you as we come to a position where you're perched on the rolled blanket, and notice if you come down toward a squat, how wide do your feet need to be for you to come to your squat, so this is sort of the test run to see what feels good for you. Make any adjustments that you need to.
And then I'm gonna have you hold the block up in the air. So as we hold the block up, our intention is to keep this block as high as we can while we come down into the squat so it never feels like you're crashing down into your heels and knees or ankles and knees. Lift up through the block, up to center. Keep the block nice and high, so you're coming down slowly into your squats. One of the best poses for balancing vata is working into our squats, getting energy to move in and down toward the legs.
Okay, so keep moving with your breath. And if our tendency is to speed up the pace, maybe that's the vata tendency, see if you can consider going slowly today through each movement, and really accentuate the exhalations, getting to the bottom of the breath, and two more times going down, you might already start to feel like there's some significant warmth and heat in the legs. I would hope that's happening in your legs about now. And then working your way up, this last time just stand. You can leave the block down, step back off the blanket, and then set those props to the side.
Okay, at any point, again, we can always use the blanket under the knees when we need a little more cushion. All right, so now if you come to what would be a stable standing position for you either feet together or feet apart, whichever one makes you feel stable, bring your hands in front of the chest. Take a deep breath, find your stable position. When you're ready to exhale, we're gonna point the fingers down toward the floor, and come all the way forward and down, maybe bend your knees on the first round. Then lengthen your spine forward and step back one leg at a time into your plank position.
You're gonna hold for one breath in. Stay here. Then take in another breath in, and stay here as you exhale. One more breath in. Firming through the bones of the body, and then lower knees, belly, chest to the ground, hands by the chest, toes pointing back, inhale, curl your chest up away from the floor, and then bring the chest and forehead back down.
Again, a slow curling up on the inhalation, and a slow rolling back to the floor. One more time, without rushing. Inhale, curling up. Keep that support under your belly. Exhale, come down.
And then with your toes curled under, elbows hugged in, press back to all fours, into your downward facing dog, and then bring your left foot forward toward the back of your wrist and bring your right knee down to the floor. Please bring your hands, now, up to your chest area, in front of the heart, and then lean back to stand on top of your right knee. So I'm gonna have you relax your back foot. Come into a little bit of a lunge with your chest curling up into your thumbs, and then finding that length through the right side of the belly, up into your chest. And then we're gonna take a little turn towards your left side and either stay up high in your twist, if this feels better in your body, or lean forward and slide your elbow to the side of the knee and then we can press this top hand into your lower hand as we bring the chest bone a little bit more up toward the thumbs.
And so that's many words to describe length on the right side of your belly, up towards your chest. And stay another breath. Imagine you're lengthening on the inhale, rotating on the exhale. And as we exit, we're gonna look back to the front of the mat, set your hands down and step back into your downward dog. On an inhale breath, take that right foot forward toward the back of your wrist and then lower your knee to the floor, and relax your back foot.
Hands to the chest, and then come back to stand right on top of your left knee. So for some, you might be in a better position to stay up high, and some of you might start to inch a little bit forward with the hips. The same time your chest is lifting up into your thumbs. And stay in there with your breath another round, lengthening on inhale, maybe sinking toward the floor on exhale. We're gonna stay tall in the spine, and then twist, the first option is maybe to stay high and look back over the shoulder.
Other variation is to put the elbow outside that right knee and top hand presses to the lower hand, and we twist while keeping that back foot firmly rooted. Have the intention to lengthen your spine on the in breath and see if there's room to rotate and turn your belly towards your inner right leg on the exhale. Take one more breath, lengthening from head to tail. Rotate on the exhalation. Turn back toward the front of your mat.
With your hands down, step that back leg forward, and then fold over the legs, and then with your feet, heel-toeing their way together, if they're apart, bend your ankles and knees, let your hands come in front of the chest, and all the way up to standing position. Take an exhale here. Another breath in, exhale, point the fingers down, dive toward the floor, fold forward. Lengthen your spine, step back one leg at a time, hold for one count, exhale, stay for another breath, inhale if you need to, knees to the floor, exhale here, one more round, breathing in and breathing out. And then knees, belly, chest, everything to the floor.
Feet are down, inhale, curl the chest up, little baby cobra. Exhale as you bring yourself to the floor. One more time, inhale, curling up, and releasing down. Curl your toes under, keep your elbows hugged in, and then press back to all fours, into your downward facing dog on exhale. And then take that left foot forward, and this time we're gonna stay in a high lunge.
So feel that both feet are well rooted into the ground, hug in through your inner legs, bring your hands to your chest, and you can maybe already tell we're not lifting the arms much, not creating a lot of wind in the upper body, intentionally. Take your spine up tall, and if you need to, bend your back knee to lengthen the lower spine. If it feels okay, back leg straight. Have the intention to lengthen up from the tip of your spine to the crown of your head. As you exhale, maybe separating the feet longer on the mat, to get a little bit more opening in the front of the right hip.
We'll take one more breath here. And if you wish to twist, we might rotate through the ribs and stay tall. If that's better in your spine, stay here, or lean forward and touch the ground with your right hand, take your left hand to your waist, and start the twisting, as we bring the left knee in toward the midline, turn your right side of the chest to the inner knee, and then lengthen from your back leg through the spine. Take a deep breath, keep using this right hand to guide your right sit bone in toward the left sit bone. One more breath, rolling open through the chest.
If you feel like the pose would be incomplete without a lift of the arm, feel free to lift the arm. And then look back to the top of your mat. Bring both hands to the floor, and then back you go from plank to downward facing dog, exhale. Bring the right foot forward to the back of the wrist area, so it's a high lunge. Press down into your feet, gather the hands at the chest, and then take your spine vertical, and if you need to, you bend your back knee, or keep your back leg strong and engaged.
The thighs are hugging in. Have the intention to lengthen from belly to chest, the chest through the crown of the head, and as you exhale, maybe letting the front foot go a little further forward and sink a little deeper into your lunge. One more breath, legs are hugging in toward each other. Stay here and twist, up nice and high, if that's a better position for your spine, or as we come forward, left hand to the ground, right hand to your outer hip, and try to squeeze the right sit bone toward left. Bring the left knee above the left ankle, and then a little bit of twist to start to look sideways or potentially up toward the ceiling above your head.
Reach, everybody, into your back leg and lift the back inner thigh, right sit bone toward left sit bone, breathing as you lengthen your spine. Exhale when you're twisting. Okay, release the twist, look back to the front of the mat, hands to the floor, and then step that back leg forward. Fold over your legs on exhale. Heel-toe your legs and feet toward each other, bend your ankles and knees, hands to the heart, rather than up toward the ears, come up into your modified chair, and then all the way up into straight legs.
Take a breath in and a breath out. Last breath in, next exhale, point the fingers down toward the floor, one more time diving down. Let the spine lengthen forward as you step back into your plank pose, this time holding for two counts. Stay here, exhale. Inhale.
One more count, exhale. Knees down, everything to the floor, one time your cobra. Anchor your feet, curl your chest up as you breathe. Exhale back to the floor, toes curl under, and from all fours going back into your downward dog. This last time we'll bring the right foot forward, sorry, left foot forward, into a warrior one stance.
Bring your hands to your heart, take that pause, ground your feet. Inhale, take your spine up tall. Exhale, separating the feet longer on the yoga mat, if you wish to go deeper. Curl the chest up toward your thumbs, and then one more breath, stretching through your back leg. And then we'll come into a straight-leg position, open your arms out, shoulder height, with your palms facing forward, turn, and this could be a modified revolved triangle pose.
Stretch through your back leg, open up through the chest. You're welcome to stay here, or take your left hand to your lower back sacrum area, right hand to your shin, and start to do more lengthening, twisting, turning, toward revolved triangle pose, with the intention to lengthen through your back leg. So to balance the vata, we want to have really stable feet, strong legs, downward-moving energy. Take one more breath here, and bend your front knee, unwind toward the front of your mat, step back into your downward dog transition and bring that right foot forward, a short step for our warrior one, and pause with your hands in front of the chest. Ground your back heel, then lift your spine up into that backbend shape.
Front foot might wiggle further forward if you want to deepen the stretch through the front of this left hip. Keep the backbend shape. Exhale another breath, press into your back heel, and then let the arms go straight out to the side, shoulder-height, straighten your front leg, and that modified revolved triangle pose. You might find as we stand tall, it's not so easy to turn through the ribs. That would be normal. (chuckles) As you exhale, a little bit of twisting.
You're welcome to stay here, or take your right hand just above your sacrum, left hand to your shin, and see as you root your back leg and you lengthen your spine and potentially get a little more opening from the belly to the chest on your right side. Stay here another breath, breathing in. Another breath, breathing out. And as we come out, this time I'm gonna have you stretch that right arm out from the side, bring your left arm out to the side, we're gonna turn and face all the way forward. Let your arms come down and let your legs heel-toe their way toward each other.
So let's grab our blocks for the next pose. If you place your blocks tall at the front of your mat and take your right foot forward to the inside of one of the blocks, then your left leg is gonna go back behind you, not very far, and way over to the outer edge, toward the edge of your mat, so you're standing, and your upper thighs are pressing into each other, and often it's a little balance-y, so you need to be aware of that, as you ground down toward your feet. So as you ground down towards your feet, somewhere in here is the right distance to balance, to firmly root your feet. We're gonna add a layer of moving the hips back. Take the blocks down underneath your shoulder line and adjust as you need to to feel really awake in your legs.
The top thigh is pushing into the back thigh. And for some of you, you'll feel this a lot in your calves, and that's okay. Some of you will feel this in the outer right hip, and that's okay. Some of you might need to turn your blocks flatter and come more forward, down over this front right leg, and at some point we should be experiencing some sensations in the lower legs, at the top of the thighs, and as you exhale, maybe even a little bit of folding forward. Wherever you are, make sure that you're aware of breath and maybe even counting your breath.
One more inhale and one more exhale. You can hold onto the waist as you inhale, come all the way up to neutral. Step that back left leg out to the side and then go ahead and shake out your legs. Okay, so the other side, when you're ready. Take your left foot to the inside of the block, right leg behind, you've criss-crossed the legs, they're wide, they're not in the same track.
And we might go down to that tall height. First stand tall, make sure you're able to balance here and put all of the back foot on the floor. From here the hips go back in space. We've got the tall blocks to help us find our way down to our feet. Okay, so starting with the outer hips hugging in, the sensations of the upper thighs, follow your awareness down to the feet, and then press down into your feet.
As you hold the pose here, or go maybe to flatter blocks, and fold more over your legs, can you keep the balance from right to left in the feet? Take one more breath, folding over your legs. And then, as we come up, halfway, hands to the waist, press into your back foot, come all the rest of the way up, and then take that right foot from behind up to the front. And then we'll shake out the legs, and then grab your blocks and we're gonna turn and face now the long side of your yoga mat. This is one of my favorite things to do these days.
So, I'm gonna have you start with a little bit over that way, that goddess, horseman's shape with the feet turned out to the side and blocks on the top of your legs. So what we're trying to do is to press the block down into the thighs. Lift your belly and chest over the blocks, it's, at some point when you come forward, you won't need your hands anymore and the blocks stay in place. Already pretty cool, right? (chuckling) So, when you feel stable, keep the blocks there, turn your feet slowly forward. So at some point the hands come down more comfortably to the floor and try to feel the width, now, across the upper portion of the lower back, and maybe feeling, again, a little more length in your front body with these big wedges between your ribs and your thighs.
Keep dropping the head down, and then feel into my favorite part of the pose, is how it feels like the femurs are really moved back deeper into the hamstring belly. So a little bit more clarity, maybe, in the legs. Now go from this wide position to very slowly bring your feet a little closer together, and then things tend to get a little bit more hamstring-oriented. While keeping the width in the upper lower portion of your back, length through the front of the spine, last moment or two before we bring the hands up to the blocks to stabilize them, bend your knees, and then come all the way up. Okay, we can set the blocks now over to the side and then enjoy a big breath or two here.
Okay, so one other way to go down into the legs is for a moment to bring your feet together, it would be very incomplete without a little balance pose. Bend your ankles and knees and float your arms out shoulder height. Lift just your right heel for a moment away from the ground and take your right foot to the outside of your left foot and just see how low you can come down into your ankle. So as soon as the ankle of that right, sorry, left leg stops bending, stop going down, and just hug your upper thighs again toward each other. Bring your left arm over your right arm and wind your arms around each other, and potentially allowing yourself to maybe sink down more, slightly round upper-mid back, so you've got generous space between the shoulder blades.
Take another breath in. Another breath out. You can come up and out, gather the hands in front of the chest, big breath in, and bend your ankles and knees, spread your arms out, lift just your left heel, sink down as much as you can into your right ankle, and then take that left foot over to the right, and notice, can you come down more, now, as your legs squeeze against each other? It's not so easy to do. And take that right arm over the left.
Wind your arms around each other and then maybe sitting down into your seat, elbows coming forward away from the chest. Back of the heart opening. Another breath in, feel the energy, breath, prana, strength moving down toward the legs. Last breath, and let yourself come up and out. Ahhh, and then relax.
We're gonna turn back toward this short edge of the yoga mat. So with your feet gathered, hands in front of the chest, take a big breath in, point the fingers toward the earth, as you exhale go down, bend your knees as much as you need to, lift the spine and step your legs back into that plank so we can put the knees to the floor and then secure your bolster another time. The bolster's gonna to that front quarter edge of the mat. Walk your hands forward, and then come up to that forearm position. Okay, so from plank is just a transition so we can bring the left knee forward onto the bolster, and then a little bit more oomph to get over the bolster, and you might even pull the bolster back a little bit so you can turn your right hip in, and we're gonna set up for the beginning of the eka pada rajakapotasana, (chuckles) our pigeon pose, with the back foot on the floor.
And with your back foot on the floor you might take a peek, just make sure that back right foot is in the same lane with your right hip and the intention is to stay high in this position, and this little bit of wedge of the bolster hopefully will help give you a little bit more space so it's easier in your back to be upright. So what I'd love for you to feel is if your back is at all troubled by backbends, come a lot more forward with your hands, and maybe you feel it a lot more in your hips. Some of us are gonna come more up to the tips of the fingers, and when you're up right here, the way we make this really exciting in the legs is to squeeze your thighs in toward the bolster so it helps you lift from your inner legs into your spine. Maybe you can see if I'm not using my legs how I sink down. If I squeeze my legs into the bolster, around the bolster, I get a little bit taller in my spine.
So I'm working the legs, squeezing the thighs into the bolster, and at some point, for some of you, you might even envision the hands coming towards the bolster, and then maybe you put the hands on the bolster and you press down to lift up. I'm still squeezing my legs into the bolster so I'm not taking a resting pose. Take two more breaths, as much uprightness as what feels appropriate for your back. And then come forward halfway so your hands are down. Take the left hand to the middle of the mat and now try to bend your back right knee.
And some of you might have a sufficient stretch through the front of your right leg here. If you'd like to go to the next step, we're reaching back with right hand to right foot, and as you pull the foot toward the back of your thigh, squeeze the bolster with your legs again, and as you squeeze your inner legs toward the bolster, you've got that lift away from the bolster, so even though the bolster is there, we're not totally resting on it. There's a little bit of lift away from that. Take one more to feel that core engagement. Slowly let go of that back foot, tuck your back toes, hands are wide enough that you can lift up away from the bolster and then maybe back to downward dog transition and from here we'll take that right knee to the bolster and then slide it over and around and maybe pull the bolster in so you can get the right shape to make your right knee happy.
So in sitting down to the bolster, look back. Make sure your left foot is in the same lane with the hip. When you're in a good position, wonderful if you need modification, come more forward, if your back's uncomfortable. If your back is okay, try to lighten the load on the fingers so that we're working the legs by hugging them in toward the bolster. I'm engaging, I'm getting taller, when I'm not using my legs I sink down.
So, again, hands are there to guide you to help lift the chest. Squeeze the legs into the bolster and try to keep steady working action in the legs, breath moving through the spine. You can either envision the hands coming back, so the chest would open more, or put your hands back on that bolster and try to push down as you curl up through the chest. The legs are still working. That's most important, is your legs are working, and your breath is stable, deep, and rhythmic.
Take one more, using the legs. Come halfway forward, stabilize with your arms, your hands, right hand at the middle of your mat, bend your left knee and you can stay here, that might work for some of you, or left hand to the foot and give the foot a little bit of squeeze down toward the back of the hip and then right away, squeeze your thighs again into the bolster, so you've lifted up even though there's a really soft cushion underneath you. Try to resist sitting into the cushion. Come up and feel that front of that left quadricep stretch. It's usually pretty obvious what you're affecting here.
One more breath. And then release that left foot slowly. With your arms out, palms spread, lift your back knee, slide that right leg around, and then if we can come to, now, an even bolster, knees to the floor, let your belly area, the front of the pelvis, rest on the cushion now. Rest your feet, stack your hands, and make a little pillow for a moment to rest the head down on the floor and to relax any tightening or gripping in the lower back or belly. So you wanna feel generous breath way down into lower abdomen, into the lower back space.
That area, again, we've been working a lot in the vata balancing class. All right, so to bring our attention, a last round to deep into the body. We'll slide the elbows in right in front of your chest, and with the elbows down underneath the chest, shoulder width apart, curl your toes under and start to lift up your kneecaps. So you've got the legs starting to work, you've got the support of the bolster. What I'd like you do is to now lift your pelvis away from the bolster and then you're in that forearm plank position.
And see if you can stay now with steady breath. Press down through your forearms, breathing in and breathing out. Bringing your attention deep to the body, breathing in and breathing out. So rather than a lot of sun salutations, a lot of arm movement, we can just do a few really targeted, longer holds to build that deep core heat, which is helpful for the coolness of vata. Bring the hips back down to your cushion, knees to the ground, and with your hands under your chest, press yourself back and sit toward the heels.
We're gonna grab the bolster and then slide your feet to any side and stretch your legs out in front of you. And then slide this bolster down right in front of your belly area with your feet pointing toward the knees. This can be helpful, for a lot of us, for our forward bends. Just like with the blocks wedged in your thighs, we're gonna try to lift up slightly over the bolster, so, as we do we should feel like our back body gets a little wider. Rest your elbows here on the edge of the bolster and find your way forward, your version, you might hold your head with your hands.
You might be reaching for your feet with your hands, and for some of you you might even have your hands down on the floor beside your ankles. Whichever one is the right one for you, try to receive this support as a way to ground your legs more so the weight of the bolster firms the legs towards the earth, where we'd like them to be. Creates a little more space in your lower back area, puts some pressure down into the front lower abdomen areas where vata rules, and simply bringing your attention deep down into the body. Take two more breaths with the weight of the bolster grounding the legs, enforcing that grounding quality. Okay, slowly slide the hands back, lift your spine up.
Set the bolster to the side for a moment, and with the bolster to the side, bring this right heel in just to the outside of the right sit bone area, left hand to the outside of the left leg, and we're going to a twist where I'd like you to keep your right shoulder to the inner right knee and keep this right arm bent. Left arm is gonna go somewhere behind you. So if you can snug that right shoulder to the inside of the knee, press that right foot into the floor, it's so helpful to press that right foot down as you open the left corner of your chest. And just try to feel that out, not forcing the pose, just allowing, as you ground your right foot, this bent leg foot, to turn open a little more through that left side of your chest. Take one more breath, rolling open that chest area.
And then releasing out, and slide that right leg forward, gonna take this left foot in toward the outside of the sit bone area, left shoulder to the inside of the left knee, and then bend the elbow and see if you can keep kinda bringing yourself more forward to the top of your sit bones, maybe perched on the tips of your right fingers, and as you press against the left leg, the leg is pushing into your arm bone, and that should help with that downward pressure in the left foot. So play around with grounding as you open that right corner of your chest. Take a big inhale, press down into the earth, lengthen your spine, and then a little bit of twist on the exhale. Again breathing in, expand from the belly to the upper chest. And then we'll slowly, over the last breath, release out of your twist.
All right, so as you stretch your leg out, I'm gonna have us come down to our back. I'm just gonna turn around so you can see me as we come down to the floor. As you come down to the floor, with your feet on the ground, take for a moment your right foot to the outside of your left knee. Lift the left foot so you catch either the back of your hamstring or the front of your knee and give yourself this moment to just feel, with this outer right hip, what's going on when we're on our back. Maybe similar region that we got to with our pigeon pose.
And as you feel again what's comfortable here, you're welcome to stay here, or unlace your fingers and stretch the left leg tall and reach up for your calf or reach up for your heel, which means your lower back's gonna come maybe a little bit away from the floor. And allow that to happen if it feels good. Some of you might go back a little bit further by bringing this left leg more down towards your body. And finding that nice stretch the back of that left leg and still enjoying something through this outer right hip corner. Take one more breath, wherever you are.
Slowly let go of that left leg, put your left foot on the ground, and then your right foot on the ground. When you're ready, that left foot's gonna hang over to the right. Lift your right foot, catch either the back of your leg or front of your knee, or if that's difficult, a strap around the front of your shin, and just feel, again, what's happening here in your outer left hip. And this might be a really great spot to stay a little bit longer. Or, checking out the right leg going toward the sky.
Reach up for calf or reach up toward your ankle, and while working that left leg, so we don't wanna let that left leg or left knee feel any strain as you try to bring your right foot more and more back toward the floor behind your head. This means that your pelvis, your lower back, is gonna start to lift. Elbows wide, soften any gripping in the eyes or your upper-mid back. And slowly, slowly releasing this top right leg. Put that right foot down and left foot down.
And then from here you might do a little bit of windshield wiper legs, just to release any tightness through the front of the hips. Make the feet wider if you're not comfortable, go as wide as you need to with your feet to be comfortable in your knees. Maybe one more time with the knees tipping to the side, one to each side. And then as we establish sort of a neutral position, find where your bolster is and for a vata practice, you want to add a little extra support everywhere, so see if you could find a little extra support under your knees, and receive that for our shavasana. Let your arms be out to the side.
If you feel cold, you might grab some extra layers to put over the body. If you had sandbags, you might even put them over your ankles or over the front of your lower abdomen for extra grounding, for the supreme grounding. (chuckles) And then make your way into a comfortable seat. Move the physical body until you truly feel relaxed, supported, at ease. And encourage the weight of the bones to sink toward the earth. Encourage softening through all of the muscles, from the face down through the chest, down around your digestive organs, and all the way down into your hips.
Encouraging softness of muscles in the legs, and the top of the legs, and softening all the muscles on the back side of the legs. And relaxing the ankles. And relaxing all those muscles in your feet. And allow yourself to start to attend to the breath awareness. Be aware of breathing in, and that little pause before breathing out, and acknowledging that pause.
As you become more aware of those subtle gaps in the breaths, allow yourself to settle more deeply into that space, to the inner lands and to the state of meditation. You're fully absorbed in the present moment. And tune into the beauty of this present moment and in the wonder of your true nature. And become aware of the breath. If you have the luxury of staying longer, you might hit pause and stay as long as you need to.
For others, becoming aware of breath without controlling the breath. You feel the expansion in the chest and belly when you breathe in and relax in the chest and belly as you breathe out. In your own, slow time, start to prepare to move your limbs, your arms, and your knees, and as you roll to your side you might use the bolster between your knees as you rest on your side for a moment, perhaps with your eyes closed, and take a moment to build a little more strength and wakeful energy before choosing to come up. When you're ready, we'll come up toward a seated position that, since there's a bolster here, you might use that right behind you to have as a seat, and as you come up with, perhaps, crossed legs, or perhaps virasana, if you like that better, to find that position where you're stable, and investigate by moving your bones around until you feel well-aligned. If you're comfortable, close the eyes and try to find your inner lift from the base of the pelvis to the top of your head.
And breathing in through the nose, maybe counting the breath to three, and breathing out and counting to maybe four. Couple more rounds breathing in, a little bit more emphasis on exhale. Counting the breath internally. With a longer exhale as we often reduce any worry and anxiety, it's nice if you're experiencing insomnia or vata-like conditions, spend a little more time lingering with exhale. With the next exhale please bring the hands up in front of the heart center, and now may others benefit from our practice.
Namaste. Thank you so much.
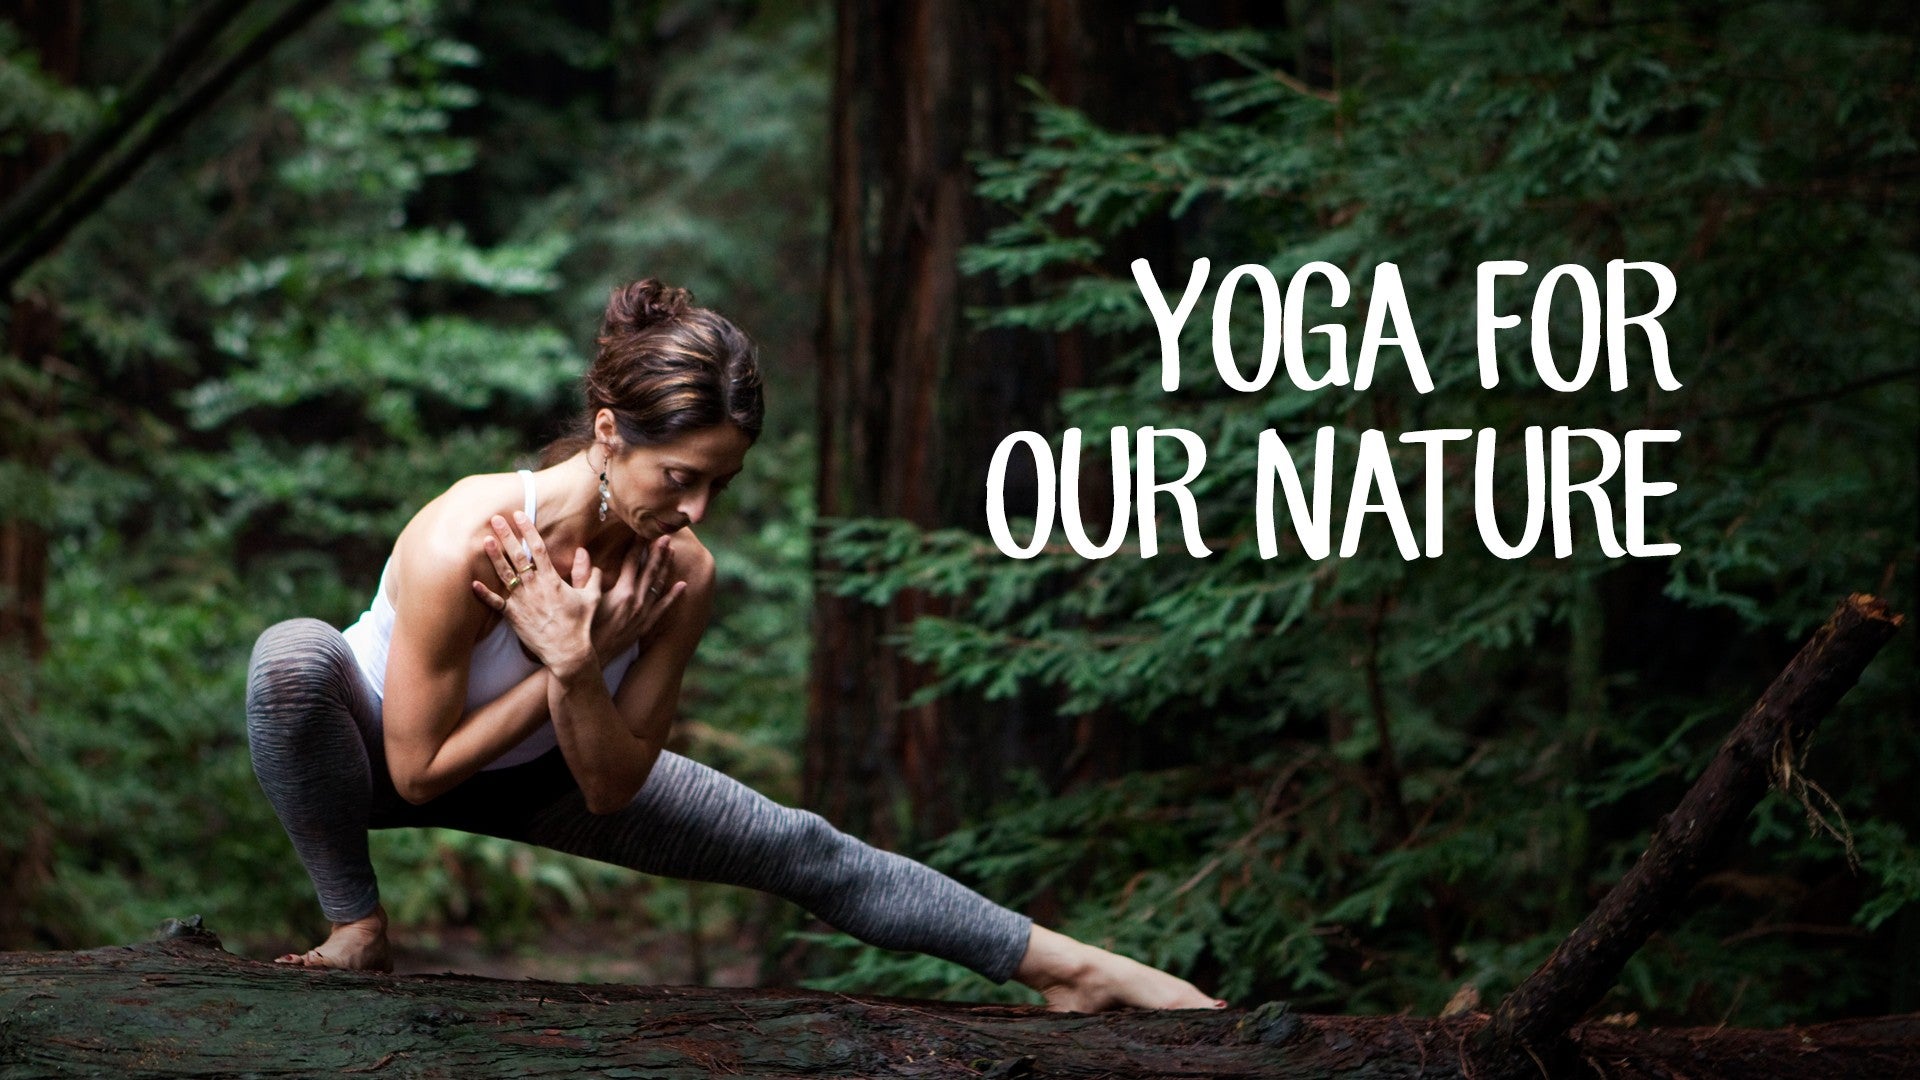
Yoga for Our Nature: Dosha Jam


Comments


You need to be a subscriber to post a comment.
Please Log In or Create an Account to start your free trial.
