Description
About This Video
Transcript
Read Full Transcript
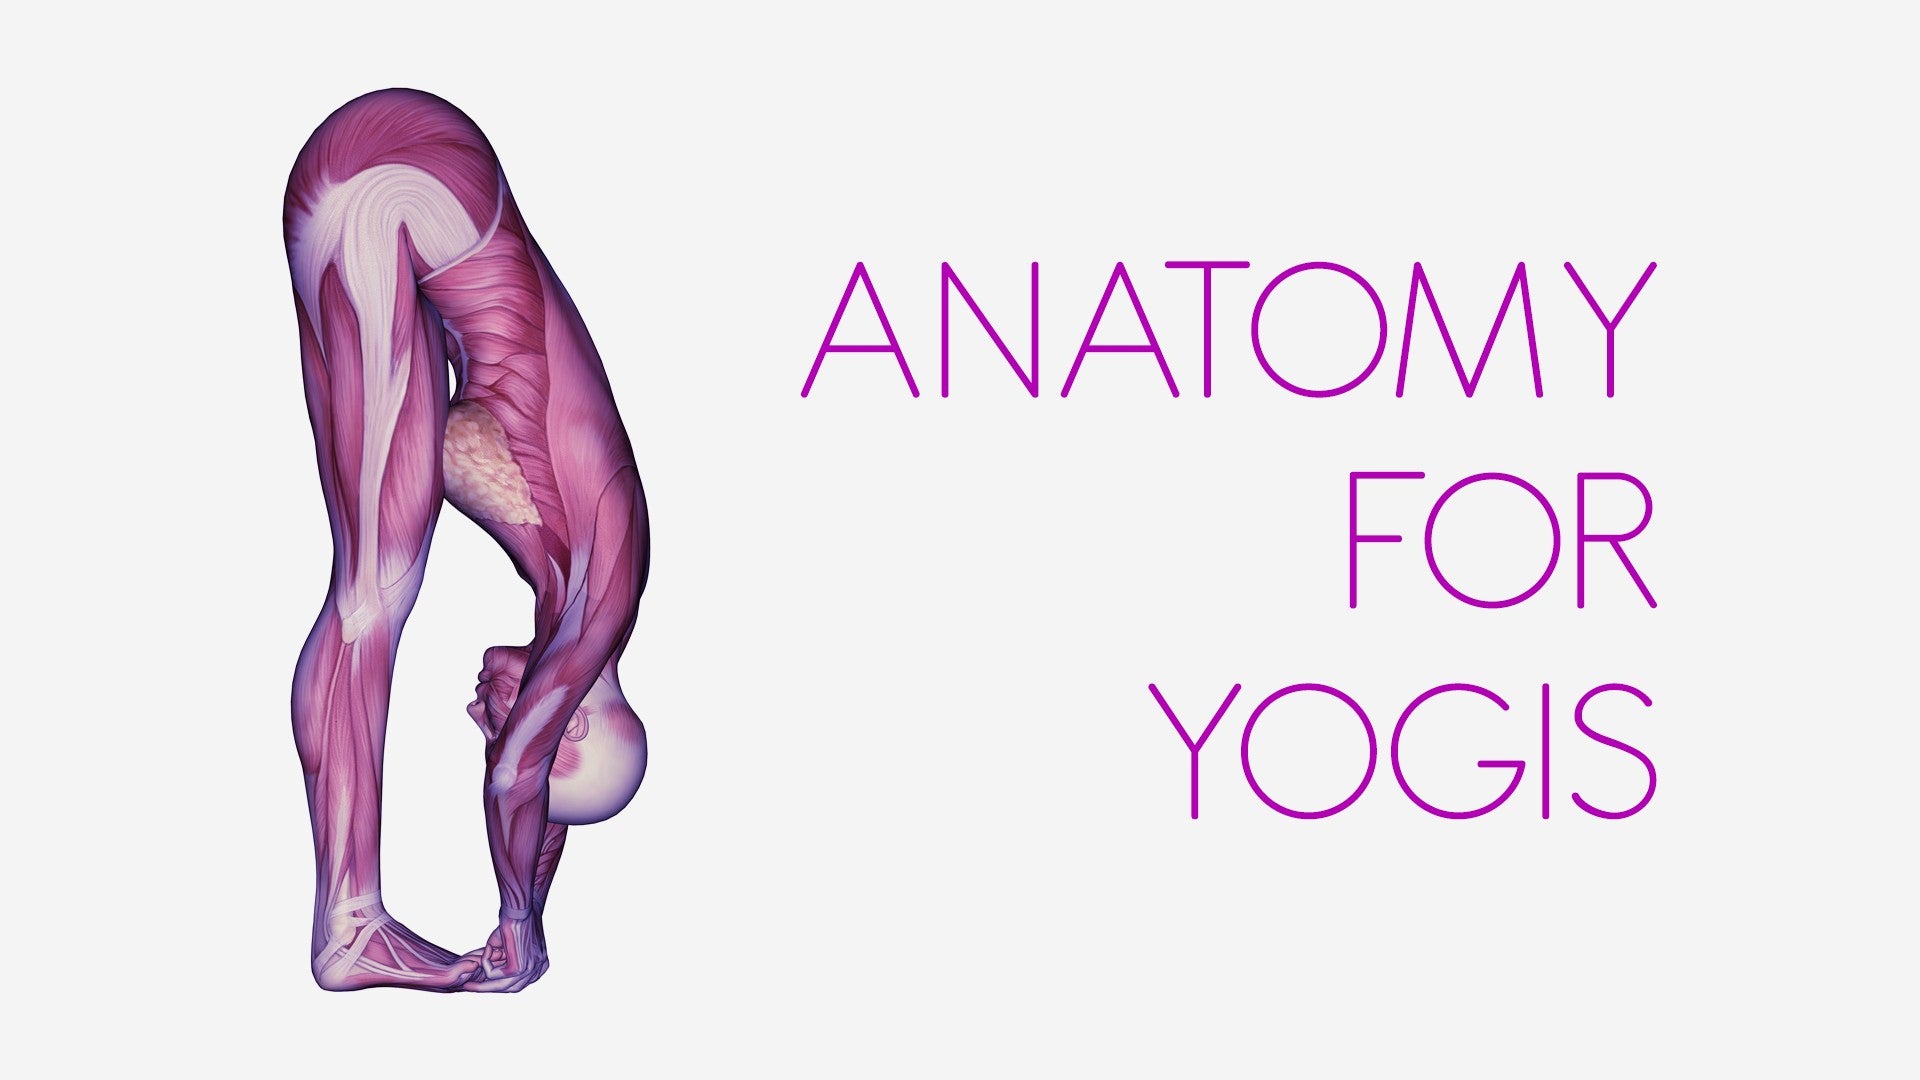
Hi, we're going to spend some time exploring and opening the shoulder girdle. The shoulder is the most mobile joint in the human body, and because it's so mobile it can be a little unstable. There's about 17 muscles that attach to each shoulder blade, and the shoulder blade is that triangular chicken wing bone back here in the back of the body. And we want to bring some awareness back here, because we can't see the shoulder blade, our own shoulder blade. Sometimes it's helpful to reach a hand either under your armpit and feel where the shoulder blade is just to bring awareness back there.
So we want to encourage that shoulder blade to slide and glide along the ribs. We're going to start off with just some gentle shoulder circles, bending the elbows and bringing the fingertips slightly to the sternum, and reach one elbow up, forward, and down. And then the other elbow comes back and up, forward and down. It's a little like we're trying to swim to do the crawl stroke with our elbows. And as you're doing this, see if you can bring some awareness to that back side of your shoulder.
Because as you raise your arm up, your shoulder blade wraps into the armpit, and as you bring the arm down and back, the shoulder blades move towards each other, together, towards the spine. Just a few times, getting a real smooth movement. If your arms aren't injured, you can let your arms straighten and do the same thing with your arms straight, or not. And we're going to reverse the direction, bring the elbow or the arm forward, up, back, and down, forward, up, back, and down. You'll notice my knees are soft, and I'm letting my heart turn to follow the movement of the arms.
Just getting a little lubrication, motion is lotion for all the joints in the body and especially true for the shoulders. One more time, each side. This warms the shoulders up, but this also lets us know where we are at the start of the practice. And we'll do that again at the end of the practice to see if anything has changed. For the next part, you'll need a strap.
We're going to take the strap and place it fashionably over your right shoulder. And take the left arm, sweep it out and up, and then let the elbow bend. This arm may come behind your head if you have really loose shoulders, or it may be just your wrist coming behind the head. And take your right hand and bring the strap into your left palm. And you can reach that right hand around behind you to find the bottom of the strap and walk the fingers towards each other until the strap is taut, put a little tension in the strap.
We'll do some movement with our breath now, inhaling, we're going to just arch slightly up, and as we exhale, rounding forward just a little bit, as we inhale, lengthening up, getting taller, looking slightly up, arching up, exhale, rounding forward, following the rhythm of your own breath, lengthening up with your inhale, rounding with the exhale. One more, inhaling up. This time as you exhale, come to standing neutral, straight up and down. And inhale, get a little taller, and as you exhale, tipping off to the right. Then inhale back to the center, and exhale, tip off to the left.
Exhaling to the center, exhale to your right, and following the rhythm of your own breath, and noticing the quality of your breath, if as you start to stretch, your breath gets tight, ease off a little bit, breath should be moving freely and easily. Next time, inhaling, center, and exhale, we're going to release the strap, just hang onto it, and let the arms rest at your sides. You may notice a little difference in awareness and movement, side to side, going to place the strap over the left shoulder now, sweep the right arm out and up, just as high as is comfortable, and then bend the elbow, and use your left hand to bring the strap into the right palm, and take the left hand behind you and find the bottom of the strap, and walk your fingers towards each other until there's a little tension on the strap. And inhale, arching up, exhale, rounding forward, inhale, arching up, exhale as you round forward, inhale, arching up, going as far as feels good for your body, for your shoulders, exhale, rounding forward, this time as you inhale, coming up, just as standing straight up. Release your glasses if they're falling off your face, and then inhale, get a little taller, and exhale, tipping over to the right, inhale, center, exhale to the left, inhale, center, exhale, center, exhale, side, exhale, side, inhale, coming back up, and slowly unwinding the arms as you exhale, and you can release the strap down to the floor, just taking a few times, rolling the shoulders forward, up, back, and down, forward, up, back, and down, let that be the last one.
Because of computers and laptops, we're spending a lot of time turning into hunching turtles, so I like to do a lot of chest openings, opening this part of the shoulder and getting the shoulder blades to move back instead of rolling forward. Now let's move to the wall. When we come to the wall, we're going to do a few different positions on the wall, and some of them you won't be able to see so well. The first one we're going to do is I'm going to place my palm on the wall, and then turn my thumb down, and then I'm going to turn the opposite direction that my fingertips are pointing. What that looks like on the wall is placing the palm about the same height as the shoulder, turning the fingertips across the body and the thumb pointing down, and then I can walk the hand towards the fingers and turn my heart away from my palm to stretch through my right shoulder here.
Take a few breaths here, relaxing as you exhale, and then slowly turning your hips and heart back towards the wall, bring the hand right in front of your heart again, and this time spin it palm up, and turn away from the wall, and open the front side of the shoulder. Depending on your shoulders, you may want to have the hand right at shoulder height. You might want to have the hand a little higher. Different positions are going to get into the upper chest, the front side of the shoulder a little differently, and taking a few breaths. And then slowly turning your feet, your hips, your heart back to face the wall, and release the right hand down, and bring the other hand up.
Spin the palm so the thumb's facing down, you can walk the hand across the body a little bit, and then turn away from the direction your fingers are pointing, or turn towards the arm that's lifted, trying to get that shoulder blade to rotate even a little further forward than usual. Open the space behind the heart, and open this part of the deltoid and trapezius muscles. And then slowly turning your hips and your heart back to face the wall, spin the palm fingertips up, and turn the opposite direction with your hips and your heart. Until you feel that stretch across the front side of the shoulder, again, you may want to walk the fingers up a little higher, you may want them down a little lower, it all depends on your shoulder and what feels really best for your body. And then slowly turning your hips and heart back towards the wall, and release your hand down.
For the next position, we're going to start off in what I like to call an I dream of a genie position with the arms crossed, we don't want to have this up too high, I want to keep the shoulders relaxed, so I'm going to bring these points to the wall, and then interlace my fingers like this, interlace my fingers so I'm getting a nice base of support from my elbows to my pinkies, and I'm going to step one foot back and lean some weight into this base on my forearms, the support in my forearms. I'm keeping my heart lifted here, sometimes in yoga we'll be tempted to drop into dolphin, it's a little different than dolphin. This one we're trying to keep the heart lifted, the spine fairly vertical, and really activate all the rotator cuff muscles, all the shoulder stabilizers, and you get a bonus calf stretch for whichever leg is in back, we'll switch the legs partway through. Start checking in with the quality of your breath, and we can slowly shift the legs, bringing the other foot back, sliding the foot forward, and getting the calf stretch on the other side, and breathing. And to come out, step your back foot forward, shift your hips forward, and then release your hands to the sides, and just take a pause.
It's a little bit of a workout for the shoulder muscles, so we'll give them a little opening stretch on the wall, we're going to take the hand to the wall, walk it up, and then walk it across the body. I'm going to bring my right palm to the wall, right about in front of my shoulder, and then walk it up as high as feels comfortable, and then I can even walk it across towards the opposite side, towards the right. I'm going to let my palm stay stuck to the wall, and shift my hips a little towards that side to open up this shoulder, getting some length through the latissimus dorsi and the low back that comes and attaches to the arm, that back part of the deltoid again, some of the rotator cuff muscles. Just going as far as is comfortable, checking again with the quality of your own breath, and then shifting the hips back to center, standing up tall, slowly releasing the left hand down, and take the right hand to the wall, walk it up as high as feels comfortable, and a little over towards the opposite side, towards the left, get the palm kind of glued to the wall as you shift your hips to the right, getting the right side of the shoulder, the right latissimus, the right deltoid, getting a little more space in there. Nice, slow, easy, steady breaths.
And then shifting the hips slowly back to center, standing up tall, slowly release the arm down to your side, and take a pause. The next part, we're going to move down to the floor. Coming down to the ground, we're going to need a ball, and you have a wide assortment of different balls, you can use a regular tennis ball, or a larger ball, this is called a soft weight, it's about two pounds. The softer balls are kinder and gentler, the smaller, harder balls like a lacrosse ball are more like, kind of like a rolfer, they're very intense in terms of the pressure. So tennis ball is pretty soft, soft weight is very soft, and then the harder balls get more intense.
And we're going to place the ball in a couple of choice positions, one is going to be right in the center of your scapula, right in the center of the shoulder blade. We're going to place the ball in a couple of choice positions, one is right into the center of the scapula, called the infraspinous fossa, we're going to get into some of the rotator muscles that can be quite sensitive, rotator cuff muscles that can be quite sensitive here. We're also going to reposition the ball and bring it back between the shoulder blade and the center of the spine. We don't want to put it on the center of the spine, we want to stay in this big, thick tract of tissue right here. So we'll place the ball in here and do a little bit of movement on top of the ball.
Come onto your back and taking the left arm forward, take the ball in your right hand, and you lean a little away just to open up some space, and placing the ball right in the center of the shoulder blade. And you lean towards the ball, into the ball, until you get that kind of pressure, the kind of sensation that aches good. Not a sharp pain, but it has that good achy sensation, like a good massage therapist. From here we can do some of the same movement that we started with, taking the elbow and doing some gentle circles. As you're doing this, you might come to a point, a position that brings a lot of really good sensation into the shoulder.
You can pause there for a few breaths. Let the ball melt into your shoulder and let your shoulder melt onto the ball. We can even try reaching the arm up overhead. And then reposition the ball just slightly on the shoulder blade. There's probably a whole neighborhood full of tender points out here.
For example, try some movement and melt into the ball. I'm going to reposition once more, a little lower, but still on the shoulder blade. Lean a little weight into the ball, and that's just really special right there already. We're getting a couple of benefits here. One is the pressure helps relax the muscle.
You're temporarily pressing the blood out of the tissue. Then when you release the pressure, you get a flushing of circulation through the muscle. The movement helps free up stuck connective tissue or scar tissue because you're pinned here with the pressure of the ball and then creating movement really helps to stretch these fibers that really get stuck and don't get enough attention. When we're going to reposition the ball a little further underneath, we're going inside the shoulder blade but on the outside of the spine and leaning into the ball, wow, that's very special. This upper back area gets very tight from working on the computer, especially if you're working on a laptop.
Everybody who works on a laptop tends to jut their head forward, and then this area gets overworked. You can also play with the movement, wow, I don't know if you can see the ball, but I can sure feel it. Just enough pressure where it gives you that hurts good sensation. Not so much that you're going to clench your breath or clench your jaw. When I'm going to take it, I have a hunch that I have another knot in there just a little higher, oh yeah.
This upper back is another good place to release. You can even, if your arm is resting, just gently shrug your shoulder up and down real slowly while the ball is pressing in there. Feel fantastic, and you know what, the third time is the charm, I'm going to move it up a little higher towards the top of the shoulder, and yeah, there's another rock in there, supposed to be muscle, it's feeling rather tight and rocky. You may find places where you want to pause, you may want to do some gentle movement. Just a couple more breaths.
Reaching the arm across the body, take the ball out, and just come and rest flat for a breath or two. As you rest flat on your back, you may notice that the shoulder that you just worked with with the ball is having a different experience laying on the ground than the shoulder that is waiting its turn. In order for you to see, I'm going to switch my position around so you can see the other side. Behind the shoulder blade, bring the ball right into the center of the shoulder blade and lean some weight into the ball. I can start with movement with the elbow, you might find a place to just pause and let the pressure of the ball melt into my shoulder, and I'm always going to be breathing, checking the quality of that breath.
Breathing on the scapula, on the shoulder blade. Breathing in and out. And repositioning again, still right on the back side of the shoulder blade, usually no shortage of tender points back there. You may want to rest the arm out to the side, wrap overhead. Breathing in and out.
Breathing in and out. And reposition the ball this time between the inner shoulder blade and the center of the spine, not on the spine itself, sliding it a little further underneath, leaning weight slowly into it, oh wow, more tender on the right side. And you can adjust how much pressure by how much weight you lean towards the ball. If it's too much to lay flat on the ball then tip your knees and your hips slightly away. You may want to explore movement or it might be just special enough, just that pressure in there, right in that space between the spine and the shoulder blade.
Going into the rhomboid muscles and the paraspinal muscles, the muscles that help lift your spine and your head, going to slide the ball up just a little bit, find another special point in there, oh yeah. You may want to play with shrugging the shoulder a little up and down or opening the arm out. Breathing. I like to use the ball the way I use a massage therapist's hands to use that pressure so that I can bring my breath and awareness into my tight zones and soften from the inside. The third time, moving up a little more towards the top of the shoulder and again, experimenting with position, with any movement and always checking in that you're breathing easily in and out.
And finish up with the ball, reaching the hand to take a hold of the ball and sliding it out and just resting flat on your back for a few breaths. From here we're going to slowly come onto one side and then come up to the hands and knees, all fours. Take your time in the transitions, rolling onto your side and pausing for a breath or two and then when you're ready to sit up, let your head stay heavy, roll a little forward and press your hand down onto the floor and slowly press and roll yourself up to seated. Might be a little light-headed when you first get vertical so take your time and then we're going to come to all fours on the mat, the knees right underneath your hips and the palms right underneath your shoulders. Take the left hand and slide it forward and then spider walk it over to the right a little bit.
And we're going to start to drop the hips back towards the heels, getting a lengthening stretch through this whole left side. You can let your head rest on your forearm. So you may feel this stretch through the shoulder, through the ribcage, through the armpit, maybe even into the low back on this side. If you want to accentuate the low back, you wag your tailbone in the opposite direction of the hand that's reaching forward. So this is the left hand and wag my tailbone off to the right and I get more of a low back stretch.
I like to stay here for at least five slow steady breaths. When you're ready, you can inhale yourself back up, sliding that left hand back in and then take the right hand forward and across towards the left side, plant the palm. The palm's going to stay sticky on the mat or on the floor and shift the hips back towards the heels. You may even come all the way down on the opposite forearm and let the head rest. And if you want to add the tailbone swinging in that direction, swinging off to the left to open up the low back, that's fine too.
This is a great position to feel how some of the shoulder muscles come from the low back. You can really feel the latissimus dorsi in this position. And slowly pressing your way up to all fours and come to seated. For this next part, you'll need a blanket or a towel. And with the blanket or towel, you're going to want to fold it so it has a little bit of height to it and it's completely smooth.
No lumps or bumps. You're going to place it on the mat about a third of the way from the top of your mat. And you're going to sit with our back to it. As we come back, we want the bottom of the shoulder blades, this point right here, to come over the blanket. What I want to avoid is putting the shoulder blades right on top of the blanket.
I'll show you what we want to avoid is this. Doesn't look so comfortable or feel so comfortable, but what we want to do instead is get the top of the blanket right about the mid chest. So as you come back, you can rest your arms to the sides or take them straight out from your shoulders. The top edge of the blanket is right about at the center of the chest, not up too high. So the top of your shoulders on both sides comes all the way down to the ground.
You can stay in this pose for quite a long time. This is a great counter pose for the laptop position, for the driving stress. It really helps to gradually open the pectoral muscles, the front of the chest. We can stay in this pose for quite a long time, three minutes, five minutes, ten minutes. Really increase the amount of time that you stay in the pose.
For the first few breaths here, go ahead and focus on taking a chest breath. So as you inhale, feel your ribs expand, your heart expand, and as you exhale, let that go. Take a few breaths, breathing into the heart space, and then the next few breaths start to draw the breath down into the low belly, so you get a diaphragmatic breath. As you inhale, your belly expands. As you exhale, your belly falls back towards your spine, back towards the earth.
Eventually, you'll let go of any effort with your breath, and just melt into the pose. Take a few breaths, and let go of any effort with your breath, so you get a diaphragm. As you feel ready to start to come out, you can expand your breath again, and then to come out of the pose, bring both feet flat on the mat, and press down with both feet, and lift your hips up slowly, lifting the hips just enough that you can reach one hand behind you and slide that blanket out from behind your heart, and then slowly roll down one vertebrae at a time until your back is flat, and take a few breaths here with a flat back. Before we come into a final relaxation, draw the knees in towards the chest, one knee at a time. If you can grab your shins, that's fine, or grab the backs of your knees, and just rock a little side to side, eventually coming back to the center, releasing one foot at a time.
I like to do the relaxation with my knees bent, but if you're more comfortable with your legs straight, you can straighten your legs out. Find a comfortable position for your hands, gently rock your head to release any tension in your neck, let your eyes close, and take five more slow, deep belly breaths. With each exhale, let yourself surrender a little more into the support of the earth, letting the weight of your head rest completely into the floor, your hands heavy, arms relaxed. Belly soft. Simply letting go of any effort with your breath, just trusting your breath to run across your body in and out, moving at its own tidal rhythm, and just rest, just rest.
You may choose to stay here for another 20 or 30 minutes, whenever you're ready, and start to expand your breath again, and bring some awareness activity into your hands, into your feet, we're going to slowly come up by rolling onto one side, and pausing on the side again for a few breaths. From your side, let your head stay heavy, your neck relaxed. Roll more forward, pressing your hands down slowly, rolling up to the seated position. Once we come up to seated, you can sit on the blanket or towel if you like, and do just a little bit of movement with the shoulders again, to see how our shoulders are doing after the practice. Starting with the same movement, bending the elbows, and taking one elbow back, forward, down, back, up, forward, and down, bringing your awareness back to that shoulder plate area, that scapula, and just notice the quality, the ease in your movement.
And let's reverse directions. And take a pause, center. Thanks for exploring your shoulders with me.
Anatomy for Yogis: Arturo Peal


Comments


You need to be a subscriber to post a comment.
Please Log In or Create an Account to start your free trial.
