Description
About This Video
Transcript
Read Full Transcript
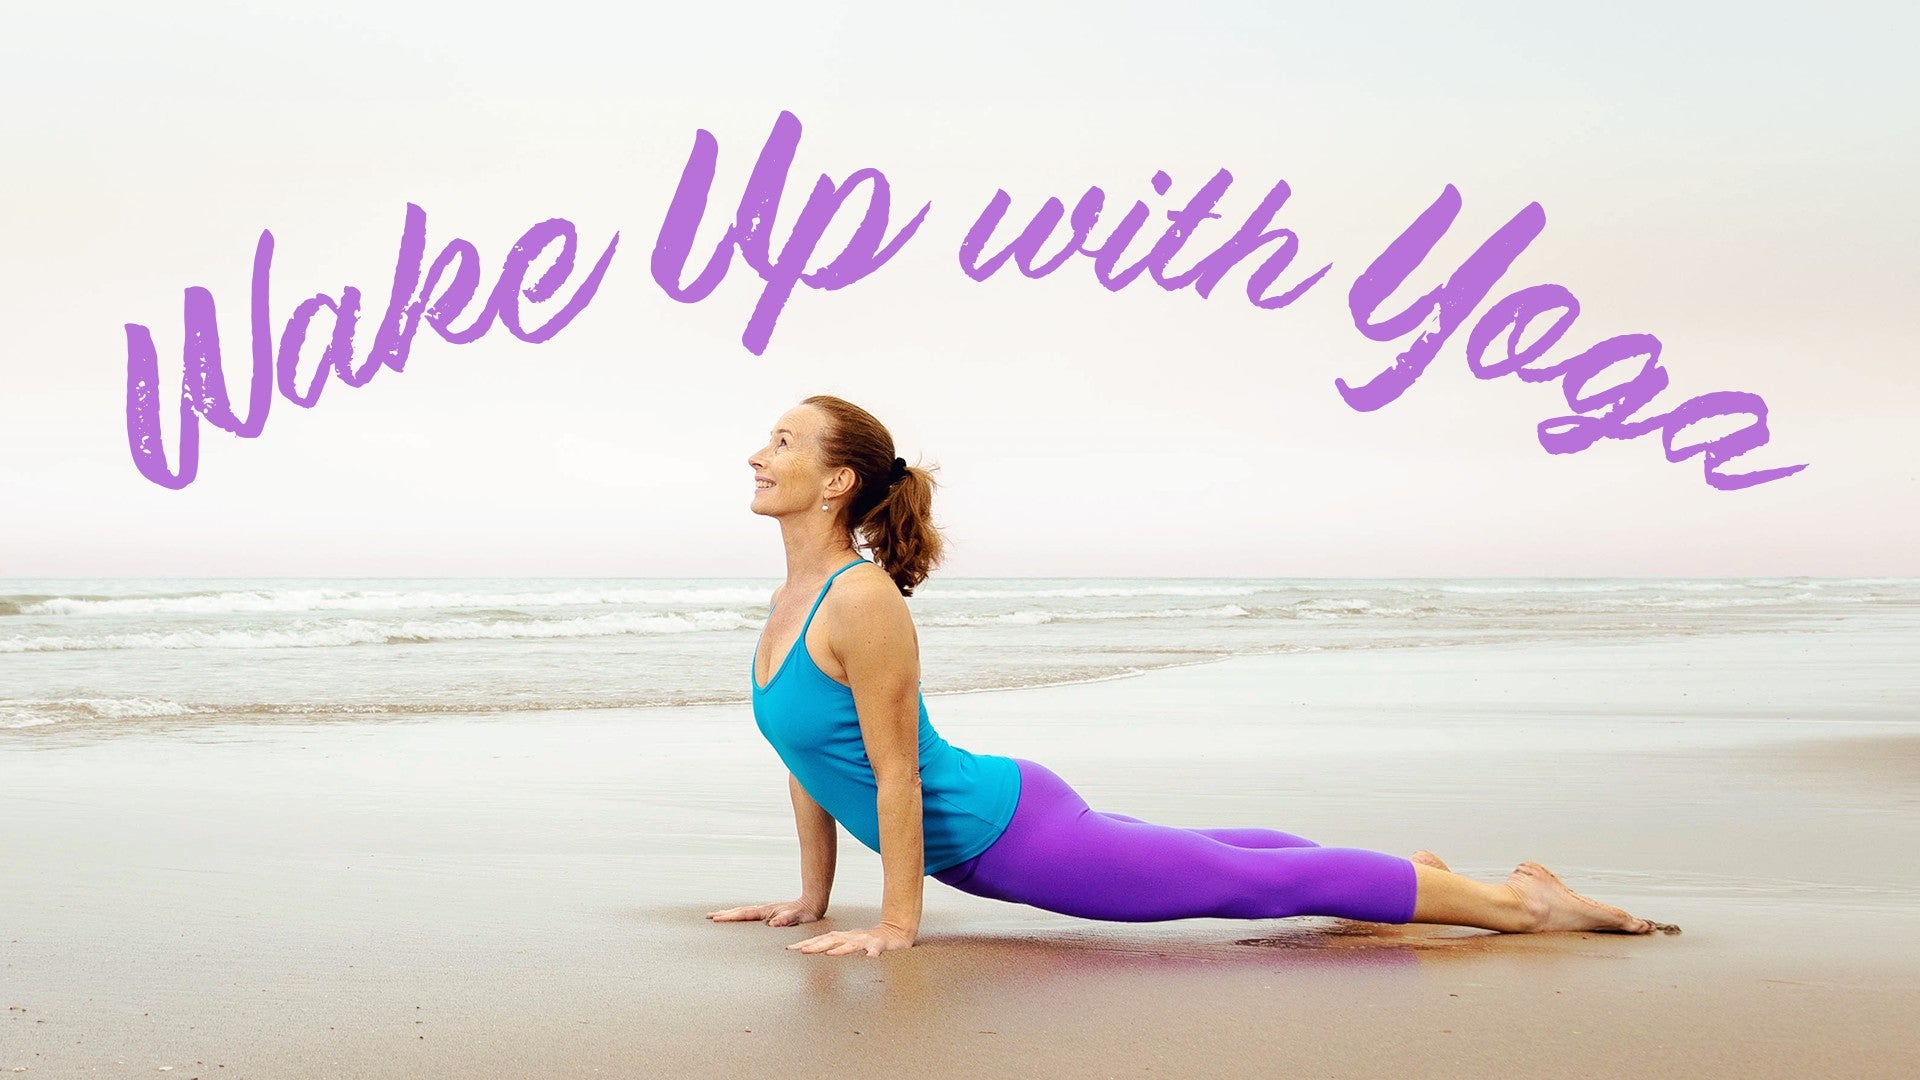
Hi, everyone. Thanks for being here. Today's class is a shoulder flow. We'll move through some shoulder variations to take off the backpack of life and to feel clear and light. Let's go. So I have a strap and I have two blocks. And I would recommend having those if you have them handy. You may or may not need them. We'll see. All right, let's go. So I'm just going to start in kneeling. I'm sitting on a block. And I'll show you two options before I face you. One, you're going to have the block between your legs and sit down. If you need two blocks, you can put two blocks under your pelvis. And an alternative option is vedrasana, which is known as the lightning bolt, where I bring my inner ankles together and sit back on my heels. So you could do that. We will be here for a little while. So just offering you a few ideas to start. And then once you arrive, one thing that I like to do as far as knee care is just to press down into the ground and go up and down a few times, just to make sure that you're not feeling any strain in your knee joints. It's also a really nice way to get grounded before we start moving the shoulders and then land in your seated shape. You can clasp your hands, press your palms away from you. The first time through this sequence will go slow and then we'll move through it in a bit of a flow. Once we know the sequence, okay, bring your arms down, and then just simply switch the clasp. So opposite index finger on top, press your palms away, widen a little bit through your collarbones and your shoulder blades, slide your arms up. If there's strain in your neck, you just bend your elbows a little bit. So this whole sequence is meant to feel pretty ease, full and spacious. Let your arms come down. The next pose in the sequence is garudasana. So arms out, right arm under your left, pause, you can either hold hands with yourself, you could bring the backs of your hands together, if that is more accessible for your shoulders. And then just gently release your arms, arms out to the side, left arm underneath your right arm, hold hands with yourself or backs of your palms together. Take a few moments to feel the shape in your body. Then gently release your arms, take a few shoulder rolls. The next pose in the sequence is garudasana. So I'm going to turn sideways so that you can see it a little more clearly. You may like a strap for this one. So the sequence to start with your right hand, you're going to sweep your right arm around you and behind, thumb points down, and then just glide your arm up your back. Stay there for a moment. It's a little twist. If you allow that little twist in your body, it actually makes it easier to find the movement of your hand up your back, release your arm, and we'll go the other way. So left hand, thumb points down, swim it behind you and then slide it up your back and then just stay there for a couple of breaths. Gently release it and then we'll add the strap or the option of the top hands. You swim the arm around, slide it up your back. From there, you can use your strap to just drop it down your back to hold hands with yourself. It's like a go-go gadget hand or an extra long arm or grab hands with yourself and you're still in the little twist to start. You could stay in the twist or you can center yourself looking forward when you're ready and take a breath or two, notice what you notice, orient to the touch of your body on the ground, the touch of your breath on your body, and then release. And we'll go the other way. So you're going to go left hand, swim it around behind, swim it up your back, pause, lift your right arm up, strap or no strap in your right hand, drop it down, pause, center, take a few breaths, notice what you notice. We'll do one more time each side and we'll flow through this in like a little shoulder vinyasa. So you're going to release your right hand, bring it to the top of your left leg, bring your left hand, bring it to the top of your right leg and then swim your right arm behind, bring it up your back, pause, left hand either strap or no strap comes up, drops down and finds your right hand, pause on the side or center, take a breath, release your left hand to your right knee, your right hand to your left knee, swim your left hand behind, up your back, right hand comes up with strap or without a strap, drops down, take a breath, center, pause and release. Bring right hand to right leg, left hand to left leg, reverse namaste. So bring your arms forward, thumbs point down, palms point out to the side, swim your arms behind you and then up your back and you can either go knuckles together, there's a little bit less strain on the wrists and the shoulders if there's any issues there, you can also go much lower and then if you like you can turn your palms, pinky fingers together or palms together and then just take a breath. Notice what you notice, gently release, hands on your thighs, we'll do the whole sequence one more time flowing. So hands clasp, press your palms away from you, slide your arms up, breath, bring your arms down, clasp opposite index finger on top, press your palms away, slide your arms up, take a breath, bring your arms down, arms out to the side, right arm underneath your left arm, breath in the center of yourself, release, left arm under right arm, breath and release. Garudasana or Gomukhasana, bring your right arm behind as we did, swim it behind, little twist, right arm comes up your back, left arm from the top with the strap or without holding, hands with yourself, centre, breath, left hand on your right knee, right hand on your left knee, left hand swims behind, open up to the left side of your mat, left hand up your back, right hand from the top, holding hands or strap, centre and breath.
And you release right hand to the top of your left knee, left hand to the top of your right knee, right hand from behind, up your back, left hand from the top, dropping down, centre and breath, left hand right knee, right hand left knee, left hand from behind, up from the bottom, right hand comes up, hold hands with yourself and centre. And last in the sequence, right hand to your right knee, left hand to your left thigh, arms come forward, thumbs point down, swim like you're swimming through the ocean, either knuckles together or palms together, reverse Namaste. Slightly widen your armpits, settle your shoulders and get a little taller through the roof of your mouth. And when you're ready, release, take a couple of shoulder rolls and when you feel ready, you can find downward dog. We'll meet in downward dog in a couple of moments. Take your time if you need to walk out your knees after kneeling for that long, then take your time to do that and we'll meet in downward facing dog. From downward facing dog, walk your dog a little bit shorter, bend your knees a lot and just move your pelvis in the air and move the weight down from your pelvis to your feet. So after all that shoulder work, take the load off your arms and allow for some energy moving in your legs. And with your knees bent and your short dog, elevate your pubic bone, widen your armpits, move your ears a little bit and feel that there's some space for your ears, almost like you have space for elephant ears between your biceps. Make your dog ordinary length, come forward to plank pose, pause in plank pose, hand, hand, foot, foot, widen your collarbone slightly and let your gaze extend forward in the direction that you're going. Downward facing dog, from your downward dog come forward to plank, exhale back downward dog, forward to plank, downward dog. And I'm working with pretty bent knee downward dog to really allow for the hinge of the pelvis. You can work with any variation of downward dog that you like. Last time, downward dog, coming forward to plank. From your knees or your toes, lower all the way down to your belly. We'll come up onto our elbows for low cobra. And once you're here, just pause, press the tops of your feet into the ground, press your elbows into the ground, then do a few little spinal waves where you curl in, press into your elbows, tuck your chin, widen all the way down to the back of your diaphragm, uncurl. Do that one more time. Curl like you're pushing your elbows away from you, widen through the little fibers of skin on the back of your neck. Uncurl, letting your spine kind of find its happy place in the hammock of your body. And then drop your right ear to the top of your right shoulder. And as you do that, press heavier into your left elbow. So right ear to the top of your right shoulder, left elbow a little bit heavier, and then come up through the center, left ear to the top of your left shoulder, right elbow a little bit heavier. Sometimes I kind of play with moving my chin a little bit just to feel the different lines of connection in the side of the neck. Let's do one more time each side. So go up and over to the right, left elbow gets a little heavier. You might even feel a little more space in your left nostril here. And then come up through center, go to the left, press heavier into your right elbow. As you breathe into the right side of your neck, feel for the volume and space in your right nostril. And then come to the center, come down, you can either come over your hands into a cobra on your knees. Or if you like, tuck your toes, press out through your heels into a tuck-toed up dog, roll over your knees or your toes. Downward dog. Downward dog when you're ready, and lightly step or walk your feet forward to Uttanasana, first forward fold, elbows to knees, elbows to knees to start, just rock forward and back, center yourself between what's in front of you and what's behind you. Sometimes I go side to side just to center myself between the periphery of the left and the right side of my body. And then center down through your feet, press through big toes and outer heels, pinky toes and inner heels. And then as you're ready, you might like to dangle your arms, release your head, might nod your chin a few times just to feel how much you're holding in your neck, shoulder area. See if you can let your shoulders release. I think about like if you're wearing a loose cotton t-shirt, see if you can hang your shoulders in a way that that loose cotton t-shirt would almost fall off of your body. Finish the exhale that you are on or your next exhalation, and then when you're ready, bend your knees a little bit more and make your way up to standing. If you like, you can reach your arms up. If you prefer, take a few shoulder rolls. And then we're going to play with a few balances with some arm variation. So stand on your left foot, tree pose, so right foot to the inner shin, inner knee or inner thigh. Pause. And I find for these, if you were using the strap for the Garuda or the Gomukhasana arms, just go without the strap for these. So you're going to press your palms forwards from your tree pose, slide your arms up, take a breath, and then just gently bring your arms down. Arms out to the side, right leg is up so right arm goes under, pause in the center, gently release your arms. Okay, Gomukhasana, so swim your right arm behind you, bring it up from the bottom, bring your left arm from the top, and then hold hands with yourself or just have your arms gently on the back of your body. They don't have to be touching. Center. And then release your arms and reverse Namaste. So arms go forward, swim them around behind you, maybe knuckles together or palms together, just like we did in the opening sequence. Take a breath and then release. Beautiful. Let's try the other side. So bring your right foot down, wiggle your hips a little bit. It's a long time to balance and these arm movements in a balancing pose are challenging. So if you fall out, no worries. Find your tree pose on the other side. Clasp your hands the non habitual way. So the way that feels a little bit weird, press your palms away from you, slide your arms up. And if these arm balance arm movements are challenging, you could just pick one and stay there. And then sort of work up to it over time, bring your arms down, bring your arms out to the side, left arm underneath your right arm. So there's stillness in the bottom. And this sort of movement, which is kind of like life or the yogi in life, you've got the stillness in the center and the world all around us. Okay, left arm from below. Gomukhasana, right arm from the top. Feeling all the little dynamic micro adjustments that we make to stay centered. When you're ready, release your arms and reverse Namaste. Swim your arms behind you up from the bottom. Pause. Whoa, almost falling. Okay, take your time when you're ready, release your arms, release your leg. Feel two feet on the ground. Great job. Let's try triangle pose, we won't do all the variations, you're going to stand on your right foot and step your left foot back. We're going to line up the right heel or our right heel with the inner arch of our left foot and just pause. I often like to just bend my knees when I get here to really lean down into the ground through my feet. And then as you elongate your legs, see if you can keep the quality of connection from your pelvis to your feet.
So I think about that the knees are not straight and not bent, they're somewhere between. Arms out to the side, take a pause, gently bring your arms down, clasp your hands, press your palms together, slide them away, slide your arms up, get tall without losing your feet, and then just gently bring your arms down. And then we're going to come out over our right leg, you don't have to go to your deepest place. So sometimes I think about just bringing the fingertips on my right hand and tap them on your shin like it's like a butterfly landing on a flower. So the flower doesn't collapse. So find that place if you go too deep, then it feels like you're kind of collapsing into your hand, open your arms and then bring your right arm under your left arm. Garudasana arms for a moment. Pause, really integrated and supported through your legs. Open your arms and your butterfly comes back to your flower and maybe you come a little lower. Turn your gaze. Pause. Exhale when you're ready to look down, lean through your feet to come all the way up. And you can just spin around to do the other side. So now your left heel will line up with the inner arch of your right foot. Bend your knees like whoomp, ground, elongate your legs without straightening your legs so the connection from your pelvis to your feet stays awake. Gently clasp your hands the non habitual way, the way that feels weird, press your palms forward, get tall without losing your feet. I'm not sure if you actually could lose your feet, but feel that from your belly you can feel your toes and your fingers. Release your arms, come out over your left leg, bring your left hand now down to the top of your left leg somewhere. Sometimes I just put my right hand on the side of my hip and feel like that quality of like a butterfly on a flower. And then open your arms, left arm under your right arm this time. Just briefly floating, hovering, supported from the ground and then open, bring your butterfly back to the flower. So you have a little bit of support, spin your gaze, breathe. Find that quality of an inner smile, so not the smile that feels like you put it on, but the one that kind of comes out really naturally when you have that sense of inner joy. Beautiful exhale to look down, inhale to come up. We'll just spin around to the front of the mat, step back to the front of your mat. Inhale your arms up, vinyasa down to the ground, folding forward. When you're ready, inhale, widen your armpits, widen your eyes. Exhale back downward facing dog. Downward facing dog, come forward to plank pose. From hands or knees lower halfway or all the way. Inhale over your knees or your toes. Upward dog or cobra. Roll over your knees or your toes back to downward facing dog. From your downward facing dog, when you're ready, you can gently drop down onto your knees and sit up. And I'm going to recommend having a block handy for this next section. You may or may not need it. It's a little play with a mix of shoulder work and elbow balance preparation or dolphin sometimes it gets called. So we'll start with eagle arms, right arm underneath as we've done a few times. And then from here, you're going to bring your elbows down to the ground and just pause there for a breath or two. And this is for some people just to get here is a lot. You might have to walk your knees a little bit back if having that deep knee bend is too much for your knee joints and stay for a couple of breaths. And then once I'm here, I kind of move a little bit forward and back. It's pretty deep massage in the shoulders. Notice what you notice. And you can stay with this sometimes just staying here for a couple of breaths is the work just to be here. Sometimes I'll let go I'll let my hands come apart and turn my palms to point down. So I've got crisscrossed arms my elbows are down I might move forward and back a few times. And then if you want to play you can walk your knees in and tuck your toes under and just briefly lift your knees maybe come up like you're in like a downward dog on your elbows crisscrossed. Okay, then when you're ready, come down, come out of it, sit back up and roll your shoulders. It's kind of weird. I know. Okay, bring your arms up to the side, left arm underneath your right arm, holding hands with yourself. I've heard before that this sort of opening space in the back of the heart, the back of the heart metaphorically the place where we love ourselves. Okay, bring your hands down or not your hands, your hands and your elbows. Just on the other side here. Pause. Again, this might be enough. Maybe you walk your knees back, you move your hips a little bit forward and back. Notice what you notice. Anywhere along the way just pause and breathe and feel. That's perfect. You could release your hands turn your palms to point down, really lean down, widening your armpits, leaning down into your elbows. This might be a great place to stay or if you like, you walk your knees in a little bit, lean down to hover your knees. Maybe you start to elevate your hips and you just play with the sensation of balance in a new way, which I feel like in some ways every day is like balance in a new way. When you're ready, come down, come up, roll your shoulders, feel what you feel. Nice work, everyone. Okay, last option is going to be the more common version of elbow balance or dolphin. You can use a block or not. If you want to use a block, you could bring your thumbs around the block and bring your elbows down. Another option if your shoulders tend to really go wide is to clasp your hands. It's a little bit easier on your shoulders. I'll let you choose which one you want. Same thing we did before. I'm just going to bring my knees back and go a little bit forward and back. You should feel like you have a bit more space now that we've done this all tangled up in the eagle arms. From here, you could stay and just move your hips back and work with keeping the weight in your elbows. That's why one of my teacher shows it's called the elbow balance. It's like really keeping the grounded sensation in your elbows. Then from there, come forward, tuck your toes under and lift up. There's lots of fancy things you can do here. We're going to stay here, but if you want to add anything to it by lifting a leg or if you have an inversion in your practice and you want to take that here, you could go there. Lots of good things happening right here. Whenever you feel like you're ready, you come down and pause and move your block out to the side. Roll your shoulders and come to downward dog. So downward facing dog, last downward dog of our practice today. Move a little bit through your arm lines. You might feel like you have extra long arms after all the shoulder work like the threads of the arms are being given a little bit more breathable space. When you're ready, walk your feet forward to your hands. Sit down into malasana squat.
You might just wiggle a little bit side to side, maybe bring your hands forward for a breath or two, and then we'll sit back onto our pelvis. Pelvis on the ground, navasana. You can support a navasana to start if you like. It's just holding and lengthening, and you can hold behind your calves or your feet if that makes you happy, or you can just hold behind your hamstrings. Press down into your sitting bones, widen your armpits, widen the roof of your mouth, a little bit of space between your ears, maybe navasana, breath or two. Ardha navasana coming down halfway. Pause. Really after all that work in the periphery, bringing the energy back into center. And then from here you can lower down slowly on your own, or you can just hold your legs and lower down all in one piece. If you want to lower down slowly, go piece by piece by piece. Maybe you plant your feet, roll the last part of you down, and just take a couple of easy, spacious breaths there to notice how you're feeling. And then once you've come down, we are going to set up for a restorative backbend as our final shape today, and we'll do a little bit more restorative shoulder work after all the effort in the shoulders. So I'm going to use two blocks. You can use two blocks and a bolster. And some people might like to cover their blocks with a blanket, so kind of many options. And then I'm going to bring my pelvis just in front of the blocks and my spine over a pretty familiar shape for most people. I like to have my head supported, so I'm going to make sure I'm set up. And all of our spines are a different length if you needed an extra block. Some people like a tiny bit more height, like a little pillow under their head. So you got to kind of play with the shape and how you get yourself set up. All right, give yourself these few moments to just notice the way your body's landing. Let yourself be supported by your props. And at the same time, we're going to lift our arms up and bring your fingertips to touch. With your fingertips touching, you're just going to slide your fingertips towards the ceiling and then settle your shoulder blades back down. So just almost like a shoulder shrug, but towards the ceiling and back down. So protraction and retraction of the shoulders, gliding the shoulder girdle around the thoracic, the rib cage. And then see what it feels like to find the center. And the center is kind of this illusion because center is dynamic and it's always moving. So find the center and then just glide your arms behind you and bring them up and over. Maybe your pinky fingers come towards your navel or your pubic bone and then bring your arms up and over. It's like you're drawing a sunset in the sky a couple of times. And if there's a lot of tension anywhere in the shoulders that you can either reduce the range of motions, you just don't go as low on either end of your sunset, or you can bend your elbows a little bit to give your neck and shoulders a little bit more space. And then the next time your arms come up into center, pause, you can cross your left arm over your right arm, snuggle in hands just coming around to your shoulder blades. Sometimes I kind of walk my hands a little further back so it's a nice tight hug. Maybe you wiggle your elbows a little bit side to side feels so nice. And then come to the center, take a really nice dimensional breath full of volume into the back of your heart. Lean the back of your heart into your props. And then release and switch opposite arm on top. Snuggle in here, maybe wiggle your elbows a little bit side to side. Orient your attention to the back of your heart and take a really nice dimensional breath there. And then when you're ready, release your arms and open your arms slowly. So I'm going to open my arms and pause palms point up, widen armpits, and then bring your arms down slowly and just before they're going to touch the ground, pause for a moment, widen, even open the palms of your hands a little bit like you're going to palm a basketball. And then let your arms settle, maybe let your legs extend. In this class, the option is to stay here if you want a longer supported back bend. If you'd like to take Shavasana, you could come off your props and take that on your own. And the other option is just to rest here a couple moments and then we'll roll up to seated and close together. In your own time, if you are relaxed here and you want to finish with me, bend your knees, roll off of your props. Take your time to come up to seated. And I might just in a comfortable seated shape, bring hands to knees and just do a little roll on your pelvis. After doing such a long restorative back bend, hands up together. Beautiful work, everybody. It's so nice to be here practicing together. I hope you have a really wonderful day. See you soon.
Wake Up with Yoga: Sarah Manwaring


Comments


 I am working through some shoulder stickiness, and this was very much the medicine I needed. LOVE the imagery of the oversized t-shirt in uttanasana!!!! I felt some new feelings!
You need to be a subscriber to post a comment.
Please Log In or Create an Account to start your free trial.
