Description
About This Video
Transcript
Read Full Transcript
Hello, everyone. Welcome back. I'm so glad you're here to practice today with me. We've got a great shoulder class for you. And for class, you'll need a blanket, two blocks, and a strap, and we're gonna go ahead and get started on your back with no props for a moment. So if you get to the floor and have some space with your head on the ground for your arms to move easily to your side, And you might let your feet wanders wide as you like to have your hips and lower back be comfortable. Arms at your side. And we're just simply gonna sweep your arms up for a moment up towards your ears. Like, you're making little snow angels and then arms down to your sides and sweeping, and they're just getting a feel for how your shoulders are moving when we're on our back.
If you need to be more careful with 1, if there's an injury, or do we have easy free movement here? I'm just noticing. I didn't have connecting with maybe one more big inhale as those arms sweep up towards your ears, and it'd be exhale as your arms come down to your side. Right. So the first prop we're gonna use is your strap And if you can find your strap and unroll it a bit, so you have, enough strap, to have your hands in the air a little bit wider than your shoulders will create just a little bit of tension. And oftentimes when we're doing moves like we're gonna do, we're gonna stretch more than one muscle group and also engage some core muscles.
So as we pull on the strap, I want you to explore taking your arms back towards the floor behind you. And just see if that feels okay where your hands are to do that move and then come back up. If you want more challenge, your hands come closer together, and we're gonna repeat that. If you want it to be a little bit easier, hands go wider apart. K. So find the right amount of challenge for you in this moment, and we're stretching some of those side chest muscles The lats, perhaps for getting into stretching the, maybe even the side of your chest.
And also engaging your core as we're keeping our ribs from moving when we take the arms back. So oftentimes we do a little, flexibility check on our lats on the back of the upper mid back and side of the arms. And if they're tight, oftentimes our rib cage are gonna lift up towards the ceiling when your arms go back. So, hopefully, we noticed maybe a little bit improvement in our range of motion And then let's go ahead and take a pause for a moment and stretch just your right leg straight down to the floor. The from here start to slide your arms a little bit to the left and your shoulders a little bit to the left. So we'll go deeper into that right side body stretch.
If you're not feeling much, walk your hands closer together on the strap and also give a little pull or tug on the strap to create more tension, to get a clear, deeper stretch on the right side of your body. K. Let's take one more moment here courage in your back ribs to move a little bit more towards the ground than the ceiling. Give us slide back to neutral. Bring your right foot to the floor and then take your left leg straight. Let your shoulders slide a little bit to the right.
Until you start to feel a fuller stretch on the side of your chest and into those lat muscles or serratus anterior muscles down the side of the, rib cage area and chest. You pull on the strap as the shoulders settle back towards the floor Comfortable breath in and out. Alright. And then feet on the ground. Alright. So that's it for our straps. So you might just tuck that to the side.
And when that at a good place on the side, well, let's go ahead and grab your blocks. Okay. So now we're gonna have the blocks, ideally in the long position So when the blocks are in the air above your chest, your hands might be about as wide as your shoulders. So as you squeeze the blocks, you'll engage some of your upper chest muscles. And we're gonna go a little bit further now into some back muscles as we lower the rib, the blocks in front of your ribs and have your elbows on the floor. See if you can press your shoulder blades back a little bit more into the ground. And then we lift the blocks and spread the rhomboids, the back of the shoulders, and the serratus anterior muscles.
And we bring the blocks back down and give a little squeeze between your shoulder blades. Shoulders press back. Go up, bring the elbows back in, squeeze between shoulder blades, spread shoulder blades, I'm back down squeeze. Going up. Squeeze. Now let's stay here.
And practice holding the long side of the block as you open out to the side. So we get a little read on the rotator cuff front of the chest. And then squeeze the blocks back together. Hold that long and again and check out how it feels to open the arms to the side. Back together.
So let's add, if we like a little lift of your hips as your arms go out to the side, and then blocks back above your belly. We're back on the floor. Just do a couple more lift. Open your arms out to the side. Come back together, blocks in front of the belly, opening that wide hips up, and then lower.
K. Let's raise those blocks up into the air. Keep squeezing. Now as you bend your elbows and try to have the blocks touch the floor beyond your head. A little more tricep work. Go up and squeeze those blocks as you bring them to the floor behind your head. Go up and those elbows, we touch the ground.
Elbows are parallel. Reach up and then touch the floor about one more there. Bringing the blocks to the back of your head, touch the floor, and the arms up in the air. As we bring the blocks down towards the belly, set them aside just for a moment, and then we'll come up to sits. And then when you come up to sit, I'm gonna go ahead and slide over.
So I'm on my right sides, and I might invite you to do the same. And if we come down to our right forearm, if you need more padding, fold your yoga mats and to have extra padding if you're on a harder floor and hold the long side of the block and give a little lift under the right side of the rib cage so that serratus anterior muscle begins to fire. As I then hold the long block, We'll go ahead and explore turning my palm to the floor as I sweep the block in front of me, in front of my cheek, and then the palm faces forward as you reach up and around. So palm faces the floor, reach in front of you, circle around, And your circle might look different than mine. If you have any shoulder injuries, you wanna be mindful of that as we hydrate this joint with movement.
Maybe we'll do one more circle around. And then let's hold that block up in the air for a moment and invite that left shoulder blade to move away from the spine and then pull it into the spine. Spread the shoulder away from the spine and into the spine. One more going away and then bring that in. Alright. Let's bring that block down and slide your feet forward, and we'll switch over to your second side. So if you have your legs folded back about 90 degrees, Left for arm down.
If you need more padding, fold your sticky mat in. Hold alongside with your right hand. And I have my palm facing the ground as I reach that block in front of my cheek or ear. And then my palm faces forward to make a little bit easier rotation. In that ball and socket joints.
Okay. All the while, that left side of the shoulder, chest area is really quiet, so it's keeping still as I move my right arm bone in this ball and socket joints to create better range of motion. And notice if this side feels different than your first sides. Just noticing. Hopefully, it feels wonderful. Let's do one more circle around.
And then we'll go ahead and we can set that block side for a moment as we spin around to face the ground in tabletop. Now as you get to tabletop, this is where a blanket might be nice to have some padding underneath your knees and and having that padding underneath your knees, set your hands down when you're ready. Shoulder distance apart. And when your hands come to that shoulder distance apart, let's go ahead just for a moment and wag your tail side to side, get your shoulder blades moving, kind of freestyle movement for just a moment, circling around, And then we'll walk the hands towards your knees, and we're gonna want your blocks again. So let's come up to the kneeling position and take your right foot forward.
I'm gonna squeeze your blocks in front of you and the shoulders when they move forward. We sometimes get that stretch for the rhomboid muscles in the upper mid back between your shoulder blades. Then we go for a little bit of stretching of the side chest muscles, the lats, the serice interiors, we maybe stretch the arms up. And then we can strengthen more sometimes your deltoids as the top of the shoulders as we open the arms wide and open up through the chest. So we're gonna strengthen as we reach forward, squeeze your blocks together, stretch as you go up, And again, maybe that combo of strength and these your arms are out to the sides.
Squeeze together. Going up, open out to the side, and, again, back together. Going up and out to the sides and back together. Let's go ahead and bring the blocks down to the floor and lift your back knee so you can maybe transfer here into your push up of plank pose and we're gonna try it from here with either knees down or knees up to spread your shoulders. Why does you push your hands firmly into the floor?
Referirming front of legs and belly, and then let your knees come down to the floor as you start to round your back a little bit and sit back with your hip a bit towards your heels coming into a little bit more chest, shoulders stretch and still getting the size of the lats here to stretch as her hips tip back. Come again forward, spread shoulder blades, lift the knees, and now give it a read that the back of the ribs float a little higher up. So the shoulders are spreading even wider. Knees down, hips swing back, head between your arms, to make it easier, your hands would walk wider out towards the edges of your yoga mats. So big stretch for all those back muscles.
K. Let's walk your hands towards your blanket, grab your blocks again, and we'll come up to that kneeling position. And this time, put your left foot forward. It had the blocks out in front of you, and that's more challenging if you're working with wooden or cork blocks than the foam blocks. Hopefully, it's still interesting. Let's go up, stretch the sides of the shoulders and chest, and a little strengthening with your arms out to the side.
In front of you squeeze, lift those blocks away from your head, long spine, open out to the sides, back in front of you, squeeze, squeeze, and lift, open up to the sides, Again, squeeze in front of you all the way up out to the sides Last one squeeze in front of you, go all the way up, and out to the sides, Right? Now let's bring the arms down. Keep holding your blocks. And as you curl your back toes under, let's step forward with that right foot and then take the blocks behind you. And maybe with your elbows, a little bend, we're gonna squeeze and then open the blocks apart. Squeeze. And now we're strengthening engaging the rhomboids between your shoulder blades, separate your blocks, squeeze them.
Then we're gonna add a chair pose as we bring the blocks in front of you, and we spread upper shoulders, rhomboids, serratus anterior. Let's stand and squeeze and do more of that strengthening work. Spread between shoulder blades, and squeeze. Reach out, strengthening, and stretching the rhomboids there, outer arms squeeze. As we do that a few more times, again, it's really hard just to work one muscle group.
There'll be lots of different muscles working as we try to move into these various shapes. Just calling out a few. You might feel a little bit more. Stay standing, please. I'm gonna take one block and place that between your thighs, whether you like the narrow or the medium width, I'm gonna go narrow today.
And I'll invite you to take that second block in your hands into that longer wider position. We're just gonna lift that up for a moment. And I love this as a way to move the shoulders in a different way where we take the block in front of your face to the side of your head to the back of your head and to the other side working around your hair situation. If there's a a bun on top of your head, you gotta work around that more range of motion, and you're just kind of exploring how to move your shoulders, keeping your legs nice and steady. K. Go the other direction, whatever direction you started, kind of circling that new way, hydrating the joint with movement, Alright. Last little exploration. Right. Now if you can carefully reach down and move your blanket out of the way.
We're gonna face the short end of your mat with your blocks in hand. K. So with your blocks in hand, I've got them in that long position squeeze together as you look straight ahead, finding your mountain pose, and it so great to work these shoulders to also help us with better posture. So see if we can be a little more mindful of the arms and shoulders rolled back. Will squeeze and lift up towards the ceiling. If it feels good, look a little bit up.
And as we exhale, we're gonna come down and have block to put our hands on as you fold forward and just let your knees bend, let your ribs come closer to your thighs as you fold over and spread shoulder blades and release tension in the neck. Keep your right foot forward. It'll take a big step back with that left foot into a lunge, slide your hands to the long side of the blocks, and we're gonna slide your blocks back behind you. So my palms are facing up as they look at the floor. I'm gonna spread my arms out to the side.
Big airplane wings, palms face down. And they reach the arms as far forward as you can, like you're doing a version of Warrior 3. Reach your arms back behind you and palms face up as we squeeze between shoulders. Palms face down as you reach out airplane arm wings. And the reach in front of you may be your blocks touch.
Again, reach back, palms face up, squeeze between your shoulder blades, arms out to the side, airplane, reach out in front of you, maybe your blocks touch, and then out to the side. And maybe it's an easier place to bring your blocks down. Take your right leg back. And bring your left foot forward. Make sure you can press down into both feet, grab your blocks, and they're gonna swing them straight back again. Palms face up.
Squeeze between shoulders and liven that back leg as your arms go out to the side, palms down, reach your blocks as far out in front of you, back leg really strong. Take it all the way back, squeeze between your shoulder blades, palms up, palms down as we reach out to the side, reach in front of you, maybe those blocks touch, going from airplane all the way straight back and squeeze, lift those blocks towards the ceiling out to your side, some strengthening range of motion, reach forward, and then going all the way back one more time with those palms up. And live in your back leg, arms out to the side, reach out in front of you. And let's go ahead and put the blocks down and step your back foot forwards. Once again, bend your knees, bring your ribs towards your thighs.
And this time, maybe grab opposite elbow so you're not holding the block for a moment. In your softening and widening through your upper mid back. Take a big exhale here folding forward. Let's grab those blocks again with bent legs. Grab those blocks and swing your arms out to the side, draw big circles. You come up to straight legs, squeeze your blocks together, and then lower your blocks down in front of you.
Hopefully, that was so fun. You wanna do it again. So let's go ahead and try one more cycle. We're going up. Just a little bit more quickly looking up. Exhales, we fold forward.
We've got blocks for our hands, fold over the legs, grab the blocks, step back with your right leg, And one more time, take your blocks behind you, squeeze between shoulders, open your arms out wide, Bring your arms out in front of you. Blocks might even touch and set your blocks down. Step back with your left leg. And bring your right foot forward. K. Dial in to that stable foundation, grab those long side of the blocks, and then lift them up behind you squeeze out to the side.
Palms face down. Out in front of you, maybe your blocks touch, and then bring your blocks down, step your back foot forward, fold over your legs for a moment, catch opposite elbow. Get a little feeling of how you might do this in a flow. And then grab your blocks from chair legs, sweep your arms out to the side, come all the way up, and then arms down in front of you. Let's put that block again between your legs and narrow or wide and bring your other block for a moment into that long position.
So we're gonna take that block up into the air, and let's go ahead and hold on with your right hand. I'm gonna turn a little bit to the side So you can see as you bring the left hand up behind your back to grab the low end of the block and your right hand grab the top end. So you're doing your gomu Casa in the arms and trying to stretch from that shoulder up through your tricep as you look forward without your ribs pushing forward in space. So if we're tight in the side of the chest, the ribs will like to go forward We wanna try and encourage your ribs to move a little bit back in space. Okay. So see if you can hold that block, give yourself a little of focal point as you stretch your right elbow up. Gonna pull the block down with your left hand to find just the right amount of tension to play with.
Strong legs, right elbow going up, And let's go ahead and release arm down to the side. Take that block back in front of you, and then we'll take it all the way up. Hold on with your left. Hand, right hand between your back, and then drop that down just to get a little view of holding the lower end of the block. K. So now as you're reaching that left elbow up, just check where your ribs are and if you feel like they're in front of the line of your feet, move them back so they're more lined up with your hips.
And then see as we reach that elbow up towards the ceiling, if you can slightly pull down with your right hand as you try to lift up through the left sides. Okay. Straight heads, we can focus on better postural awareness while you're here. One more moment, ground your feet, stretch up through your left elbow, You know, we're gonna release the arm from behind your back and grab your block and lower it just behind the back of your head as you hold on to the side of the block with your palms. Let's bring your elbows a little forward and do that stretch again of the shoulder blades and then open up of the chest. Now if we can press the head a little bit into the block, we can lift the chest and maybe we do a little rounding and start to bend the knee. It says you do a little rounding. Like, you're doing cat cow, and then we can do a little lift, squeeze the block look a little up, squeeze, and round.
And open up front of the chest, elbows out wide. One more time rounding. And then that last time squeeze your block and slightly look up. Let's look forward take your arms up and we're gonna take that block down in front of the thighs, bend those knees, and you've got that block to help you transition into that forward fold. K. We're gonna get rid of the block between the legs and the one under your hands as you find your way back into a plank pose.
And we're doing a little bit more of that strengthening, work for the shoulders. Let your body tip back and forward and kinda hydrate your shoulders in this way by moving in your plank pose. We can do this with knees down, tipping back and forth. And I also like to encourage a little bit of kind of circular movement here. So we're not static.
We're kind of moving around shifting your weight a little bit more to the right or to the left and seeing how that feels to move your shoulders in that way. You know, let's settle with your knees down. And it's sometimes nice to have a block available for your forehead as we walk our hands a little bit more out in front of the shoulder line. And then let's take that left hand to reach to the right like you drop something under the couch. And you might rest your forehead on a flat block or turn your head to look towards your left fingertips and now we're stretching maybe more through that outer left shoulder, and so getting that rhomboid to stretch the lats to stretch, maybe just some of the key muscles we might notice And then what are you noticing as you push your hips a little bit back?
We also get a nice stretch to that right side of the body. So again, it's rare that we're just stretching one muscle as we move through our yoga poses. Yoga inspired poses. The block is too much under your head. You're always welcome to move that. Let's lift up and switch and have your left hand forward and take that right hand and thread it over to the right and either keep forehead on the block or turn your gaze to look towards your right fingertips. And sometimes, again, the first place that right arm is at is not necessarily the best angle, so maybe be willing to explore changing the angle of the arm or where you're looking to release tension in the neck.
So you really get to enjoy the stretch through the outer shoulder upper mid back. That would be the primary target place. Think another moment here. Doing our combo today, a little strengthening and stretching for better posture and better shoulder mobility. Now let's reach your arms out in front of you with your hands pretty wide. See if you might take your forehead to the block if it's there or to the floor.
And one more time, kinda play around with that downward dog like shape that more addresses opening shoulders versus doing the strengthening parts. You're bypassing the hamstring part of downward dog. So just pure shoulder love. One more moment feeling the front ribs lift a little bit into the center of the body. So we're moving out of a backbend that started to happen.
And now swap your hands in under your shoulder line. So you're in tabletop for a moment and see if you can draw a circle for a moment with a crown of your head in the space in front of you. So you're letting the neck move in a way that frees up, hopefully, a little bit of stiffness. Torso is really neutral. We're just trying to move the neck.
And there's no right or wrong way to do that. So how might you free up a little tension there? And then we're gonna look straight down because sometimes I know you and myself, I get a little dizzy doing that. So let's just look straight down for a moment. And then we can repurpose this blog and use it underneath our hips for a sitting position.
So I'm gonna come to Vera Rossen and trim my block into the medium position. And bring my knees forward and then slide that block all the way back between my ankles. If, you need a little bit more support to flat blocks, can be kind of nice. If you need to sit cross legged, come to cross legged. Okay. So let's kind of find your position here where you're settled on your base.
And then they wanna invite you to bring your fingertips to the top of your head and press your head up into your fingertips until you feel like your ears are now lined up with your shoulders and the chin parallel to the floor. Okay. Kind of working on our posture just for a moment. Let's see if you're pressing down enough with your fingertips to feel the lifting of the head up into your fingers and creating a little more length through your spine. So if you can take a comfortable breath here and let this belly and low back area be soft as you breathe in, keeping your good posture and breathing out. Now see if we can keep that as we open our arms out to the side and have your right palm up and your left palm back.
Just kind of finish moving the arms in opposite directions so that you're feeling movement through your arm bones into your collar bones. Just part of that shoulder girdle. And I feel a little movement. And then as we start to wind that on down, working down lower, turning It's like you're turning little door knobs, right, and left, working a little bit lower. And then when your arms are at your sides, just a little shoulder massage as you roll your arms back one at a time.
Maybe it gets a little bit faster. Alright. Last thing, bring your arms behind your back, a simple clasp of the fingers, squeeze between your shoulder blades, and maybe we enjoy the way it feels to have that open chest, shoulders, back, long spine, And we try to, settle back into this position again throughout the day, throughout the week, And then keeping that position as we transfer the hands in front of the lower abdomen area sitting tall and just take a moment whether your eyes are open or close to feel into how your body your mind, your spirit feels after a little shoulder practice. And hopefully, we enjoy the way we feel, and that inspires us to come back again to practice again soon. Thanks so much for being here. Namaste.
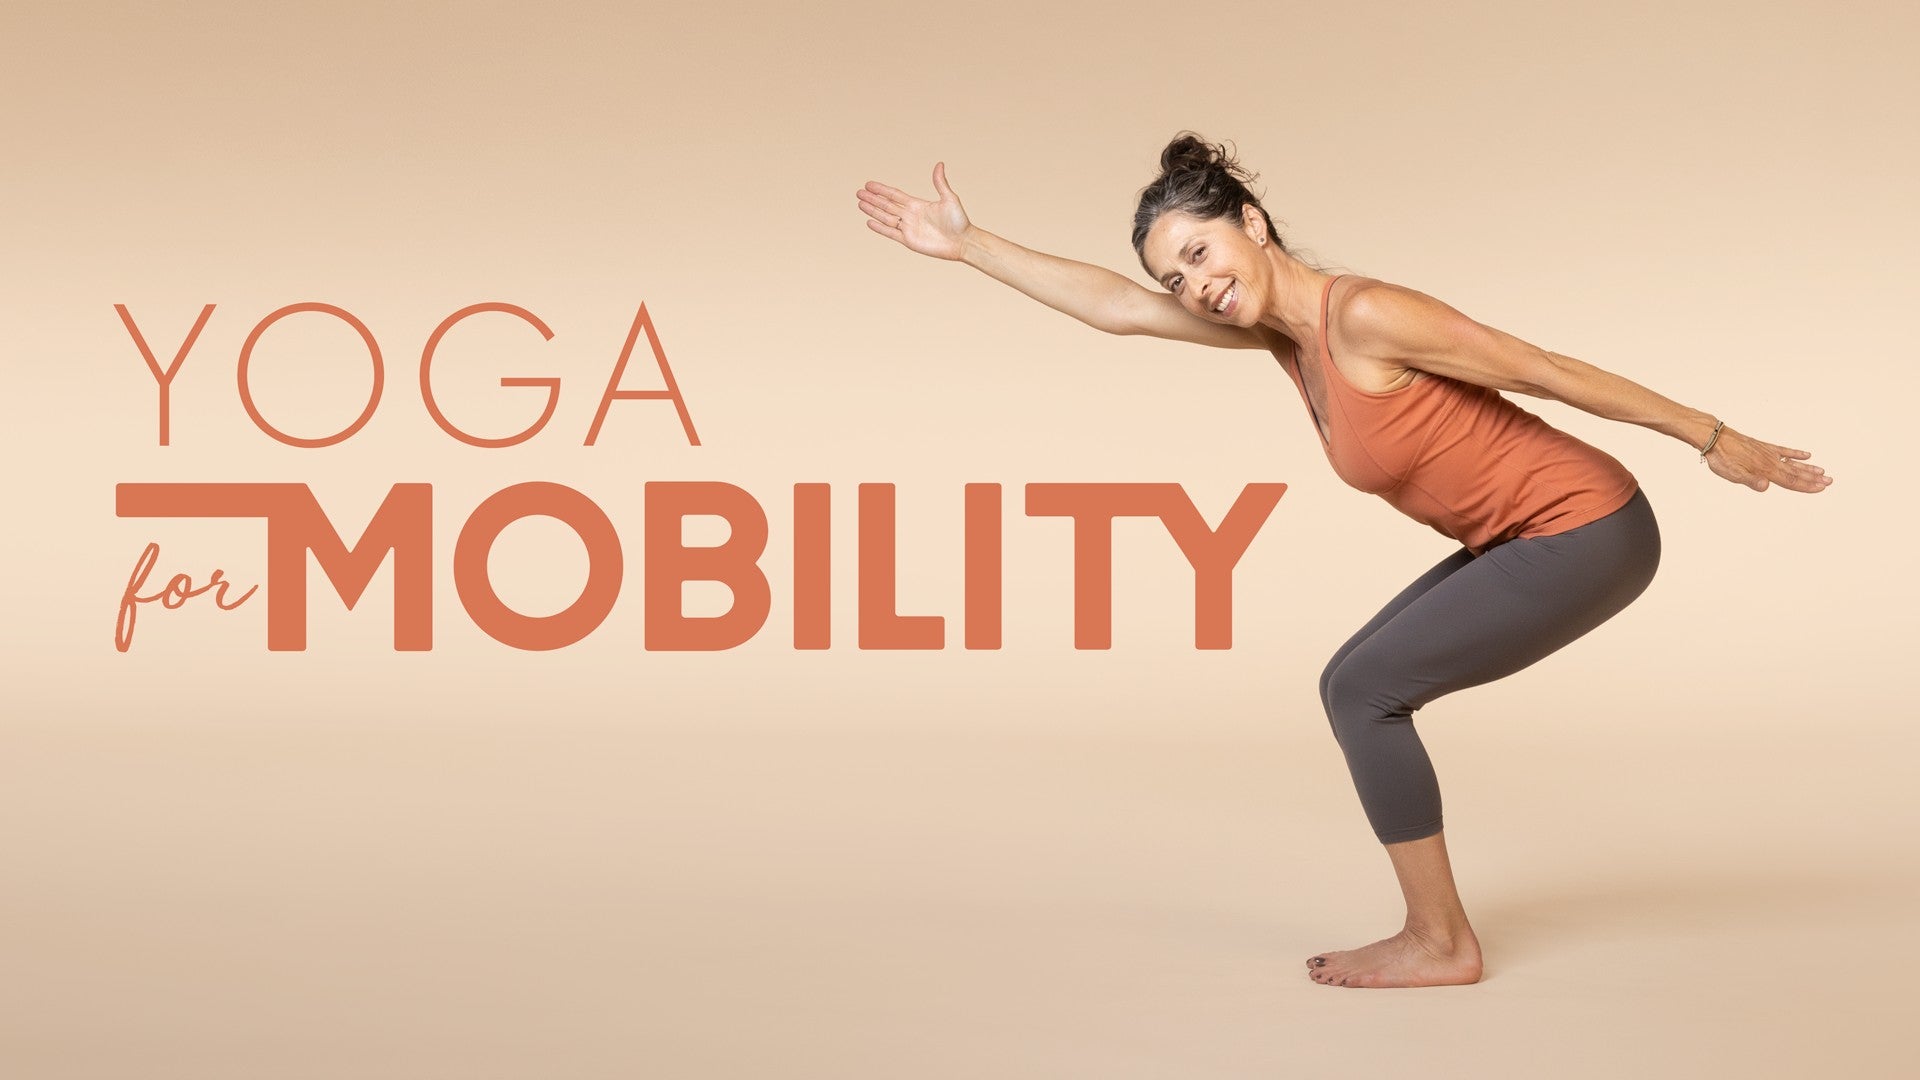
Yoga for Mobility: Melina Meza


Comments


You need to be a subscriber to post a comment.
Please Log In or Create an Account to start your free trial.
