Description
Transcript
Read Full Transcript
Hey there, how's it going? Welcome to yoga anytime. Welcome to this practice here, from keeping it real. We're going to keep it real with some vinyasa movements and toward the end we're going to move into some nice relaxed yin feels, all right? So the first part of the practice, we want to kind of move a little bit, maybe even build a little heat and then, right, we'll feel like we've earned the latter portion, which will be longer holds in some of these yin poses, okay?
So give yourself a little mini pat on the back for making it here, roll your mat out, let's go. Child's pose. Child's pose. I like to start child's pose, you might also with your knees pretty wide, push the hips back, try to make it as comfortable as you can. So it's child's pose to begin connecting to the breath.
If you'd like to stretch your arms all the way out, do so. If you want to bring them back a little bit more, do so. Maybe even stack your hands with your forehead resting on your hands, like a little pillow. We'll take about five breaths here in through the nose and out of the nose. Start our little adventure together of moving and breathing and feeling and paying attention to what's on your mind, mind, body, breath, experience, okay.
Take the arms out again, stretch them out. You know, and if at any moment you feel a little fatigued, you can always drop back to child's pose or any other posture that feels kind of nurturing and resty, resty. Okay, tabletop, I'm going to start with a side bend. So anywhere between tabletop and child's pose, you know, walk your hands over to the left, keep your hips aligned, even kind of push back through the right hip. Stack your right hand on top of the left and reach through the hands and push back to the hips.
You could, the invitation would be for you to come out of the pose, breathe in, breathe out, move back into the shape, into the side bend, move around a little bit. Stretch out some different feeling experience. Good. Okay. Once we've opened up that right side, take a little journey over to the right side, reaching specifically through the left, pushing back through the left hip, land where you land and then breathe in, move away and breathe out, push back into the stretch, open up the left side, one more time, breathe in and breathe out, back over to center and up to tabletop and right away what we're going to do is turn the wrist forward, fingers point back.
Okay. Obviously if that doesn't feel good, you know, maybe just keep the standard hand placement. We're going to do cat cow tilts just like this. So the first breath would be the inhale, send the tailbone and sit bones up, draw the chest forward, pull the shoulders back and gaze forward gently. Let your belly relax.
On the exhale, push through the palms, draw the tailbone down, gaze towards your thighs, give a good extra push through the ground to round out your back, pull up through the low navel, inhale cow pose, breathe out, you know, start by drawing the tailbone down first. So that's where the wave begins. The tailbone draws down, the low belly pulls up and then push through the hands and round out the back. Good. One more round, breathe in and breathe out, tailbone down, good, back to flat back.
Ooh, that felt a little extra stretchy and intense in my wrist today. That felt pretty nice, okay. Fingers spread out, table top, good neutral spine, curl the toes under and as you exhale, lift up, up and away and downward dog. Pedal it out, one heel down, the opposite heel down, kind of move a little bit through the hips. So the more you send those hips from side to side, the more, right, we're going to go with the word, the feels, lots of feels today.
The more you explore, the more you feel. Offering up some big generous breath out through the mouth, okay. From here we're going to walk and stroll back into a forward bend, back toward the back of the mat, feet hip width, half lift. So this half lift, come up halfway and then take the heels of your palms into the hip creases so your fingers are actually resting on your thighs. Now feel and drive the heels of the palms into the bones, the hips, the femur, push back, push back like you're actually trying to manipulate the structure of your bones.
Reach the crown of your head forward, shoulders pull back, inhale, generous bend in the knees, exhale, reach the crown of the head forward, belly and chest stretch over the thighs and down into a relaxed forward bend. Straighten out the right leg, bend the left generously, come up high on the left fingertips, turn your body open to the right and then let that right arm fly high, push generously through that right hip to get a longer stretch to the right side. Keep the back long, good, okay, switch sides. Bend the right, straighten the left, high on the right fingertips, long in the spine and rotate open, good work, left hand comes down, heel toe your feet out toward the edge of the mat, drop down into a little squat pose. You can lean to the left, lean to the right as you lift your heels up, it's got a little mini side lunges here looking to kind of create some space in the hips and the groin.
Forward bend as you exhale, point the toes forward, heel toe, feet a little closer together, inhale half lift, exhale. Hands to the mat, walk back out into your downward facing dog, drive the heels toward the floor, toward the floor, try not to use the floor as, is my downward dog good because of where my heels land, don't worry about that, okay. Lift the right leg up, as high as you can, put a good bend in it and peel the hip open, come up on the right fingertips, this I feel kind of gets a little more, offers up just a little more space, how's your breath here as you've opened up into this space, good, bring the right foot down, nice, left leg up, bends, opens, left fingertips, breath, kind of looking underneath the left arm as a general focal point, left foot back down, downward dog neutral, strong, steady relaxed, slow stroll up to the front of your mat, half lift, inhale, exhale, fold, inhale, rise it all the way up, interlace your fingers, index finger goes long, cross the thumbs, draw the shoulders down, squeezing of the butt just a bit to draw the tailbone down, keep the thighs strong, glutes strong, core brace, take a side bend over to the right, so as you're going over to the right I want you to get extra firm in that left leg, you feel your left quad squeeze up for stability, drive the left foot down and you reach up and over to the right, come back up to center, stretch it out, get long, and over to the left side, right foot driving down, right quad engaged, so there's your stability point to get the stretch and the opening, back up to center, big breath in, gentle back bend, and exhale the hands together at the heart, the center of your chest, new starting point, new moment, new breath, we're going to move through some standing poses now, so breathe in, take the arms up, little gentle, gentle, gentle back bend, exhale, unlock the knees, pitch the hips forward or the pelvis forward, forward bend, inhale half lift, exhale walk it back into downward dog, land there, check in, inhale into plank, exhale lower down, chaturanga halfway, inhale upward, exhale downward, inhale your right leg high, bring it toward the nose one time, so it's this nice strong posture of pushing the ground away, pulling the right knee up, right heel toward your bum and step the right foot forward, spin the back heel down, get your ground, get your base, rise up for warrior one, check out the feet for a moment, make sure you're not, you know, that left foot you do want it at a nice generous angle, so that the left shin, thigh and hip come forward a little more easily, okay, so once you get your hips aligned, your body nice and strong and long, make sure you keep checking in with your feet, so those feet are pressed down for strength, now take the right arm, reach it underneath the left and start to wiggle those right fingertips toward your left palm, eagle wrap, eagle bind, find a steady gazing point, drop the shoulders down, press into the outer edge of your back foot, maybe even pull your elbows away from your body and up, take a gentle back bend, release the arms down, out and up on the breath in and exhale, warrior two, so there's this little step back, left foot now opens up, heel is kind of a line, okay, right leg bends good and strong, pelvis is neutral, arms parallel with the floor, all right, so get those fingers active, that'll bring tension and effort through the forearms, biceps and shoulders, draw the shoulder blades toward one another and then take that gazing point over the right middle finger give or take, keep the leg position, extended side angle, so I'm gonna get the right forearm down onto the right thigh without leaning too heavy into it, so keep the right shoulder like quite a distance away from your ear and your neck, so there's space, the left arm I like to just take it straight up, so take the left arm straight up and then feel free to put an angle on that left arm, press into the back foot, press into the right foot, spread your toes out, good, peaceful warrior, so reach back with the left arm, right arm reaches high, left hand for this one, just rest gently on the left leg, generous breath in as you open up the right side of the body, on your exhale like a windmill effect, bring the arms all the way down to frame that right foot, pause here, grab your breath in, breath out, you step back into plank, refine your plank, make your choice on how you wanna lower and back bend, so exhale lower down, inhale for your back bend, and exhale, downward dog, good work, left leg rises on your breath in, knee toward the nose, they call this cheetah in some practices, so the left knee draws up toward the body, left heel toward the body, right quad working strong, push the ground away and step it forward, right foot steps up just a little bit, right foot turns forward, so the hip will come forward, and when you're ready breathe in to rise, warrior one, when you get it all set up, you feel good about your balance and stability from the ground up, we'll then take the left arm underneath the right, take the left fingertips toward the right palm, get the bind as best you can, find a gazing point, press the elbows together to get that extra stretch across the shoulders, toes might pull away and up, gentle back bend, release the arms, breathe in, reach up, breathe out, warrior two, look down, get a sense of where your feet are, build the pose from the ground up, tailbone, you don't want it sticking up, so drop that tailbone down but you might need to straighten out that left leg to do so, arms strong and long, like they're out from their body but they're connected to your body, same foot placement, you might shorten it if you'd like, left forearm on the left thigh, I'm actually gonna shorten it a tiny bit, left forearm on the left thigh, gentle resting place for it, right arm reaches high, take the right arm toward the front of the room or front of your mat, so you're reaching long through the left or the right fingertips and out through the outer edge of the right foot, stretching long up the entire right side of the body, empowering through the feet but definitely that left foot, left heel, peaceful warrior, up and back, breathe in, left arm reaches high, right hand rests gently on the right leg, subtle little bend or a deep bend in the left leg, breathe in, breathe out, windmill the arms down, let's from here step the right foot forward, forward bend, exhale, inhale, lift halfway and exhale, fold, inhale, rise up and exhale, hands back to starting point, center, alignment, inhale, bring the arms up, exhale, forward and down, we'll add another pose or two to the standing sequence, inhale, half-leafed, and exhale, plank pose, lower, inhale, upward, exhale, downward, inhale, another right leg up, exhale through that cheetah pose, so knee in, strong step, ground warrior one, breathe in here, breathe out, warrior two, I like to do this little warrior one lift and step back at the same time for warrior two, get your alignment here, straighten your front leg, put a tiny little micro bend in the right leg, ground through the feet, now reach your right hand forward, reach long and kind of pull the right hip back just a bit, right fingertips to the chin, the ankle, maybe the floor, maybe a block if you'd like and then that left arm nice and high, triangle pose, bend the right leg back up into warrior two, left hand rests on your left hip, now see if you can kind of, you might want to shorten your stance a little bit but it's half moon, so I'm going to launch probably right from here into half moon, left leg is lifted, I'm bouncing on the right leg, right fingertips come down toward the floor, maybe hover, maybe block up to you, left leg is working toward parallel with the floor, my gaze is down right now because that's where it needs to be, let's see what kind of shifts I can make now and encourage you to, left hand can reach up nice and high and then maybe I'll take my gaze right toward you, push through the left heel, good work, bend the right leg, step back into warrior two, easy right, reverse warrior, peaceful warrior, whatever you'd like to call it right, windmill the arms down, good work, step it back, find your plank, get your alignment, make your decision on the lowering, inhale for your back bend, exhale, dog pose, left leg rises up, inhale, knee toward the nose, good strong transition, land the left foot, ground the right foot to rise on the inhale, warrior one, warrior two exhale, inhale straighten the left leg, put a tiny micro bend, exhale forward and down, triangle pose, bend the left leg, back into warrior two, right hand on the right hip, find your gazing point, find where you're going to place your left hand and lift off, little bend in the left leg, some buoyancy there, left fingertips toward the floor, right leg is going to lift parallel with the floor, maybe a little higher, drive through the right heel so that right leg is strong and active, right arm might lift up eventually, maybe, gazing point, find it, stick to it, breathe, bend the left leg, step it back into warrior two, nice, reverse warrior, breathe in, breathe out, all the way down, step it back into plank, make your decision again, right, lots of ways you can be doing this, lower, upward inhale, downward exhale, right leg lifts, breathe in, step it to the front as you breathe out, spin the back heel down, wide leg forward bend, so now you're going to parallel the feet, align the feet, spread the toes out, so you want to move those feet around as much as you can so you can, it's like you're kind of like looking for all the different ways you can press down, okay? Now on your fingertips, lift the chest, lengthen the spine and we'll do a little forward bend here, you can take your hands on, so your right hand on your right foot, left hand on your left foot, you can keep your hands right below your gazing point, come up on the fingertips, turn your body to the right, keep your hips and legs aligned, so you turn your body to the right, right arm might reach up nice and high, and you take your right palm to your low back, now your shoulder may have come forward, peel the right shoulder open, open up for the twist, breathe, push the heel of the palm into the low back, lengthen through the crown of the head, good, bring it back down, realign, reset, right hand, lift the chest, lengthen, rotate, left palm at your low back, push into the low back sacrum as you roll the left shoulder open and reach long through the crown of the head, rotate, good, bring your gaze back down, walk toward the right foot and now we start to move into a little bit of the yin stuff, left knee comes to the mat, so the right foot is out wide, now to start off with, right, this is either a really comfortable pose for you or it's not comfortable, so I want you to figure out with me some suggestions and options might be helpful but how can you figure out how to be in this shape for say a minute or so where you're not dying to get out of it, so up on your hands is one option, maybe up on blocks would be an option, I find it very helpful to peel onto the outer edge of the right foot so that way it kind of like releases the pressure, changes the stretch quite a bit actually, could even bring your left forearm to the floor, maybe your right, but we're not looking for excruciating, deep, crazy, hard stretch, you're looking for moderation, so my choice is going to be left hand on the floor, right arm on the thigh, so minimal effort, I've got to use my left arm to kind of post myself up and brace, I've got the sensation and stretch I need, where is it for you, stay here or we can start to move into pigeon pose, so you're going to back out a little bit, extend that left knee back, walk the right foot across to the left side of the mat, place your right knee down toward the right side of the mat, now you're going to have to kind of look at the right leg, see what's available to you, if your shin is parallel with the front of the mat, that's going to be the more intense version, you might want to bend that right leg a little bit more, square off the hips, work and earn your way into this shape through conscious releasing kind of exhalations, dominant stretch for a lot of people with the right leg forward and pigeon will be the outer right hip, some in the right hamstring a tiny bit, maybe even your butt glute on the right side, relax with the breath, notice any unnecessary, well maybe it's necessary but tension that you can begin to release, typically with yin postures you know it can be anywhere from two to five minutes, so if you find a spot that just feels so nice, stay there as long as you'd like, we're going to begin to exit out of this, curl the back toes, lift the left knee, start to use a little bit of your core and upper body strength to lift the right leg up off of the mat, up and open into three legged dog, that might feel nice to lift those fingers up onto the right fingertips again, drive the left heel toward the floor and bring that right foot back down, good work, left leg up, breathe in, send it up to the front of the mat on the breath out, out wide, okay, so lizard pose, left foot out wide, the right hand is there for support, like I said before this is really dependent on you, your body and your interest really, how much of a stretch is necessary for you, how much for you, not based on what I'm doing or anybody else but can you tune in to the sensations that this stretch and this shape is offering and figure out the best possible way to sit in it, to be in it, to be able to breathe in it and don't overcook it, right, don't overdo it, so peel onto the outside of the left foot, if you'd like to open the hip, I'm going to do that and the offering I had before was left forearm on the left thigh where I want to isolate most of the work to the right arm, it's just there, plumb up, shoulder over elbow, elbow over wrist, relaxed in the head and neck, I've got just enough effort and stability, conserving and using my energy and strength efficiently and when I need to, I adjust, so all of those things are things that you could be working on right now, anything that needs to be adjusted, make the choice to do it, and one of the target zones here in lizard is going to be the right side through your hip, it may be pretty obvious actually for you right now, I don't need you to tell me that, pigeon pose, so you come out of that intensity of lizard, heel to the left foot to the right side of the mat, place the left knee down, find your desired angle of the left leg, slide the right knee back, make sure, I don't think I was clear on the other side but make sure the foot of the leg you're stretching is pointing forward, when you point it forward that just kind of triggers ligaments, muscles, tendons around the knee joint, gives a good protective quality, okay, so where are you now, how do you feel, how's your breath, maybe you're up on your hands, maybe you can come down to your forearms, maybe you're flat out because this is just your money pose, yeah, I love pitching, I've been doing this long enough that there are just as many people who love it who do not like it, so I'm hoping that if you are someone who does not like it, you're able to figure out where to get that stretch, where to feel the benefit, how you can soften and relax, maybe stack your fists so your forehead rests on the fists, okay, and once again, start to walk back up onto those hands, curl the back toes to lift the right knee, so you've got these points of effort in your arms, your right leg, your core, lift the left leg up, send it up into that three-legged dog pose, maybe the left fingertips will help to give you a little lift and you rotate that hip open after it being closed off in pigeon, it feels kind of nice, good job, left foot to the floor, wiggle around a little bit and downward dog, get that spine nice and long, stretched out, get in that nice groove and connection with what's going on in my body right now, all right, from downward dog, bring your knees down, actually come right down to sit, two more little movements here, the first one is going to be some continuous windshield wiper gentle twist, so the hands can come back behind you, chest is up, feet are wide and bent and just some easy little movements to the left, to the right, to the left, stay here for just a moment, so the both legs are to the left, kind of both bent about 90 degrees and pull that right shoulder back just a little bit more, I don't know if it's just me but that feels pretty nice right now, okay let's try that on the other side, left shoulder pulls back, back, back, back, back, back, back, back, back, great, back over to center, now I haven't really used the blanket but I'll use it for the final pose which is going to be bound angle, cobblers, bound angle, barakonasana, bottoms of the feet come together, sit on the edge of the blanket, this will help to bring your pelvis into more of a tilted forward position, bottoms of the feet together, hips open, relaxed attitude, relaxed sort of entry, so hands on the shins, the ankles, the feet, breathe in and focus on your breath out, casually moving toward the stretch, breathe in, come back up, breathe out, fold forward gently, find your threshold, your boundaries, one more time, breathe in, so this is like the breath out, the breath in out, the breath out into it, the breath in up, the breath out into it is this earning your way into this shape, so wherever you've landed either way up top or way down low or somewhere in between, we'll spend one minute here relaxing and softening through the breath, hanging out with the sensations, shifting them as you need, deepening and stretching out that exhale and you can feel immediately the benefit from that extended exhalation, that's what's cool about the breath and certain postures is that if you really are kind of tuned in, you can feel the immediate benefit or immediate result, one more time, breathe in and long breath out, take your time to come back up if you were down, pause, sit upright, close your eyes, good, we'll take a finer relaxation together so get whatever Shavasana tools you need, you like, roll down to your back, draw your knees into your body, start to make specific choices on how you'd like to place your body, stretch the legs out, bend the legs, you rest your hands on your body, feel that connection to heart to breath and you can rest your hands up back behind you, cactus arms all the way overhead just like as if you found the most comfortable place if you're a beach person, maybe you go to the beach and you're just like, yeah, perfect amount of sun, tune into the tides, landed perfectly, rest, to lean toward and move toward more rest in my days so that I can feel more alive, more charged, more focused, the things that I spend my time doing. So while you're lying there for a few more moments, if it's worth your time contemplating, where in your days can you add more rest?
Are you feeling fatigued, overdone, overcooked, a 5 minute nap, 20 minute nap, a little meditation, start walk in nature, get your shoes off and take a walk in the dirt, feel that charge, that immediate charge, how and where can you get more of those moments if interested? Move your head a little side to side, deepen the breath if it feels natural, take the hands behind the head and lift the head, stretch the neck out a little bit, and we will just roll right on up for an official departure, an official closing, might be worthwhile closing your eyes, bringing your palms together at your chest, your heart, draw the forehead toward the fingertips, take a moment, pure gratitude for just that simple, beautiful breath in, breath out, for the ability to move in the way that you did and do, and anything else you want to spend your time thinking about and feeling grateful for, such a nice practice and gratitude. So that's our time together today, always, always a blessing to share what I care about here with you, so thank you for inviting me in and sharing your time with me. Namaste and I'll see you next time.
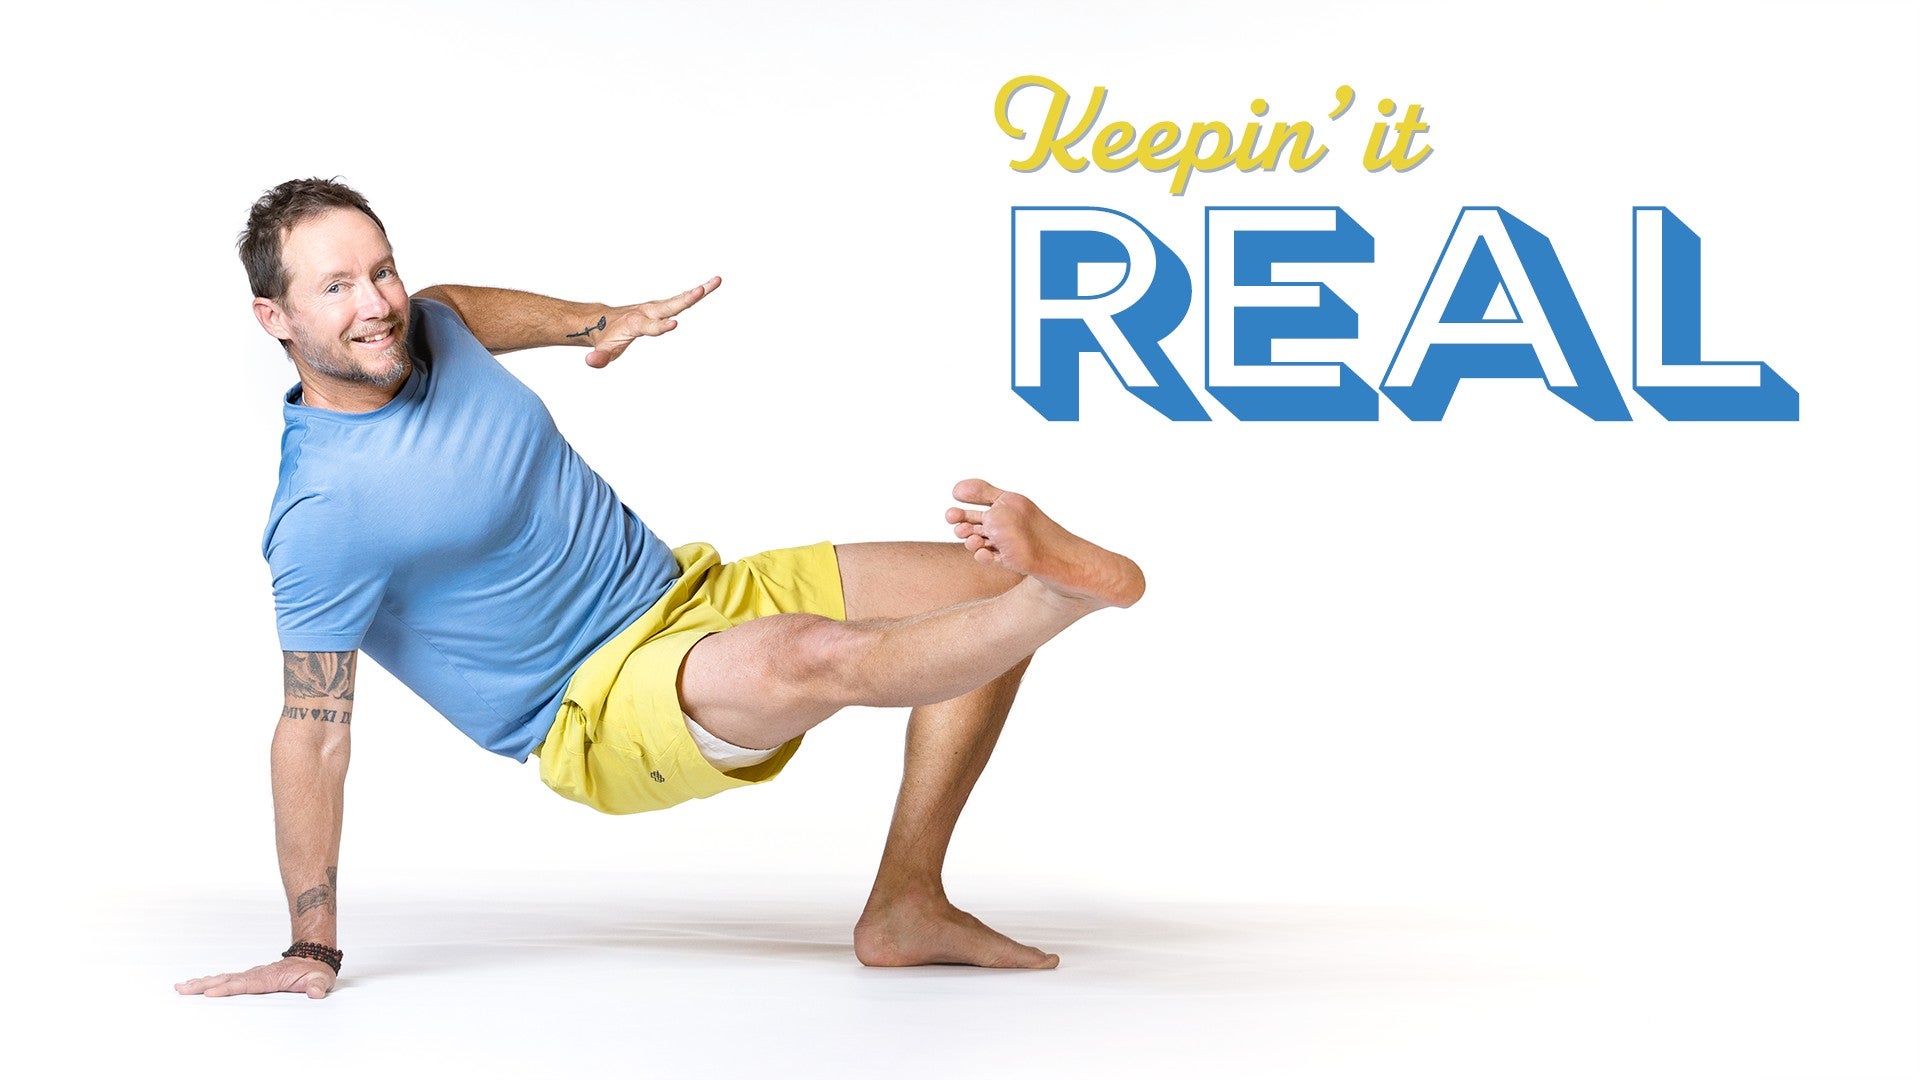
Keepin' it Real: Robert Sidoti


Comments


You need to be a subscriber to post a comment.
Please Log In or Create an Account to start your free trial.
