Description
About This Video
Transcript
Read Full Transcript
Talk
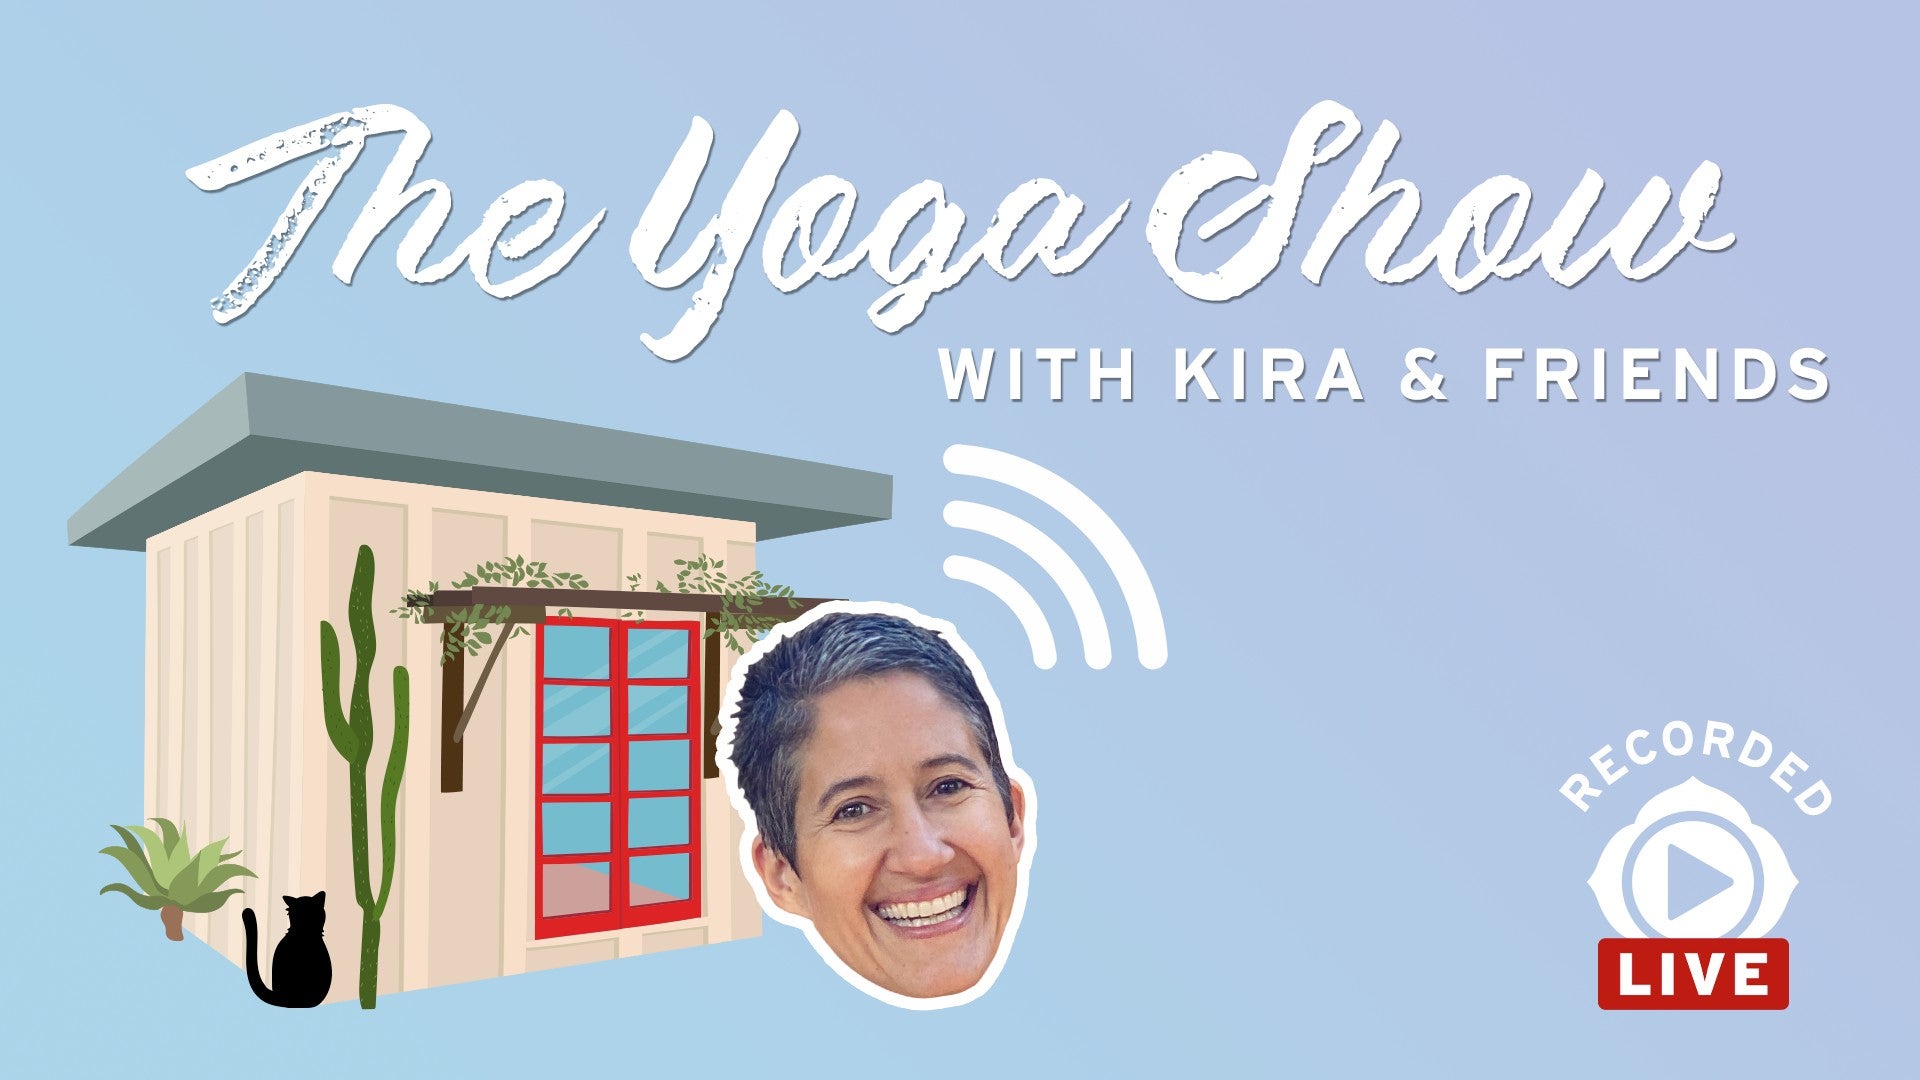
Hi, everyone. So glad to see you. Welcome to the Yoga Show. I'm broadcasting from the Bishop Co-Workspace again. We have a super special guest today, Nathan Briner. You probably know him from either the YogaRx show, maybe his Aligned in Awake show, or even more likely his amazing 30-day yoga challenge he made last year, Aligned with Freedom. Let's go to Nathan now. Hey, Kira. Happy Friday. Great to be here with you. Oh, we're so excited to see you, Nathan. We miss you so much. So super stoked to hear that you are as geeked out on James Nestor's new book on breath. Catch us up how this latest research on the benefits of increasing our capacity for CO2 is affecting your practice and your lifestyle. What are you learning? What are you discovering? Give us the deets. Yeah, this is one of those moments in my practice of yoga where I had a big breakthrough. I always struggled with understanding breath work and how it applies to the physical part, both of our yoga practice and even into our daily life. And I came across James Nestor's book, Breathe, Breath, and Patrick McEwen's book, The Oxygen Advantage. And all of a sudden, the light bulbs just went off. And I just started seeing how, like you say, that CO2 in our bodies really changes the way that we can create energy and apply that to both our yoga practice or sports or even our daily energy, where we go to work, how much energy we have through the day. I've been applying these concepts. I ride my bike back and forth to work. And I've just seen amazing changes where I found myself out of breath going up hills, pushing and pushing. And then I started practicing and over about a month and a half, I can ride these hills and barely have to breathe. So this has been really profound. And then watching how this transforms the way I breathe in my asana, again, huge breakthrough moment for me. And I'm so glad these books and the science is out there for people to start to understand these things. Wow, that's amazing. Mostly I found myself sort of humbled by how hard it is to breathe through your nose, especially at high elevations. And then just so in addition to the physical benefits, just out of curiosity, any kind of like, new thinking or new dream states or like more emotional shifts, like any shifts that you've noticed in the more subtle realms, not just the physical increase of energy or capacity. Great question. And that's a huge part of why we practice yoga, right? To get the changes emotionally, get the changes mentally. And yes, absolutely. Having understood a lot more about how CO2 affects our body, the effects of breathing on the parasympathetic nervous system, noticing directly in practice how my whole system calms down and goes quiet, changes my whole perception about meditation where it's not just, okay, be quiet thoughts, be quiet thoughts, be quiet thoughts. Using the breath work actually just quiets the thoughts automatically. The system itself cools way down and it has such an effect when you go out, talk to people, work with people. Everything just feels so much more calm. And you know, the reactivity that we often find in our lives is smoothed way out. And I'm only just beginning to really understand the benefits of this and take this practice deeply into my body.So I can't wait to see how this evolves in six months, two years, 10 years. Wow. That's so great to hear. Cause definitely if there was ever a time to need to be calm, it's 2020. So tell us a little bit, so tell us a little bit about how we're going to practice today and what we're going to be doing with you. Yes. So we're going to be practicing, uh, with our Asana that we all know and love, but I want to change the perception of them a little bit, kind of like music theory where you learn all of the ins and outs of the notes and how to put structure together. And then after a while, as you start to have a lot of experience with these things, we can start to do jazz. So we'll be using the Asana as a scaffolding to then really build deeply in the body. I want to move people a little away from the concept of stretching and move much more into space. And we're going to focus that space all around the lungs, heart, and chest today. I think you're going to love it. Oh my God, it sounds great. And it's hard not to want to do jazz hands when you say that. So, um, okay, it's all yours. Thanks so much for being here, Nathan. And thank you, Julie, for producing. Thank you, Alana, for bringing this all together. Love.
Practice
Great to be here with you, everybody. Before we start, I'm going to recommend having two blocks. They may not be totally necessary for everyone, but they're always great props to have and also a strap. I'm going to introduce two teaching principles that we will be using throughout this entire practice together. The first one is the connection to the ground, or roots. Everything is going to grow up from the roots and strong roots means healthy tree.The second teaching principle is going to be around the chest here. And I'm going to call the chest, or you can imagine the chest like a box, front of the box, side of the box, which I'm going to call the side chest and the back of the box, which I'm going to call the back chest. Okay. So let's start out in Tadasana, feet about hip width and start with that first principle, the roots, connecting to the ground. With your feet pointing straight ahead, start to push down through your legs, press energy down into the floor and feel how the body responds by lifting up, how that brings an awareness to the chest. And then if you let that go, you can kind of feel that subtle sinking in the body. If I just exaggerate, I go to here. Let's try it again. Push down through the floor. Feel that energy come into the chest and start to see if you can connect with that concept of a box. Expand the top lines, sidelines, and bottom lines of that box. Let the diaphragm be soft and expansive down here. Let's start out by bringing the arms out to the sides. Energize your arms means squeeze the muscles and elongate the arm bones and see if you can expand, widen that box of the chest. And then let the arms down, relax, and see how the shape changes. Let's do it again. Same thing. Start with your roots, push down through the floor, create that inner space, and take the arms out again. Pressing down through the feet, reaching out through the arms, raise up that box and expand it in all directions. From here, turn the arms and palms up to face the sky and raise the arms above your head. And what you may notice as you take the arms up and closer to the head, the top of the box begins to narrow the top by your shoulders. So we keep a little space across the top of the shoulders and keep that shape of the box. Couple deep breaths. We want to be breathing through the nose here, all through the nose. And then let the arms down and relax. Let's use the arms a little differently this time. Press down through your roots, arms straight forward and all the way up. And raising the arms this way tends to lift the front of the box, the front of the chest, and it kind of scrunches the back of the box if you're feeling in there. So we have to push down through the legs and mostly the heels to get the back body to lift. Let the diaphragm be soft and mobile. Check that you're not pinching around your neck. And then let that go. I'm going to turn to the side for a minute and we're going to start moving here. Press down through your legs. We're going to sweep the arms up again through the front, balancing the front, sides, and back of the box, back of the chest.
Take another breath in. We're going to come down into chair pose. Now, very commonly in chair pose, when we come down here, the back of our body, the back chest, is shortened. It's gripped. It's tight. It doesn't have that freedom anymore. So if you can draw the front ribs a little back into your body and see what you can do to balance that feeling. From here, relax your trunk down over bent knees, grab the backs of the calves, and let your body round over your legs. Here, the front of the body is going to be scrunched. It's just the way it is. Let that happen and learn to breathe a little bit more into the back of your body. Nice, easy, smooth nose breathing. Then take the hands to the floor and step your right leg back into a kneeling lunge. We're going to use those same principles here. Press down through your roots and get that uplift in your body. We'll start by raising the arms up to help open the chest further. Then take the arms out sideways, expanding the chest left and right. We'll take a twist. Take an easy breath in and turning towards your left side. Reaching the arms in their respective directions, see if you can create space in the chest. Not so much stretch, space, so you actually have to relax a little in order to open. Then take another easy breath in. As you exhale, take the right hand down. Left arm up, and let's press the roots. One arm, two legs, and then turn. Press the shoulder blades against your back to help open the chest. Then release your top arm down. Curl the back toes under. We're going to lift into a full lunge now. If you find that you tend to be a little stiffer in the hamstrings, here might be a great time to grab the blocks for a little help. We're going to challenge parsvottanasana, pressing the left leg towards straight, but lift your right heel maximum. Let's go back to the lunge and do it again.
Pressing the front leg towards straight, raise your right heel, and then we'll challenge letting the body into the pose. Trunk coming down. Do it one more time. We're in full lunge, back leg strongly lifted. Again, pressing back, right heel very high, and then any amount that you can let your trunk down. Relaxing the back body. Diaphragm soft, especially in the back near the kidneys. Then keeping the blocks if you have them, we'll walk the hands a little bit forward. Bring your body weight over the standing leg, the left leg, and lift the right leg off the floor. Here again, of course, we're challenged with a little bit of balance, but the focus still is keeping a spacious chest. Front, sides, and back. Let's touch down the back leg. We're going to come up into Crescent Warrior now. Lifting the arms straight up over the shoulders. Now big open expansive pose. First things first, press the feet into the floor until you feel that they give the chest the support it needs to open. Taking some smooth nose breaths. We can take it just a little further now right hand to the back of the right thigh for a little exalted warrior. Watch that you don't scrunch down on your backside to create your arch, but instead lift up the back body. And then we'll come back to Crescent. Arms down, big step forward, and we're back to Tarasana. Shake out the legs a little bit. Let the blood come back down through your muscles, and then we'll do the second side. Standing in Tarasana. Connect through your roots. Create that inner lift in the body, opening the chest. Arms up through front. Take a moment here. Feel what you're doing with your movement, with your pose. It's full of life even though it looks still. Then let's go to chair pose. Again, the back body tends to grip here, so we have to bring the front ribs in a little bit and create an equal space back and front. Let's take the body down over the bent legs, hold the calves, and learn to relax your back. Let the breath help open up the ribs, the lumbar muscles. And then again, if you're using blocks, place them underneath the hands, and then we'll step back the other side. We're in our lunge. Push down through your roots. Arms up. Remember, we're pressing the roots to create space. It's one unified action. And then arms out to the sides. We're turning now over the right side. And you see, if you turn hard, you lose your ability to hold space. And that's what we're really looking for here. An inner space that we can create all the way out to the outside. Then take an easy breath in, easy breath out, left hand down to the floor. We're in a twisting lunge now. Press the shoulder blades into the back to help open your chest. And then we'll take the hand down to the floor, tuck under the left foot, and let's come into full lunge. A few times we're going to challenge Parsvottanasana or Pyramid Pose. Press the right leg towards straight. You might make it, you might not. It's perfectly fine if the leg remains bent. And then back into lunge. Press the leg again towards straight. And this time, allow the trunk to fold over the leg. Remember, in forward bends at a certain point, the back has to round to complete the pose. Don't be afraid to let that happen. One more time, lunge, strong roots, and then pressing the leg towards straight. And just a note here, if you feel a screaming hamstring sensation in your pose, in your right leg, it's too deep. Come out of the pose a little bit so you can relax. Remember, that sensation is your fight or flight system saying, ooh, this doesn't feel safe. Okay, so be good to your body. Letting the trunk down. And then coming back to the lunge, we'll aim for Warrior III. Hands and blocks forward, bring the weight onto that right leg, lift up the left. And certainly you can keep that right leg bent.
Here I'm just trying to challenge our ability to hold space in the chest in a horizontal pose. Feel from the bottom of the chest to the top. Anywhere that needs a little extra space. Let's step down the left leg. Coming now into Crescent Warrior. Arms up. Start with your roots. Actively connect to the floor until you feel the chest can open. A little deeper. We'll take the left hand to the back of the left leg. Start with your roots. Start with the inner lift. Then take it back. See how that back body becomes a little scrunched. So we have to lift up out of that side, out of the back side. To Crescent Warrior, relax your arms. Come into Tadasana. Again, take an opportunity to relax your muscles, to let your breath come down, to let your blood flow. Next, we'll bring the feet together. Take the arms overhead and pause in this Tadasana. Then the chair pose. Feeling the chest. Let's do a twist. Bring the palms together in front of your chest. Take an easy breath in as you exhale. Turn to the left side and do your best to bring the right elbow across the left leg. Don't worry about going super deep. Instead, focus on the space in your chest. Press your right elbow to connect with your upper torso to feel. Make space across the neck. Let the diaphragm be soft. Then unwind, arms all the way up. And relax the arms to your side. Second side now, we'll start with arms up. Chair pose. Feel your lungs and back. Balance them. And then let's take the twist. Palms together near your heart. Easy breath in. Turning to the right side. Make space across the tops of the shoulders. Soften the diaphragm. And then unwind and come all the way to the top. Relax your arms. Let the blood flow. Calm the breathing. Let's try a full Vinyasa. Arms up. Exhale, folding forward over straight legs. If you need bent legs, please do take it. Here again, let your torso round over the legs. Hands on the mat. Step back to a plank. Take a breath in. Chaturanga. Inhale. Downward facing dog. Here's a big chest pose. And then downward facing dog. Let's spend a minute here. Pulsing or pedaling the legs a little bit. One heel at a time pressing towards the floor. Then raise the heels as high as they'll go. Press from your palms. These are your roots as well in this pose. To help create space, especially around the top of the chest in this pose. And bring the feet together. Keeping the heels high. Raise the right leg up. Way up. Connecting to your roots. Again, keep the spine long. Take a breath in. Easy breath out. Right foot forward. We're in a long lunge. Roll the left heel down to the mat and we're going to come up to standing for side standing poses. Right foot is pointing forward. Left toes rolled a little in. Stretch your arms. Okay. Let's create some space in the chest here before we try our poses. Push down through your roots.
Expand the arms. Easy diaphragm. We're going to start with warrior two here. Trying to keep the space in the chest. Take a breath in. Easy breath out. Warrior two. Here we still push the ground. Old Newton's law equal and opposite. Pushing down, we're going to get that responsive lift in the body. Side angle pose. You can take the right forearm to the thigh or right hand down to a block or the floor and left arm over the ear. Easy breaths in and out. Press down on your right hand to revolve the chest. To revolve the abdomen. Can you see if you can make the front and back body equal in terms of their space? Use the top arm up. We're going to slowly try to press into triangle pose. Use the shoulder blades against your back body. And if you like, you can turn and look up. If the neck needs a little bit of relaxation, you can turn and look down. Whatever works for you. And then bend the front leg. Take the hands to the floor. Want to go through our vinyasa again from a plank. Easy exhale to chaturanga. Upward dog. Careful that you don't overly scrunch the back of you, the back of your chest. Downward facing dog. Let's raise the heels up nice and high. This gives us a little extra room to focus more into the chest as opposed to the calves and hamstrings. Then bring the feet together. Still heels high. Left leg up. Press strongly through your palms. Working on opening the front of your chest. Long back. Easy breath in. Step forward with the left leg through to the hands. We'll pause in a lunge. Then rolling the right heel down to the mat will open to the side. Let's organize the pose. Press down through your feet. Feel the lift through your body and then open the arms. And the opening of the arms is more of an expression of that inner lift. Let's try for warrior two, keeping the chest nice and spacious. Easy breath in. Exhale. Bending the left knee. Hold there. You can look over your left fingers. And again, using the strength and energy of the arms, the connection of the feet to the floor, and we're opening the chest. Side angle pose. Left forearm to your thigh or you can take the hand all the way down to the floor or block and taking the right arm over your head. Feel again the box of the chest. Where have the corners been shrunk? Or maybe even over opened in certain areas. You make the adjustments for your pose. Then keeping the space in the chest, turning the abdomen, turning the chest up. Let's try for triangle pose. Raise the top arm. Slowly pressing the left leg to straight. Turning up from the abdomen. Honestly, turning up from the left hip. That's where all of this chest turning comes from. And then bend the front leg. Release the hands down and we'll step back through our vinyasa again. Come forward into plank. Bend the elbows, chaturanga. Upward dog. Hold there a moment. And downward dog. And then come down to your knees for just a moment. Bring your feet together and take an easy child's pose. Let your breath settle down. And let's once again find dog pose. Raise your heels nice and high. Here again, we focus on our roots first. Press the palms until you can feel connection to your shoulder blades. Helping to open the chest. Relax the diaphragm. And again, let's move away from the feeling of deep stretching and shoot more for deep space. And walk the feet forward. And let's come up to standing.
Let's challenge a few balancing poses now. Continuing to work with our space. First pose, tree pose. We'll start with the left leg. First, if you have a challenge with balance, you can do like this, where you bring the left heel against the right ankle. Go through the roots. And then you can challenge your balance by lifting the left toes. Okay, for those who can go a little bit more deeply, you can bring the leg up, preferably as high up into the groin as you can. And let's just start there. Balance. Press down through your right leg. Feel the space that we've been working with. And then the arms will start out to the sides if you're ready for that. And then even up to the top. The challenge with balancing poses is every muscle wants to try to help stabilize the pose. So it makes it tough for us to shoot for space. We'll do our best though. And then release your arms down and we'll come out of this side. Press down through your legs. Let's create the space. Front sides and back of the chest. Then second side, right leg. Either you can go heel to ankle and practice balancing by lifting the toes or taking the foot high up into the groin. Start with your balance. And you can start to play with this pose, these full-sided poses, and start to see one side of the chest feels different from the other. And you start to create little adjustments that bring that balance from side to side. Let's go with the arms. And remember the arms are meant to be an expression of space that's already there. Integrated action. And then arms overhead. Easy, smooth breaths throughout through the nose. And then working to create that space inside. Okay, arms down and release your pose. Second balancing pose. Half bound lotus. Now if your knees don't care for lotus pose at all, totally understandable, you'll repeat tree pose. If you're okay to go into half bound lotus, we'll start with the left leg again. Go with your roots. Push down through the right leg. Bring the left leg up. You could either keep it across the knee or if your knee and hips allow, you can grab hold of the foot and hold it at the right hip. Allow your left knee to go down. My tendency in these kinds of poses is to push through the back and make the chest seem big, but I lose all of that space in the back. So instead, for me, I have to push the ribs a little back in and elongate the back body. What a difference. If the balance is there, take your left arm up. Stay with it. Let your attention and awareness get absorbed into what you're doing, into creating that space. Arm down. Let the knee lift and release your foot. Let's do the second side. Again, you can either go with tree pose or join me in half bound lotus. Push down through the legs. Find your roots. Bring the knee up. Right leg up. Lift. We'll connect that heel to your left hip area, hip joint, and then allow the right knee to go down. Feel the right side chest. Feel the left side.
What adjustments do you have to make in the hip level to create that even box from side to side? If you have the freedom to do so, take your right arm up. Steady yourself and then create the space. Create the scaffolding of the pose and then make space. A little tougher for me on this side. Okay. Arm down. Release the foot. I'm going to turn off to the side here as we're going to move through another vinyasa. Let's pause in tadasana and feel how things are going inside. It's important to connect with your practice so you can see what changes are happening. Press down through the legs. Create that inner lift. Front, sides, back of the chest. Raise your arms. Take a chair pose. And then folding. Let the trunk down over the legs. You can keep bent legs or work to straight. I'm going to work towards straight legs. And remember, at a certain point, the trunk has to round to complete the forward bending. If you feel a ton of stretch in your hamstrings, you're probably too deep or you're over focused there in the pose. You want to create balance throughout the entire asam. Hands on the floor. Step back to your plank. Here we go. Breath in. Easy breath in. Exhaling through the nose. Chaturanga. Upward facing dog. Curl over the tops of the toes. To downward facing dog. Raise the heels so we take the emphasis out of the legs a little. And we can push our palms to create more space in the chest. And then release the knees down to your mat. And let's take a seating pose. Legs stretched out in front. This is a great time to grab hold of your strap. Let's take a strap. Well, first, left leg. We're going to draw the left leg back into Janasirshasan. Now in these poses, if you tend to sit like this because the hamstrings don't allow you to sit up tall, this is a great time to sit up on a block or maybe even a folded blanket if you happen to have one so that we're not being bullied by tight hamstrings. Okay? So again, if you sit here, you need a block so you can get more upright to take advantage of these poses. Janasirshasana with the left leg pulled back. We'll take the strap around the right foot. Now, using the strap here, we can create a new connection to the roots. What we'll do with the strap, pull on the strap as though you're taking your right leg straight back into its socket. Let's see how that goes. Pull on the strap as though you're taking the right leg back into its socket and see how that allows you to lift. And this is all we're going to do right here for right now. Firm your right thigh muscles and press the right leg down. And of course, we're looking to create space in the chest. Slow, easy, smooth breaths in and out through the nose. Go through the steps again, pulling on the strap, drawing the right leg deeper back into you. Firm the right thigh muscles and press the legs strongly down to your mat. See how that allows you to raise up through the chest. And then release the pose. We'll take the strap off and send the left leg out. And we'll bring the right leg back. Strap around the left leg. Let's go through the steps again.
We want to pull backward with the strap toward the body to bring the left leg deeper back into its socket. Already that creates that lift in the spine. Firm the left thigh muscles and press straight down into the mat. Relax the diaphragm and it's easy for us sometimes to get really grippy here in the back. So can you create a little space there so the back gets to take advantage of all this space as well. Pulling on the strap. Left leg drawing back into the body. Firm the left thigh muscles and press the legs straight down into the mat. Find space in the chest. And then let's take it off the foot and extend both legs out. Put the strap just to your side for a moment. Take your fingertips behind you on the floor. Energize your legs. Squeeze the quads and press the legs down. Dandasana. Press the arms into the floor and help lift your chest. Remember, careful not to get too grippy in your back or we close that part of the chest down. And then relax. Our next pose, Bharadvajasana. We'll start by sweeping both legs back and to the right. Two knees in contact with the ground and if you're using a block you might keep it. The idea is we want to have weight in the knees. Okay, so if you're up here that's not good for our twisting. So if you need support under the hips, please take that. Then we'll turn to the left side. Gently press the knee bones down into the mat and you can see I'll do that now and watch how that changes my chest and lift. Pushing the knee bones down. And now I can turn. This twist is a little back bendy here. Okay, lifting up from the lower back. For us in this pose, it's easier to open the front of the chest. Can you create some space across the back of your chest? Slow, easy, soft breaths in and out through the nose. Soft diaphragm and then release. Extend the legs forward and we'll take the legs now to the left. Sweep both legs back to the left and you can see there's kind of a little trick to the footing here. It's not totally necessary to stack the shin in the lower foot. It's kind of more the orthodox way to do the pose, but you do what works for you here. We want pressure in the knees on the yoga mat. Again, use your block if you need it. Turning to the right side. Pressing down on the knee bones gives you that ability to grow from the roots. Spread across the front and meet that spread with an equal spread across the back. Slow, easy, smooth breaths to the nose. And then release your pose and you can release the legs to front. Our next pose will be using the strap again. Supta Parangusthasana. We'll start with the left leg. I'm going to turn to the side here so you can more easily see me. Lie down on your back and if you've got a blanket with you and you want to put it under your head, now's a great time for that. Lie down flat. Bend the left knee. Bring the left knee to your chest and now let's put the strap on the foot. Bend your left leg. Straighten the left knee. And let's see if we can work on these two principles again. We'll start with the right leg, the one that's on the floor. Press the right leg strongly down into the floor and as though you had an imaginary wall against the right sole of your foot, press into that wall. And see if you can trace the result of that all the way up through the chest. The lifted leg, the left leg, do like Janus Sarsasana where you squeeze the thigh muscles and press it into an imaginary floor behind that hamstring. As you get used to doing this, you'll know you're doing well if the abdomen becomes soft and sinks. If you pull too hard on the strap and you get too much sensation in the hamstrings, your body will just resist and fight the pose. So instead look for space, not for heavy stretch. Just a little bit longer. We hold the poses so that you can really learn to do the actions. There's energy in these poses. Okay, good. Bend the left knee. We'll take the strap off. And to the right leg. Bend the right knee. Draw the right knee into your chest. And now we'll put the strap on the foot. Once again, straighten the right leg, firm the right quadriceps, and let's go through our steps again, the roots. Press the back of your left thigh down into the mat. As though they're an imaginary wall just under your left foot, extend through that imaginary wall. For the right leg, like Janus Sarsasana, push the leg as though the floor were right behind your right hamstring. And again, you know you're doing well with this. If you feel your abdomen become soft, feel it descend toward the floor and feel the diaphragm relax. Let's hold the pose. You keep working on those actions. Good. And then bend your knee. We'll take the strap away and we can put it off to the side for the time being. Bend both knees. We're going to start with the bridge pose now starting to take a little bit of back bending. Place your feet hip width apart. For this pose, reach down and grab the sides of your yoga mat with your hands and strongly grab. Press down with your feet and raise your hips up. Then holding onto the side of your yoga mat, roll the palms upward toward your ceiling and gently start to tuck your shoulders underneath the back of your chest. Press down through your feet and begin to lift the thighs upward. Use your back muscles in this pose. Oftentimes we think of a back bend is I'm just going to open my front into the curve, but we have to use the back muscles to support and lift that curve. The front body we have to learn to just relax. Bring your bridge. And then release the shoulders and let your bottom down. Take a moment, take a few soft, easy breaths through the nose. We'll do a few of these. Let's go again. Holding the sides of your yoga mat, feet hip width, push down through your feet, lift your bottom. Then turn your palms up to the ceiling so you feel the entire arm rolling out. Tuck your shoulders behind your upper back. Push down through your feet. Raise your thighs.
And I'll say again, we're going to use the muscles of the back body to help open the chest. I'm sure you can feel the front body is nice and open. But how about the back? That's crazy to ask, but can you open your back body as much as you are the front? Lift the back chest. And then bottom down, release your arms. We'll add a little fun to the last version of our back bend here by raising one leg up. Press the feet, lift your hips. Tuck the shoulders like before, turn the palms up, tuck the arms, tuck the shoulders, and then let's get into the pose. Raise the hips up. Back muscles are alive. Walk your feet a little closer together. Big challenge now. Stay strong on your left foot and leg. Bring the right knee into your chest. You could stay here or try raising the right leg straight up. Now how's the chest going? Big challenge to hold that chest open. Release the right leg. Let's do the left. Steady on your right leg. Left knee to chest first. Now left leg up. Feeling into the chest, balancing what you can for now. And then left leg down. Let go of the pose. Let your bottom rest, let your back rest before you do any counter posing. Let your breath calm down. And then we'll take the right knee into the chest. Nice and easy. And you can pulse this. Bring the knee in a little closer, letting the knee away. This is just to let go of the back muscles a little bit and doing it slowly. Let go of the right leg. Bring in the left. Nice easy pulses. Draw the knee into the chest. Relax it out. Draw the knee into the chest and relax it out. One more time. Let's do both knees now into the chest. Take a breath in and exhale. Lift the head off the floor. Squeezing the knees into the chest. And let down. Turn to your side. Come up to sitting for just a moment. We're going to do a counter pose. We'll start with the right leg. Draw the right leg in.
Left leg out straight. Turning to the right side. We'll hook the left arm around the knee. Right arm behind on the body. Here's another opportunity for us to open, to create space. Again, think less about stretchiness. More about space. Especially for our spine. We don't want to go cranking away on the spine ligaments and creating that stretch. Instead, we want to go to our twist and look for space. In this pose, the shoulders more easily are able to open. How about down below, down the diaphragm area? Can you create space there? Hook over your right shoulder. And then release your pose. Let's go to the other side. Right leg out straight. Left leg in. Hook the right arm around the left knee. And left arm behind on the floor. Take your time. Roll from the low back, from the pelvis, around into your twist. Feel the space in the top of your chest. Feel the space across the diaphragm. Looking over your left shoulder. A few easy, soft breaths in and out of the nose. And then release to center. Cross both legs. Let's take an easy fold over crossed legs. You can rest your head down on your arms. Or if you have a block, if you don't come down that comfortably, you can put a block here. Rest your forehead on the block. Whatever is easiest for you. In this pose, as we're talking about space for the chest, see if you can create an even feeling from the lower back and pelvis all the way to the back of your neck. An easy feeling of equal space from low to top. To do that, for some of us, we have to gently push the buttock bones a little down into the yoga mat. To let the pelvis rock backward just a little bit from the legs. And you may feel how that encourages not just your lower back but the middle back to begin to create its arch. And we can follow that all the way to the upper back. Then press up. We'll cross the legs the other way. Other leg in front.
Let's do the same pose. Cross legs, forward fold. Check again. What's the natural instinct of the pose? Is one area more stretched than another? Low back, upper back, middle back? And that little adjustment where you use the arms and lightly roll the buttock bones just a little bit more down into the yoga mat. You feel the pelvis gently rock back from the thighs a little. This does put a little bit more arch in the lower back, but we can feel that encourage the middle back to open, to lengthen, and then even into the upper back. You can use your breath as a feedback mechanism to feel any tightness is still left in those areas. Okay. Come up nice and easy. Extend your legs. We're going to take Shavasana now and take a few minutes to relax. And the idea will be here to use our attention to go into a little bit of the breathing and feel the space that we've been able to create in the body. If you have a blanket you want to put behind your head, please go ahead and take that. Otherwise, we'll start with knees bent and feet on the floor. I'm going to take you into the Shavasana kind of step by step. Gently tuck your bottom a little towards your heels and roll the spine down onto your yoga mat. Before you flatten the legs, you can use your mat or just tuck the shoulder blades underneath. So if you use your mat, you just do a little roll of the palms up and tuck your shoulder blades a little underneath. Then let the arms out to the sides, palms up a little bit away from your body. The chest should feel open, spacious from low chest near the diaphragm all the way to the collar bones. And then without disturbing your chest, extend one leg. Let it be on the floor for a second. And again, without disturbing the chest, extend the other leg. Legs about hip width or a little wider. Then ever so slowly, take the energy out of the legs, let them go to their respective sides. But try to do this without dropping the chest. Slowly let the energy out of the legs. Let your eyes come closed. Let the abdomen become soft. Let the diaphragm be soft. And especially the diaphragm that's closest to the floor, that area there tends to be a little grippy. Let the back ribs settle down into the floor. From your feet to your knees to your hips, let any muscle tension that's not needed let it go. From your low spine all the way up to the shoulders, release the energy around your spine, muscle energy. Relax your face, relax your arms.
Let your attention settle on the rise and fall of your chest, slow, easy, light breathing in and out through your nose. Thank you. Thank you. If you would like to stay in your shavasana for however long and enjoy that nice soft easy feeling in your body, please do. If you feel you're ready to come out, you can follow me by bending the knees one at a time.
Take an easy turn over to your right side. Let your head rest on your arms for a moment. Then using your hands, push yourself up to a sitting position, any comfortable sitting position. It has been such a treat to be able to connect with you live here on a Friday easing into the weekend. I hope I get a chance to be with you again very soon.
Have a fantastic weekend. Take care.
The Yoga Show with Kira & Friends: Kira Sloane


Comments


You need to be a subscriber to post a comment.
Please Log In or Create an Account to start your free trial.
