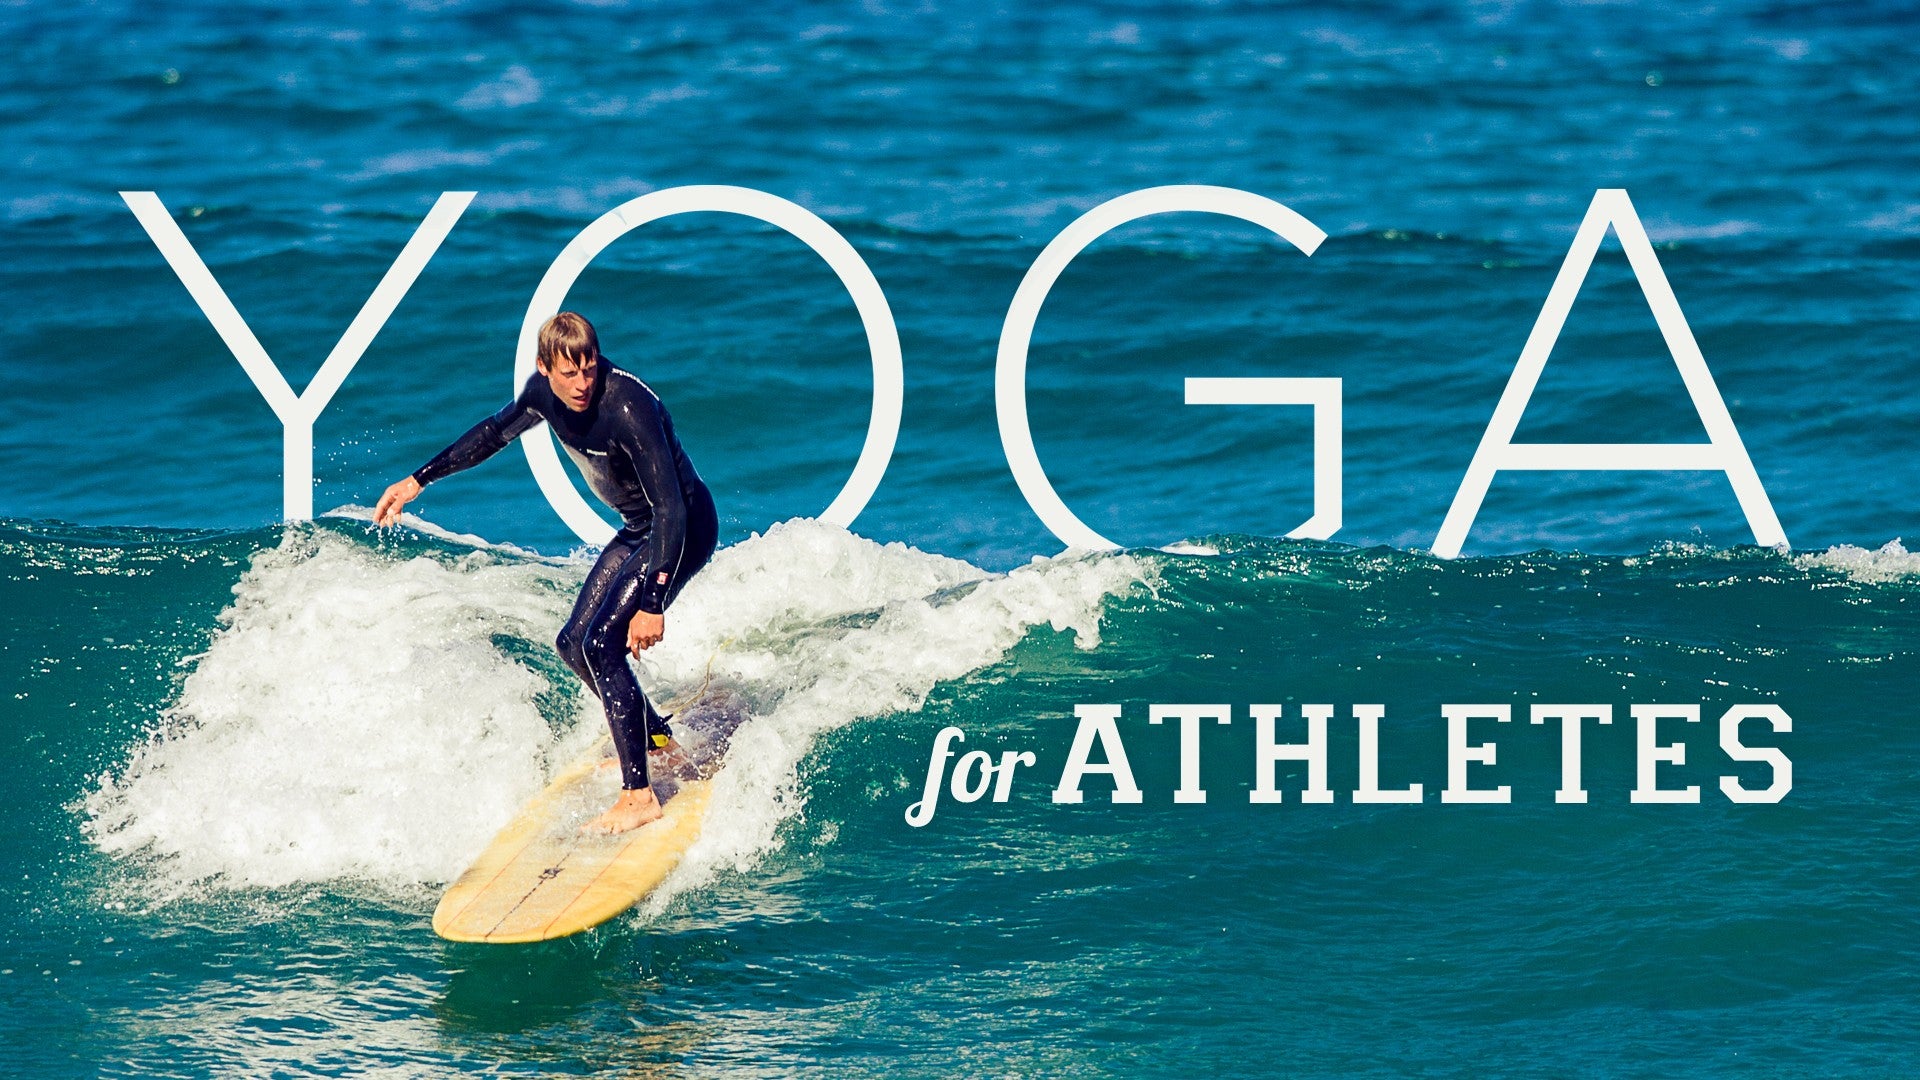
Description
About This Video
Transcript
Read Full Transcript
(ocean waves crashing) Hi. So this is a short sequence, yoga for skiers. And I want to give a thanks out to my friends Karen Leglit, she is a Patagonia ambassador, and Kit Redhead for helping me out with this sequence as well as Jasmine Caten who is also a Patagonia ambassador and they help me out a lot with things that they love to see for Yoga for Skiers. But you don't have to be a skier to do this, you could also just have tightness or density in your quads and hips and legs and down into the ankles, so we're not gonna focus too much on shoulders, just sort of the lower chain. So let's come down onto our back.
Just a start. Oh and I should mention that if you have a yoga block and a blanket, then grab that for this sequence because those props may be useful. You don't need them, but they may be useful. So just come down onto your back, close your eyes, and get into a rhythm of breath. Checking where the tension is in your body.
Relax your jaw. And bring your right knee in towards your chest, exhale, hug it in. Straighten up into the air, clasp behind the back of the thigh, draw that leg in towards you. Oscillate the lower leg into a bend, and then extend the heel away. A couple more times like that, exhale, and inhale.
Exhale, inhale. Externally rotate that leg, let the angle come in front of the knee joint, open the knee away from you, flex your heel a little bit, draw the left knee in, clasp behind the back of the thigh. If you can curl up and reach, clasp behind the top of the shin or on top of the top of the shin. Draw the knees in towards you. Relax your neck.
If you're doing a pulling action, pull from the back of your shoulders. One more breath. Release that side, let the right leg come back into the air, the left leg drop, just rotate your ankle. One way and then the other. Point through your toe, stretching the front line of the leg, flex through your heel, and then drop that foot.
Bring the left knee into the chest, squeeze it in. Imagine that there's a softness in the top of your quad even if it's not there, it's like quilt folding. Sometimes imagining it helps. Let the leg come up, interlock behind the back of the thigh, point, flex, bend, extend. Do this a few times, it's almost like you're flossing is kind of a nice new word in the tissue world it's that the fascia in the muscle tissue is getting a floss here, cleaning out the cobwebs in the back of your leg.
Rotate externally, ankle in front of the knee, draw the knee in towards you. Clasp where it's comfortable, maybe roll up clasp on top of the shin, draw it in. There's a pulling action but try not to overuse the front of your chest muscles, pull from the back. Breathe. It's not like you have to be reminded to breathe but maybe you need to be reminded to breathe consciously.
One more breath. Let it release, let the leg come up into the air, rotate ankle circles, see if you can get a few if there's some cracks and pops in your ankles, get the cracks and pops out. And then do a few soundless ones if it's possible. Point, flex, your leg doesn't have to be totally straight for that, and release. So you can rock and roll a little bit on your spine here if it feels nice, to come up to a standing position just because of the way the camera is here, I'm just gonna roll over to my side and come up to the front of the mat.
Standing at the front of the mat we're gonna move through a moon salute sequence. Inhale, your arms up. If you want to stabilize your lower back and arch a little bit into your upper back here. Exhale, fold forwards. Ease it up into your hamstrings, inhale, take your right foot back into a high lunge.
Exhale, drop the knee and the top of the foot. Inhale, press into your front leg, come out of the lunge a little bit, long lower back. Exhale, downward dog. Inhale, plank pose. Exhale, all the way down to the belly, elbows in.
Slide your toes back, hands forwards, inhale, pubic bone down, see if you can arch into the upper back mostly front three ribs, upper three ribs, exhale, downward dog. You can come onto your knees there if you want. Inhale, your right foot forwards, come high up on your left toes, maybe move it there, exhale, the knee and the top of the foot slides away from you, inhale, come up. Come out of the lunge a little bit, see if you can have a nice long back. Exhale, forward fold.
Inhale, come up. Exhale, hands by the side, so we're gonna add on to that, inhale, come up, stabilize lower spine, belly back into the spine, maybe arch back a little bit. Exhale, fully forward, stip the hips back. Let's go with the left leg, inhale, the left leg into a high lunge, exhale, the knee and the top of the foot slides away, inhale, long lower back. This time exhale deepen your hips forwards towards the front of your mat.
Take an extra breath. Open up your lower back, exhale, downward dog, press into each fingertip. Inhale to plank pose, slide the shoulder blades away from the ears, elbows in, exhale to the belly. Slide the toes away, inhale, cobra. Squeeze the elbows in if you wanna come up a little bit higher, length in the back of the neck.
Exhale, come on to the knees or come straight up and downward facing dog. Left left forwards, inhale, exhale the knee down top of the foot. Inhale, come up, come into a straight line from your knee to your shoulders to your fingertips and then as you exhale sink in a little bit. Maintain as much of a length into your lower back as possible, move the top or move your sacrum away from your spinal cord. And then exhale into forward fold.
Inhale, come on up. Exhale. Again, inhale, take the arms up. Maybe tip a little bit back. Exhale, hips back, fold forwards.
Inhale, right foot back into the high lunge. Exhale, knee in the top of the foot down. Inhale, come on up. Exhale, take your hands down to the mat, walk the outer edge of your foot across the center, and over to the side for pigeon pose, flex your foot a little bit so there's some energy in your foot. Maybe the heel is closer in towards the groin.
Walk your back knee away, hips away, and come forwards onto your elbows. Keep a little activity in your left foot. See if you can bring your left hip to the floor. If it doesn't reach the floor you have a blanket that you could squeeze and put under it, but we're kind of flowing here so propless is maybe a little bit better. So come back up here, tuck the back toes, downward dog.
From downward dog, walk your hands to the back of the mat. Take a hold of your big toes, inhale, your belly up. Soften your knees, exhale, forward fold, elbows wide. Breathe. Inhale, come up a little bit.
Walk your hands towards the front of the mat, see if your heels can stay grounded for as long as possible. Maybe they come up at some point. Exhale. Inhale, your right foot towards the front of the mat. We go back a little bit until you come into a good lunge, exhale, knee in, the top of the foot down.
Inhale, come up, into your lunge. Exhale, hands down, walk the foot across, keep a little activity in the foot to protect the knee joint, settle that knee down, the closer into the groin, a little bit easier, the further away, a little bit more difficult, walk the knee back, settle the hips down, and walk forwards, if you feel that this is really getting into some sticky areas for you it's okay to keep a little bit lifted, if you're lifted just try to keep a little bit of a squeeze through your inner line of the legs together, so it's almost like you're sealing your inner line of your legs in towards your pubic bone. If it's possible relax the hips down a little bit more. Come on up here, downward dog. Nice deep breath, walk your feet towards your hands, on the inhale lift up a little bit, exhale fold.
Inhale, come all the way up. Exhale. Again like that, inhale, draw the arms up, tailbone down, maybe arch a little bit in the top three ribs as if they're spinning upwards. Exhale, fold forwards. Inhale, left foot back into a high lunge.
Exhale, lean the top of the foot down. Inhale, find a lunge coming up, see if you can drop your tailbone a lot so your lower back is in neutral. Exhale, fingers down. Walk that leg across for pigeon pose. Walk the knee and the hip back, come down onto your forearms.
If this is a lot, stay here. If it's okay for you take your left forearm kind of parallel with the front of the mat, take your right fingertips out to the side, and start to spiral a little bit into a twist. Since you're always going in one direction skiing it might feel really balancing for the two sides of your body to come into a twist. Unwind, hands down, exhale. Downward facing dog.
Walk your hands back to the back of the mat. This time slip your hands underneath your feet for padahastasana, maybe bend your knees a little bit here. And fold forwards. Slowly start to shift the weight into your hands. The toes into the wrist creases.
The legs toward straightening. The skull towards the ground. Lengthen up, walk your hands a little bit forwards, turn your toes out on an angle, and start to sink into a squat. So you might need to adjust here, and for a lot of people the heels are actually gonna be off on this squat. You could even put a blanket underneath your heels.
But if your heels are up just think about drawing some energy down into them, and when you do that, your lower back can relax a little bit, so any of those sticky muscles in your lower back, the QL area you can release. This is also nice to keep some stretch into the achilles tendon and especially if it's okay for you to move your toes more towards the front of the mat. That gives a little bit more stretch into your achilles tendon. So nice deep squat also allows for a bit of a deeper, or more of a capability to shock absorb, the deeper your squat is. If you're jumping cliffs or anything like that.
A couple more breaths here. You could add on a few things in this squat like prayer position, or maybe even a little twist. Another thing I like to do in the squat that you can play with is even coming up, rotating one knee out to the side which is a really nice aductor stretch and you're also getting an achilles stretch and seeing if you can actually bring the knee down towards the floor. And then kind of switching sides. That's a really nice one, also getting into the planture fascia, the foot.
So let's come on up and just because skiiers, I mean, if you're a skier you're probably using your arms quite a bit but maybe you want a little bit of work in the arms, you can spread your hands, root your finger pads, bend your elbows, and they're sort of squeezing together, use the power of your outer shoulder, outer rib area to drop down as your knees meet your triceps, or maybe your knees meet your armpits. And then shift forwards, press into your fingers, one leg comes up maybe, maybe the other leg, maybe straighten your arms, exhale, forward fold. Walk forwards, I like this one, it's kind of like you can get into the side ribs on one side and then into the other. Keep the heels down as long as possible, maybe they come up, plant your hands. Come high up onto your right toes, left foot forwards into lunge.
Drop the knee and the top of the foot. Inhale into your lunge, come on up. Neutralize your lower back. Exhale, fingertips down, pigeon pose, walk in, bring the heel in as close as you need to. Walk the buttocks and the other knee back, get in there, walk forwards, elbows down.
Maybe even a little slide side to side. Gets into different areas. If you'd like to take that twist, right forearm goes in more parallel with the front of the mat, left fingertips out to the side. Think about grounding your hips and then dragging your belly forwards and twisting. The placement of your back foot might be interesting too, you can try tucking, seeing if all five toes can connect or extending.
Exhale, downward dog. Walk your feet towards your hands. Inhale, come up, exhale fold. Inhale, come all the way up, exhale. So we're gonna turn around to the wall and do some deeper openings with the front of the thigh.
So not as graceful to get into this but come close to the wall, and I would recommend using a blanket to pad your knee for this one. Probably you have a blanket lying around. The top of the knee cap doesn't like to have too much hardness against it so, put that down and then we're gonna take our right knee against the wall like that, depending on how tight your quads feel, you might end up taking the knee further away from the wall so not flash to the wall, maybe just like a little bit away. We'll see how it feels, and, come on to your hands, take your left leg out to the side, and then toe heel it in so that you end up with hands on either side of the legs, that's just a little bit easier than trying to get it in this position, you'll see if you try it. Okay so once you get into this position, you might just want to stay here for a few breaths.
If you have any sort of block, if you're feeling like the front of your left hip is really getting like bunched up and it feels thick in that area, if you want to make a little more space in that joint you can come up a little bit higher, so you could utilize some sort of height here. Otherwise, if it's okay, then you can be forwards here, you can inch this foot forwards and start to drop your hips towards the floor. Another small detail here that might really direct this stretch into the front, the tissue and the fascia in the front of your quad is to actually drag your toes down the wall like this and let your heel lift up which will really direct the stretch into the full quadriceps muscle. So once I do that I actually feel it much more evenly spread out through the entire front of the leg instead of like this, actually I feel it a little bit more in my knee. So what I'm actually doing there is kind of contracting the back of the leg so it's a little bit more of an asymmetric contraction.
You play around with it. Another option here is to actually come back, release that foot, take it out to the side, so that it kind of comes on the outside of your hip. And come up to place your hands on the front of the left thigh. Tendency here is for your left hip to jack up, so if you can drop it down and use your hands to soften up the top of the quadricep muscle here. If you feel pretty stable here and your back is not arching too much, it is possible to come a little bit closer to the wall and maybe let your arms lift up.
There's a strong feeling of wanting to tip the pelvis forwards here into a back bend, so, if you can pour a little bit of it's opposite in, drop the pelvis into a backwards rotation a tiny bit, you can neutralize the pelvis and the spine doesn't have to work in this position. Wherever you are, let's take the front leg into legged child pose, slide the back leg off, and come into a child's pose, and the nice way to do this is index fingers together, thumbs together like a diamond shape, elbows wide, and release. So, we kind of have to do the other side. (chuckles) So let's come closer to the wall. Bring the other leg up, so left leg up, maybe you know that you need to take it a little bit away and you can also treat this side slightly different than the other if you need to.
Hands flat, right leg out to the side, and then heel toe it in, if you need a prop come up a bit to give you that, just that little bit of extra spaciousness in the front of the right hip joint. And then slowly start to sink your hips towards the front of the mat. And you can toe heel this forwards, this right leg forwards until the angle is actually a little bit more obtuse. And that might be different in the leg, if that's putting pressure on the knee just come back to stacking the joints. You can play with dragging the toes down and that's my favorite because I really feel this evenness through the whole quadricep muscle.
You could even shift side to side a little bit here. And I'll show that option just because I did on one side on the other side is taking the shin bone slightly on an angle out to the side, walking back, hips come closer to the wall, and you can probably see in my body that this hip wants to jack up a little bit, and, I always want to keep the spine neutral, so the lower back muscles will start to work a little bit on one side if I do that, so I'm gonna, with the help of my hands drop down, so the two sides are a little bit more even. And once I get that I feel neutral in the spine then I might want to take my arms up. Maybe not for everybody, but, length, then let's exhale and come out. So walk forwards, take this front leg into child's pose take this back leg into child's pose, and release your skull.
And now we're gonna come onto our back so you can take your blanket out. If you have a block, you'll keep it with you. And keep close to the wall because we're going to put our legs up the wall for the relaxation here. Take your block if you have it, place it between your inner thighs, squeeze it just a little bit, not with a vice grip, but just a little bit. Press into your feet, and from the pressure into your feet lift your hips off the floor a little bit, and then lift them a little bit more, continue to press into your feet, keep the pressure in your feet being what's actually lifting you, not your back muscles, not your glutes here.
Press into your feet. Although you will feel your outer glutes which is a good thing to support, and hamstrings. And then let's take our arms over the head. And let's take 10 breaths here. So from this straight line, can you keep your tailbone moving towards the block?
And bring the back bend into the upper chest, so you'll notice as you press your toes into the floor, you're actually gonna move the chest more towards the chin. If you press your heels into the floor, the feeling is more the hips moving up towards the ceiling. So toes and heels, five more breaths. I should mention too if your hips are wider than mine, and you have a different sized block, you can move the block like into this position if it's more comfortable or, probably not that, but you could try it like that. If it just gives you a little bit more space on the back of the pelvis, so two more breaths, toes lift the chest towards the chin, heels bring the hips a little bit higher, make your shape a little bit more curvy.
If your glutes are getting used here, strengthening those outer glutes, that's wonderful. And then exhale slowly, roll down. And take your knees into your chest. You can hook under the knees here, or you can grab a hold of the ankles, if you can reach the feet, you can and draw the knees beside the body. Everybody's favorite, happy baby.
So here if I haven't got to all the spots that are yearning for your attention then pause the video and play. Otherwise because all of this work in the legs with skiing we're gonna come close to the wall and put our legs up the wall for the relaxation for a couple of minutes, for five minutes maybe. So the easiest way that I found to get into this is like a fetal position on the side of your mat so that when you roll over on the back you're actually on your mat in the center of your mat. And if your hamstrings are a little bit stickier and your hip bones don't want to go straight against the wall, it's just like in the last one, you can move them away a little bit. To an easier place.
There's a few things you could do here as you relax, your upper body and your shoulders, you could bring the soles of the feet together and open up through the inner thighs for a couple breaths. You could even slide the legs into an opening like this, but you can support them so it doesn't feel like you're kind of hanging in this position and it feels effortful just a little bit. But finally, just relaxing the legs up, and, setting the back and the head at zero so you're not tipped to one side or propped up by one shoulder blade. You can take your arms out to the sides or even in, if it's comfortable in this like cactus arm position. And close your eyes.
You might even feel the drain of the fluid in your legs. Pulling away from the feet, moving down into the torso. And as your legs become more spacious, they're allowing for this spaciousness to fill your legs with energy. I read this recently, everything works if you unplug it for a while, even you. Maybe it works a little bit better.
So last few moments here, you might want to stay here for a while. In one of the old yoga texts it actually says that if you do this posture for three hours a day, you'll conquer death. (chuckles) You can try. So I'm gonna leave you here, but if you feel ready and when you feel ready, you can draw your knees in. Roll over on to one side.
And come up. Thank you.
Yoga for Athletes: Preparation Practices


Comments

Lydia


You need to be a subscriber to post a comment.
Please Log In or Create an Account to start your free trial.
