What's a Course?
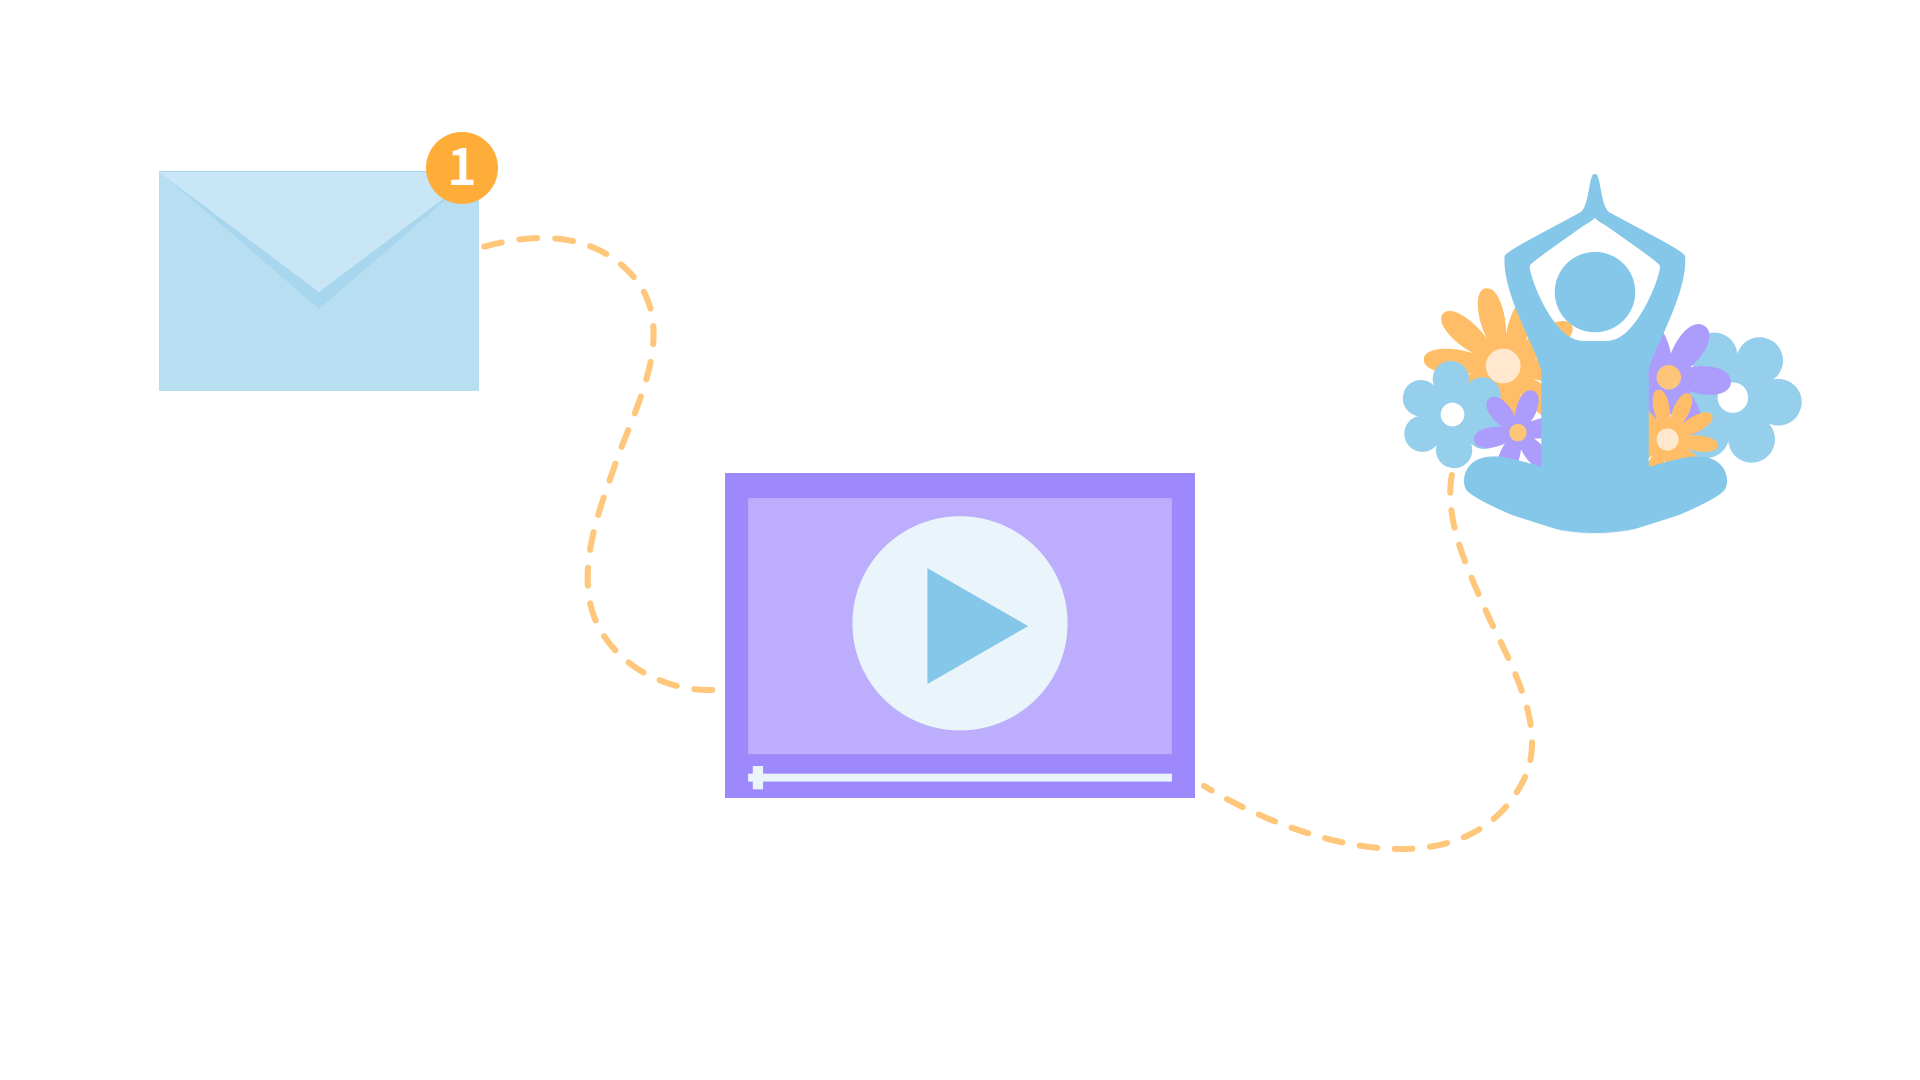
You can now make seasons of select shows into courses!
1. Schedule regular emails to deliver the content direct to you.
2. Watch your assigned videos to focus on the course goals.
To take a course for this show, first select a season and then click the "Take as Course" button for that season.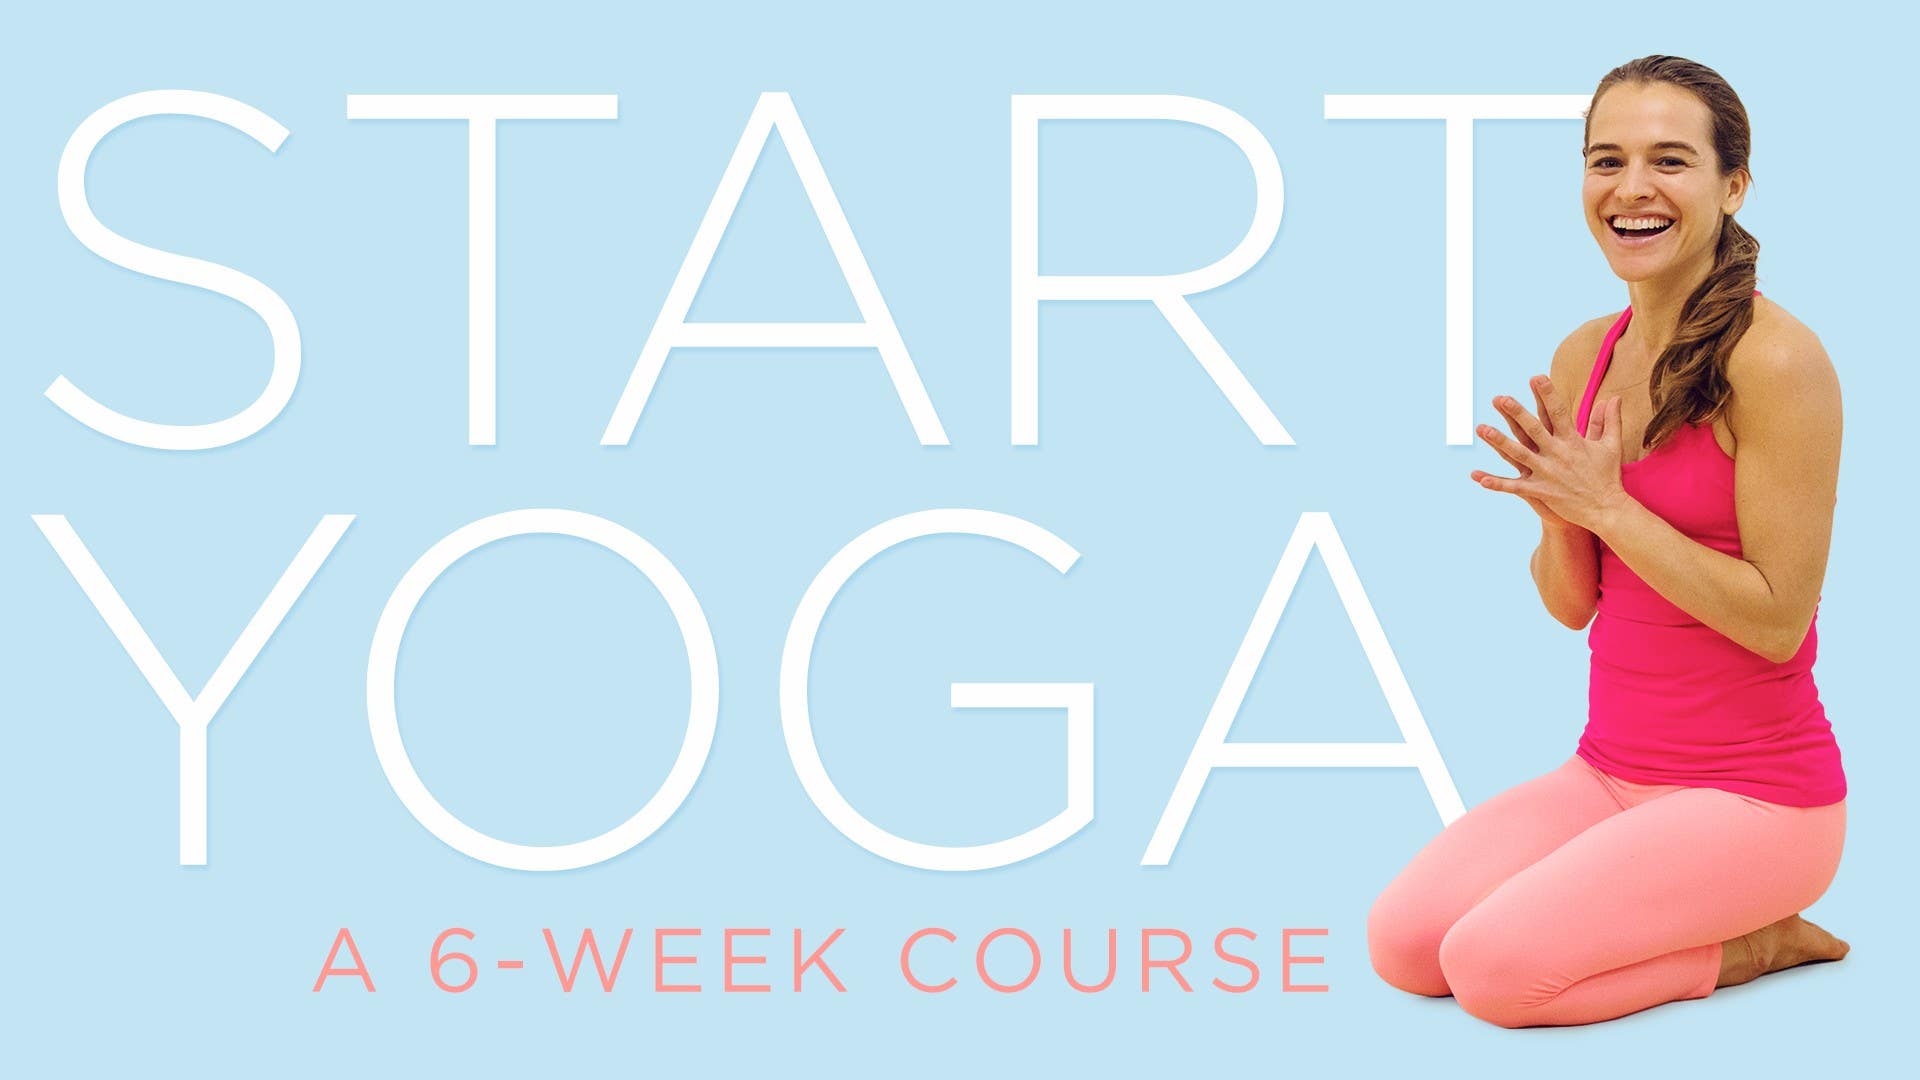
Description
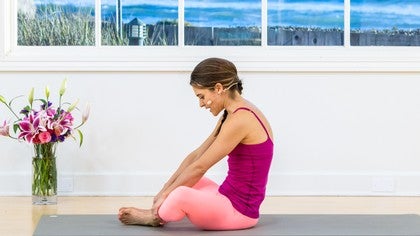
This lesson is designed to go along with Practice 2
About This Video
Transcript
Read Full Transcript
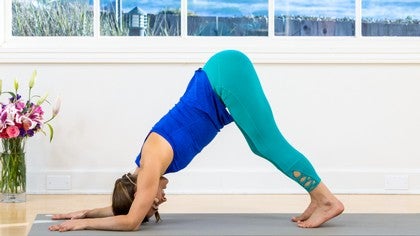
So, welcome to lesson two. So, in our second practice together, we talk a lot about the pelvis and the tailbone. So, we'll look at just some basic anatomy of the pelvis and the tailbone in this lesson. In the second practice, we also work with standing poses. So, we'll look in this lesson at mountain pose and warrior two, and how do we know if our feet and our legs are in the right position. And then we also, in this practice, we start to explore bearing weight on our hands and our wrists and plank and in downward dog. So, we'll break that down a little bit and look at that, right? So, now we're gonna begin to feel and get to know our pelvis a little bit more. So, bring your hands on your hips and imagine your pelvis is like a bowl of water, okay? And then with the knees maybe bent, begin to roll your pelvis forward. So, imagine the bowl of water pouring forward, hands on the hips, tailbones lifting up, and then pour the bowl of water backwards as the tailbone draws under. And let's just do this a few times, exploring this movement through the pelvis, pouring the bowl of water forward, and then pouring it back. And a few times like this. As the bowl of water pours forward, the tailbone lifts. Notice how that feels in your lower back. And then as you pour the bowl of water backwards, the tailbone draws under towards your knees. Good. A few more times. Good. And then bring your pelvis in what we call neutral position. Good. And then bring your hands, again, back on your hips and just begin to explore these like bony kind of landmarks of the pelvis. So, we'll call these the ears of the pelvis, right? And then bring your hands, with your hands on your hips, begin to bring your hands right around your sacrum area. So, the sacrum is this triangular shaped bone that's in the back of the pelvis. And it's about five or six fused bones there. Right below our sacrum is our tailbone. And just right above it is the lowest lumbar vertebra, the lowest part of our spine, also known as our lower back area. And one more thing. Let's bring our hands onto our butt and begin to feel down towards our sitting bones. So, I use this a lot in the practice. Sitting bones this, sitting bones that. So, bring your hands onto your sitting bones and see if you can feel, you kind of get in there and feel the bony part of the butt there. Okay? So, we know we've done that. Good. Now, let's find this action in Cat Cow. We do Cat Cow in just about every practice. So, with the knees about hip distance apart, remember that bowl of water of the pelvis, begin to round your spine. So, we're pouring that bowl of water backwards and then pouring the bowl of water forwards as the tailbone lifts up. And do this a few times, drawing the tailbone under and then rolling the pelvis forward, pouring that bowl of water forward a few times. Feeling that movement of the pelvis and the tailbone. Good. And let's come onto our back and see if we can feel that as well. So, with the feet about hips distance apart, again, we explore this together in our practice. Roll your pelvis forward. So, pouring the bowl of water forward, arching the low back and then draw the tailbone under, pouring that bowl of water back. And it might be helpful here to bring your hands onto those bony landmarks of the pelvis. Just feeling that movement, feeling the bowl of water pour forward and pour backwards. Nice. Good. Come into neutral. All right. We'll make our way up and now we'll look at some standing poses. So, how do you know where to place your feet in standing poses? And we'll look at Tadasana. So, the first step, let's bring our feet together. Whoa. And notice how this feels. Okay. Press into the feet, spread the toes. And you might find it's a bit challenging. It's hard to balance. It requires a bit more focus, concentration, and maybe a bit more effort. Right? And then bring the feet wider apart. Spread the toes. Feet are at least hip distance apart, maybe a little wider. And just see how this feels. Maybe a soft bend in the back of the knees. You might even feel the lower back or the back part of the pelvis kind of open a little bit here. Generally, this is a more stable, supportive, and grounded stance. Let's try it again. Come back into feet together and notice how this feels. Little less stable, requires a bit more effort, concentration. Feet a little wider. A little more stable.
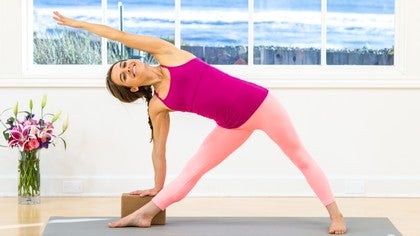
So throughout our practice, choosing a stance that feels really good for you. All right. So let's look at Warrior II. How do we know where to place our feet? So bring your feet. Let's just start with three feet apart. And let's bring our left foot in and our right foot out. And for the purpose of this, let's explore lining up our right heel with our left heel. And just notice how this feels in your legs. And let's just bend and straighten our right knee a few times. Just nice and easy. Good. And then let's bring our right heel towards our left inner arch. So toe heel it a little closer towards the top of the mat, the edge of the mat, and then bend and straighten a few times. And just notice, if anything, how this might feel. Now generally for me, this feels better for my hips, but choose a stance that feels correct for you in this moment today. So wherever you place your foot, go ahead and bend your right knee. And just notice where it lands. It's helpful to actually take a look and notice. Is your knee way over your foot? Sometimes if it's way over the foot, I find that it can cause some strain on the knee joint. So notice what it feels like to bring it about a 90 degree angle or slightly back. And then the work, which we explored in the practice, is to begin to feel and find that opening through the hip, that external rotation. We look at that more in our third practice. And then really pressing through the outer edge of that left foot. Maybe even lift the inner arch a little bit. Good. And then let's come out of there. Bring your feet right underneath your hips, coming back into our mountain pose. Okay. From here, let's explore bearing some weight on the hands. So we look at this in the practice as we come into Cat-Cow and as we move into Plank Pose. So as you spread your fingers wide apart, the first step is just to notice how this feels, rooting the palms down into the floor. Now bearing weight on the hands in Downward Facing Dog or in Plank Pose, it's asking a lot of our wrists, right? We're bearing our weight on our hands. So it's important to really take care of your wrists and modify it so that it feels right for you. So let's look at some variations here. One is to work with the fingertips, right? And you can just work with the fingertips, drawing the shoulders down. Notice how this feels in your hands and your wrists. Another one I like to use is coming onto the forearms. This requires a lot of work and effort in the shoulders, but sometimes it can be a nice alternative to bearing weight. And again, you can explore this in Cat-Cow as you roll the pelvis forward and as you curl the tailbone under and get round and even in a Plank Pose, tucking the toes. This is a lot of work right here. And then even in a Downward Dog. So these are just some ideas that can help take the weight out of the wrists, especially if you're working with any kind of wrist shift or any pain or irritation in the wrists. Another one I like to use sometimes is using a rolled blanket or even rolling your mat. So you might try that right now. Rolling your mat up and bringing it underneath your hands here. And sometimes just that extra bit of padding can really help and it kind of rounds the hands a little bit. So you have that support and then you can explore Cat-Cow. Also using two blocks underneath the hands can help as well. So you might explore some of these modifications with the wrists. So as we repeat practice two together a few times, just notice in your practice how it feels for your pelvis. Notice the relationship as your pelvis rolls forward and back, your tailbone, your sitting bones. Notice how it feels when you bear weight in your wrists. And you might explore and work with, experiment with some of these variations as well as in your standing postures when you come into your Tadasana. Are your feet closer together? Are they wider? And it might be different each day. You might be working with something different each day and experiment and notice what feels right for you and really trust that you are the expert in your body. So as we do these practices together, report back, let me know how it goes, let me know any questions you have. Thank you for being here. See you in the next practice.
Start Yoga: with Alana Mitnick
Mention
 |
Alana Mitnick (Teacher) |
 |
Linda R |
|
|
Karen |
|
|
Jo L |
 |
Szilvia K |
|
|
Tracy S |
Comments


You need to be a subscriber to post a comment.
Please Log In or Create an Account to start your free trial.
