Description
About This Video
Transcript
Read Full Transcript
Welcome, I'm so glad you're here. In this class we're going to be focusing on releasing any discomfort you may be experiencing in your sciatic nerve. It has a tendency to get a little mischievous. So I highly encourage you to listen to your body and only go as far as feel safe. What we're going to need for this practice today is one yoga blanket and one bolster.
And we're going to start off on our backs with the blanket set up at the back end of our yoga mat as a little bit of support for the head. And then the bolster is going to come down to the other end of the mat. And we're going to let our feet rise up onto the bolster. So once you gather your things and get set up, join me on your back. So as you find your way onto the floor, adjusting that blanket under the head and neck as feels good and comfortable for you.
And then you can use your feet to adjust your bolster so that you're finding length through the back of the spinal column. So what we're hoping to achieve here with the elevated feet is a really nice neutral spine and torso. So if you need to move the bolster a little bit further forward, you can just use the feet to scooch it like so and then let yourself just settle in. Take a moment to land. Feel that nice solid connection with the earth underneath the entire backside of your body.
Allow the shoulders to soften away from the ears. Allow the belly to relax, to release down through the back of the spine and pelvis. Take a nice deep inhale through the nose and a deliberate exhale. We'll start off by gently lifting our right knee in towards our belly and just give that right knee a little bit of a hug and just see what's showing up on this side. Only hugging as tight as feels safe for your body.
Please remember to listen to any signals that your body gives you today in this practice. Be nice and tender with yourself. We'll take that hand hold now to the backside of that right thigh and with an inhale gently rise up through that right foot and just feel into the back of that right leg, only going as high as feels safe and then we'll re-bend the knee. And then again with an inhale lift it up and exhale let it go. One more inhale foot to rise and then we'll just take some gentle point and flex through that lifted right foot, toes to the face and toes to the sky, toes to the face and toes to the sky.
The next time you take your toes towards your face pressing your heel up towards the ceiling as much as feels comfortable. Take a big breath into that stretch and feel again the neutrality of your spinal column keeping the low back soft and rooted. We'll keep the foot flexed, release the hand hold as we bend the knee, take that right ankle over to the left thigh towards our figure four shape sending that right thigh and knee away from the belly to deepen the stretch and then we'll bring the knee in towards the belly keeping this hinge joint that we've created by the ankle and knee connection. I like to think of it like a door hinge and we're opening and closing the door with that thigh and knee as we keep the door hinge that we've created engaged so just play with that a few times in and out. The next time that knee moves forward so away from your belly go ahead and let the arms drop and we're going to start with some really gentle side to side pelvic rocks and if twisting for your sciatica if your sciatica has been diagnosed that it's coming from some lumbar spine compression this may be absolutely plenty and I'll invite you to avoid the twists as your doctor has recommended but if it's safe for you to come over to a twist we're going to gently roll the pelvis to the left side still in this figure four shape as we come over to the left side this may be plenty or perhaps you're going to take your left hand down to grab a hold of your right ankle and shin if that's available and as we hold onto that ankle and shin we're continuing to send the right thigh and knee away from the tummy take big full breaths really awakening here through those external hip rotators that TFL and then release the hold of the ankle roll back to center we'll release that ankle and foot back to the bolster and take a nice deep cleansing breath as you land so when you're ready we'll take the same exploration to the left side bringing the left knee up and in for a hug hugging that knee as tight as feel safe and comfortable for you and then we'll take the hands to the back of the thigh and with that left foot towards the sky and gently bend you with an exhale inhale to rise and exhale to lower this next time as we lift our leg up begin to point and flex that left foot toes to the sky and toes to the face the next time we press our heel to the sky feel into the length of that back left leg we'll soften the knee cross the ankle over and find figure four shape here sending that left thigh and knee away from the belly and then soften that by bringing the knee in towards the heart again like we're opening and closing the hinge of a door away from the belly and then into the belly next time we take it away from the belly we'll keep it there and start with some really gentle side to side pelvic rocks again this may be plenty of sensation to take it over to the side if twisting is safe for your body we're going to roll gently to the right side and then let that right hand come down and see if it's available to take a hold of your shin or your ankle and then we're continuing to send that thigh and knee away from the belly feel free to close your eyes here and just notice what's showing up when you're ready to release letting go of the ankle slowly rolling back to center for the spine as you land we'll uncross the ankle and bring that foot back to the bolster to rest take a big breath in exhale it all feel free to rest here for a few moments but when you are ready to join me we'll bring both knees up for a gentle hug a little rock and then we'll roll over to our side and as we come over to our side gently press into the floor to lift up and we're going to move our bolster and our bolster is going to slide towards the top of our yoga mat and as the bolster moves to the top of our yoga mat just take your blanket off to the side so it's available for you we're going to take our bolster nice and long and vertical and then place the hands on either side of the bolster and allow yourself to find a tabletop position from tabletop position we're going to take our right leg back behind us with the toes curled under go ahead and let your gaze drop towards the bolster so we have a nice long spinal column all the way from the back of the neck through the tip of your tail and as we press back through that right heel breathing into the back of that right leg with an inhale we're going to lift up that right leg to the height of the hip and as we feel there into that extension mindful of our core engagement with an exhale we're going to bend that right knee in towards the belly gently round the back chin to the chest nose to the knee and then inhale press back through the heel exhale squeeze bring it in nose to the knee inhale take it long with this next exhale as the knee comes in towards the belly you're going to drop it to the floor and slide it forward to meet your right wrist we're going to slide the right foot just in front of the left thigh and knee and begin to inch that back left leg behind you that blanket is still available to you to tuck it right underneath that right hip you can fold it up if you need a little bit more height into the shape of pigeon pose take a nice big breath in and then with our exhale let yourself slowly drop down to the bolster let the cheek land give it a little hug feel free to close your eyes feel free to pause the video here and stay here in this supported pigeon pose as long as it feels safe and comfortable for you when you're ready to rise up the hands return to the earth we press against the floor to lift the cheek slowly lift the heart slowly unwind to look center we're going to start to slide the back left knee nice and easy forward and then right knee comes to join it we'll take that blanket over to the other side of our yoga mat so that it's available to support the other hip we'll take left leg long press from the heel become mindful of your core with an inhale lift up through the leg pressing from the heel nice long extension and then with our exhale knee to the belly nose and knee coming towards one another to squeeze inhale to extend exhale coming in one more inhale press back with the heel and as this knee comes forward it's going to drop to the mat slide up to meet your left wrist let the foot angle in front of your right thigh and knee as we inch that right leg back here's where the blanket can slide right underneath that hip whatever support you need adjust that bolster lift up through the heart and then with an exhale let yourself come down and settle slow breath soft relaxed shoulders and staying as long as your day and your body will allow to come up hands to the earth peel up through the chest peel up through the cheek let your head unwind to center we're going to start to slide that back right knee forward while the left knee comes back to meet it we can go ahead and move that blanket back off to the side now pause for a moment in tabletop position inhale to open the heart and exhale to round the spine come back to neutral we're going to move the bolster now horizontally on our yoga mat so you're just going to slide it i'm going to have you land right about midway you're going to want to have room for your torso here so if you're a little bit taller maybe the bolster comes back a bit more and then we're just going to transition up towards a seat and as we transition up towards a seat sitting upright on our bolster take a moment to grab a hold of your knees and open up the heart feel into that nice long extended spine we're going to start to drop back towards a supported bridge pose with this bolster underneath our pelvis so if you already know that that's going to be a little too intense and too high you can substitute out your blanket coming back nice and slow and safe so hands down first elbows down second so i'm not just landing i'm walking my way there nice and slow to drop the back of the heart and shoulders head and neck to the floor take any little wiggles or adjustments that you need and then we'll once again bring that right knee up give that right knee a hug and then we're going to cross back into that figure four shape right ankle across the left thigh and knee right knee and thigh sending forward to deepen the stretch the left foot can come off the floor and we're just starting to bring that left thigh a little bit closer in towards the belly and the heart the bolster is helping to support the weight of the pelvis this may be where you stay but perhaps it might be fun to explore a little bit different variation of reverse pigeon by letting left hand take a hold of right foot right hand takes a hold of right knee and then we allow that left foot to come back to the floor now as you're supporting your right leg you're now in charge of how deep you take this hug so the deeper we hug the shin towards the heart and then perhaps even left leg sliding a little bit further out in front of you to also experience a little bit of hip flexor work on that left side to come out we bring that left foot back knee is bent lift that knee to support the ankle release the hands and return to the earth let right foot join left foot take a big breath in full breath out and taking that same exploration over to the left side when you're ready give the left knee a hug let that left ankle cross over right thigh and knee for figure four sending the thigh and knee forward maybe staying here or maybe playing with lifting up that right foot and thigh we can stay here with the exploration or bringing that right hand to the left foot left hand to support the left knee and then let that right foot return to the earth as we support our joints start to gently hug that shin and calf a little bit closer to the heart as much as feels appropriate maybe a bit more length right leg to come out the right foot returns it's going to support the ankle let go of the arms return right foot to the floor and then let left foot join it to land take a big breath in exhale it all now depending on what kind of bolster you're using today or you may be on a blanket sometimes helpful to bring your hands down to make sure that the bolster stays nice and grounded my bolsters handy because it has some handles so if you have some handles on your bolster that can be helpful to grab a hold otherwise just kind of clasping the sides of the bolster to make sure it stays nice and steady as we lift up both knees usually a little wiggle and adjustment is needed to feel supported and then allow both of those legs to rise up to the sky softening all of the effort feel all of that energy return to the heart giving space and openness to the back of the legs feel free to stay here as long as you would like but when you're ready to release we're going to start to slowly bend the knees grab a hold of that bolster again keeping it steady let one foot find the earth and then the other foot find the earth take a big breath in full breath out and then we're going to start to transition the bolster under our thighs so simultaneously i'm going to scooch my torso back and press my bolster towards my feet so rooting down through the feet start to just press the bolster inching towards the feet while at the same time inching the torso back all the way until you can land with a nice flat neutral pelvis and spine letting the legs go long creating this nice little cradle for the pelvis and hips soften down through the shoulders soften down through the feet maybe a gentle roll of your head from ear to ear release any grip the body's still holding take a slow deep breath in and exhale it all to surrender dropping into shavasana for as long as you would like feel free please to pause the video and really take your time in stillness and in just simply being but when you're ready to join me and reawaken slowly wiggle the fingers and toes circle the wrists and ankles we'll step those feet back up onto the bolster for a moment feel into again the neutrality of your spine gently rolling to the side press into the earth start to sit up nice and easy and as we sit up take a moment to check in may you be happy may you be healthy may you be at ease namaste
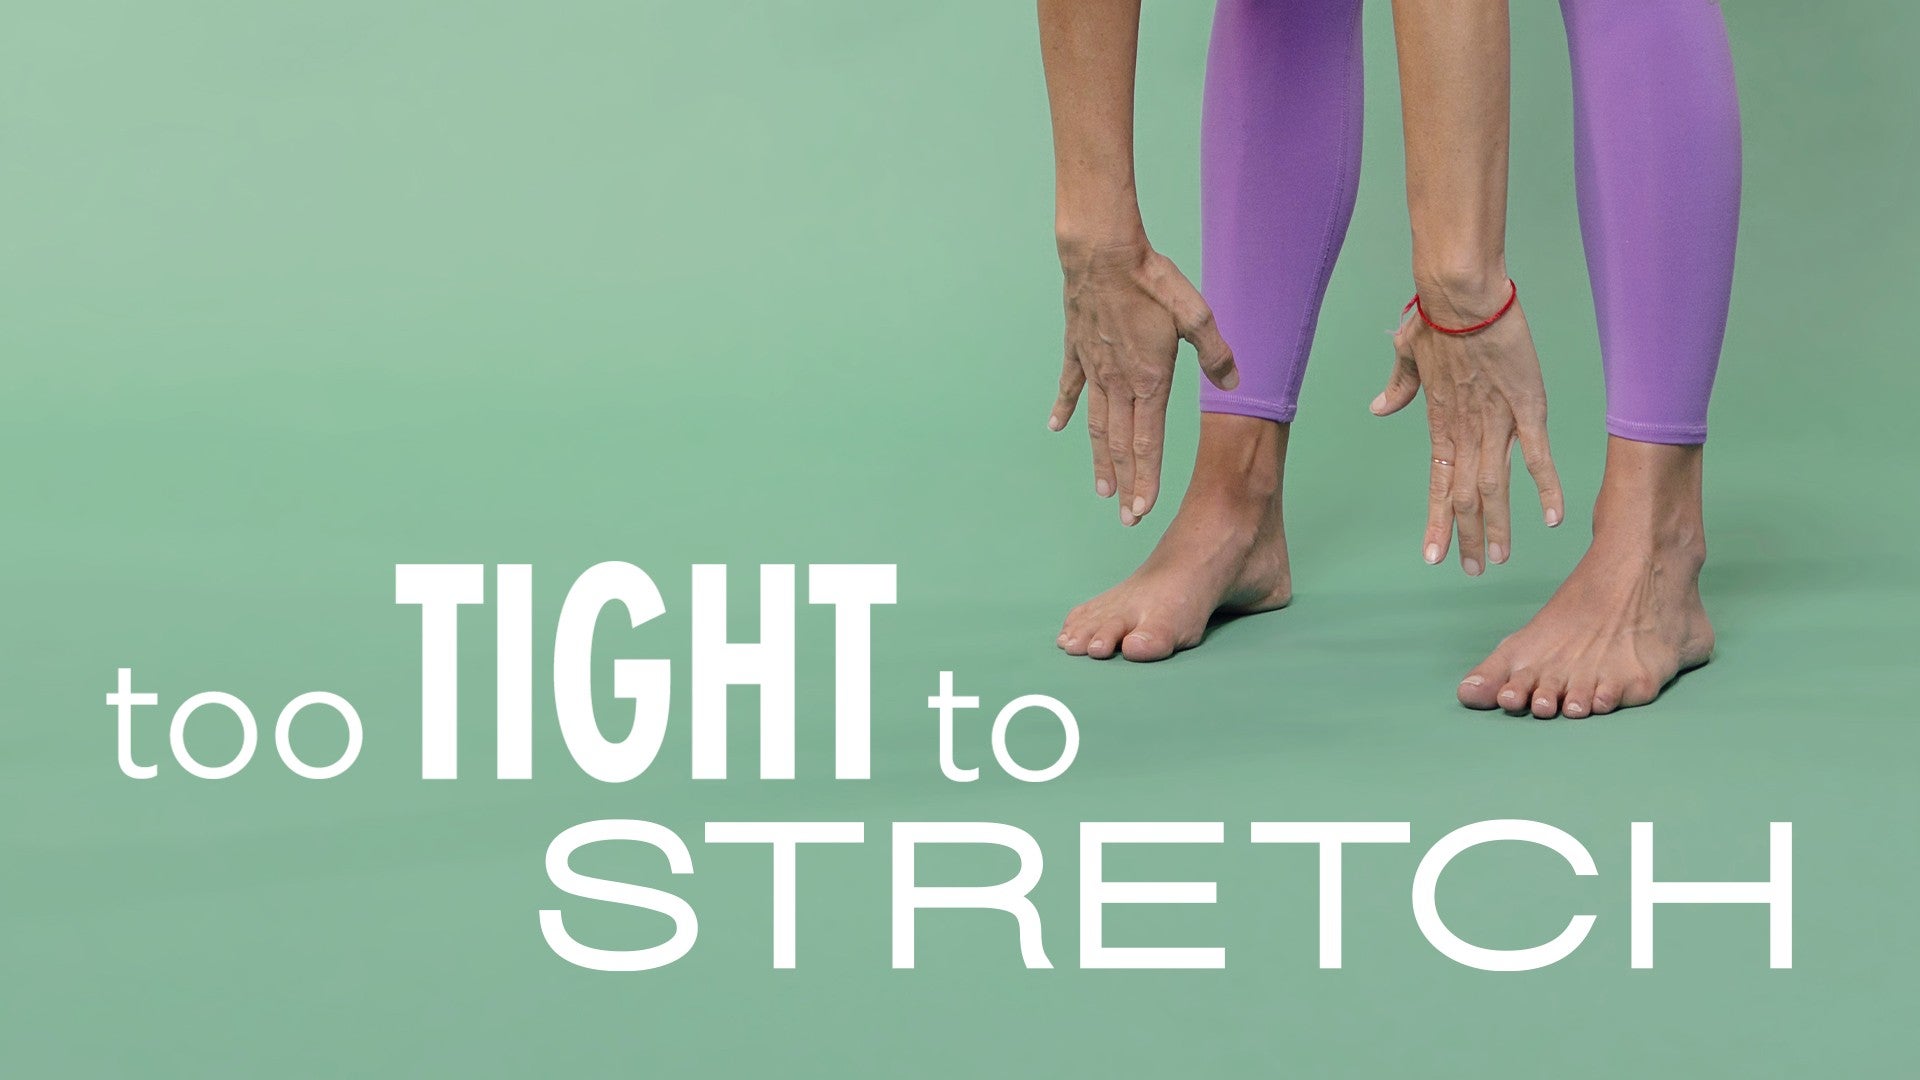
Too Tight to Stretch: Kari Sims Anthon
Mention
 |
Kari Sims Anthon (Teacher) |
 |
Erika M |
 |
Michelle F |
 |
Sandra Židan |
 |
Laura M |
 |
Barbara S |
 |
Lina S |
|
|
Fabian H |
Comments


You need to be a subscriber to post a comment.
Please Log In or Create an Account to start your free trial.
